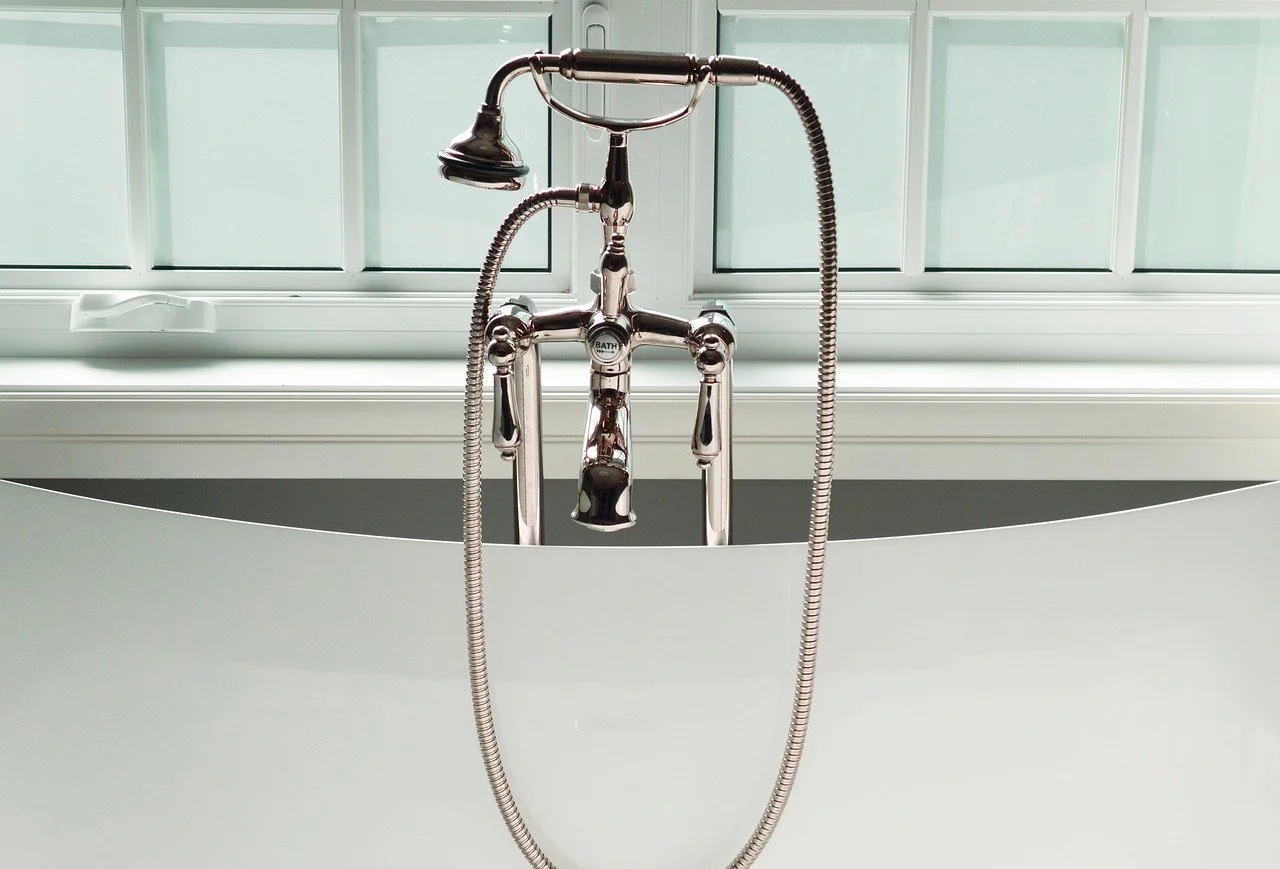
How to Replace a Shower Faucet: Step-by-Step Guide
Ready to tackle that old shower faucet? Follow our detailed “How to Replace a Shower Faucet: Step-by-Step Guide” for a smooth and stress-free installation. Say goodbye to leaks and hello to a fresh upgrade!

So, your shower faucet’s seen better days, huh? Maybe it’s dripping, maybe it’s just plain outdated, or perhaps you're simply ready to upgrade to something a little more stylish. Whatever the reason, replacing your shower faucet can seem like a daunting task. But fear not! With a little know-how and the right tools, you can do this yourself and save a bundle on plumbing fees. In this guide, we’ll cover everything you need in our “How to Replace a Shower Faucet: Step-by-Step Guide,” ensuring you’re well-equipped to handle this DIY project like a pro. Let’s dive right in!
How to Replace a Shower Faucet: The Basics
Understanding Your Faucet Type
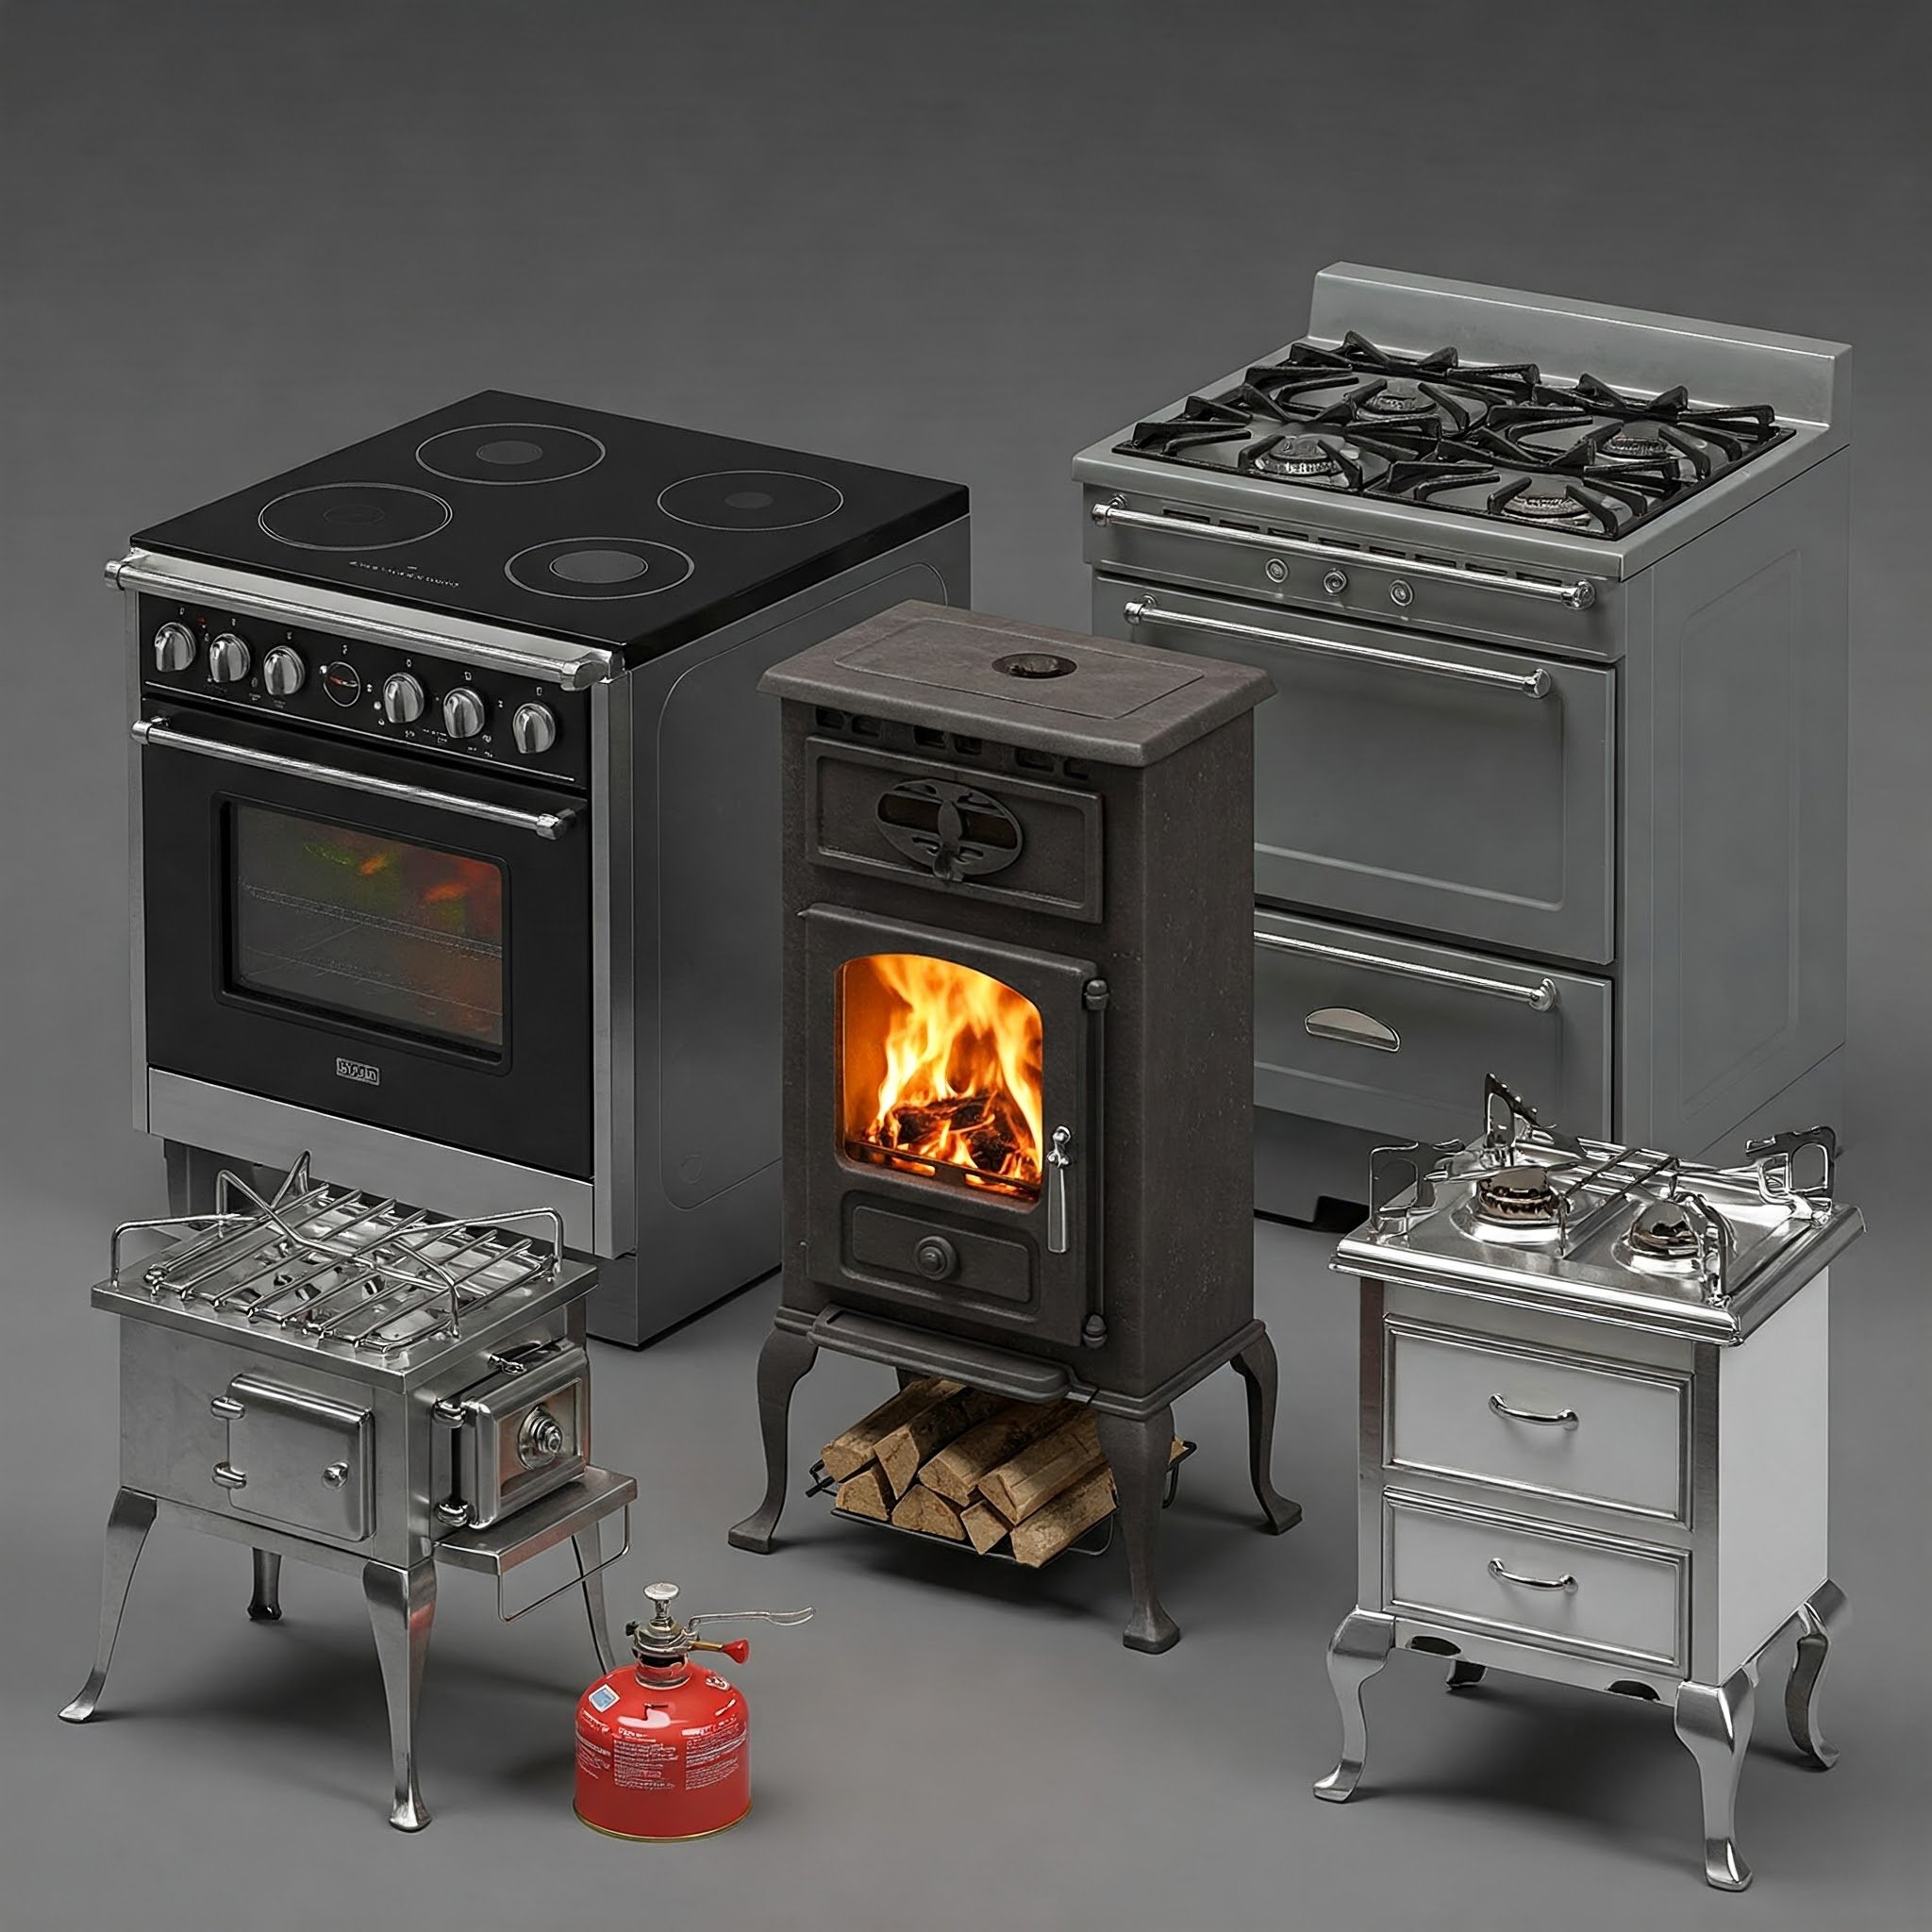
Before diving into any faucet repairs, it's essential to identify the type of shower faucet you have. Shower faucets generally fall into several categories, including compression, cartridge, ball, and thermostatic models. Compression faucets use rubber washers and are known for their simple design, while cartridge faucets feature a cartridge that controls water flow and temperature. Ball faucets are typically found in newer designs and use a single handle to manage temperature and flow, while thermostatic faucets allow you to set a specific temperature and maintain it consistently. Understanding which type you have will help you choose the right tools and replacement parts for any repairs or upgrades. Take a moment to examine your faucet closely; this knowledge will save you time and frustration down the line, ensuring a smoother and more efficient process as you proceed with your project.
Compression Faucets: These have separate handles for hot and cold water. You turn them to control flow and temperature.
Cartridge Faucets: These have a single or double handle and use a cartridge mechanism to control water flow.
Ball Faucets: Mostly found in single-handle designs, ball faucets have a rotating ball joint that controls the temperature and flow.
Ceramic Disc Faucets: Known for their durability, these faucets use a ceramic disc to regulate water flow.
Understanding the type of faucet you have is crucial for a successful replacement. Different faucets, such as compression, cartridge, ball, and ceramic disc, each have unique components and mechanisms that may require specific replacement parts. By identifying your faucet type, you can gather the necessary tools and parts before starting the installation process. This proactive approach saves you time and frustration, ensuring a smoother replacement experience. Additionally, knowing the faucet's brand can help you locate compatible parts more easily, as manufacturers often design components that work specifically with their products.
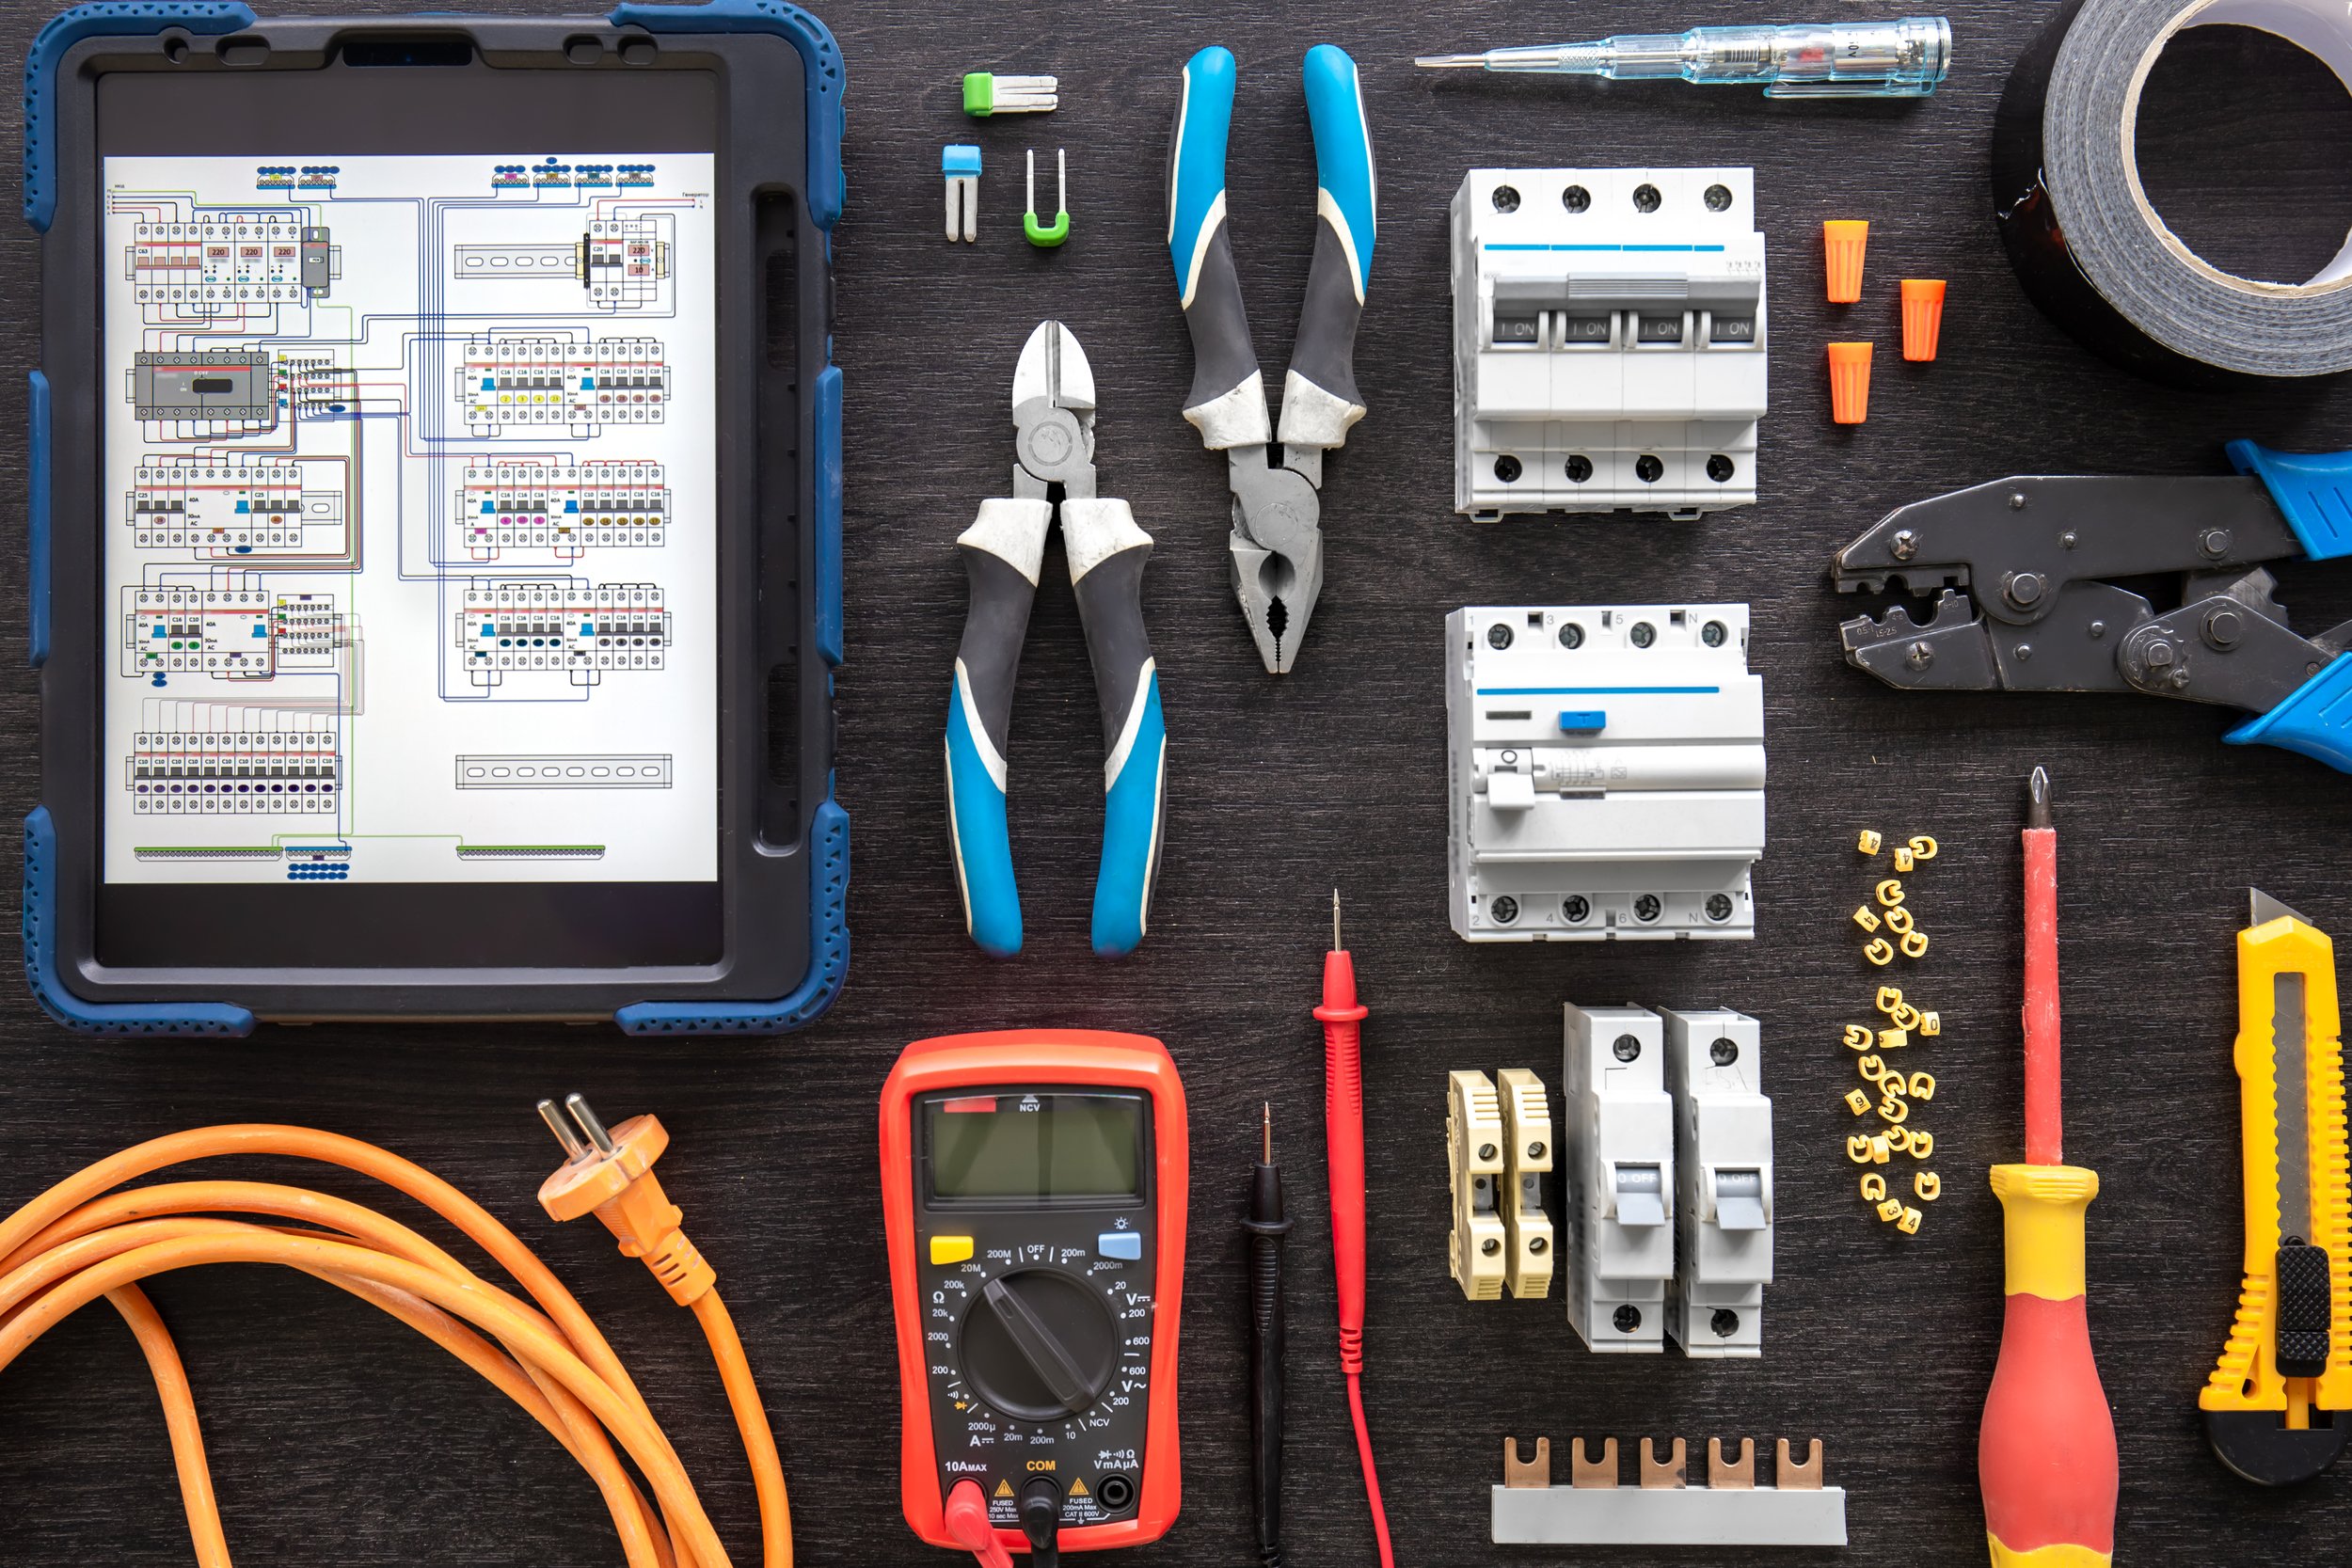
Tools and Materials You’ll Need
Before starting your faucet installation, it's important to gather all the necessary tools and materials to ensure a smooth process. You'll need an adjustable wrench, screwdriver, and pliers for disassembly and assembly. Additionally, having plumber's tape on hand can help create a watertight seal, preventing leaks. Make sure to have a bucket ready to catch any excess water during the installation. You may also want to keep a utility knife for cutting any old sealant or plumbing tape. Finally, having a clean cloth nearby will come in handy for wiping up any spills or debris. Taking the time to gather these essentials beforehand will save you from unnecessary trips back and forth, allowing you to focus on the installation itself and ensuring everything goes as planned. With the right tools at your fingertips, you'll be well-prepared to tackle the job efficiently. Before diving into the installation, gather these essentials:
Adjustable Wrench
Screwdrivers (Phillips and Flathead)
Plumber’s Tape
Bucket or Bowl (to catch water)
Replacement Faucet
Towel or Rag
Safety Goggles
Pliers
Having all your tools and materials ready before starting your faucet replacement project can save you a lot of hassle. It prevents the frustration of running back and forth to gather what you need mid-installation. Ensure you have all essential tools along with the right replacement parts specific to your faucet type. Preparing everything in advance allows you to focus on the task at hand, making the installation process smoother and more efficient. This organized approach not only saves time but also reduces the likelihood of mistakes, ensuring that your new faucet is installed correctly and functions perfectly from the start. So, gather your supplies, and get ready to tackle the job with confidence!
How to Replace a Shower Faucet: Step-by-Step Instructions
Step 1: Gather Your Tools and Prepare the Area
Clear the Space: Remove any shower items like shampoo bottles and soap dishes to give yourself room to work.
Turn Off the Water Supply: Locate the main water supply valve for your home and turn it off. You don't want a surprise shower while you're working!
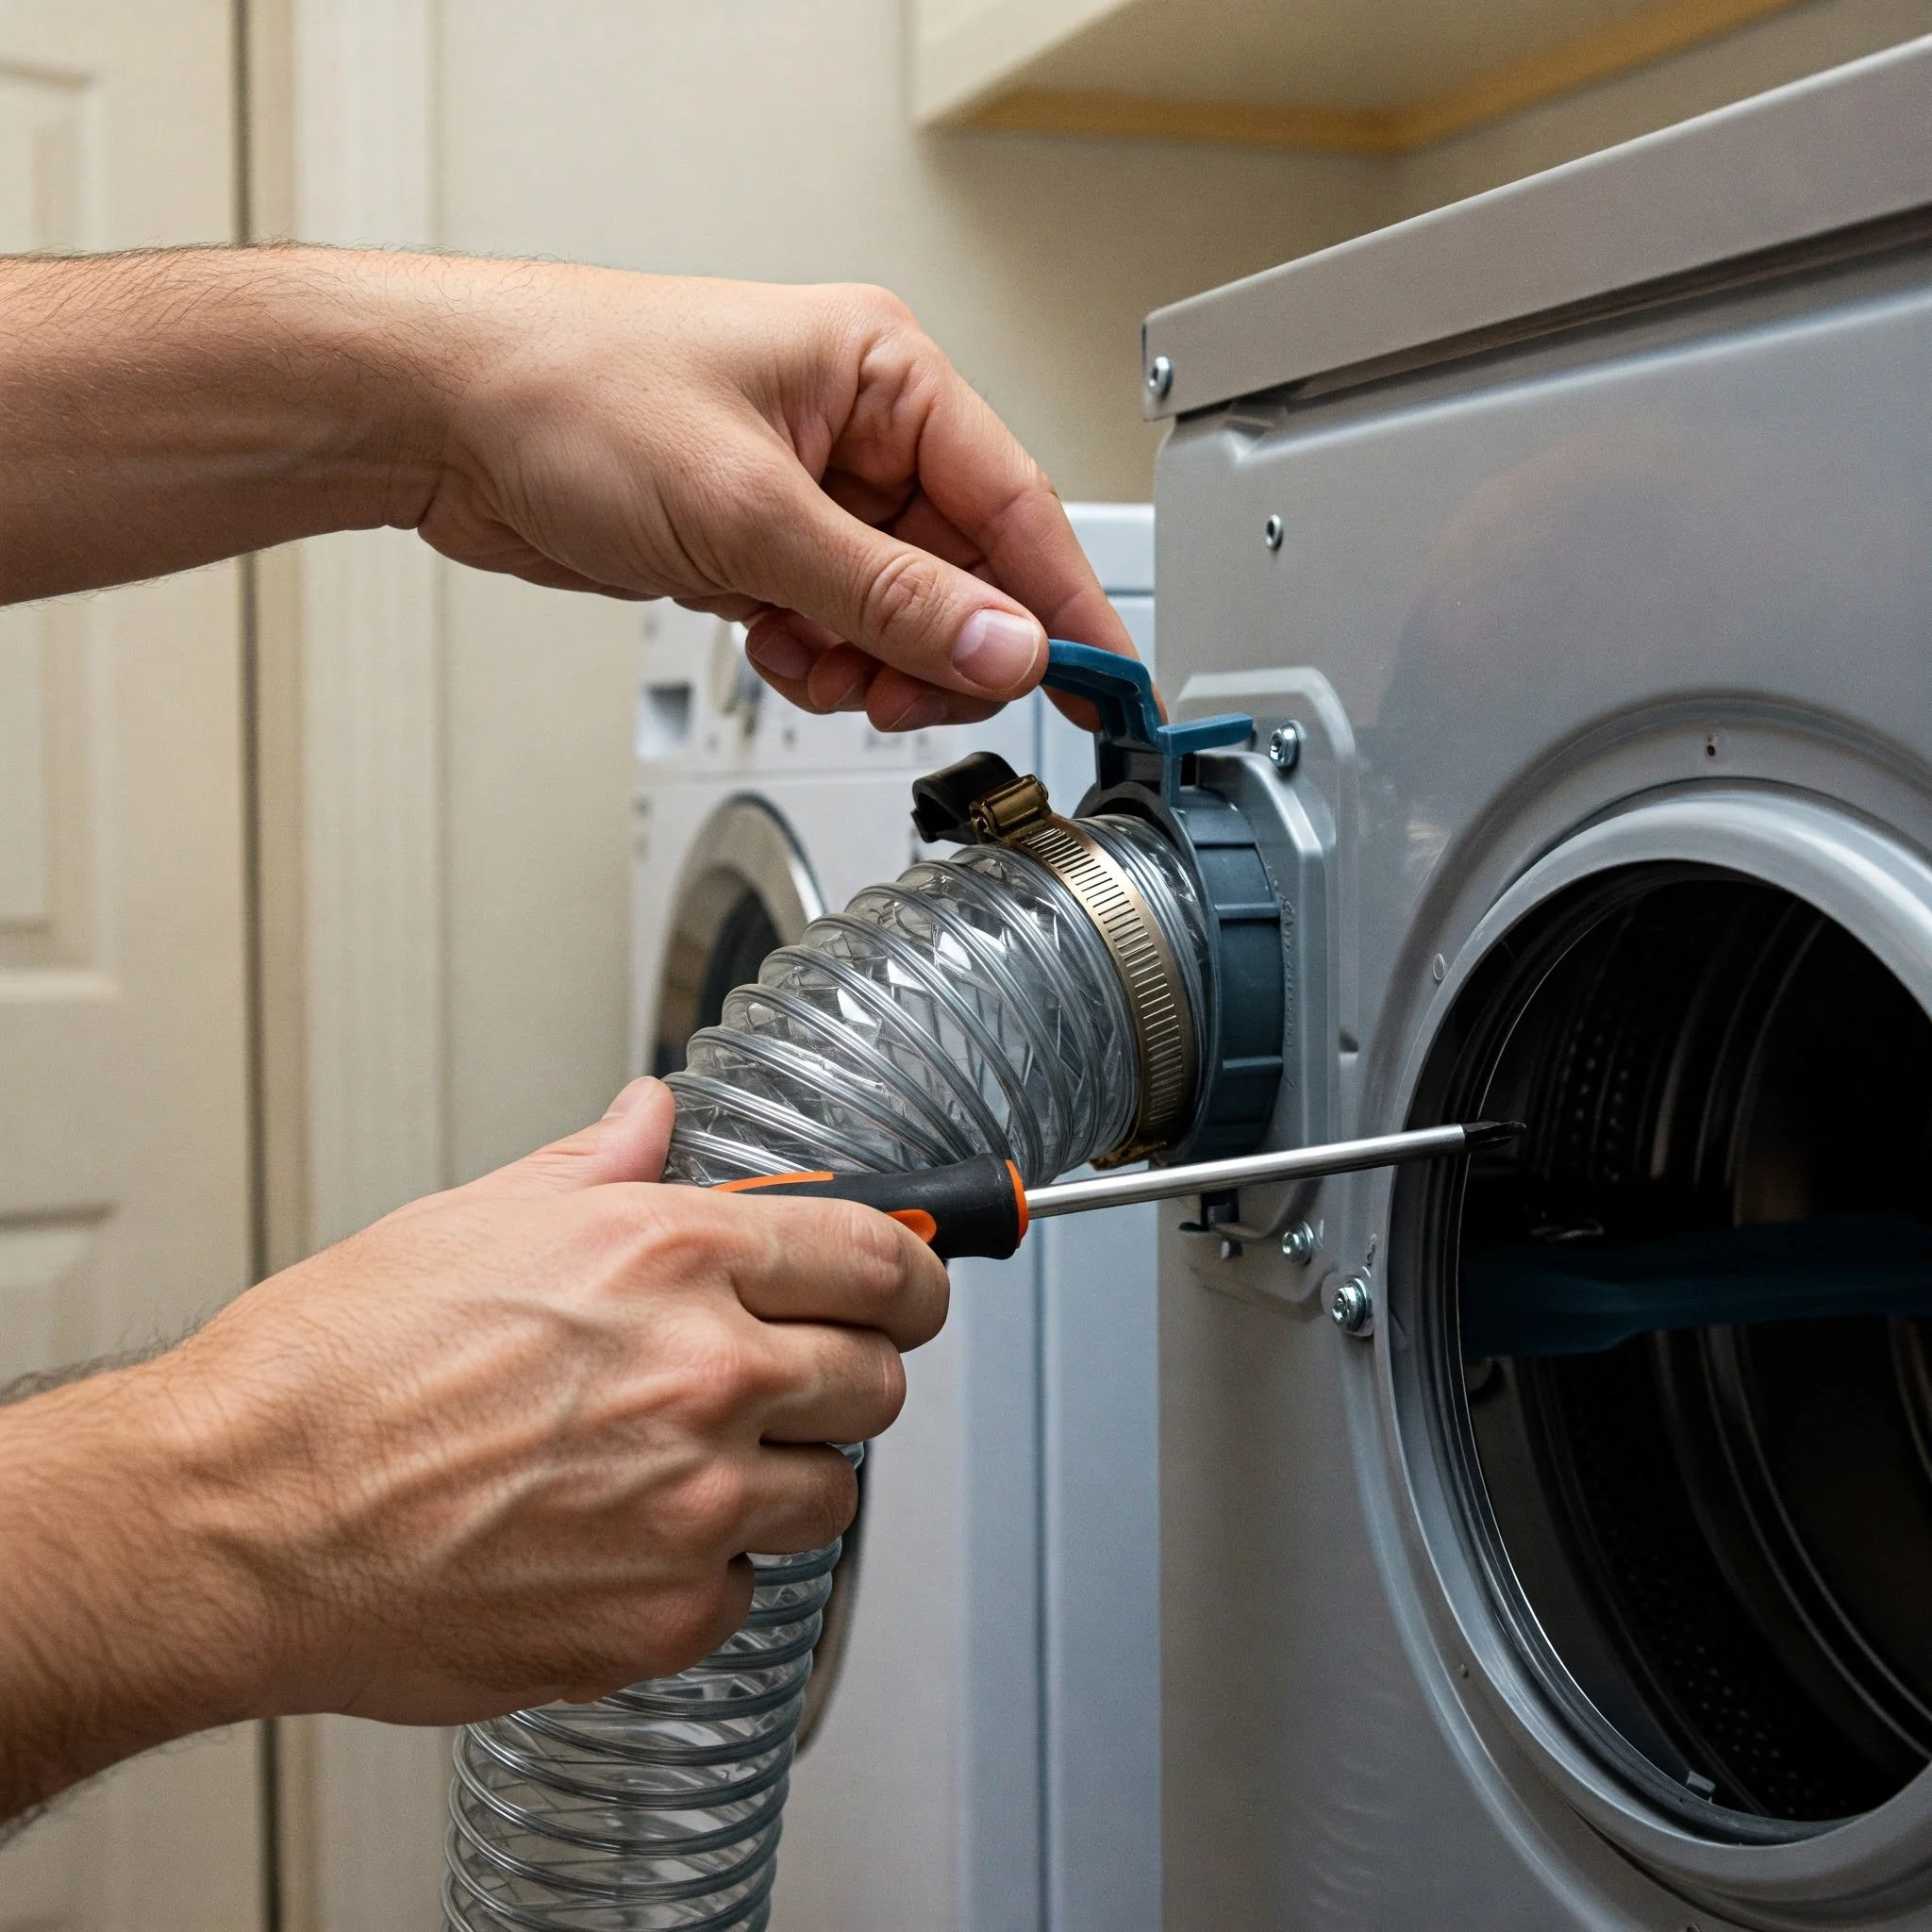
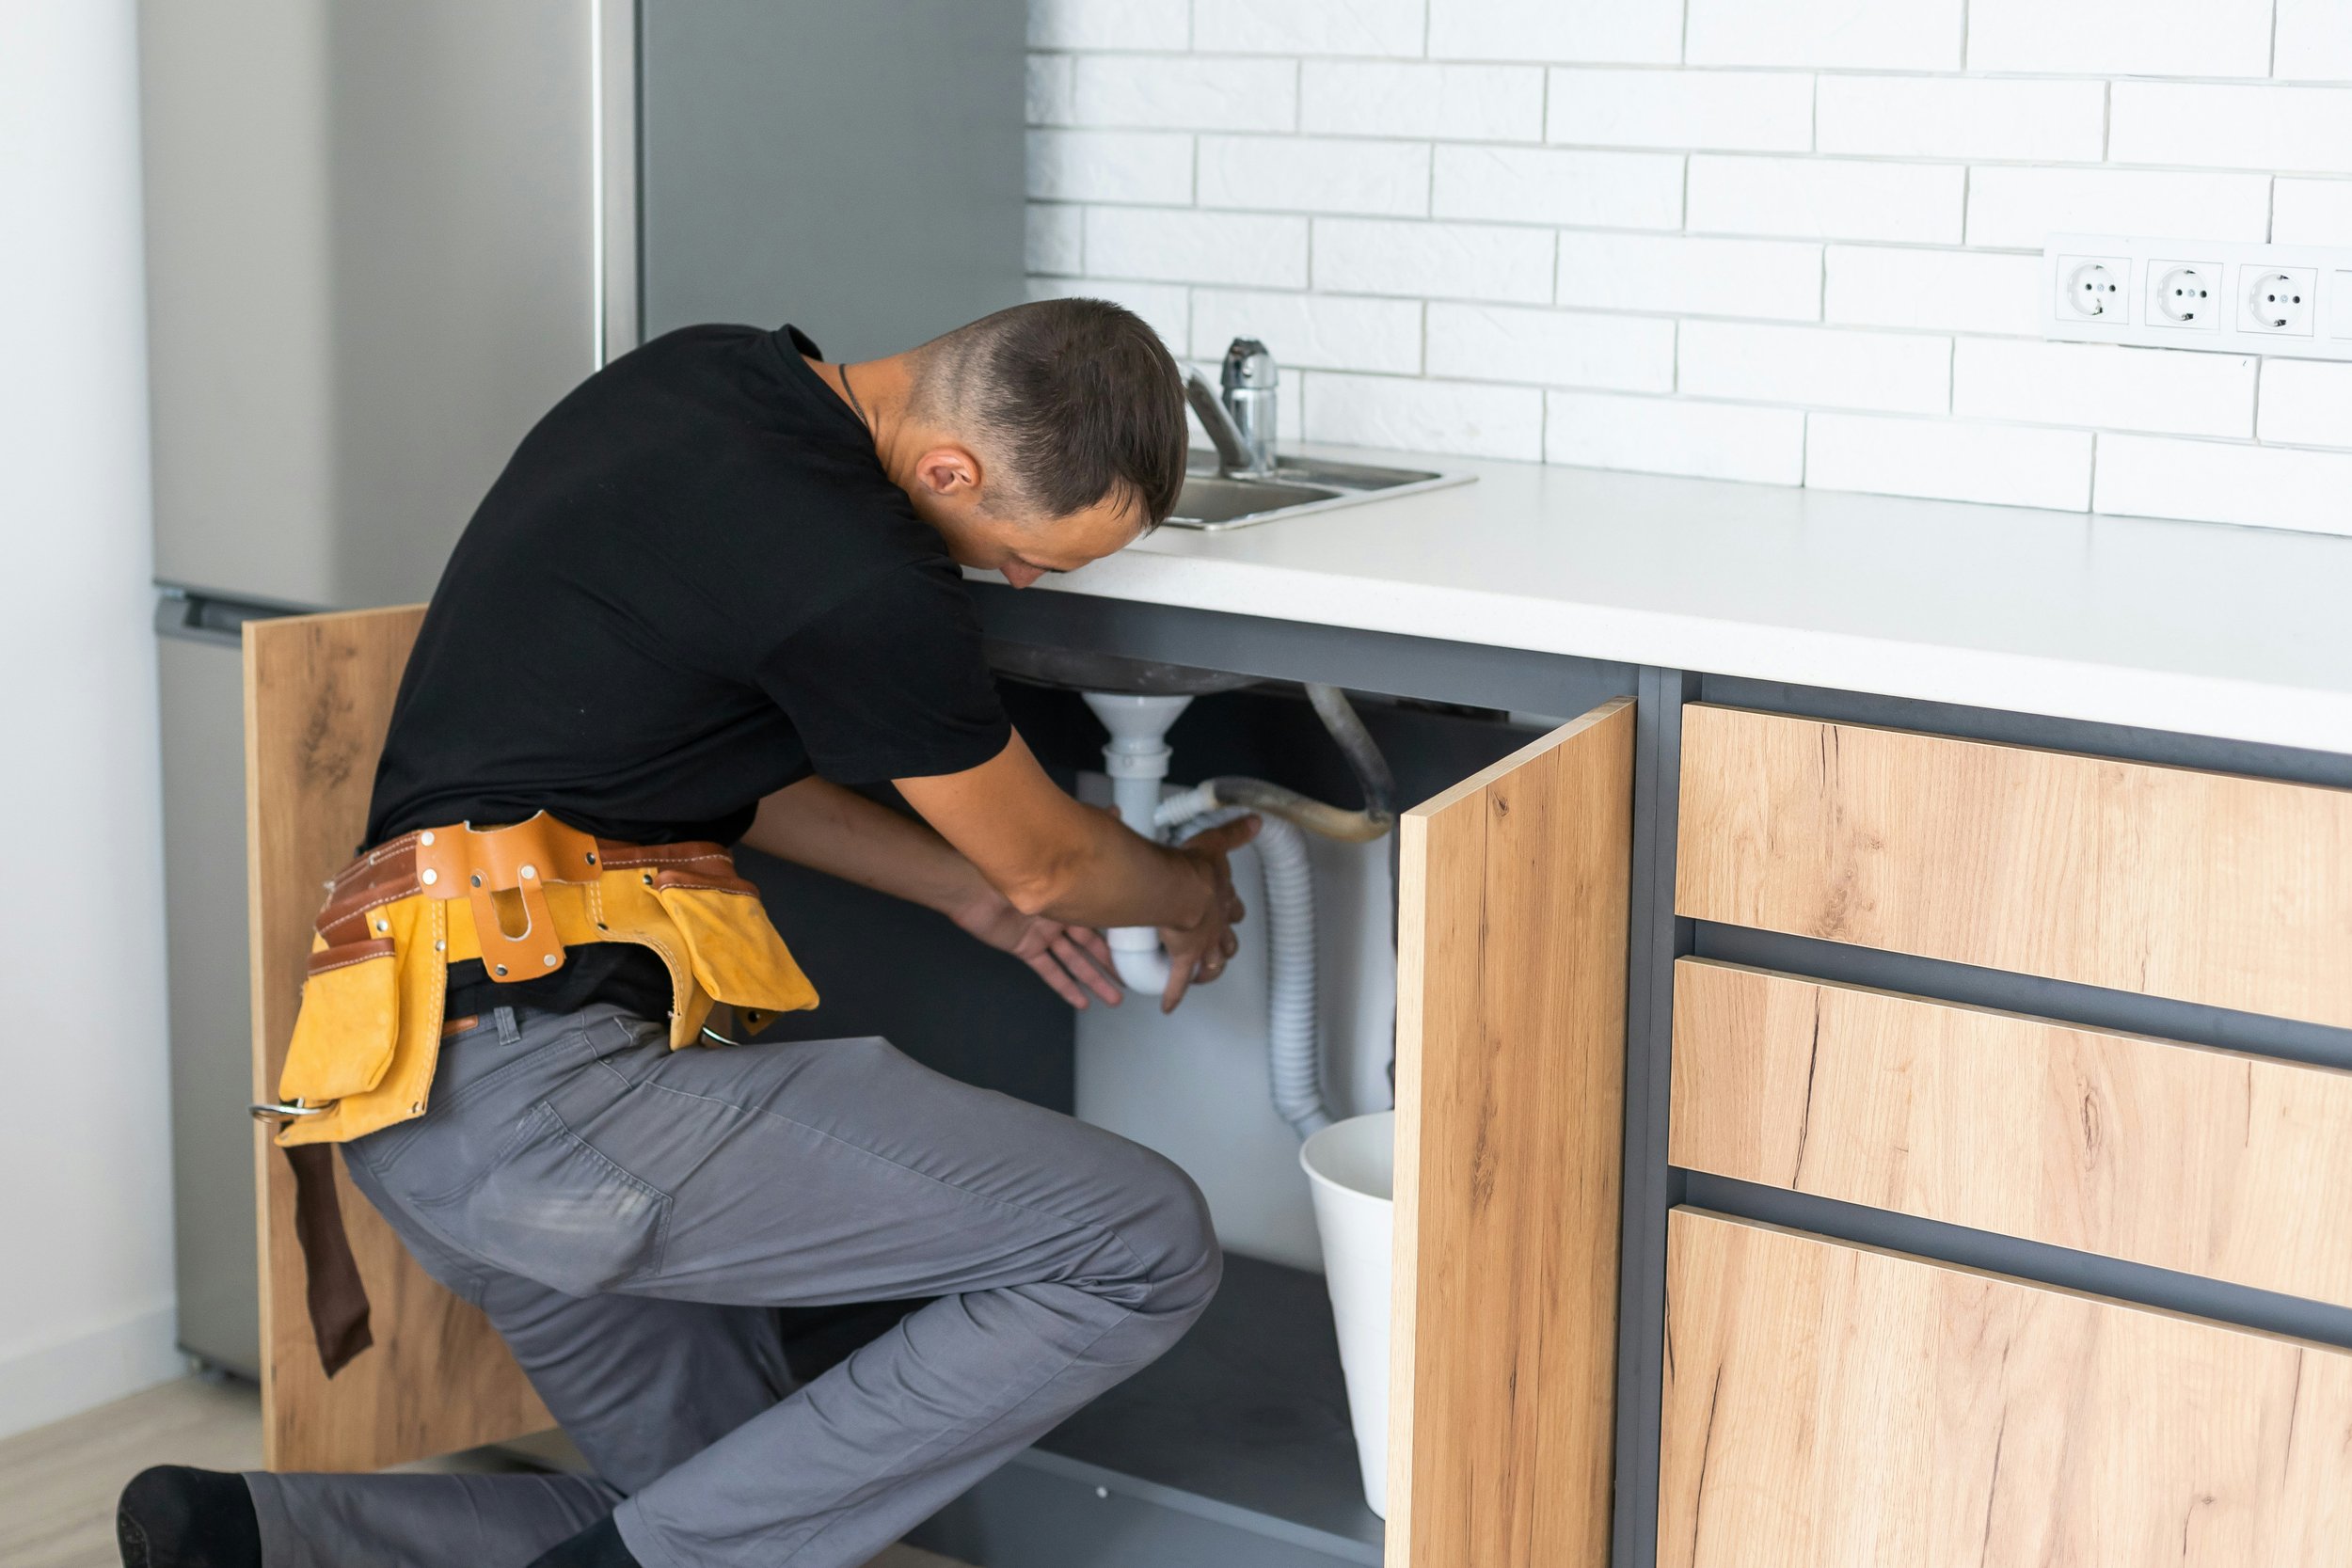
Step 2: Remove the Old Faucet
Take Off the Handle:
If there’s a decorative cap on the handle, pop it off with a flathead screwdriver to reveal the screw.
Use your Phillips screwdriver to remove the screw and gently pull the handle off.
Remove the Escutcheon Plate:
This is the plate that covers the wall where the faucet is mounted. Unscrew it and set it aside.
Disconnect the Faucet:
Use your adjustable wrench to loosen the nuts that hold the faucet in place. Be careful—some water may still be trapped in the pipes.
Once loosened, pull the faucet away from the wall.
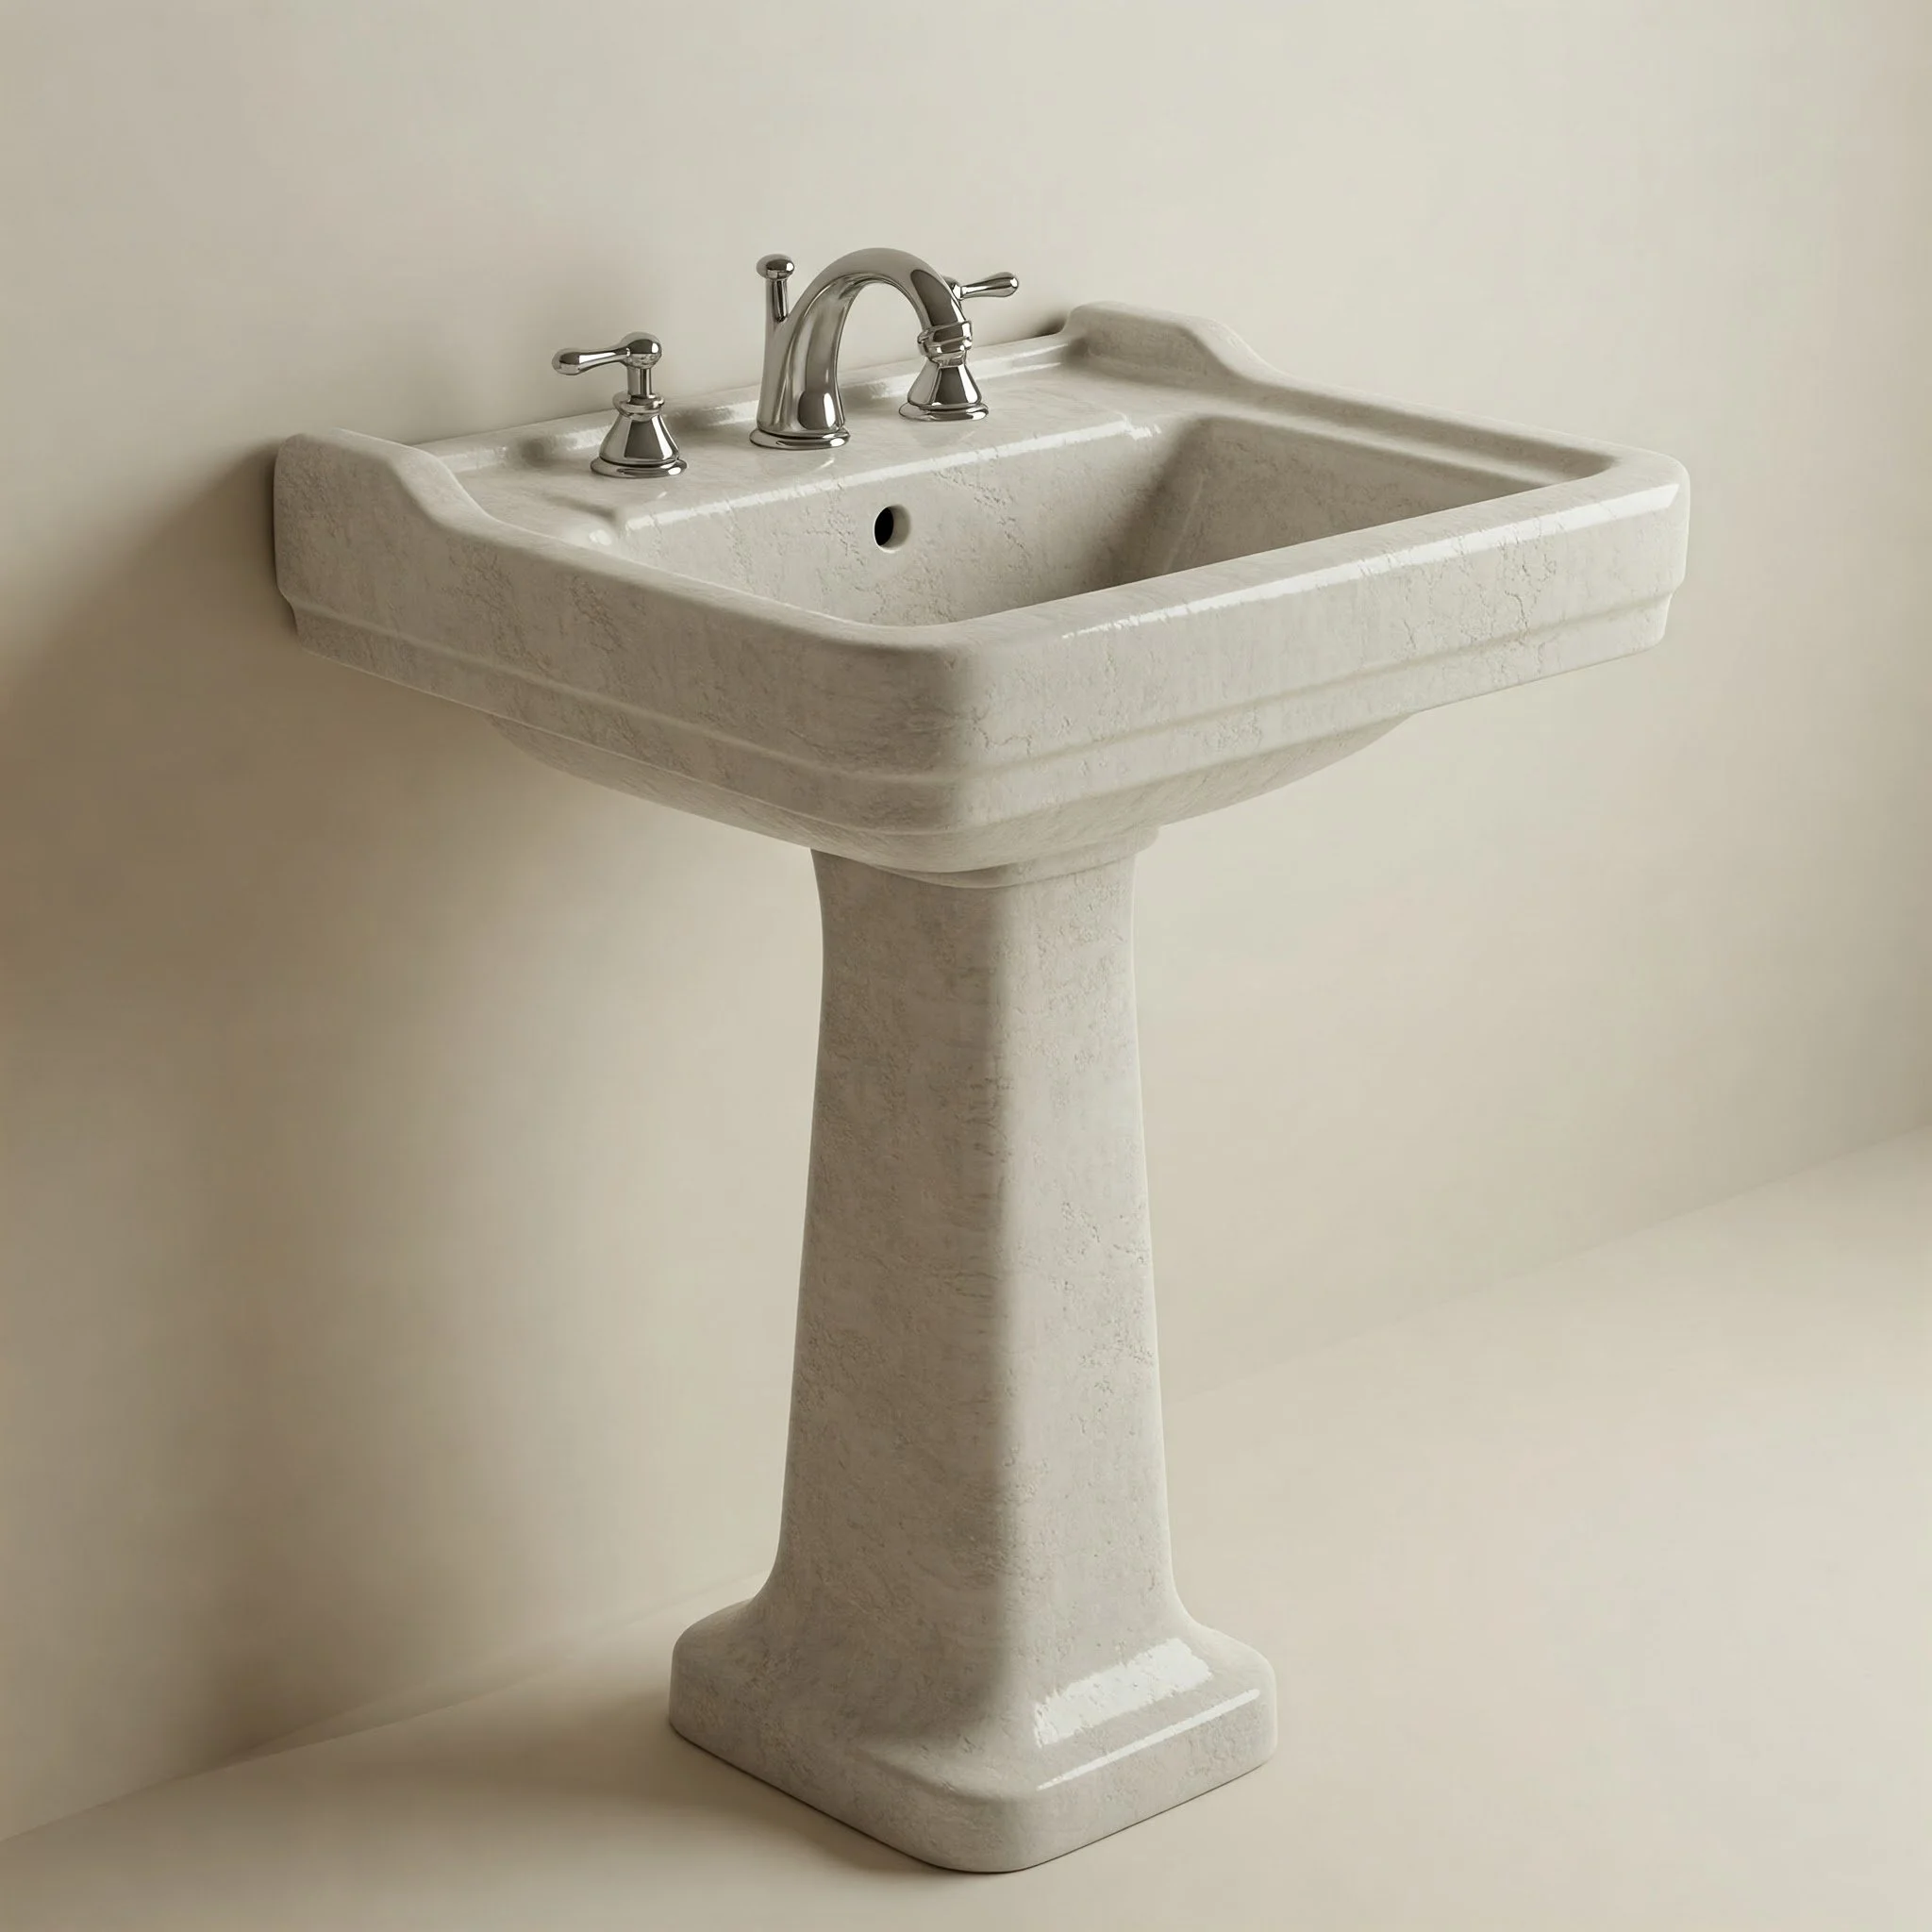
Step 3: Install the New Faucet
Prep the New Faucet:
Before installation, check that all parts of your new faucet are in good condition and that you have everything you need.
If your new faucet requires assembly, follow the manufacturer’s instructions carefully.
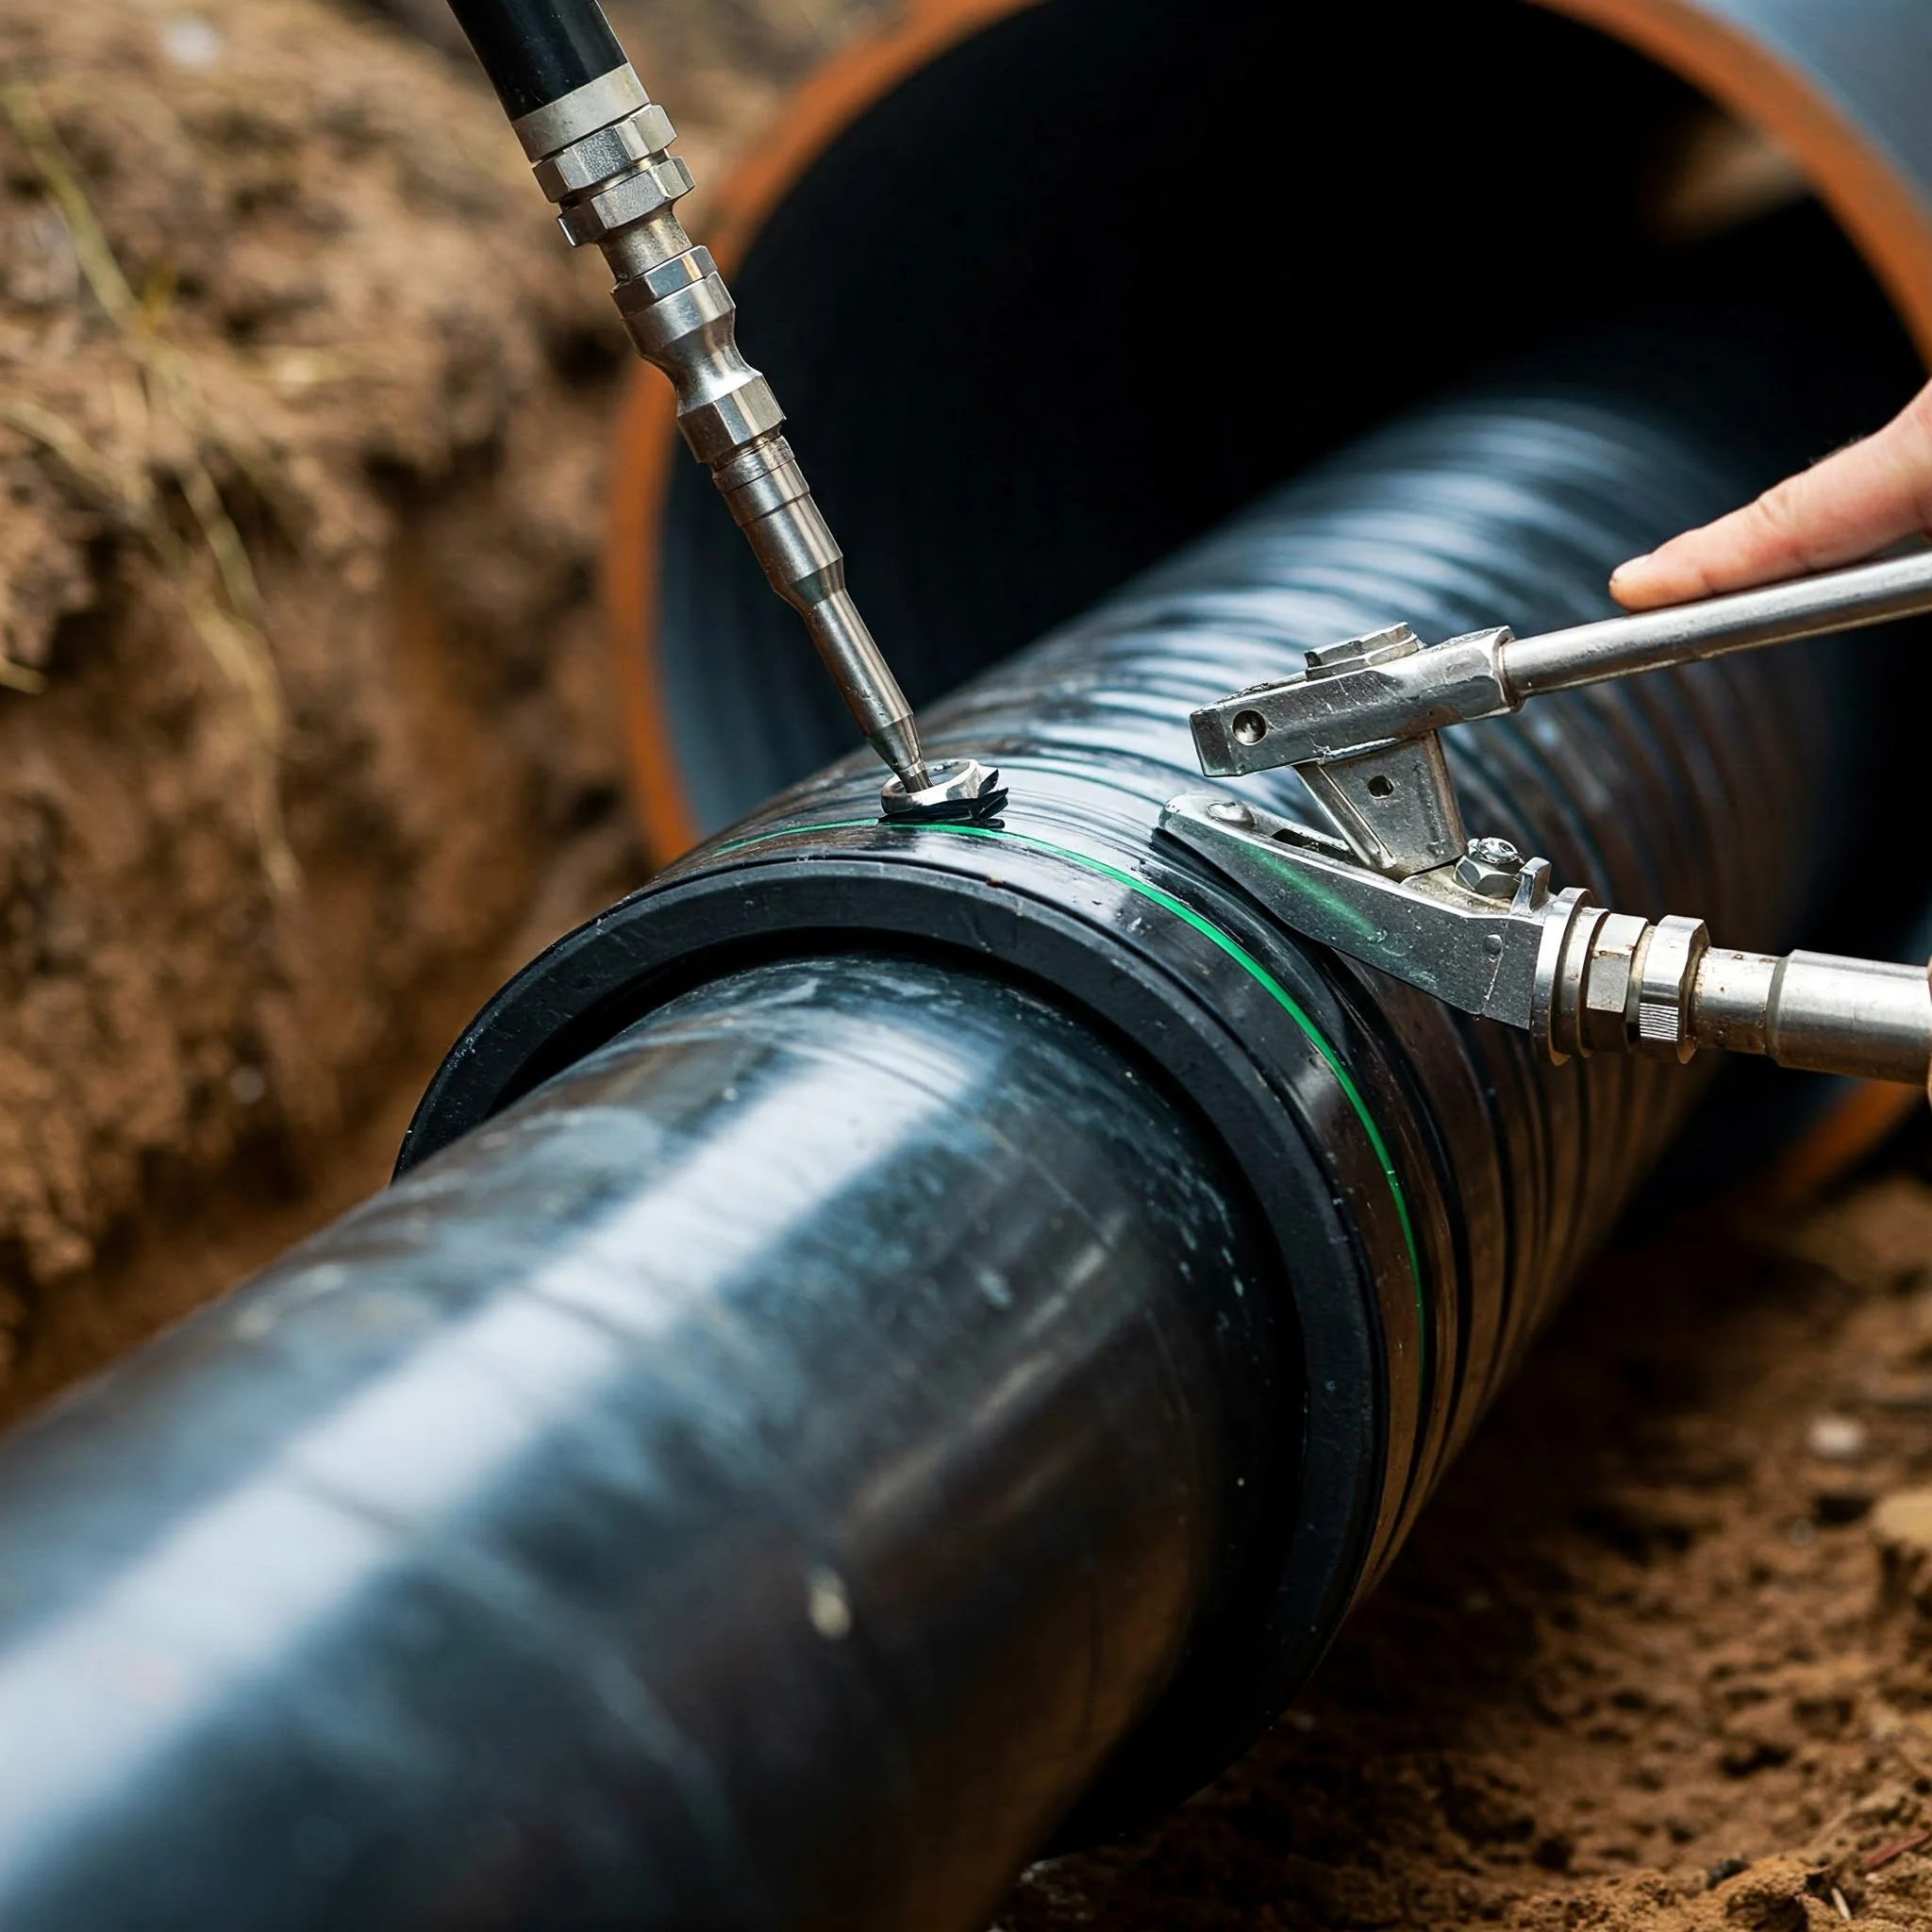
Apply Plumber’s Tape:
Wrap plumber’s tape around the threads of the pipe where the faucet will attach. This helps prevent leaks.
Attach the New Faucet:
Position the new faucet into the wall opening, aligning it with the existing holes.
Secure it in place by tightening the nuts with your adjustable wrench. Don’t overtighten, as this can damage the faucet or pipes.
Replace the Escutcheon Plate:
Position the escutcheon plate back in place and screw it in securely. This adds a finished look and covers any gaps.
Step 4: Reattach the Handle
Put the Handle Back On:
Slide the handle onto the faucet stem and secure it with the screw. Don’t forget to replace the decorative cap if there was one!
Step 5: Turn On the Water Supply
Slowly Turn On the Water:
Go back to your main water supply and turn it on slowly. This allows air to escape from the pipes and helps prevent any sudden water pressure issues.
Check for Leaks:
Once the water is on, check around the faucet for any leaks. If you notice any, tighten the connections a bit more.
Maintenance Tips for Your New Faucet
After successfully installing your new shower faucet, maintaining its performance is essential for longevity and functionality. First, regularly check for any leaks or drips, as early detection can prevent bigger issues down the line. To keep the faucet looking pristine, wipe it down with a soft cloth after each use to remove soap scum and water spots. Avoid abrasive cleaners, which can damage the finish; instead, opt for gentle, non-abrasive cleaning solutions. Additionally, consider descaling the faucet every few months to remove mineral buildup, especially if you live in a hard water area. Finally, periodically check the handles and fittings to ensure they’re tight and secure. By following these simple maintenance tips, you can ensure your shower faucet remains in excellent condition, providing you with reliable performance and enhancing your shower experience for years to come.
Regular Cleaning: Wipe down the faucet after each use to prevent water spots and mineral buildup.
Inspect for Leaks: Periodically check connections to ensure they remain tight and leak-free.
Use Gentle Cleaners: Avoid harsh chemicals that can damage the finish. A mild soap and water solution usually does the trick.
Conclusion
Congratulations! You’ve just completed the “How to Replace a Shower Faucet: Step-by-Step Guide.” With your new faucet installed, you can enjoy a fresh look and improved functionality in your shower. Remember, with a little patience and the right tools, DIY plumbing projects can be both rewarding and cost-effective. So don’t hesitate to roll up your sleeves and tackle that next home improvement task. Happy showering!
Frequently Asked Questions
1. How long does it take to replace a shower faucet?
Most DIY enthusiasts can replace a shower faucet in about 1 to 2 hours, depending on their skill level and whether any unexpected issues arise.
2. Do I need a professional plumber to replace my faucet?
Not necessarily! If you have some basic plumbing skills and the right tools, you can tackle this project yourself. Just take your time and follow the steps carefully.
3. What should I do if the new faucet doesn’t fit?
If your new faucet doesn’t fit, double-check that you purchased the correct model for your plumbing setup. Sometimes, an adapter may be necessary.
4. How can I prevent future leaks?
Using plumber’s tape on threads and ensuring all connections are tight can help prevent future leaks. Regular maintenance and inspections also go a long way.
5. Can I replace just the faucet handle?
Yes, if the handle is damaged but the faucet itself is in good shape, you can usually replace just the handle. Make sure to buy a compatible replacement.
Stay up to date with our latest ideas!