How to Install Vinyl Plank Flooring: Step-By-Step Guide
Learn how to install vinyl plank flooring with this detailed, step-by-step guide. From preparation to finishing touches, we’ve got all the tips you need for a seamless floor installation!
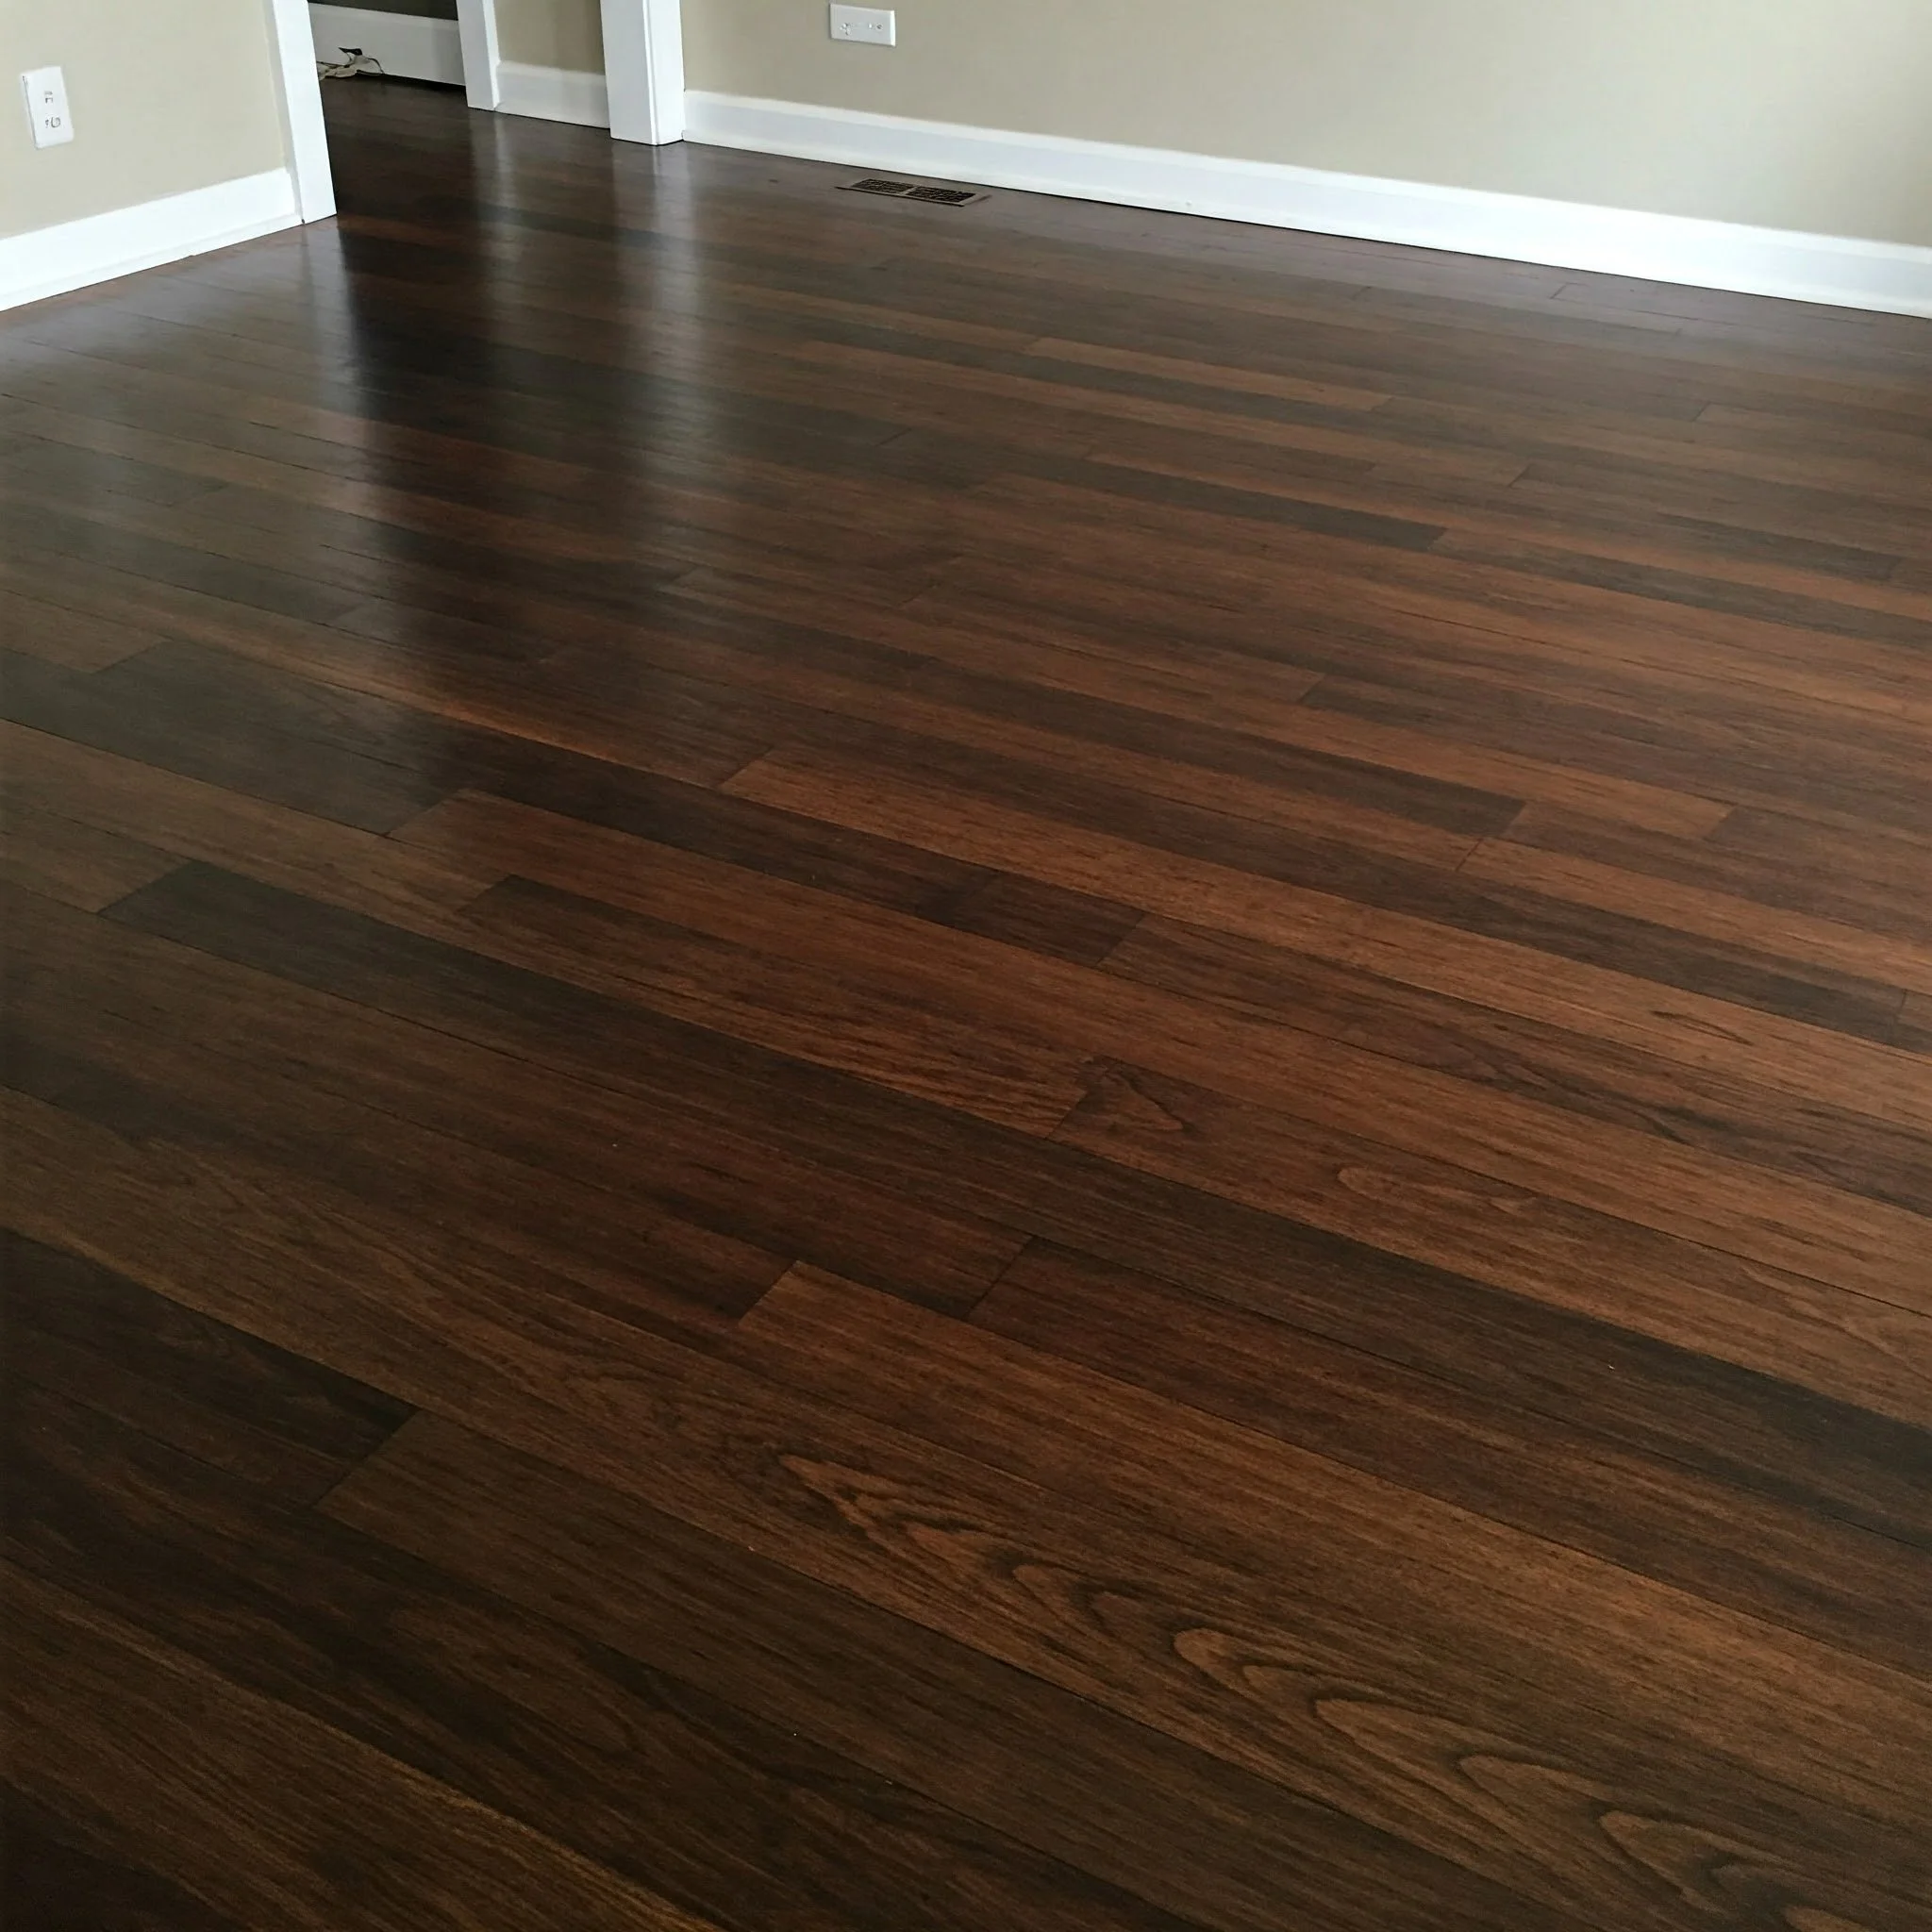
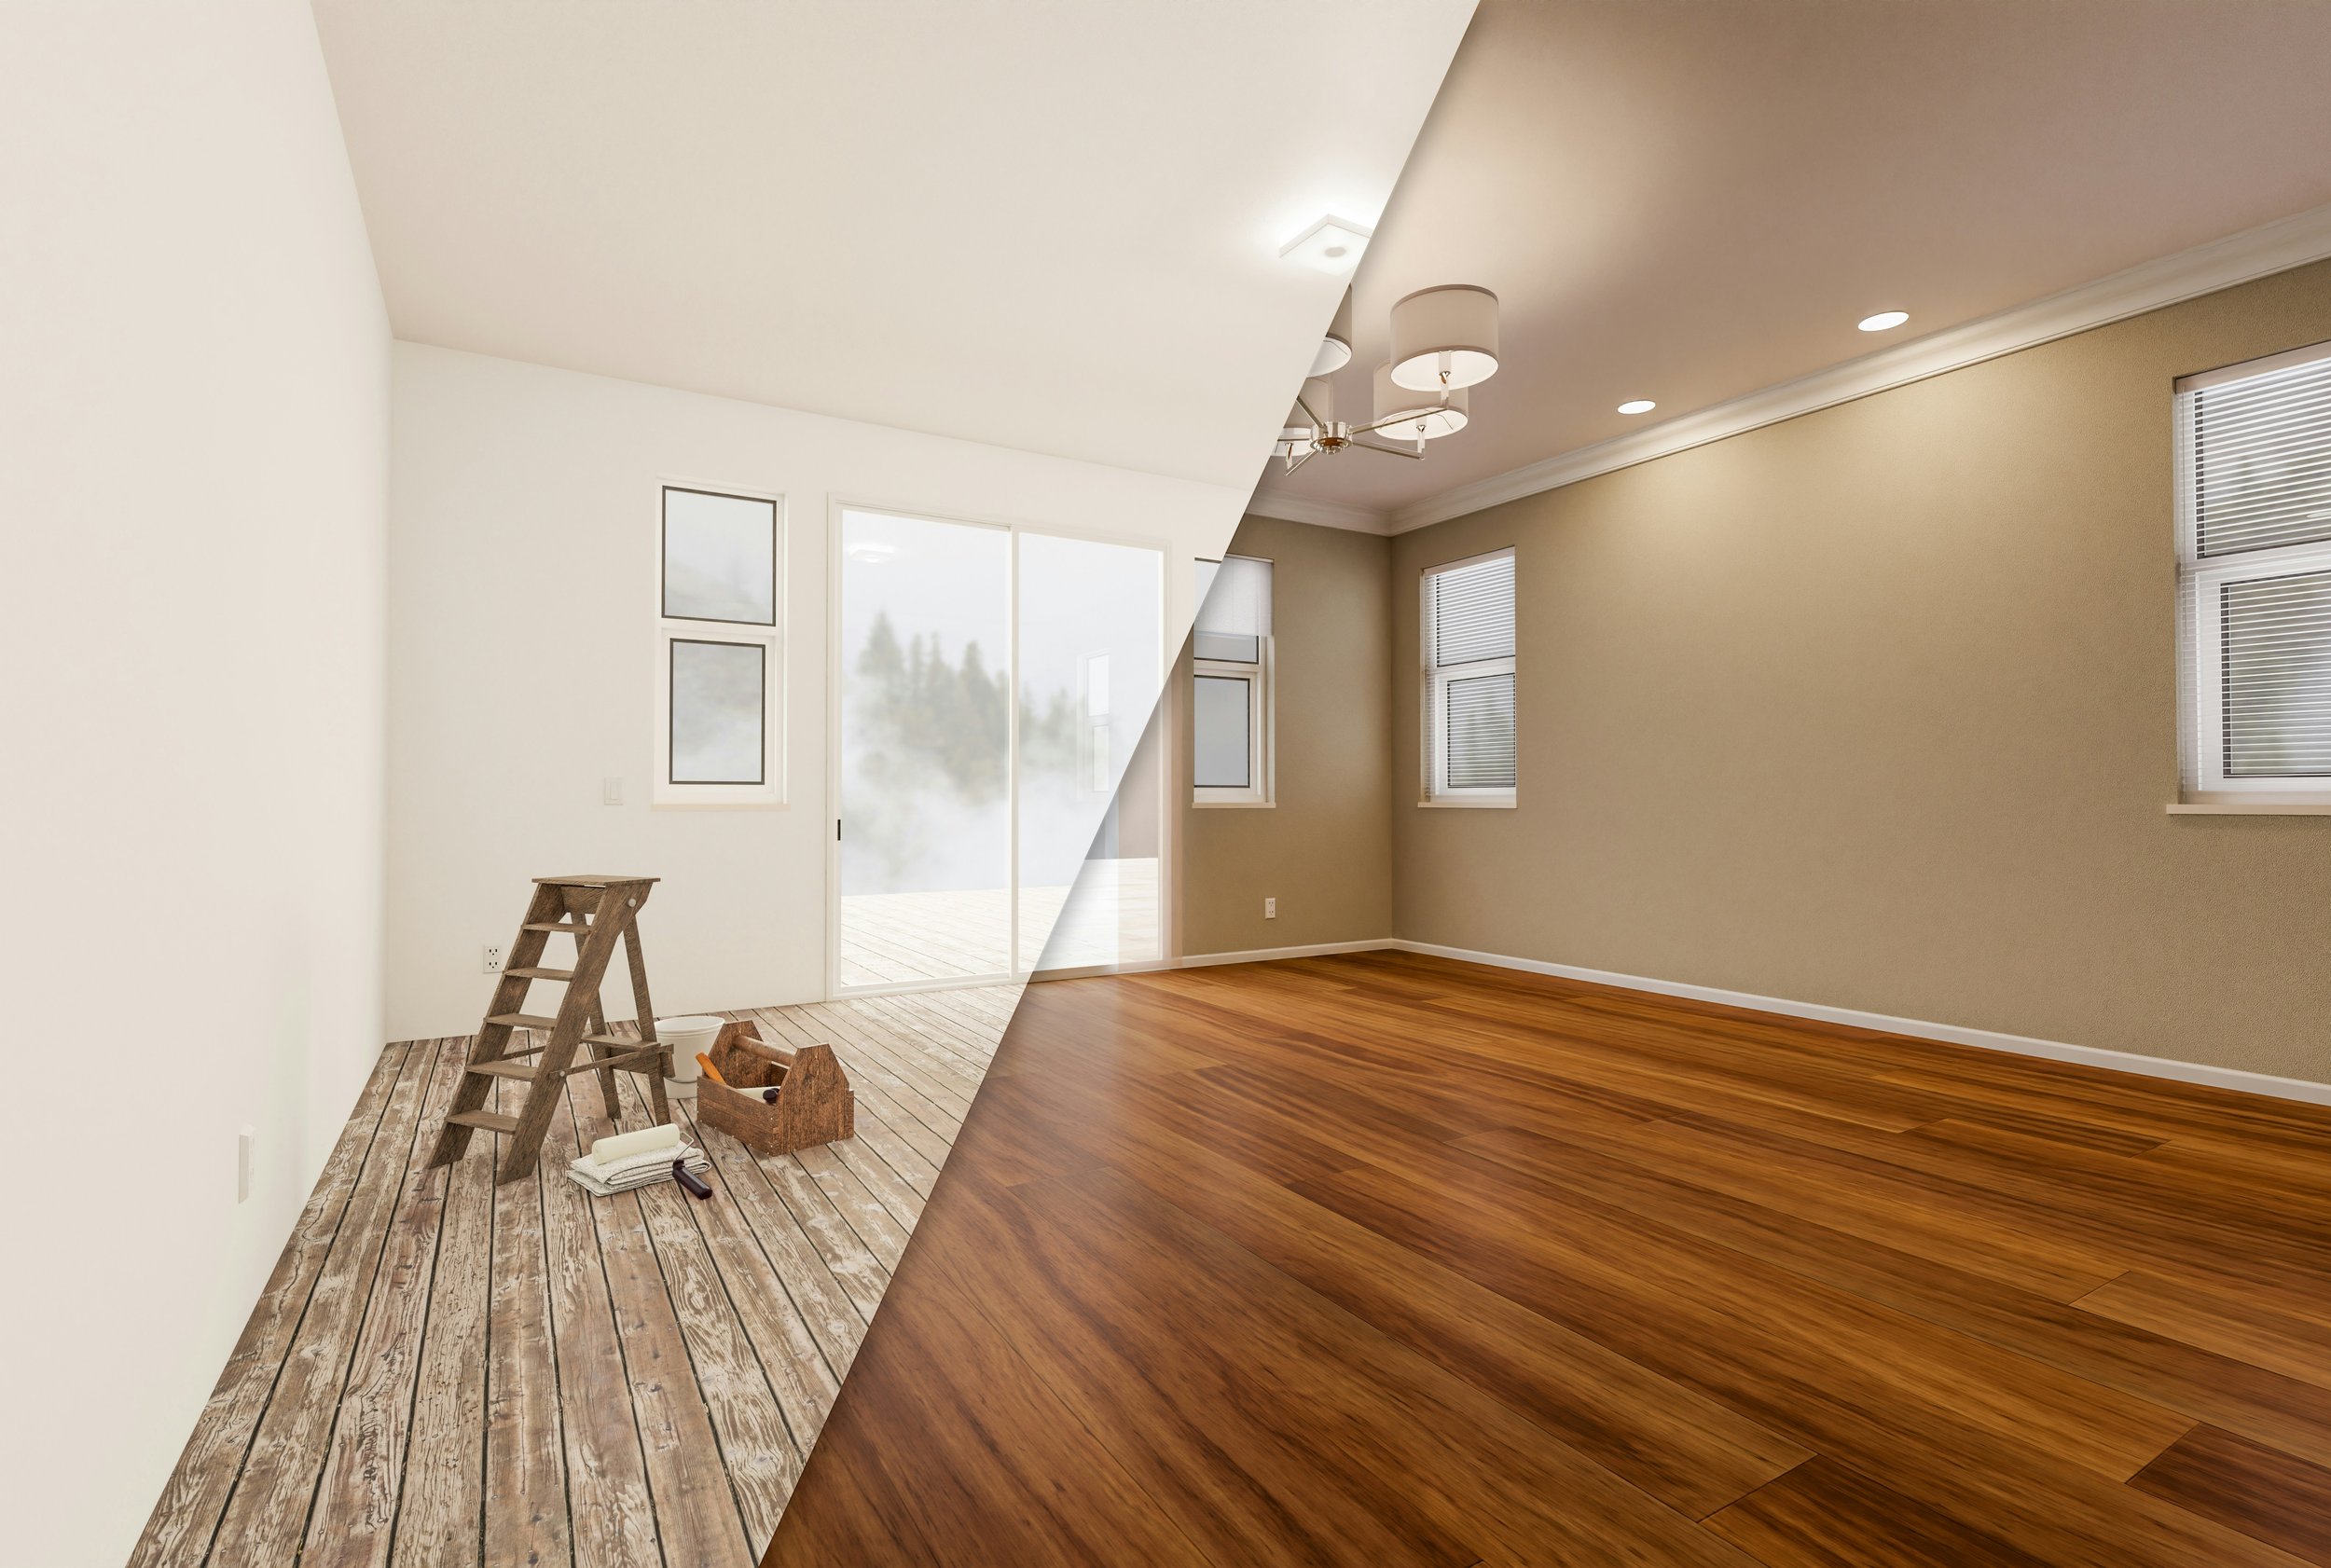
Ready to transform your space with a fresh, stylish floor? Vinyl plank flooring is a popular choice for homeowners who want the aesthetic appeal of wood without the high cost or maintenance. Whether you’re sprucing up your living room or updating your kitchen, How to Install Vinyl Plank Flooring: Step-By-Step Guide will walk you through the entire process.
Installing vinyl plank flooring might sound daunting, but with a little time, patience, and the right tools, you’ll be laying down those planks like a pro. Plus, vinyl is known for being relatively easy to work with, so you’ll be grinning ear-to-ear when you see your new floors!
Let’s dive into this beginner-friendly guide that’ll leave you feeling confident and ready to tackle your DIY flooring project.
Why Choose Vinyl Plank Flooring?
Before we dive into the "how," let’s first look at why vinyl plank flooring might be your best bet. Here’s why so many folks are choosing vinyl over hardwood, tile, or carpet:
Durability: Vinyl planks are tough as nails. They stand up to moisture, heavy foot traffic, and pets.
Easy Maintenance: Sweep, mop, or vacuum. That’s about it.
Affordability: You get the high-end look of wood without breaking the bank.
Waterproof: Ideal for bathrooms, kitchens, and basements.
Variety: Available in a range of colors, textures, and patterns to match any decor.
Now that you know why vinyl plank is so beloved, let’s get to the fun part: installing it!
How to Install Vinyl Plank Flooring: Step-By-Step Guide
Here’s a simple, foolproof approach to laying down your vinyl planks. All you need is a few supplies, a bit of elbow grease, and the will to tackle this project.
What You’ll Need
First things first, let’s gather the essentials. You’ll need:
Vinyl planks (enough to cover your space)
Tape measure
Utility knife
Spacers
A hammer (with a block to protect your planks)
A level
Pencil or chalk for marking
A saw or jigsaw (for tricky cuts)
Underlayment (optional but recommended for extra cushioning and soundproofing)
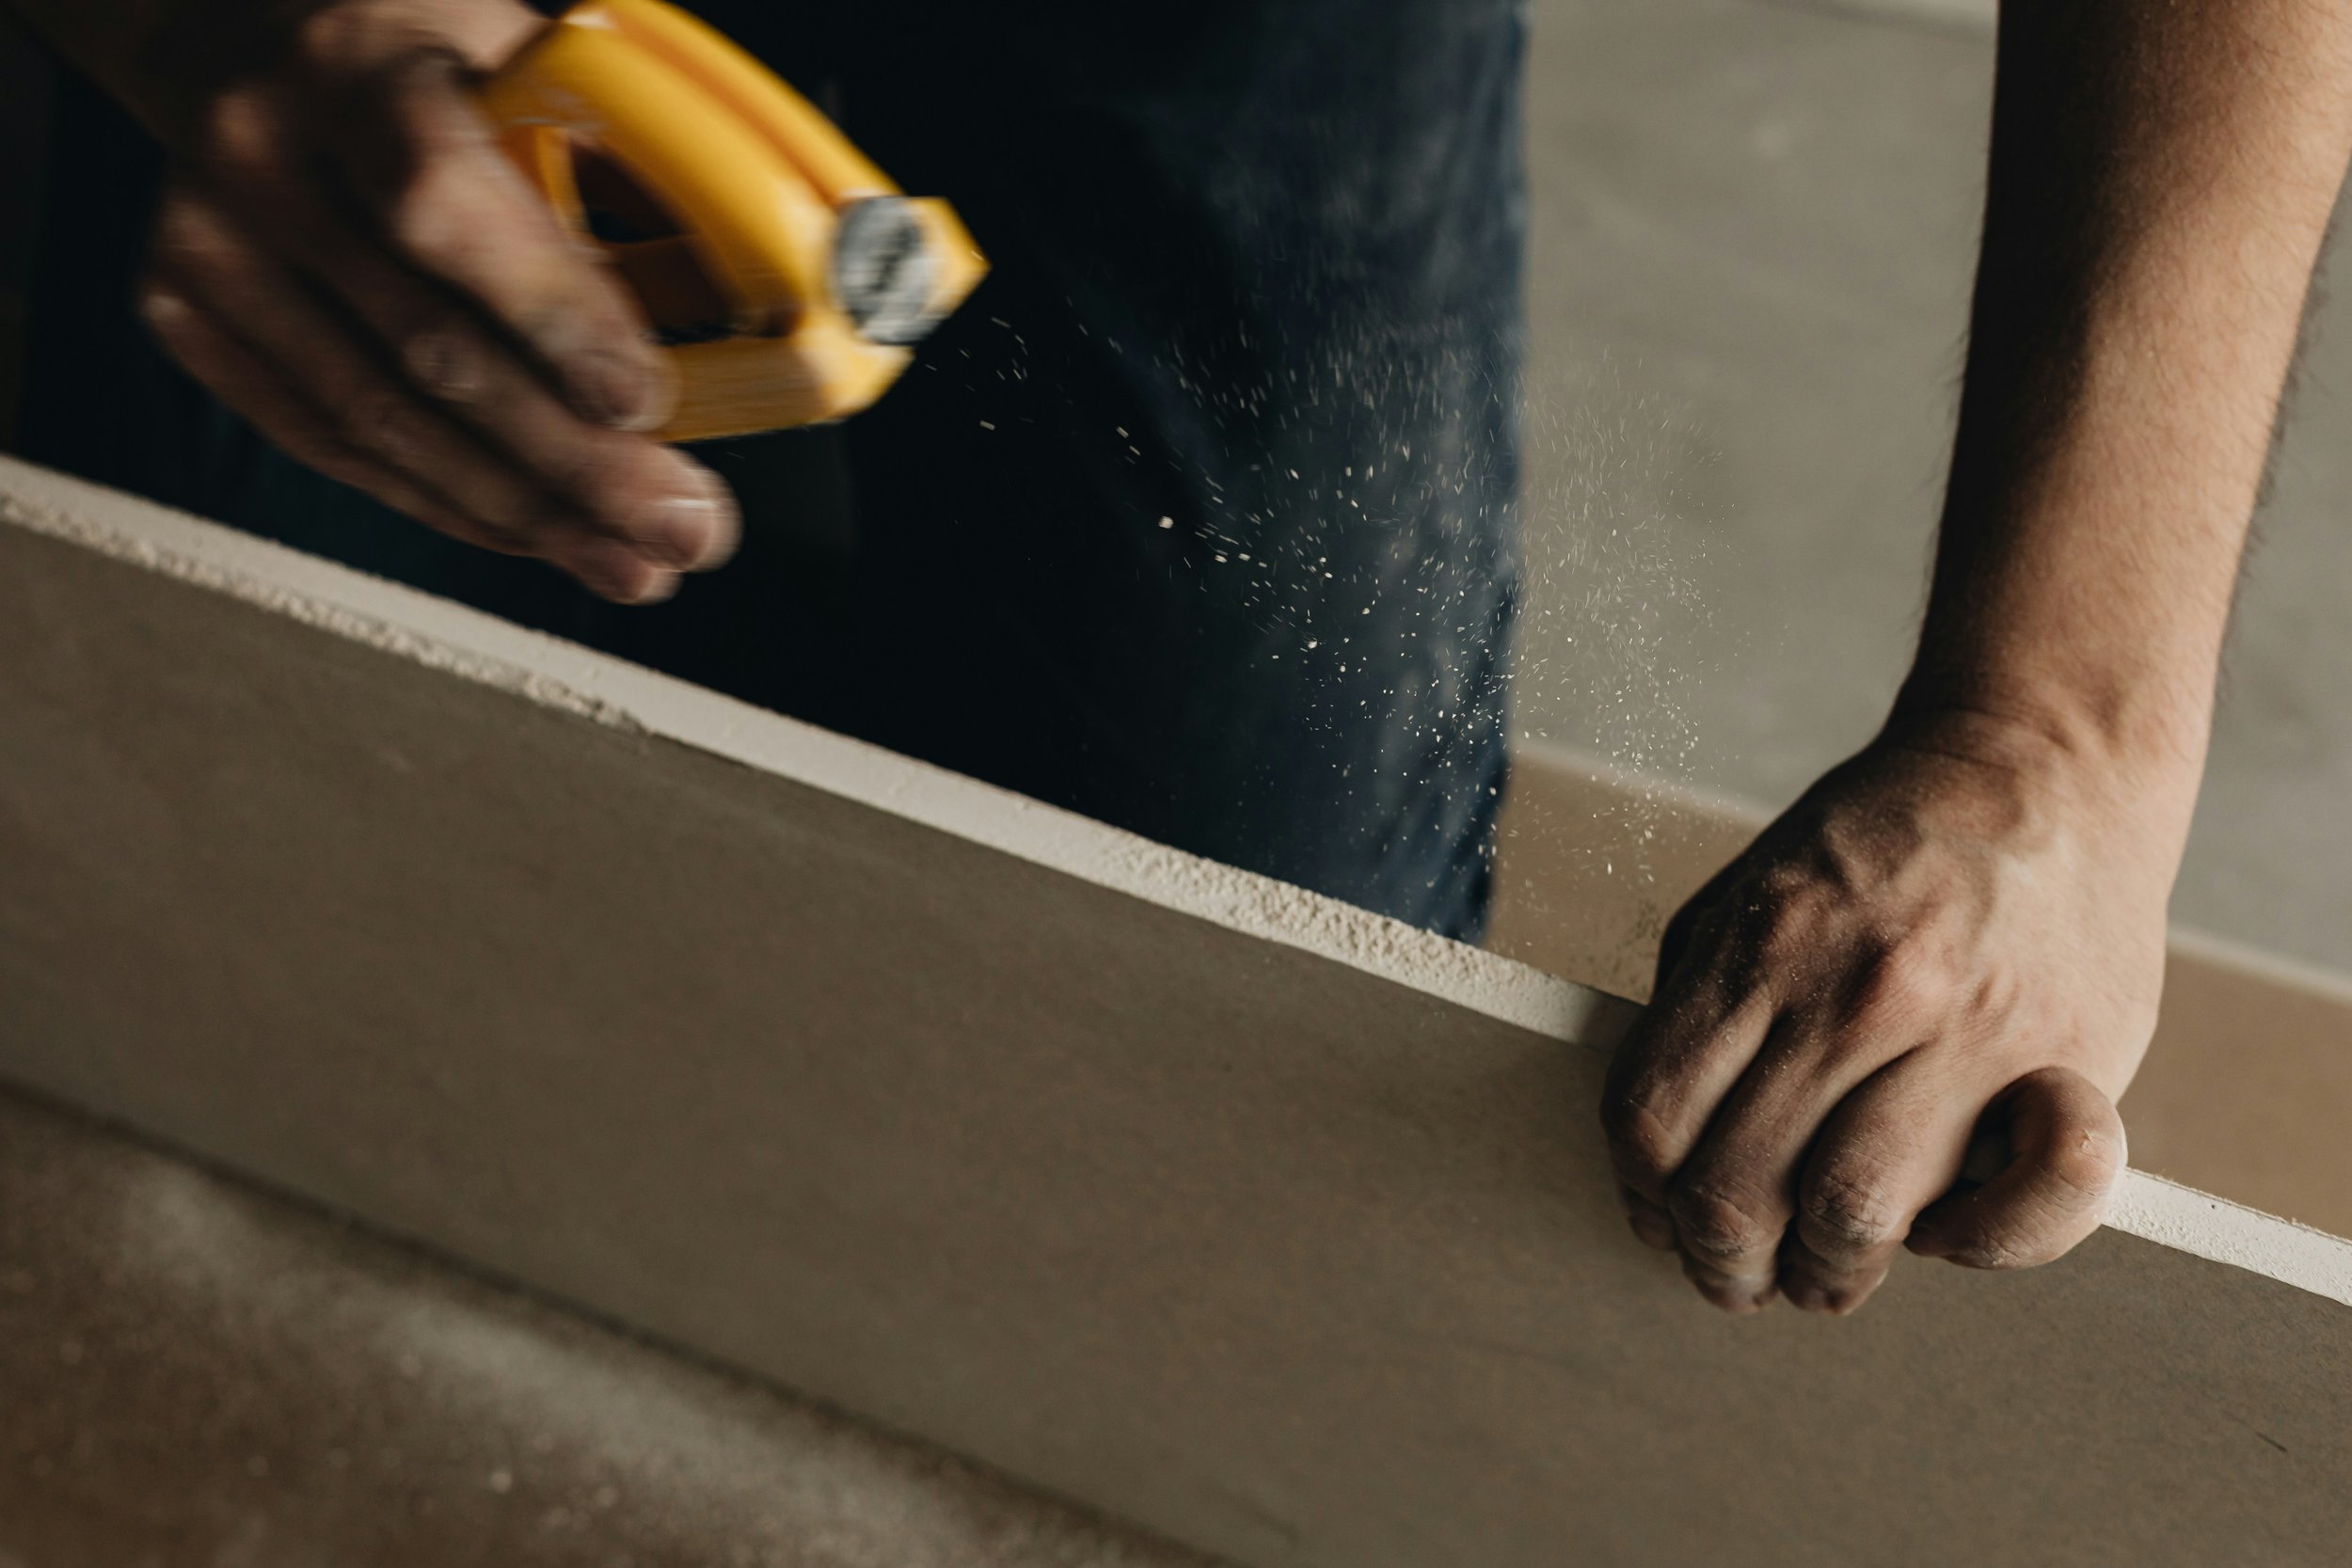
Step 1: Prepare Your Subfloor
This step is crucial. The floor beneath your vinyl planks needs to be smooth, clean, and dry. Here’s how to prep:
Clean up: Sweep or vacuum to remove dust, dirt, and debris.
Level it out: If you notice any bumps or dips, use a self-leveling compound to even things out.
Check for moisture: Make sure the subfloor is dry, especially if you’re installing over concrete.
Dry fit: Lay down a few planks without adhesive to see how they fit and whether you need to make any cuts.
Step 2: Plan Your Layout
Okay, you’re ready to roll up your sleeves and get started. But don’t rush! Planning is key.
Choose your starting point: Starting in the center of the room is often the best option for achieving a balanced, symmetrical look when installing vinyl plank flooring. This method ensures that the layout feels evenly distributed, especially if the room is square or rectangular. However, if you’re dealing with an odd-shaped or irregularly sized room, it might be more practical to start along a straight wall instead. By beginning along one of the walls, you can align the planks more naturally with the space, especially if it has curves or angled corners. This approach also ensures you don’t end up with small, awkwardly cut planks at the walls, making the room feel more cohesive and the installation process smoother overall.
Dry run:Before committing to gluing or locking the planks in place, it’s a good idea to lay out a few rows without sticking them down. This dry fit will give you a clear visual of how the planks align with the room’s edges and corners. By doing this, you can check whether you’ll end up with narrow slivers of plank at the walls, which can look awkward and unprofessional. If necessary, you can adjust the layout by cutting the first row slightly, or shifting the planks to ensure that the end rows are full-sized. This simple step helps avoid any last-minute surprises and guarantees a cleaner, more visually appealing result when you finally secure the planks. It’s all about getting the layout just right!
Use spacers:When installing vinyl plank flooring, it’s essential to leave a small gap—usually around ¼ inch—between the planks and the wall. This gap is crucial because it allows the planks to expand and contract naturally with changes in temperature and humidity. Without this space, the planks might buckle or warp over time as they try to adjust to the environment. Since vinyl is a flexible material, it can expand or shrink depending on the climate, so this gap provides room for that movement. The good news is that this gap is easily covered up with baseboards or trim, so it won’t be visible once the installation is complete. This small step is key to ensuring your floor remains stable and looks great for years to come.
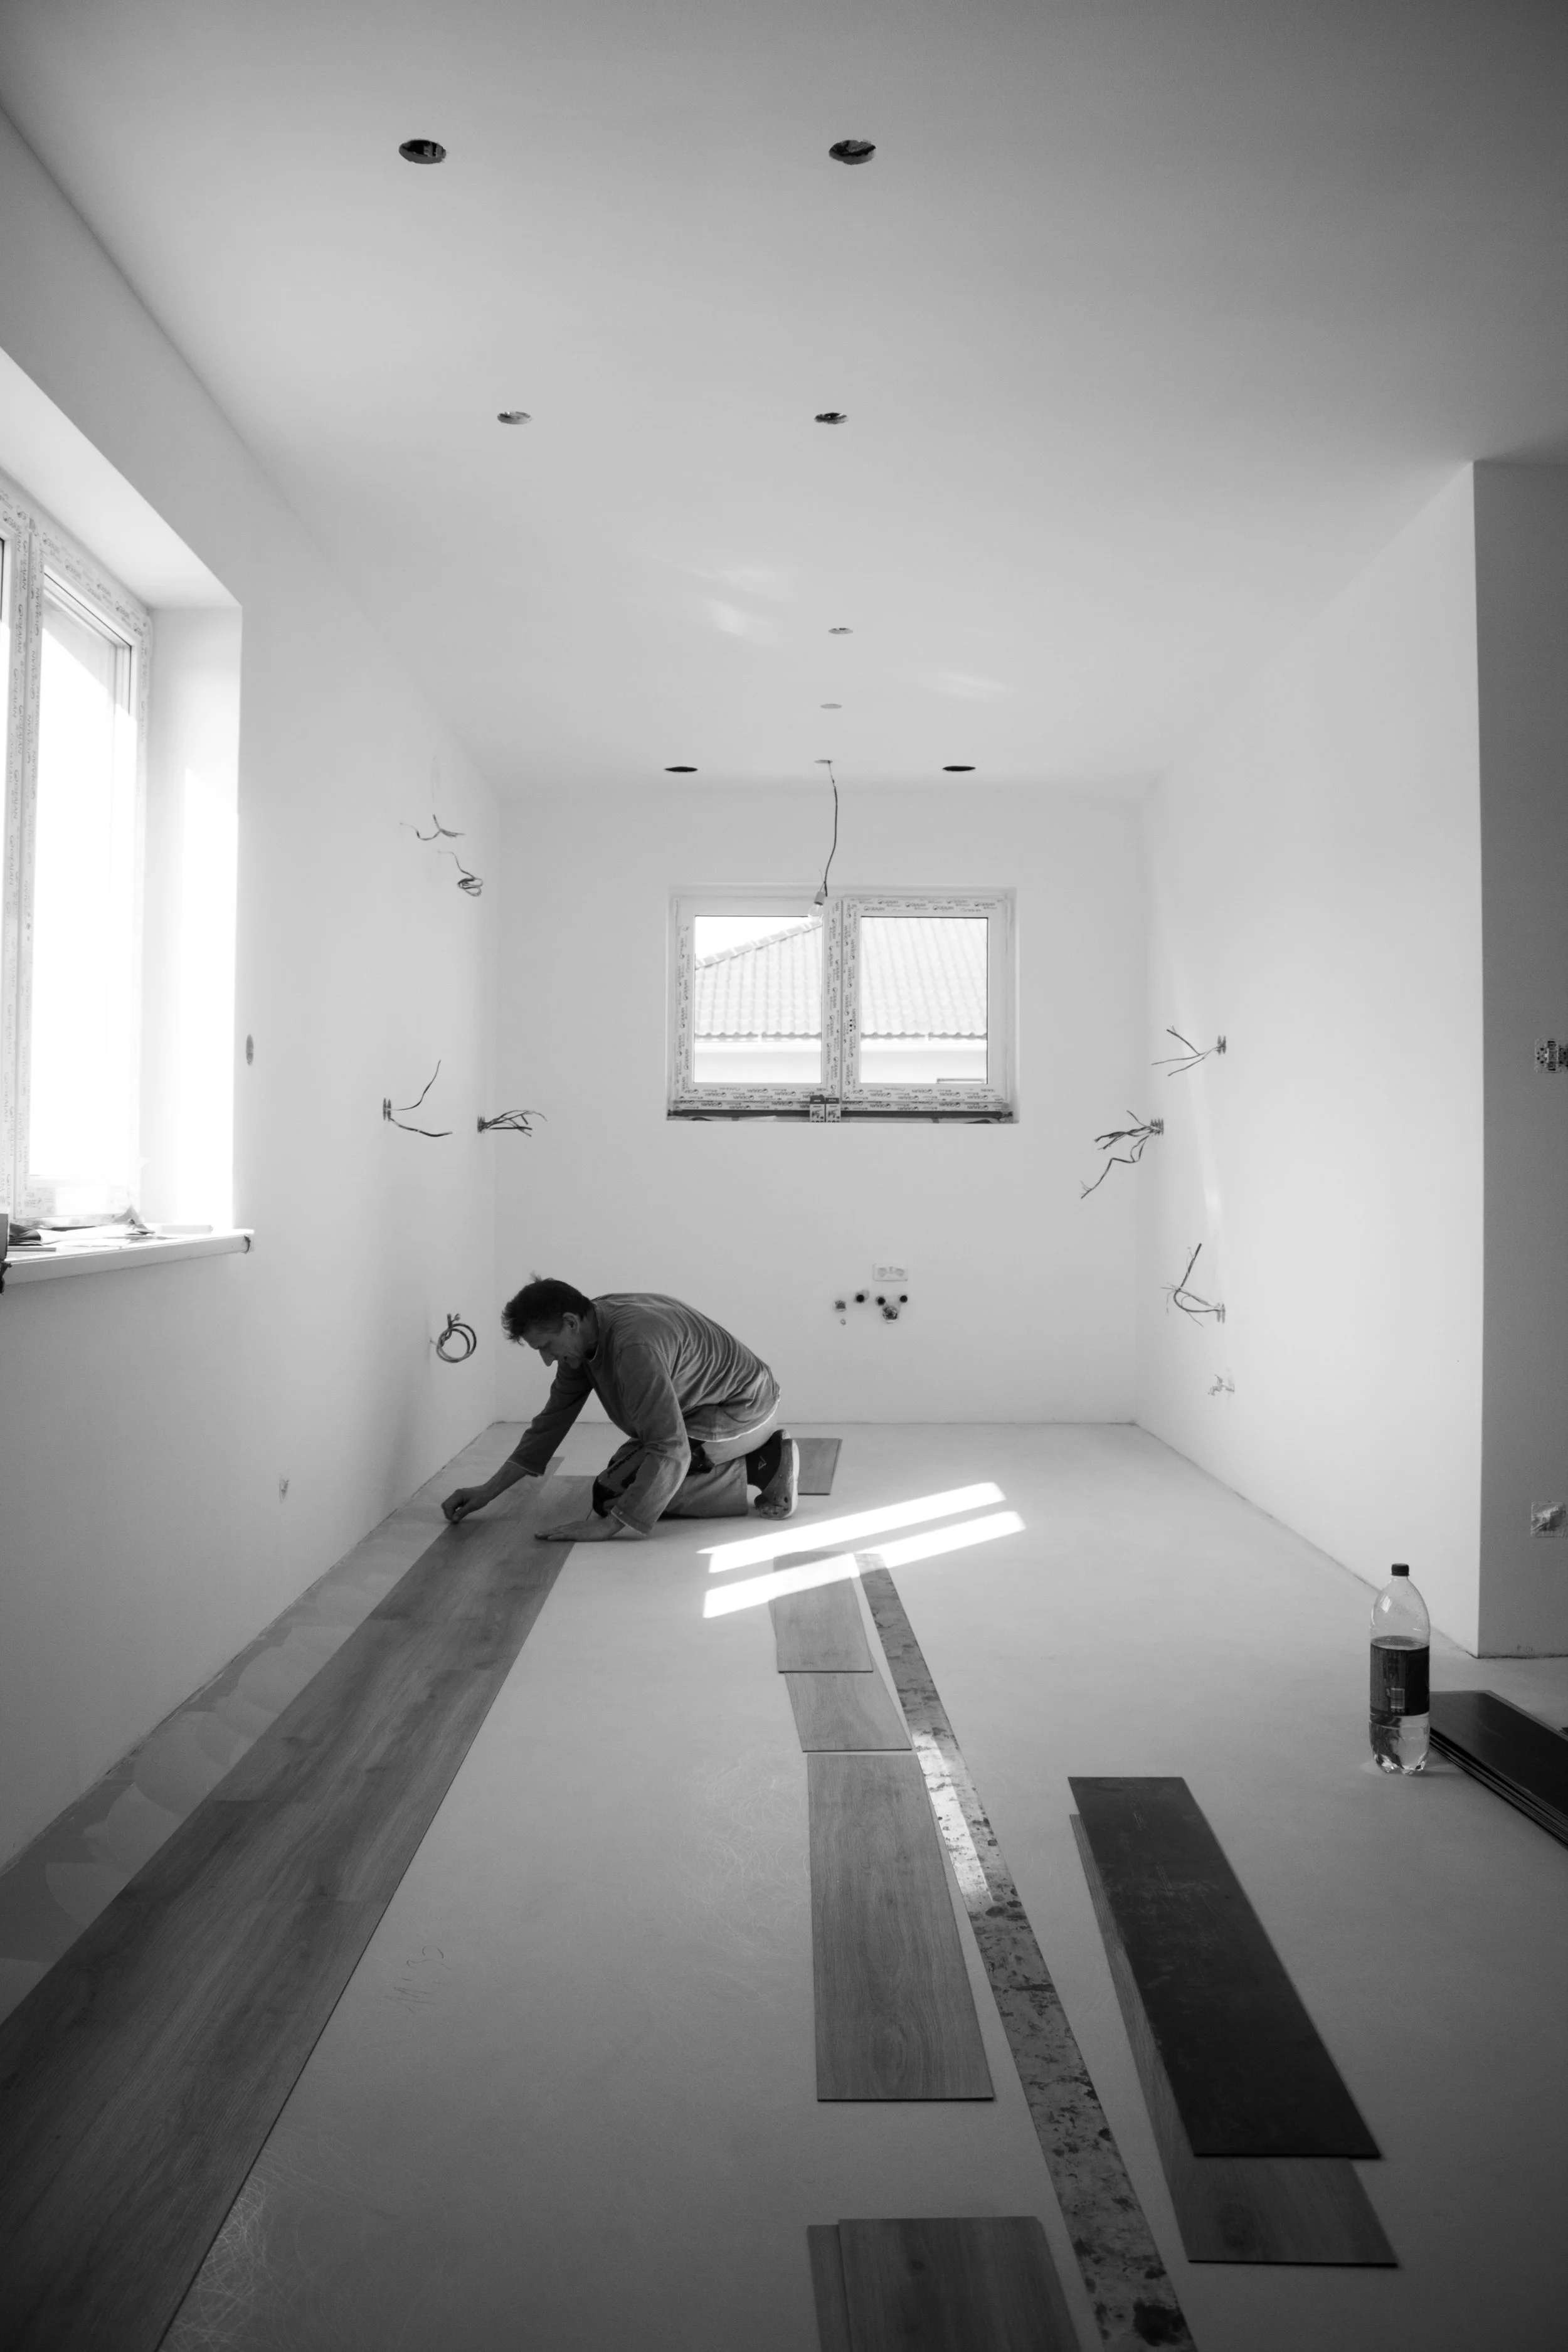
Step 3: Begin Installing the Planks
This is where the magic happens! Here’s how to go about installing the planks:
Click-lock installation: Most vinyl planks are designed with a click-and-lock system, making installation relatively simple and hassle-free. To begin, start in one corner of the room and connect the first row of planks. Position the first plank at an angle, inserting the tongue of the plank into the groove of the one next to it. Once aligned, gently drop the plank down to lock it into place. You’ll hear a subtle click when it’s secured, which lets you know the planks are locked together tightly. This system eliminates the need for glue or nails, making it a fast and efficient way to lay down flooring. Just continue working your way across the room, ensuring each plank clicks securely into place as you go.
Stagger the seams: To achieve a more natural and seamless look, it’s important to stagger the seams of the vinyl planks as you install them. This helps avoid a repetitive, grid-like pattern that can look artificial. A simple way to do this is to start the second row with a plank that’s half the length of the first one. This creates a more random and organic arrangement, giving the floor a realistic, wood-like appearance. You can continue this pattern throughout the room, ensuring that no seams align directly across from each other. Staggering the seams also strengthens the overall structure of the floor, making it more durable over time. This small but effective technique makes a huge difference in the final aesthetic of your vinyl plank floor.
Continue laying planks: As you move across the room, continue fitting each vinyl plank into the next, ensuring that the edges align perfectly. Most planks will click together easily, but occasionally, you might need a little extra help to get them snug. In these cases, use a hammer and a tapping block to gently tap the planks into place. This will help ensure that the seams are tightly locked, preventing any gaps between the planks. Be careful not to hit the planks directly with the hammer, as this can damage the surface; always use the block to distribute the force evenly. Taking your time to properly fit the planks together will create a smooth, seamless finish that will make your floor look professional and polished.

Step 4: Cut the Planks to Fit
When installing vinyl planks, cutting around corners, doorways, or edges might be necessary, but don’t worry—it’s easier than it sounds. First, take your time to measure accurately, following the classic "measure twice, cut once" rule. Mark the plank carefully with a pencil or chalk, and double-check your measurements to avoid mistakes. Precise measurements ensure the planks fit perfectly and help prevent wasting materials. For most straight cuts, a utility knife is perfect. Score along the line, applying firm pressure, and then snap the plank. For more intricate cuts, such as curves or around pipes, use a jigsaw or miter saw for clean, precise results. These tools allow you to handle any tricky cuts while maintaining the floor's professional look and integrity. Patience and planning will lead to a smooth, successful installation!
Step 5: Install the Final Rows
As you reach the final rows of your floor installation, you’ll likely need to trim the planks to ensure they fit perfectly along the edges. First, remember to leave a small gap—around ¼ inch—between the last row and the wall to allow for natural expansion. Once the planks are in position, you might need to tap them gently into place using a hammer and tapping block to ensure a snug fit. If the last row doesn’t fit precisely, don’t stress. Simply trim the excess using a utility knife for straight edges or a saw for more complex cuts. Taking your time to make these final adjustments ensures that the last row fits perfectly and gives the entire floor a seamless, polished look.
Step 6: Finish and Enjoy
Congrats! You’ve successfully installed your vinyl planks, but before you call it a day, there are a couple of finishing touches to wrap up the project. First, install baseboards or trim around the perimeter of the room to cover the expansion gap you left earlier. This adds a polished, professional look while securing the planks in place. Simply nail the trim or baseboards into position, and you’re all set. Next, it’s time to clean up. Sweep away any leftover debris, dust, or dirt from the installation process. Then, use a damp mop to give your new floors a nice, fresh shine. Once that’s done, step back and admire your hard work—your room is now transformed with a beautiful, durable vinyl plank floor!

Conclusion
So, there you have it! By following this How to Install Vinyl Plank Flooring: Step-By-Step Guide, you should now be able to install your very own vinyl floors with ease. Remember to take your time during each step and double-check your measurements, and you’ll be rewarded with a beautiful, durable floor that’ll last for years.
Installing vinyl plank flooring doesn’t have to be intimidating, and the end result is always worth the effort. Plus, there's a certain satisfaction that comes with completing a DIY project on your own, right? Enjoy the new look of your room and take a moment to admire your handy work. You've earned it!
Read next: 15 Concrete Flooring Ideas for Every Room
Frequently Asked Questions
Do I need to use an underlayment?
While vinyl plank flooring can be installed without underlayment, it’s often recommended for extra comfort, soundproofing, and to smooth out imperfections in the subfloor.
Can I install vinyl planks on top of existing flooring?
Yes, vinyl planks can often be installed over most existing floors, including wood, vinyl, and concrete. Just make sure the existing floor is level and clean.
How long will it take to install vinyl plank flooring?
The installation time can vary based on the room size and your skill level. On average, it can take anywhere from 4 to 8 hours for a small to medium room.
What if I make a mistake while cutting?
No worries! It happens. If you mess up a cut, simply measure again, and cut a new plank. Vinyl is inexpensive enough to replace the occasional mistake.
Is vinyl plank flooring waterproof?
Yes! Most vinyl planks are 100% waterproof, making them perfect for high-moisture areas like bathrooms, kitchens, and basements.
Stay up to date with our latest ideas!