How to Install a Door Jamb: Step-by-Step Guide
Learn how to install a door jamb with our comprehensive, easy-to-follow guide. Discover expert tips, essential tools, and step-by-step instructions to achieve a professional finish for your home entry.
Ever looked at your front door and thought it could use a little extra oomph? Well, you’re in luck! Installing a door jamb might sound like a daunting task, but trust me, with the right approach, you can turn this DIY project into a rewarding adventure. In this article, we’re diving into the nitty-gritty of how to install a door jamb—step-by-step—using practical tips, real-world tricks, and a dash of down-home charm. Whether you’re a seasoned DIYer or a first-timer itching to roll up your sleeves, our guide is chock-full of insights that’ll help you nail every detail. So, let’s get cracking and transform that old, tired doorway into a sturdy, stylish entrance that truly welcomes you home!
Tools and Materials You’ll Need
Before you dive into the process, gather all your necessary tools and materials. You’ll need a pry bar, a hammer, a chisel, a tape measure, a level, screws, a drill, and of course, your new door jamb. Don’t forget safety gear like gloves and safety glasses—better safe than sorry, right? Having everything within arm’s reach not only saves you time but also minimizes those pesky interruptions that can throw off your flow. Trust me, a well-stocked toolbox sets the stage for a smooth project. Jot down a quick checklist and double-check each item. It’s like preparing a recipe: every ingredient counts toward the final masterpiece. With your kit ready, you’re all set to tackle the project with confidence!
Safety Precautions Before You Begin
Alright, let’s talk safety. When working on a home improvement project, you never know what surprises might pop up. Always wear your safety glasses, and slip on those gloves to protect your hands from sharp edges. Secure your work area by clearing away any clutter—nobody wants to trip over stray tools while handling heavy materials. It might sound like a no-brainer, but a few extra precautions can save you from a world of hurt. Keep a first-aid kit nearby, and if you’re using power tools, read the manual beforehand. Remember, your well-being is the top priority—no project is worth risking an injury. Stay alert, take breaks if you need to, and don’t hesitate to ask for help if something feels off. Safety first, always!
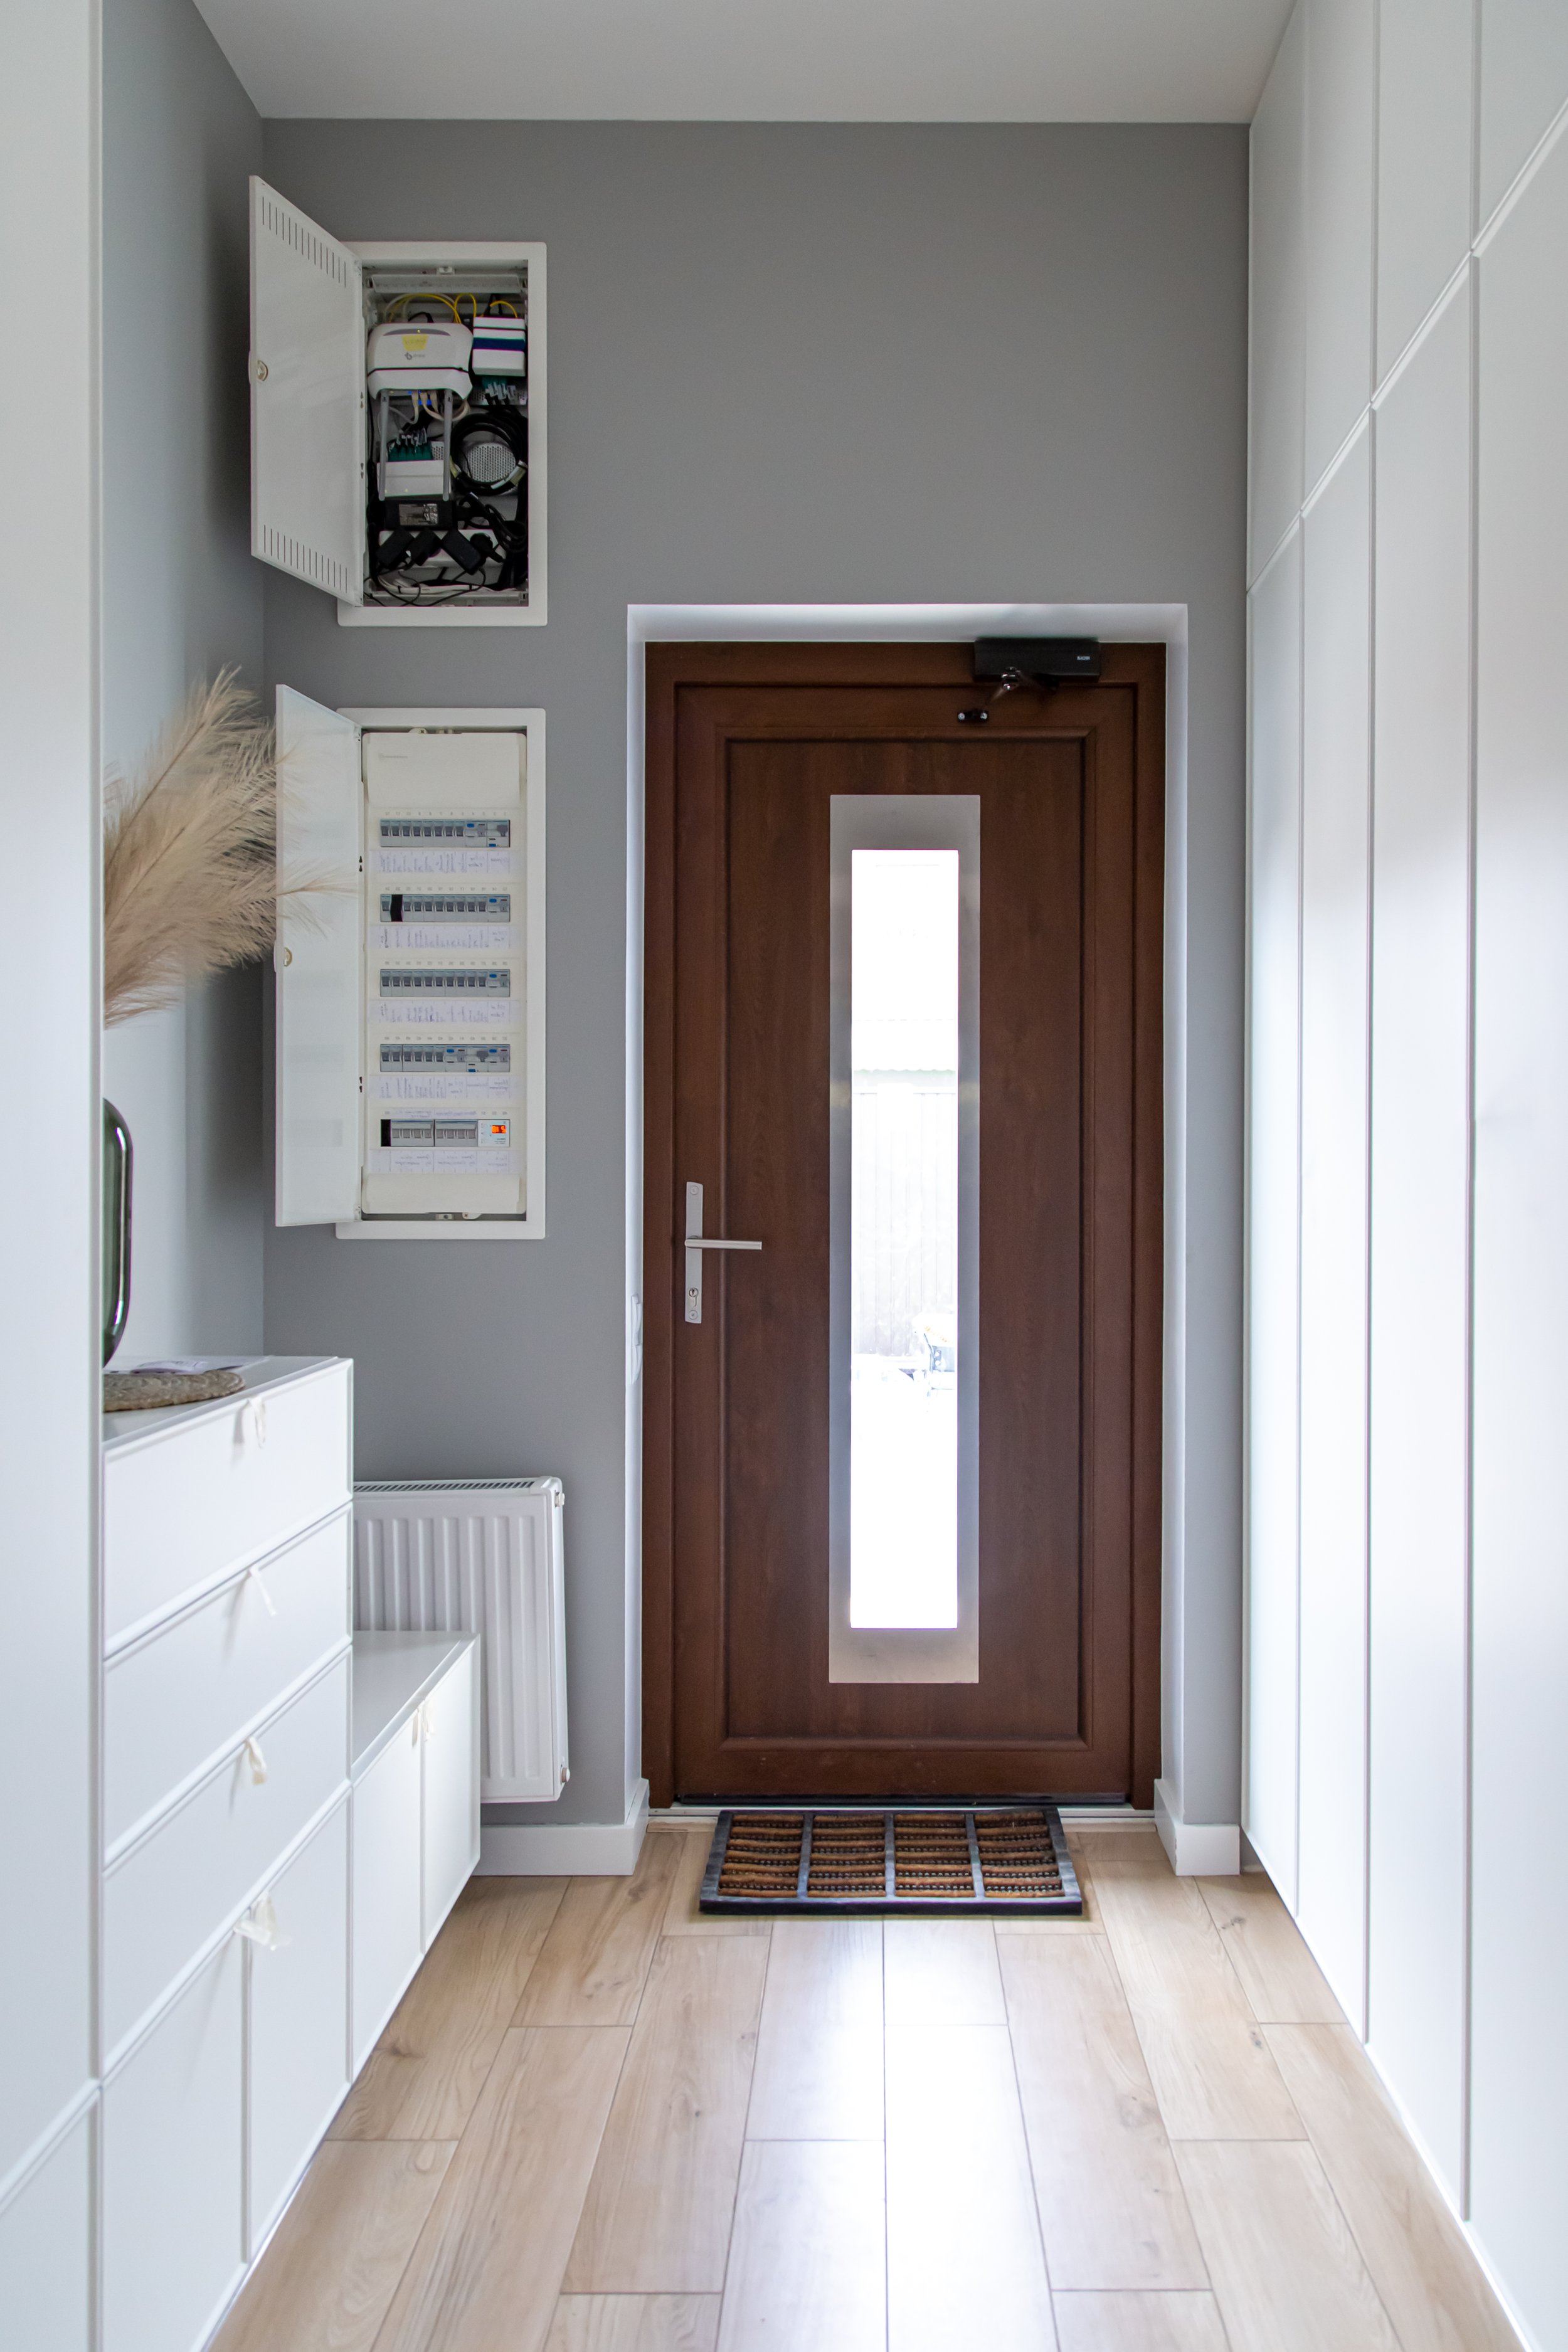
Removing the Old Door Jamb
Now, let’s roll up our sleeves and get down to business. The first real step is to remove the old door jamb. This process might feel like an excavation mission as you carefully pry away the outdated wood. Start by scoring around the edges with a utility knife to break any caulking or paint bonds. Then, using a pry bar and a hammer, gently ease the jamb away from the frame. If it’s stubborn, a few taps with a chisel can help release it without damaging the surrounding wall. It’s a bit like unwrapping a present—you have to work slowly and steadily to avoid tearing the wrapping paper (or in this case, the wall). Once the old jamb is free, clear away debris and give the area a good clean. This preparation is crucial for a smooth transition to the new installation.
Inspecting the Door Frame
With the old jamb out of the way, take a moment to inspect the door frame. Look for any signs of rot, damage, or uneven surfaces that might affect the installation of your new jamb. Use a level to ensure the frame is plumb and check for any warping that might need correction. If you spot any issues, now’s the time to fix them—whether that means replacing a few boards or reinforcing the structure with additional support. Think of it like giving your door frame a little tune-up before installing a shiny new part. A well-prepared frame not only guarantees a perfect fit but also prolongs the lifespan of your new door jamb. Remember, a smooth surface is the canvas for a flawless installation, so don’t rush this inspection stage.

Measuring and Marking the New Jamb Location
Accurate measurements are the backbone of any DIY project, and this one is no exception. Grab your tape measure and level, and carefully measure the dimensions of your door opening. Mark the precise location where your new jamb will sit. Precision is key here—one small miscalculation can throw off the entire installation, making your door look off-center or causing it to stick. Use a pencil to make light, clear marks on the wall, ensuring you have a straight line that guides you through the process. It’s a bit like drawing a treasure map—follow the clues, and you’ll find the perfect spot for your new door jamb. Double-check your measurements before you move on; trust me, it’s better to spend a few extra minutes now than to fix errors later.
Preparing the New Door Jamb
Once you’ve got your measurements locked in, it’s time to prep the new door jamb. Unbox it and inspect for any defects—nothing ruins a project faster than a flawed part. Sand down any rough edges, and if needed, apply a primer or sealant to protect the wood. This step is your chance to give the jamb a little TLC before it takes center stage. Lay the jamb on a flat surface and check that it’s perfectly straight. If you’re planning to paint or stain, now’s the time to do it, so you don’t have to worry about splatters later. Think of this as setting the stage for a performance—the better the preparation, the more stunning the final act. With your new jamb prepped and ready, you’re one step closer to a seamless installation.
Installing the New Jamb: How to Install a Door Jamb: Step-by-Step Guide
Here’s where the magic happens! Follow our detailed How to Install a Door Jamb: Step-by-Step Guide to ensure you get it right the first time. Begin by positioning the new jamb in the opening. It should fit snugly, with the edges aligned perfectly with your pre-marked lines. Use shims to hold it in place—these little spacers are lifesavers when it comes to leveling and securing the jamb. Once you’re happy with the positioning, use a drill to fasten it to the frame, making sure to drive screws evenly along the sides. As you tighten each screw, keep an eye on the alignment—think of it as tuning a fine instrument. A well-installed door jamb should sit flush and firm, ready to support the door without any wobble or misalignment.
Securing the Jamb in Place
After positioning the jamb, it’s time to secure it permanently. This step requires patience and precision. Continue adjusting the shims until the jamb is perfectly plumb and level. Use a combination of screws and nails to secure the jamb firmly to the wall framing. Check your level frequently to ensure there’s no unwanted shift in alignment. It might feel like you’re playing a delicate game of Tetris, but every piece must fit perfectly to create a stable structure. Once everything is fastened, gently remove the shims and fill any gaps with expanding foam or caulk for a neat finish. This not only enhances stability but also adds insulation, keeping drafts at bay. A securely installed jamb sets the foundation for a smooth, long-lasting door operation.
Installing the Door and Adjusting the Fit
With your new jamb securely in place, the next step is to install the door itself. Hang the door on its hinges and check the fit meticulously. The door should swing freely without rubbing against the jamb, and there should be an even gap along all edges. Use a level and a measuring tape to verify that the door is perfectly aligned. If you find any discrepancies, you can adjust the hinges or trim the door slightly until it fits just right. This part of the process can feel a bit like fine-tuning a musical instrument—small tweaks can make a world of difference. Once the door operates smoothly and securely, give it a few test swings. Satisfaction is just a swing away when every detail aligns perfectly!
Finishing Touches and Weatherproofing
Now that the door and jamb are in place, it’s time for those finishing touches that truly make a difference. Weatherproofing your door jamb is essential, especially if your door faces the elements. Apply a high-quality caulk around the edges to seal any gaps and prevent drafts. If you’re in a particularly damp area, consider adding a weather-resistant paint or sealant. These small details help protect your investment, ensuring your new jamb stands up to rain, wind, and time. Besides weatherproofing, touch up any visible nail or screw marks with a bit of paint or wood filler. It’s like putting the cherry on top of your DIY sundae—final, delicate enhancements that elevate the overall look and durability of your installation.

Troubleshooting Common Issues
Even the best-laid plans can run into hiccups. If you’re finding that your door sticks or the jamb isn’t sitting level, don’t sweat it—troubleshooting is all part of the process. Here are a few common issues and quick fixes:
Misalignment: Re-check your shims and adjust the screws accordingly.
Gaps: Apply extra caulk or foam to fill any spaces and create a tight seal.
Squeaking hinges: A bit of lubricant can work wonders here.
Think of these tweaks as little speed bumps on your road to perfection. A few minor adjustments can transform a frustrating problem into a manageable fix, keeping your project on track and your spirits high.
Tips for a Professional Finish
Want your project to look like it was done by a seasoned pro? Here are some insider tips:
Patience is key: Rushing can lead to errors, so take your time.
Double-check your work: Constantly use a level and measuring tape throughout the process.
Invest in quality tools: Reliable equipment makes all the difference.
Seek advice: Don’t hesitate to consult online forums or experienced DIYers for extra tips.
These tips are your secret weapons in achieving a door jamb installation that not only works perfectly but also looks stunning. Remember, even a small project can shine when done with care and attention to detail.
Maintaining Your New Door Jamb
Once your door jamb is installed and the door is swinging smoothly, it’s important to keep it in tip-top shape. Regular maintenance not only prolongs the life of your installation but also keeps your home looking its best. Wipe down the jamb periodically with a damp cloth to remove dust and dirt. Inspect the caulk and weatherproofing every so often—if you notice any cracks or gaps, reapply a fresh layer immediately. It might seem like a small chore, but a little upkeep goes a long way in ensuring your door remains secure and attractive. By incorporating regular check-ups into your routine, you can catch minor issues before they turn into major headaches. Treat your door jamb like the gateway it is—after all, a well-maintained entrance makes a world of difference in your home’s overall appeal.
Expert Advice and DIY Hacks
Let’s be honest—sometimes you need a little extra guidance to nail a DIY project. Over the years, seasoned handymen have picked up a few clever hacks when it comes to installing door jambs. For instance, using a scrap piece of wood as a shim can save you from running out of commercial shims in the middle of a project. Also, applying a thin layer of painter’s tape along your measurement lines can prevent any accidental over-marking on your walls. And here’s a tip: if you’re new to this, consider watching a few video tutorials to see the process in action. These real-world insights and tricks can help you avoid common pitfalls and ensure your project goes off without a hitch. It’s all about working smarter, not harder!

Final Thoughts: How to Install a Door Jamb: Step-by-Step Guide
In wrapping up our deep dive into door jamb installation, it’s clear that a bit of careful planning, the right tools, and a pinch of DIY spirit can transform your home entry into something truly special. Our How to Install a Door Jamb: Step-by-Step Guide has walked you through each stage—from removing the old jamb to making those final, delicate adjustments. With this guide in your back pocket, you’re now equipped to tackle your project with confidence and creativity. Remember, every step, even the tiniest one, plays a crucial role in achieving a flawless finish. So, whether you’re replacing an outdated jamb or installing one for the first time, take heart in knowing that you’ve got the know-how to make it a resounding success!
Conclusion
There you have it—a comprehensive, hands-on guide to installing a door jamb that not only enhances your home's entry but also stands as a testament to your DIY prowess. By following our detailed How to Install a Door Jamb: Step-by-Step Guide, you’ve learned the importance of proper preparation, precise measurement, and the little finishing touches that make all the difference. Remember, a great installation is more than just a task completed; it’s a celebration of creativity, attention to detail, and the joy of making something with your own two hands. With a bit of patience and the tips provided here, your new door jamb will serve as both a functional and stylish gateway for years to come.
Frequently Asked Questions
1. What tools do I absolutely need to install a door jamb?
You'll need basic tools like a tape measure, level, pry bar, hammer, chisel, drill, and screws. Safety gear like gloves and glasses are also a must.
2. How long does the door jamb installation usually take?
It varies by skill level and complexity, but generally, you can expect the project to take a few hours to a full day, especially if you're new to DIY.
3. Can I install a door jamb by myself, or should I seek professional help?
While many homeowners successfully install door jambs themselves, if you’re uncomfortable with heavy tools or precise measurements, don’t hesitate to consult a professional.
4. What common mistakes should I avoid when installing a door jamb?
Avoid rushing the measuring and leveling stages. Skipping these can lead to misalignment, which might cause the door to stick or not close properly.
5. How do I maintain my new door jamb after installation?
Regular cleaning, periodic inspection of caulking, and ensuring the hinges are secure will help keep your door jamb in optimal condition.
Stay up to date with our latest ideas!