Rolled Roofing: What It Is and How to Install It
Discover the ins and outs of Rolled Roofing: What It Is and How to Install It in this comprehensive guide. Dive into expert tips, step-by-step instructions, FAQs, and more for a hassle-free roofing project.
Ever wondered how you can give your home a fresh, updated look without breaking the bank? Rolled roofing might just be your answer. In this article, we'll take you on a journey through Rolled Roofing: What It Is and How to Install It. Whether you're a seasoned DIY enthusiast or a curious newbie, you'll find plenty of tips, tricks, and insider secrets to help you tackle this project head-on. We’re here to chat about every detail—from the basics to advanced installation techniques—and throw in some helpful FAQs along the way.
What is Rolled Roofing?
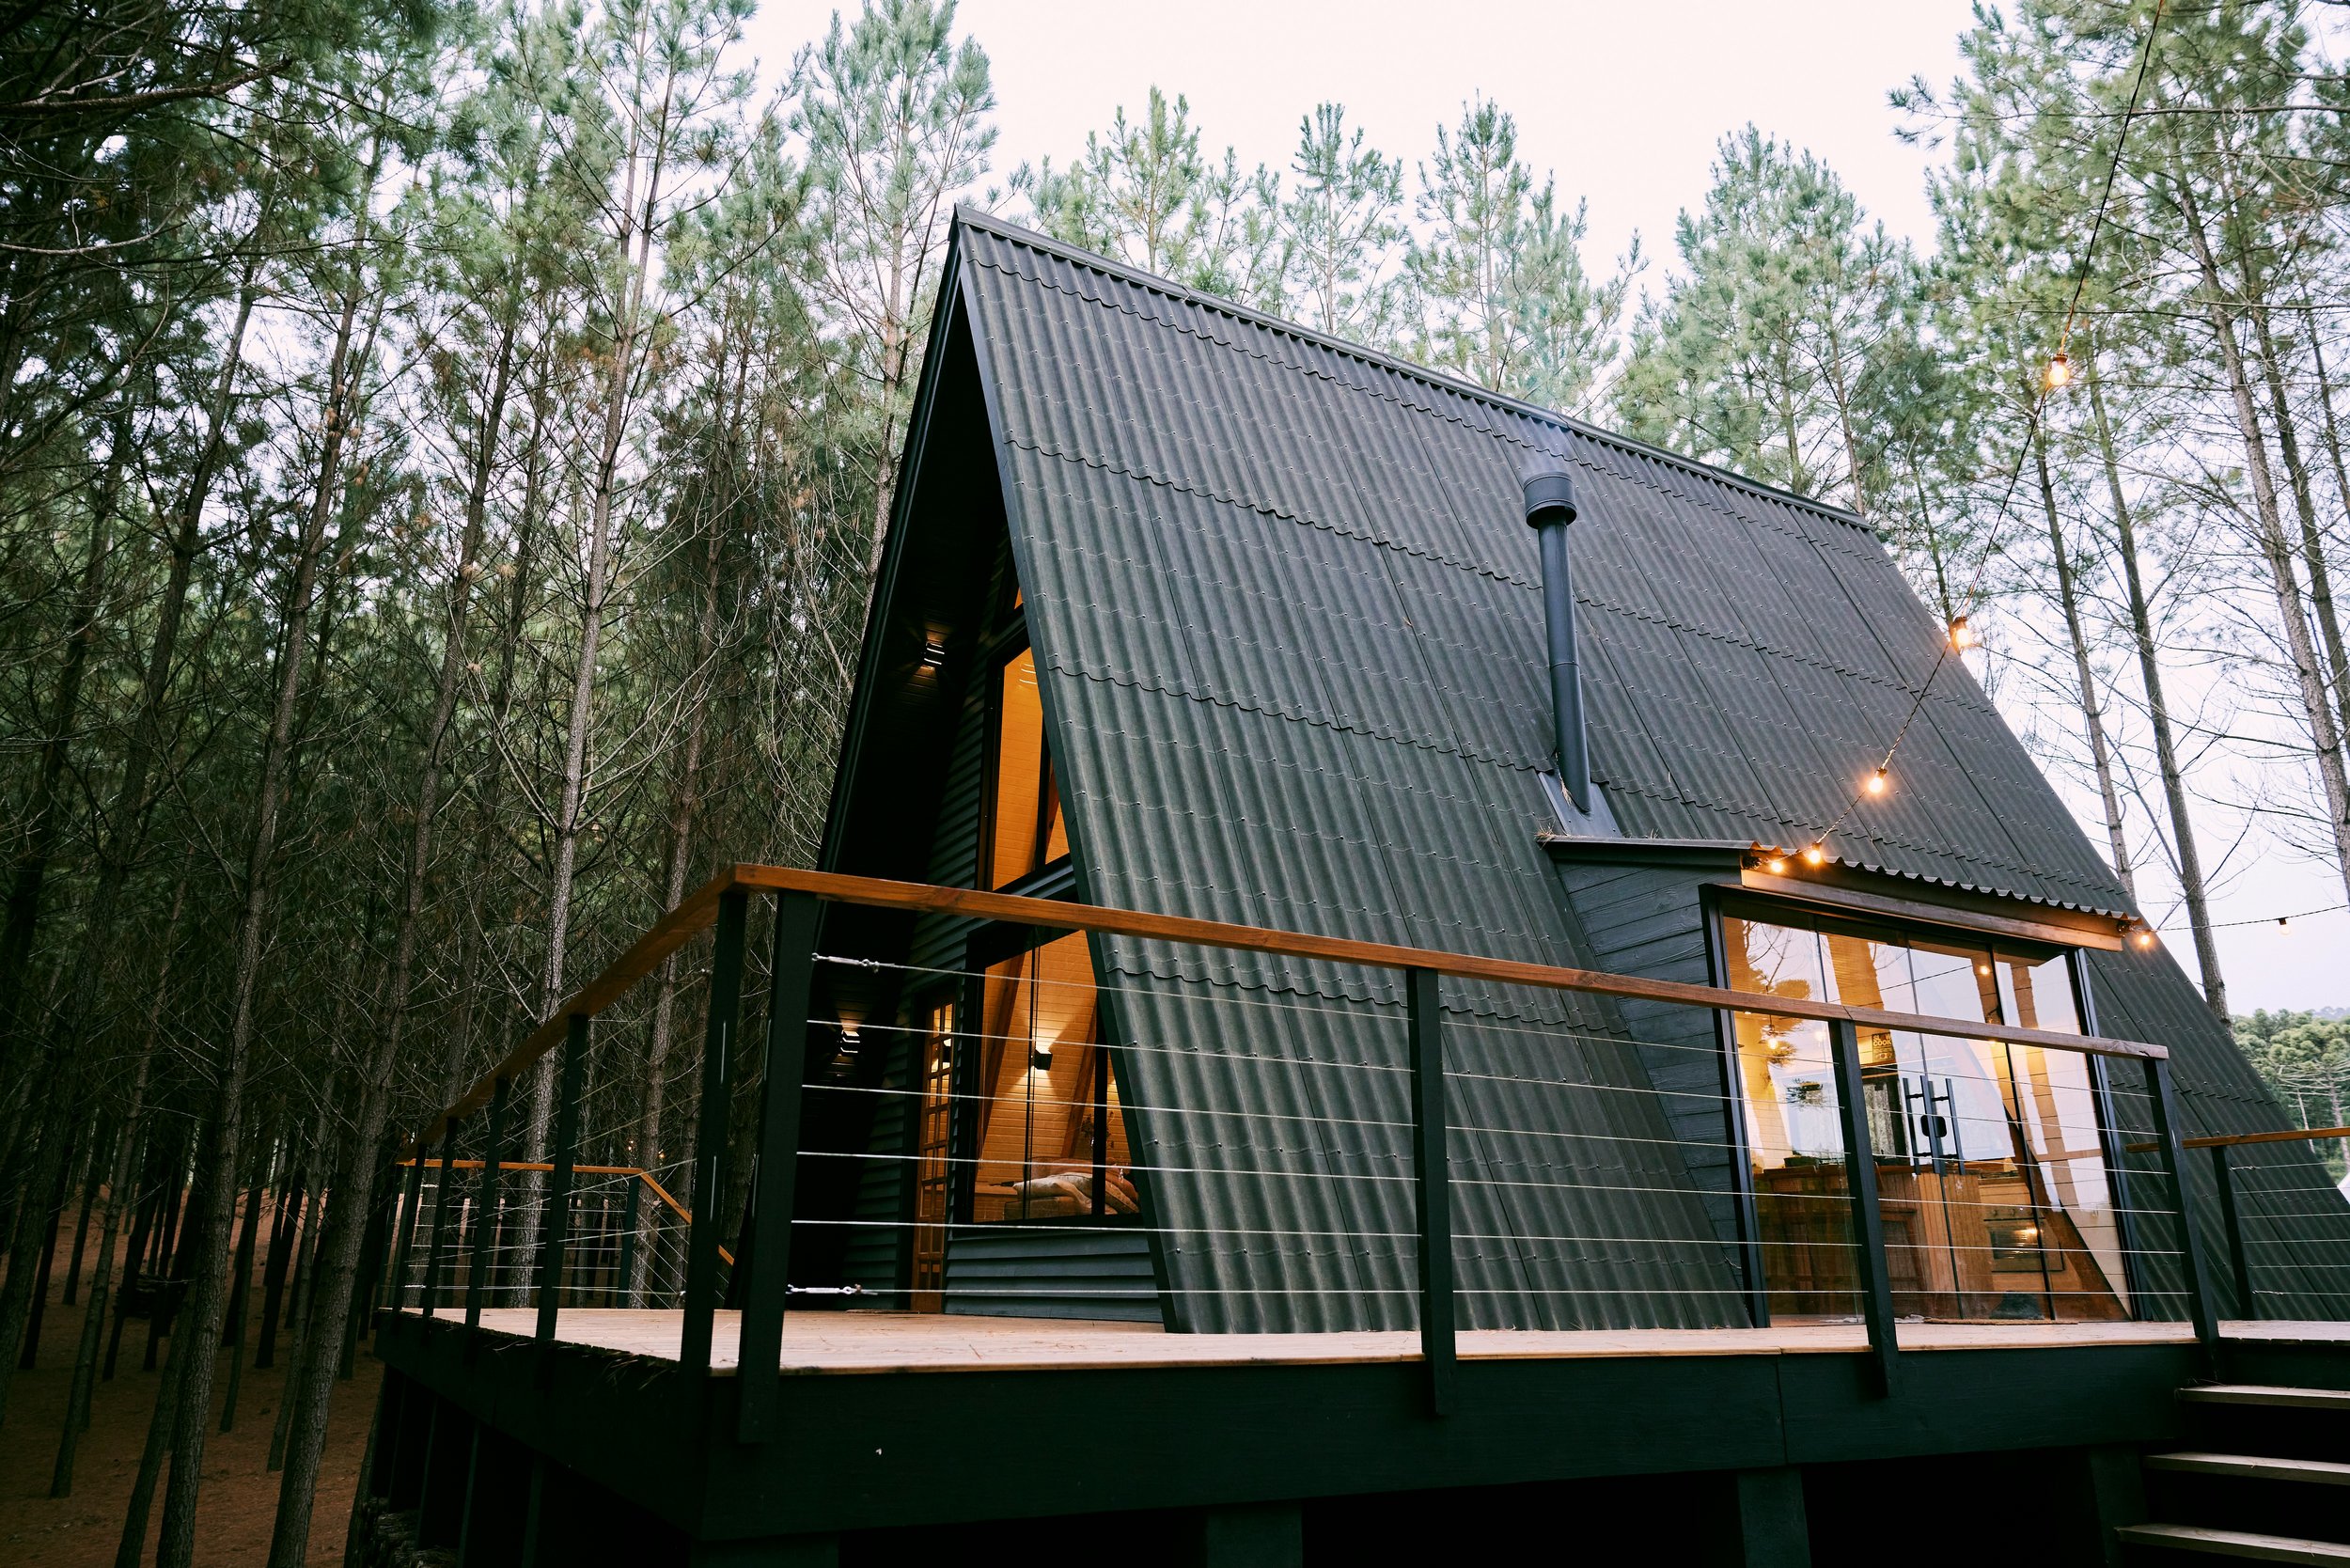
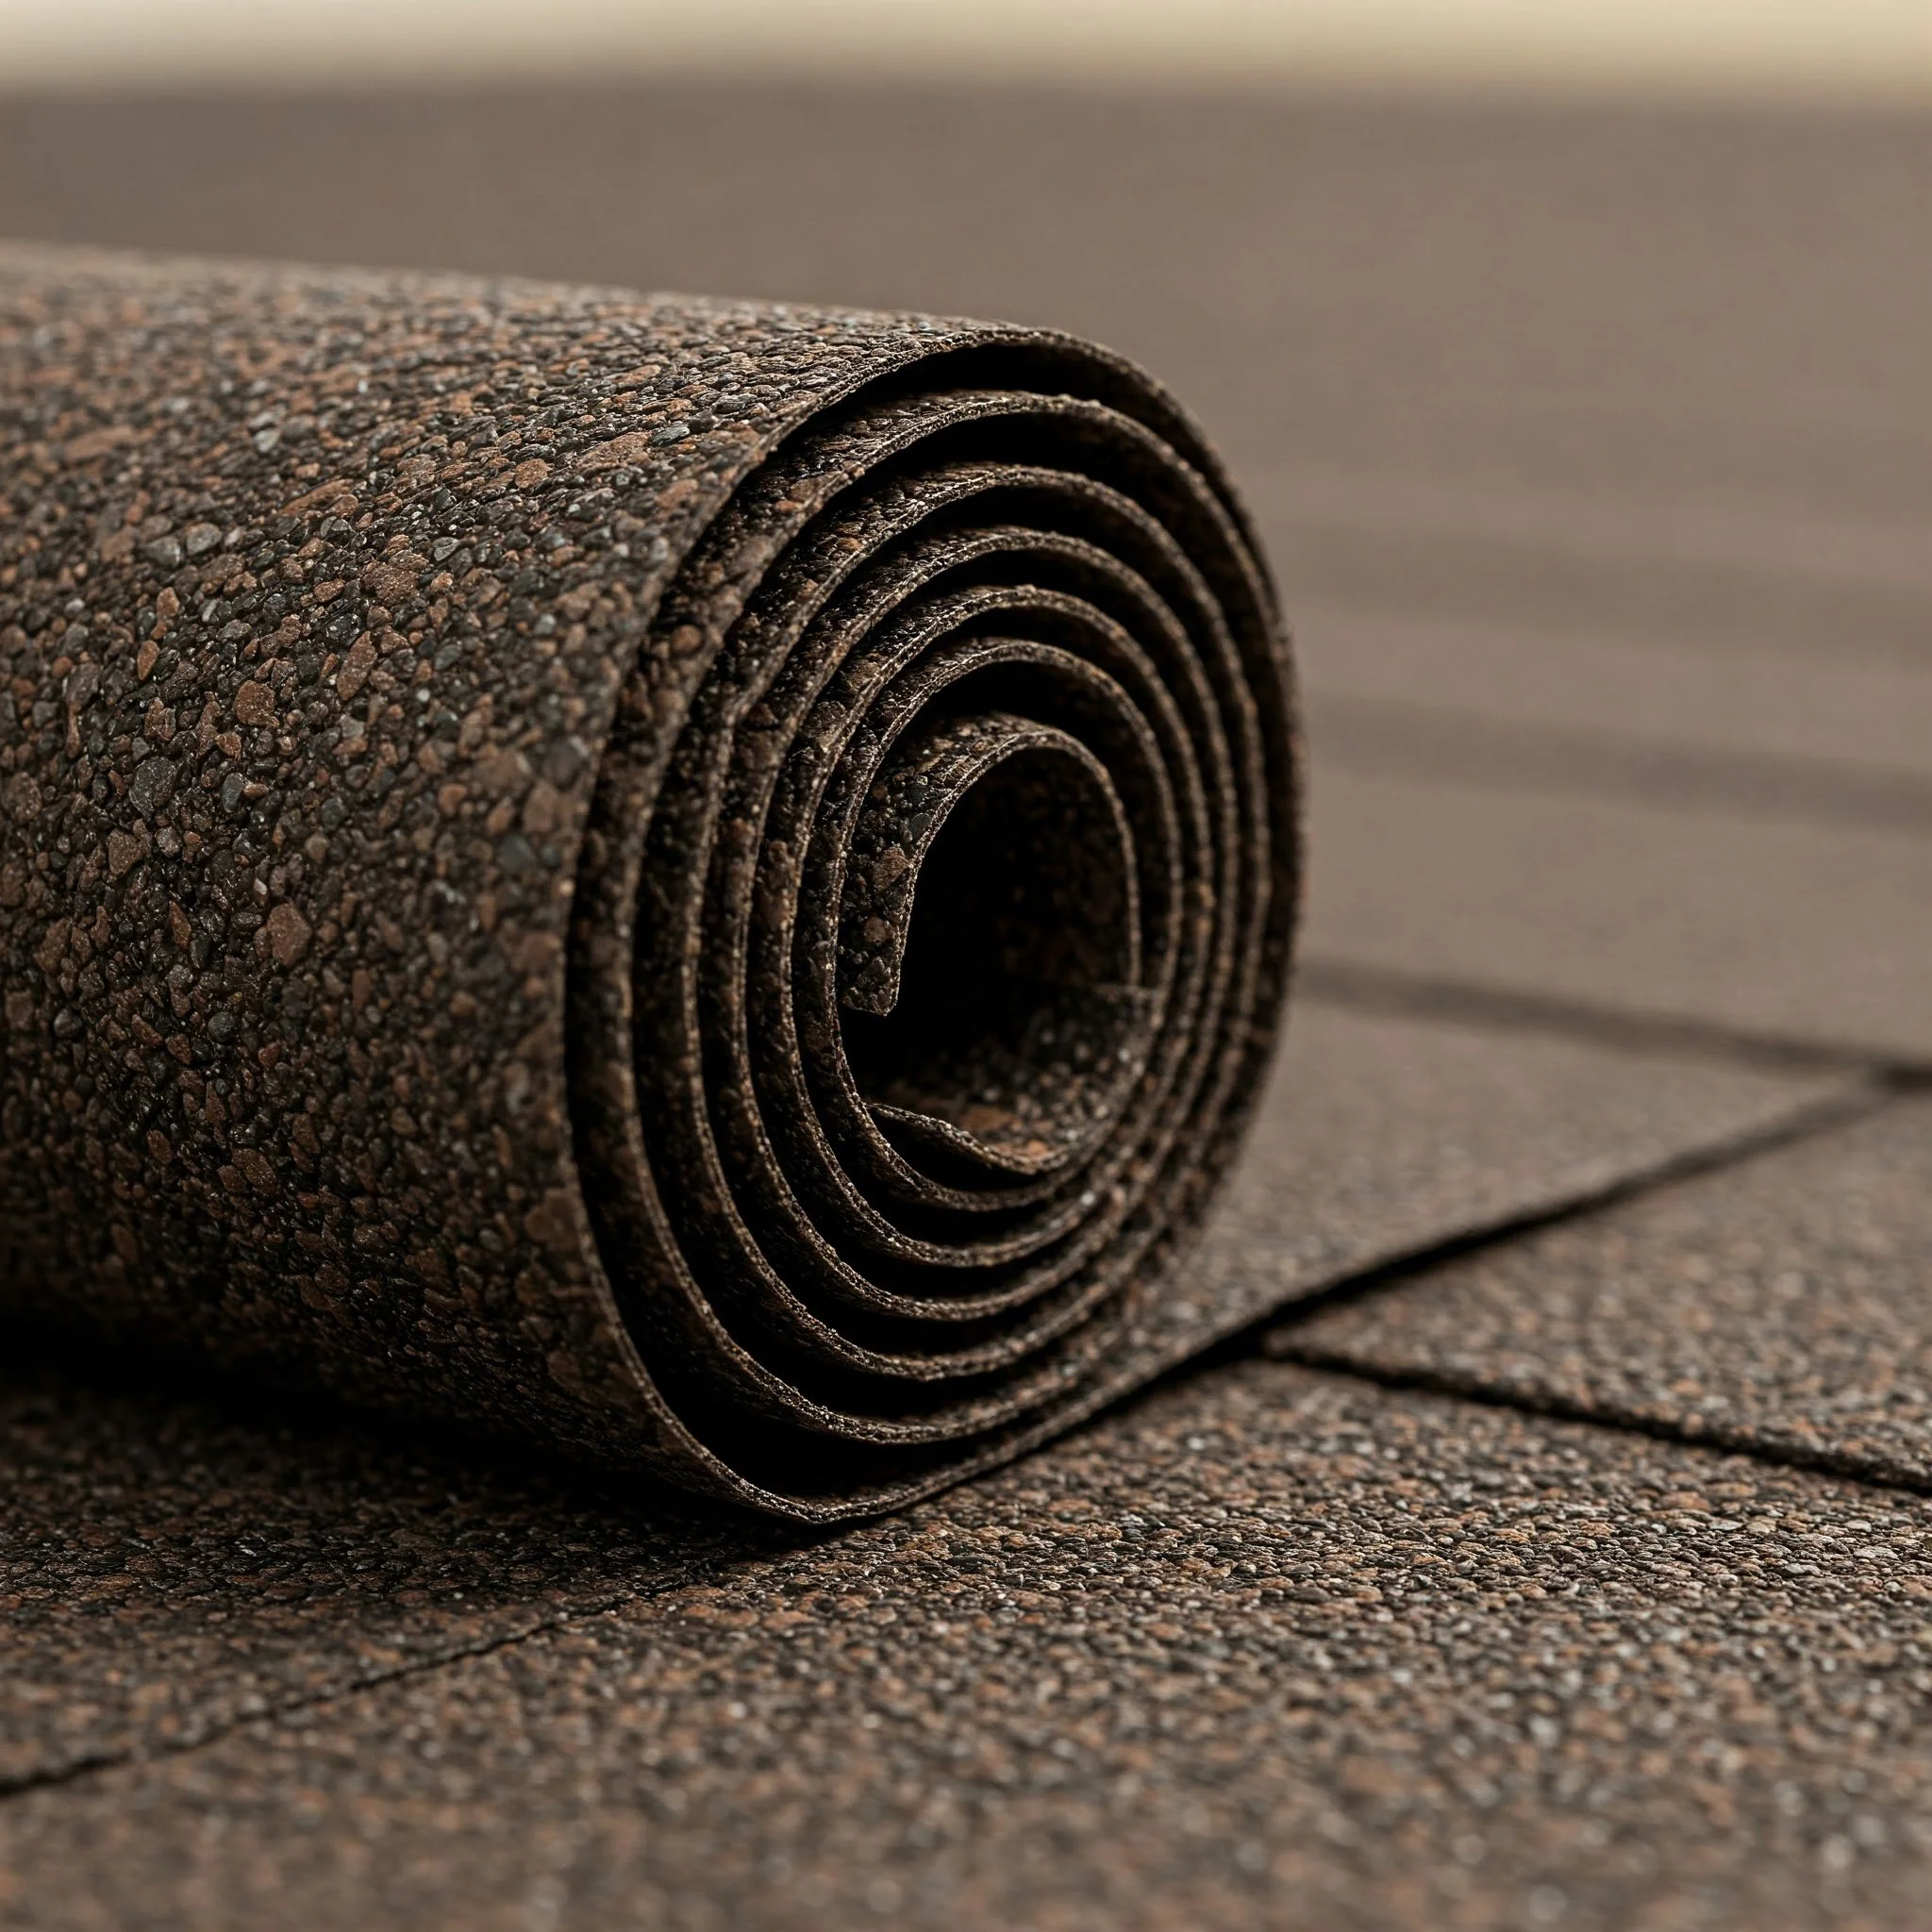
Rolled roofing is a versatile and cost-effective roofing solution that’s been around for ages. It’s made from materials like asphalt, fiberglass, or a blend of both, and comes pre-cut in rolls for quick installation. Because of its ease of use and affordability, rolled roofing is often the go-to choice for sheds, garages, and even some low-slope roofs on homes.
The Evolution of Rolled Roofing
Back in the day, rolled roofing was the savior for homeowners needing a fast, temporary fix. Over time, however, manufacturers improved the quality and durability, making it a viable option for more permanent applications. Today, modern rolled roofing offers better weather resistance, improved adhesion, and a longer lifespan compared to its early iterations.
Why Choose Rolled Roofing?
Cost-Effective: Perfect for tight budgets.
Ease of Installation: You can do it yourself with minimal tools.
Versatility: Ideal for sheds, garages, and low-slope roofs.
Quick Application: Get the job done in just a few hours.
Low Maintenance: Once installed, it requires little upkeep.
Rolled Roofing: What It Is and How to Install It – The Essentials
Before you jump into installation, it's crucial to grasp what rolled roofing entails. Let's break down the process in a straightforward manner.
Materials You’ll Need
When embarking on your rolled roofing adventure, you'll need a few basic supplies. Here's a quick checklist:
Rolled Roofing Material: Make sure you have enough to cover your roof.
Roofing Adhesive: Essential for securing the material.
Utility Knife: For precise cuts.
Measuring Tape: To measure your roof accurately.
Roofing Roller: For smoothing out the material.
Ladder: Safety first, always!
Work Gloves: Protect your hands during installation.
Cleaning Supplies: To prepare the roof surface.
Safety Gear and Precautions
Before you start, don’t forget about safety. Working on a roof can be risky if you’re not careful. Always wear sturdy shoes with good grip, and if you're working on a steep roof, consider having a buddy to help or at least keep an eye on you. Safety harnesses, helmets, and non-slip gloves are a good idea, too. Remember, it’s better to be safe than sorry!
Preparing Your Roof for Installation
Preparation is key. Just like cooking a delicious meal, you need the right ingredients and a clean workspace. Here’s how to get your roof ready for Rolled Roofing: What It Is and How to Install It.
Inspecting the Roof
Start with a thorough inspection. Look for any signs of damage, like missing shingles, rust spots, or debris that might interfere with the installation. If you find any issues, repair them before moving forward.
Checklist for Roof Inspection:
Check for cracks or holes.
Clear off debris and leaves.
Look for rust or water damage.
Ensure proper drainage paths are clear.
Cleaning the Surface
A clean roof is a happy roof! Use a broom, brush, or even a pressure washer (set on low) to clean off any dirt or moss. Let it dry completely before you begin laying down the new material.
Measuring and Cutting
Measure your roof’s length and width carefully. Rolled roofing usually comes in standard sizes, so you might have to trim it to fit perfectly. Use a sharp utility knife to make neat cuts, and remember to wear those protective gloves!

Step-by-Step Guide: How to Install Rolled Roofing
Now that you're all prepped and primed, let's dive into the nitty-gritty of installation. Follow these steps to ensure a smooth and efficient process.
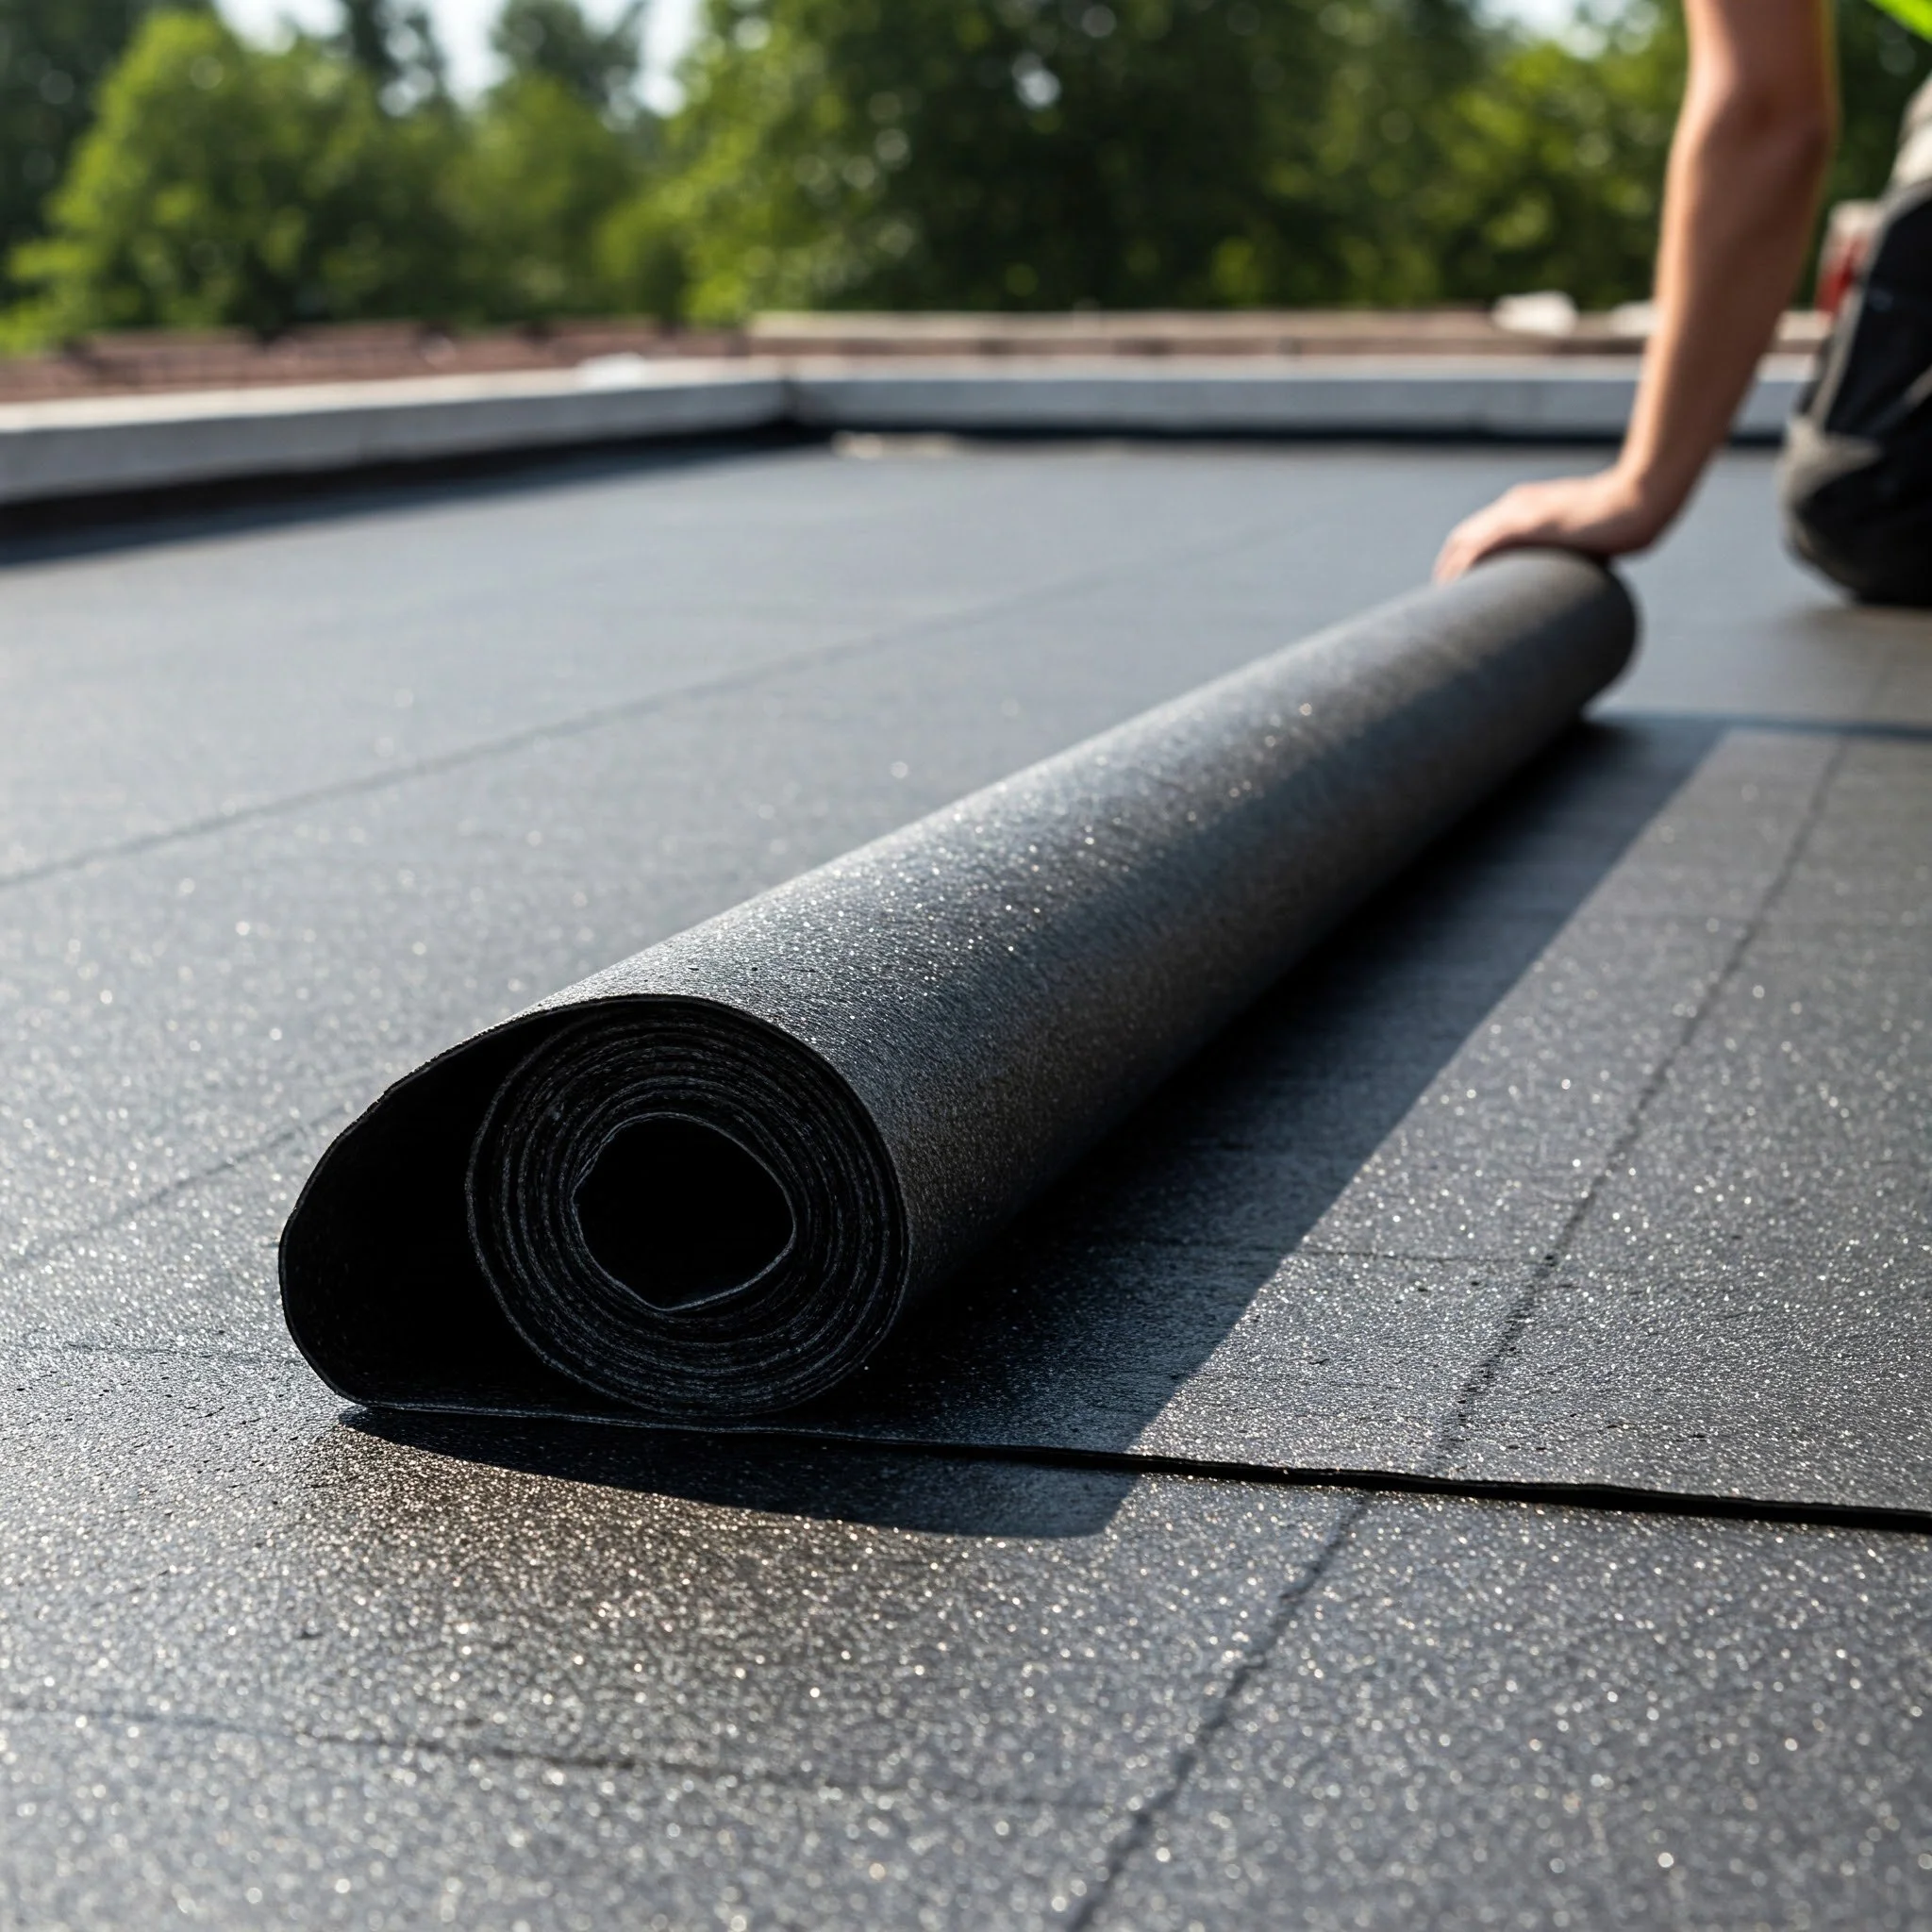
Step 1: Unroll the Roofing Material
Start at one end of your roof and unroll the roofing material slowly. Make sure it lies flat and straight. If there are any wrinkles or bubbles, smooth them out as you go.
Tip: Enlist a friend to help guide the roll and keep it aligned.
Step 2: Apply Roofing Adhesive
Next up, grab your roofing adhesive and apply it evenly along the surface. Use a notched trowel if needed to create grooves that help the adhesive bond better. Remember, a good layer of adhesive is the backbone of a sturdy installation.
Pro Tip: Work in sections to ensure the adhesive doesn’t dry out before you lay the roofing material.
Step 3: Lay the Rolled Roofing
Carefully place the rolled roofing material onto the adhesive. Start from the bottom of the roof and work your way up. This overlapping technique helps prevent water seepage and adds extra strength to your roof.
Hint: Ensure that each new layer overlaps the previous one by at least 2 inches.
Step 4: Secure the Edges
After laying down the main body of the roofing, focus on the edges. Use extra adhesive or roofing cement to seal the edges thoroughly. This step is crucial to prevent wind or water from lifting the roofing material.
Important: Check for any gaps and fill them promptly.
Step 5: Use a Roofing Roller
With everything in place, grab your roofing roller and press firmly on the entire surface. This ensures that the adhesive bonds properly and removes any trapped air pockets.
Step 6: Final Inspection
Once you’re done, step back and inspect your work. Look for any loose areas, bubbles, or unsealed edges. Make any necessary corrections while the adhesive is still workable.
Maintenance Tips for Your Rolled Roofing
Installing your roof is only half the battle; keeping it in tip-top shape is just as important. Here are some maintenance tips to help extend the life of your installation.
Regular Cleaning
Dust, debris, and moss can accumulate over time, so plan on cleaning your roof at least twice a year. A gentle wash with a soft brush and some soapy water usually does the trick.
Periodic Inspections
Set a reminder to inspect your roof every season. Look for signs of wear and tear, such as peeling edges or blistering. Early detection of issues can save you a heap of trouble down the road.
Prompt Repairs
If you notice any damage, don’t wait around. Addressing problems as soon as they crop up can prevent further deterioration and costly repairs later on.

Benefits of Using Rolled Roofing
Using Rolled Roofing: What It Is and How to Install It comes with a host of benefits that might just make you a convert. Here’s why homeowners and DIY enthusiasts alike swear by it.
Cost Savings
One of the biggest draws is the cost. Rolled roofing is significantly less expensive than traditional shingles, which makes it perfect for budget-conscious projects. With rolled roofing, you can achieve a durable, attractive roof without emptying your wallet.
Quick Installation
Time is money, and rolled roofing saves both. Its pre-cut, roll-on nature means you can have your roof installed in a matter of hours, rather than days. This quick turnaround is especially beneficial if you're working on a tight timeline.
Versatility and Adaptability
Rolled roofing isn’t just for one type of structure. It's widely used for sheds, garages, and even low-slope roofs on houses. Its flexibility means it can adapt to a variety of shapes and sizes, making it a great option for unconventional roof designs.
Low Maintenance Requirements
Once installed, rolled roofing requires minimal upkeep. Its robust design stands up well against the elements, meaning fewer repairs and a longer lifespan compared to some other roofing options.
Common Pitfalls and How to Avoid Them
Even the best DIY projects can hit a few snags. Here are some common issues you might encounter during installation—and how to steer clear of them.
Inadequate Surface Preparation
Skipping the cleaning and inspection stages is a big no-no. A dirty or damaged roof can lead to adhesion issues and a shorter lifespan for your rolled roofing. Always take the time to prepare the surface properly.
Poor Adhesive Application
Applying too little adhesive or not spreading it evenly can result in the roofing material lifting or bubbling. Make sure you apply a generous, uniform layer to avoid these headaches.
Insufficient Overlap
Not overlapping the rolls enough can lead to water leaks and reduce the overall durability of your roof. Always aim for at least a 2-inch overlap between each section.
Ignoring Weather Conditions
Installing rolled roofing in unfavorable weather—like high winds or heavy rain—can compromise the installation. Check the forecast and pick a calm, dry day for your project.
Rolled Roofing: What It Is and How to Install It – Expert Tips
Every DIY project has its secret hacks, and rolled roofing is no exception. Here are some insider tips to help you get the best results.
Work with a Partner
It might sound like common sense, but having an extra pair of hands makes a world of difference. A partner can help you unroll and align the roofing material, making the process smoother and more enjoyable.
Measure Twice, Cut Once
This old adage holds true in roofing. Accurate measurements are essential, so double-check your dimensions before making any cuts. A little extra time spent here can save you from wasted material and headaches later on.
Practice Patience
Rushing through the installation can lead to mistakes. Take your time, follow each step carefully, and don’t be afraid to redo a section if it doesn’t look right. Your roof will thank you for it in the long run.
Keep Tools Handy
Organize your tools and materials before you start. Having everything within reach not only saves time but also ensures you won’t have to take unscheduled trips up and down the ladder.
Maintenance and Longevity
Ensuring the longevity of your rolled roofing involves regular upkeep and prompt repairs. Here’s a closer look at how to maintain your roof for years to come.
Seasonal Maintenance Routine
Establish a seasonal routine to keep your roof in check:
Spring: Inspect for damage from winter storms and clean off any accumulated debris.
Summer: Check for signs of wear from the heat and secure loose edges.
Fall: Clear leaves and other debris, ensuring proper drainage.
Winter: Inspect after snowfall or ice melt for potential water damage.
Dealing with Wear and Tear
Even the best-installed roofs can suffer from wear and tear over time. Look for signs like blistering, peeling, or areas where the adhesive seems to be failing. Addressing these issues early can prevent minor problems from escalating into major repairs.
Upgrading Your Rolled Roofing
If you find that your rolled roofing isn’t performing as well as it used to, consider upgrading the adhesive or adding an extra protective layer. Sometimes a simple reapplication of roofing cement can extend the life of your roof by several years.
Creative DIY Projects with Rolled Roofing
Once you’ve mastered Rolled Roofing: What It Is and How to Install It, you might feel inspired to take on additional projects around your home. Here are a few creative ideas to get those DIY juices flowing:
Custom Outdoor Sheds
Transform your backyard with a custom-built shed using rolled roofing. Its lightweight and adaptable nature make it perfect for small structures, providing a durable yet affordable roofing option.
Garage Makeovers
Give your garage a facelift by replacing old, worn-out roofing with fresh, rolled roofing. Not only does it look great, but it also adds an extra layer of protection for your vehicles and tools.
Patio Covers and Gazebos
Enhance your outdoor living space with a charming patio cover or gazebo. Rolled roofing can be used to create a weather-resistant top, letting you enjoy your outdoor space come rain or shine.
Troubleshooting Common Installation Issues
Even the most careful DIY projects can run into unexpected hiccups. Here are some common issues you might encounter during installation and how to troubleshoot them effectively.
Uneven Surface Coverage
If you notice uneven patches or air pockets after rolling out the roofing, simply go over the area again with your roofing roller. Reapplying a bit of adhesive might also help smooth things out.
Misaligned Sections
Sometimes, despite your best efforts, the rolls might not line up perfectly. In such cases, carefully lift the section and reposition it. Remember, patience is key. Taking a moment to realign can save you from larger headaches down the road.
Adhesive Issues
What if your adhesive doesn’t seem to be working as expected? Double-check that you’re using the right type for your rolled roofing material, and ensure that the surface is completely clean and dry before application. If necessary, consult the manufacturer’s guidelines for any specific tips.
Rolled Roofing: What It Is and How to Install It – In Summary
In a nutshell, Rolled Roofing: What It Is and How to Install It is all about combining affordability, ease of installation, and versatility. Whether you're fixing up a shed or giving your home a new look, rolled roofing offers a practical solution that even novice DIYers can tackle with a little know-how and elbow grease. With proper preparation, a bit of patience, and regular maintenance, your new roof can stand the test of time.
Final Thoughts
Taking on a roofing project might seem daunting at first, but with the right approach, it can be a rewarding experience. Rolled roofing not only saves you money but also gives you a sense of pride in a job well done. So, why not roll up your sleeves and give it a try? Remember, each step—from surface preparation to final inspection—plays a crucial role in ensuring a durable, long-lasting roof.
By following the tips and steps outlined in this article, you’ll be well on your way to mastering Rolled Roofing: What It Is and How to Install It. Whether you're fixing up an old garage or adding a stylish new shed, you'll find that this roofing solution is both efficient and effective. And if you ever hit a snag, there's always a wealth of resources and expert advice available to help you along the way.
Conclusion
In wrapping up our deep dive into Rolled Roofing: What It Is and How to Install It, it's clear that this roofing option stands out for its simplicity, cost-effectiveness, and ease of installation. With the right tools, a bit of patience, and the tips shared in this guide, you can tackle your next roofing project with confidence. Whether you're updating an old shed, sprucing up a garage, or exploring new DIY projects, rolled roofing offers a practical and attractive solution that won't let you down.
So, are you ready to take on your next roofing adventure? With a little preparation and a can-do attitude, you'll soon be enjoying the benefits of a freshly installed, durable roof that not only looks great but also stands up to the elements. Happy roofing, and here's to many more successful DIY projects in the future!
Frequently Asked Questions
What is rolled roofing made of?
Rolled roofing is typically composed of asphalt and fiberglass, making it a flexible and cost-effective roofing option.Is it as durable as traditional shingles?
While it might not last as long as premium shingles, it offers a robust solution for sheds, garages, and low-slope roofs with proper maintenance.How long does installation take?
Most DIYers can install rolled roofing in just a few hours, though larger roofs might require more time.Can you install it in rainy conditions?
It's best to choose a dry day for installation, as moisture can interfere with the adhesive and overall installation quality.Do I need professional help?
Rolled roofing is designed for easy DIY installation, but if your roof is unusually large or complicated, seeking professional advice might be a wise move.
Stay up to date with our latest ideas!