How to Build a Cabinet: Step-by-Step Guide
Looking to build your own cabinet? This step-by-step guide will walk you through everything you need to know, from materials to tools, to create a beautiful and functional cabinet for your home.
Whether you're an experienced DIYer or a novice looking for a fun project, building a cabinet is a great way to add personalized storage to your home. Cabinets are the backbone of any home, providing both style and function to your kitchen, bathroom, or living area. But what’s the best way to start? How to build a cabinet?
In this detailed step-by-step guide, we’ll cover everything you need to know about building your own cabinet—from gathering materials to finishing touches. So roll up your sleeves, grab your tools, and let's get started!
Materials Needed for Cabinet Construction
Before you dive into your project, let’s get everything you need sorted out. Gathering the proper materials is a crucial first step when learning how to build a cabinet.
1. Wood Selection
The first thing you’ll need is wood. There are many types of wood, but the most common choices for building cabinets are plywood, MDF (Medium-Density Fiberboard), and solid wood. Each has its pros and cons, so let’s break it down:
Plywood: Plywood is a strong, durable, and affordable option. It’s commonly used for the body of the cabinet because it’s easy to work with and less prone to warping.
MDF: MDF is great for smooth surfaces, making it ideal for cabinet doors. It’s cheaper than solid wood, but it can be heavy and not as durable as plywood.
Solid Wood: If you're going for a high-end, classic look, solid wood is your best bet. It’s more expensive, but it offers strength and a natural, timeless aesthetic.
2. Tools You'll Need
Here are the basic tools you'll need for this project:
Measuring tape
Circular saw or table saw: For cutting your wood to the right dimensions.
Drill: To make holes for screws and hardware.
Screws and wood glue: To hold your cabinet together.
Level: Ensures that your cabinet is perfectly aligned.
Clamps: For securing pieces as you glue them together.
Sandpaper: To smooth the surfaces before painting or staining.
3. Hardware
In addition to the wood and tools, you’ll need a few extra materials to complete your cabinet:
Cabinet hinges
Handles or knobs
Shelf brackets (if applicable)
How to Build a Cabinet: Step-by-Step
Now, let’s get down to business. Here’s a comprehensive step-by-step guide on how to build a cabinet from start to finish.
Step 1: Plan Your Cabinet
Before you begin cutting any wood, you need a solid plan. Think about the dimensions, style, and functionality of the cabinet. Do you want doors? Drawers? Will it have shelves? Answering these questions will determine the type and size of wood you need.
Tips for Planning:
Sketch out your cabinet design.
Measure the available space carefully.
Determine if you want a wall-mounted or freestanding cabinet.
Step 2: Cut the Wood to Size
Once your plans are ready, start cutting the wood pieces. This will include the sides, bottom, and top panels of your cabinet. Use your circular saw to cut the wood into precise measurements. Double-check your measurements to avoid mistakes.
Pro Tip:
If you're not comfortable using a circular saw, consider having the wood pre-cut at your local hardware store.
Step 3: Assemble the Cabinet Frame
Now, it’s time to put the frame together. Take the four vertical pieces (two sides, top, and bottom), and use wood glue and screws to attach them. First, apply glue to the edges of the panels, then secure the pieces together with screws.
Tip for Alignment:
Ensure your cabinet is perfectly square by using a level and a carpenter’s square during installation. Regularly checking alignment as you work helps avoid crooked angles and uneven surfaces, ensuring the cabinet fits properly and functions correctly while maintaining a professional, polished appearance in your space.
Step 4: Install the Back Panel
After assembling the frame, attach the back panel to enhance the cabinet's stability. Cut the panel to fit precisely, then secure it with glue and screws along the edges of the frame. This reinforcement not only strengthens the structure but also ensures durability and proper alignment for the finished cabinet.
Step 5: Sand the Edges
Before installing doors or shelves, ensure your cabinet surfaces are smooth and free of imperfections. Use sandpaper to eliminate rough spots, splinters, or uneven edges. Taking the time to prepare the surfaces properly is essential for achieving a polished, professional-looking finish that enhances the overall appearance and functionality of your cabinet.
How to Install Cabinet Doors and Shelves
6. Prepare the Doors
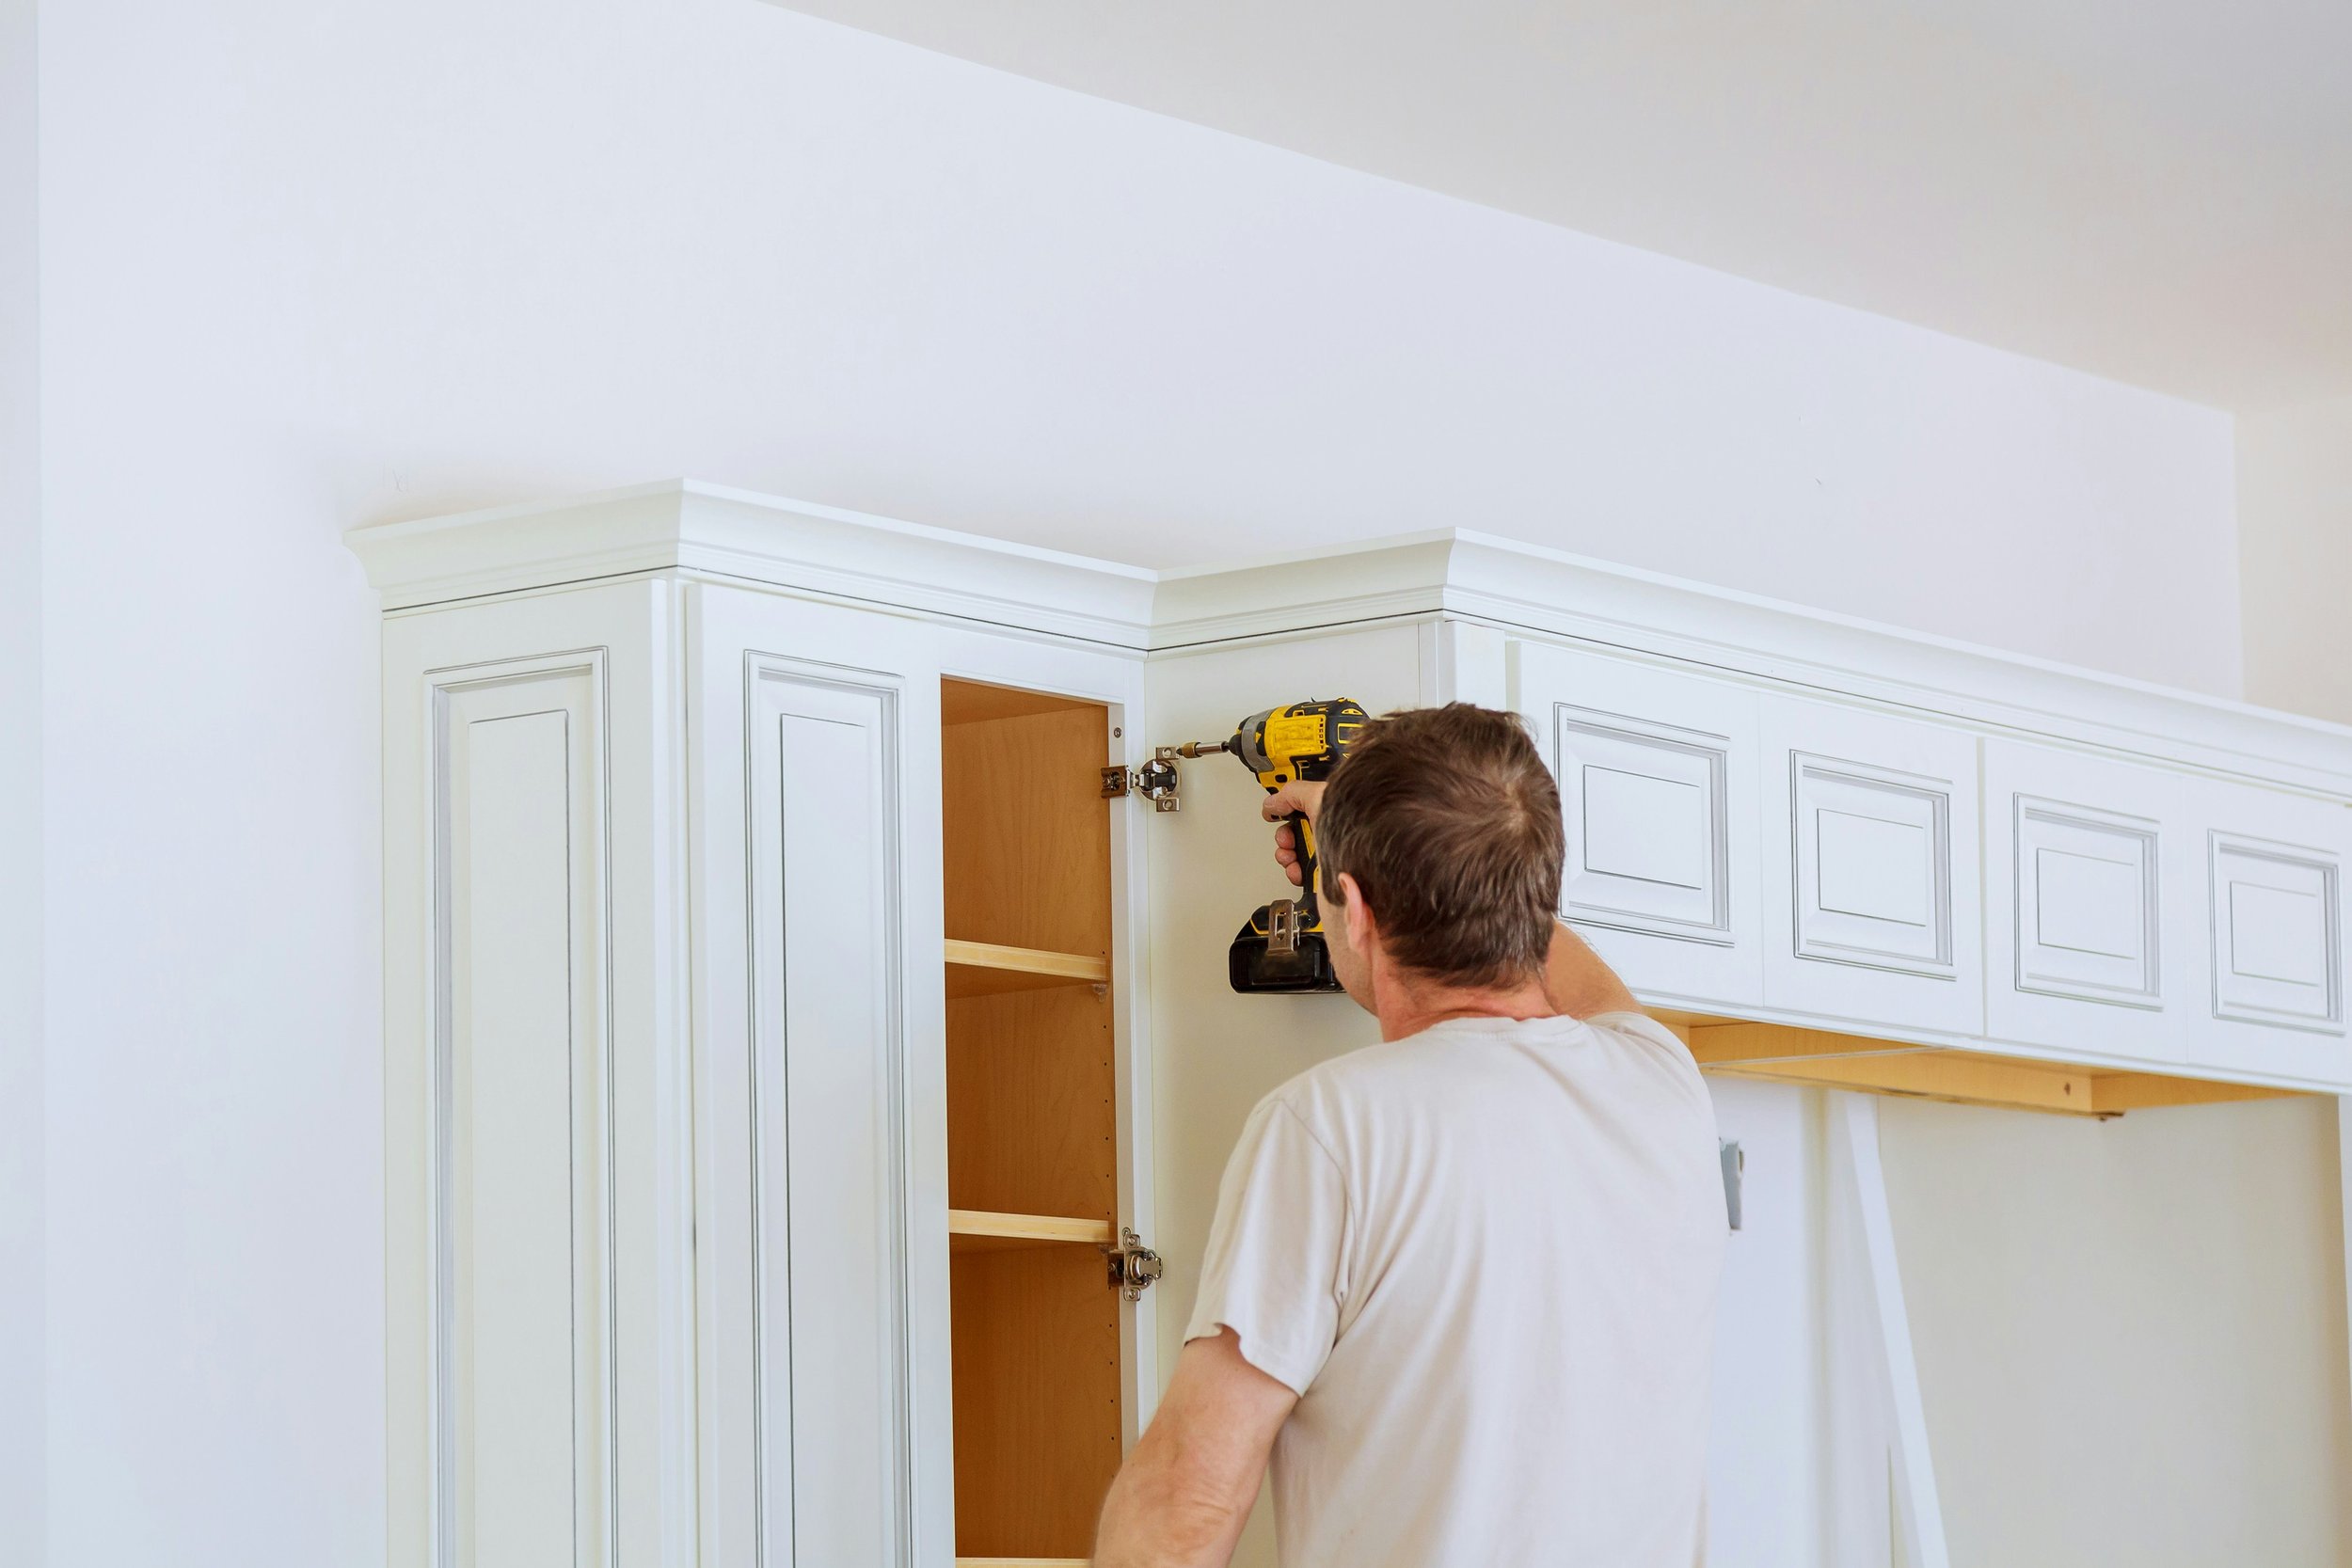
The next step is to build or install your cabinet doors. If you’re using pre-made doors, you can skip this part. If you’re making your own, cut the pieces of wood to size, and attach them to the cabinet frame using hinges.
Pro Tip:
Ensure your doors are properly aligned before securing the hinges. You might need to adjust the hinges to get the perfect fit.
7. Install the Shelves
Now that the doors are done, you can move on to installing shelves. Measure where you want the shelves to go, and use shelf brackets to support them. Make sure the shelves are level by using a spirit level.
Finishing Touches: Staining, Painting, and Hardware Installation
8. Sand and Finish the Cabinet
Once the structure and shelves are in place, it’s time to give your cabinet a polished look. If you're staining the wood, make sure to sand it smooth before applying a coat of stain. For painting, choose a paint that’s designed for wood surfaces, and be sure to apply a primer before painting.
Tip for a Professional Finish:
Apply multiple coats of stain or paint, letting each coat dry fully between applications.
9. Install the Handles or Knobs
The final step is to install your cabinet hardware. This includes attaching the handles or knobs to the doors and drawers. Use a drill to make holes where the hardware will go, then screw the hardware in place.
Conclusion
There you have it, folks! Whether you're building a cabinet for your kitchen, bathroom, or living room, the steps above will guide you through the process from start to finish. How to build a cabinet can be a fun, rewarding project with the right tools and a little patience. So gather your materials, follow this step-by-step guide, and you’ll have a stunning, custom cabinet in no time.
Read next: How to Make DIY Shaker Cabinet Doors at Home
Frequently Asked Questions
1. Can I build a cabinet without experience?
Yes! With the right tools, patience, and a clear plan, even a beginner can successfully build a cabinet. Just make sure to take your time and measure carefully.
2. How long does it take to build a cabinet?
It usually takes anywhere from 1 to 3 days to build a basic cabinet, depending on your skill level and whether you’re building custom doors and shelves.
3. What is the best wood for building cabinets?
Plywood is the most common wood used for cabinet construction due to its affordability and strength. For a more polished finish, MDF or solid hardwood may be used.
4. Do I need special tools to build a cabinet?
Basic tools like a circular saw, drill, and screws are all you need for building a cabinet. However, having clamps and a carpenter’s square will make the job much easier.
5. Can I use screws instead of nails for the cabinet?
Yes! Screws are often a better choice because they provide a stronger hold and are less likely to come loose over time.


