How to Stain Wood Furniture for a Perfect Finish
Learn how to stain wood furniture for a perfect finish with our step-by-step guide. From preparation to application, get tips for achieving a flawless, professional look every time.
So, you've got a piece of wood furniture that’s screaming for a makeover, huh? Whether it’s a flea market find or an old favorite in need of TLC, staining wood furniture is one of the best ways to breathe new life into it. But let’s be honest—getting that perfect finish takes a little know-how and a lot of patience. Don’t fret, though! This guide has got you covered. By the time you’re done, you’ll know exactly how to stain wood furniture for a perfect finish.
Ready to roll up your sleeves and get to work? Let’s dive in!
What You’ll Need to Get Started
Before you even think about cracking open that can of stain, take a moment to gather all your supplies. Trust me, there’s nothing worse than starting a project only to realize you’re missing something crucial halfway through. You’ll need sandpaper in varying grits, a clean, lint-free cloth, your chosen stain, and possibly a wood conditioner to ensure an even application. Don’t forget protective gloves to keep your hands stain-free and a tarp or drop cloth to protect your workspace. A good-quality brush or foam applicator will make the staining process a breeze, and having a sealant or polyurethane ready will ensure a durable finish. Being prepared not only saves time but also helps achieve that flawless, professional look you’re aiming for.
Supplies Checklist
Wood furniture (obviously!)
Sandpaper (various grits: 80, 120, and 220)
Clean, lint-free cloths
Wood stain of your choice
Wood conditioner (optional but highly recommended)
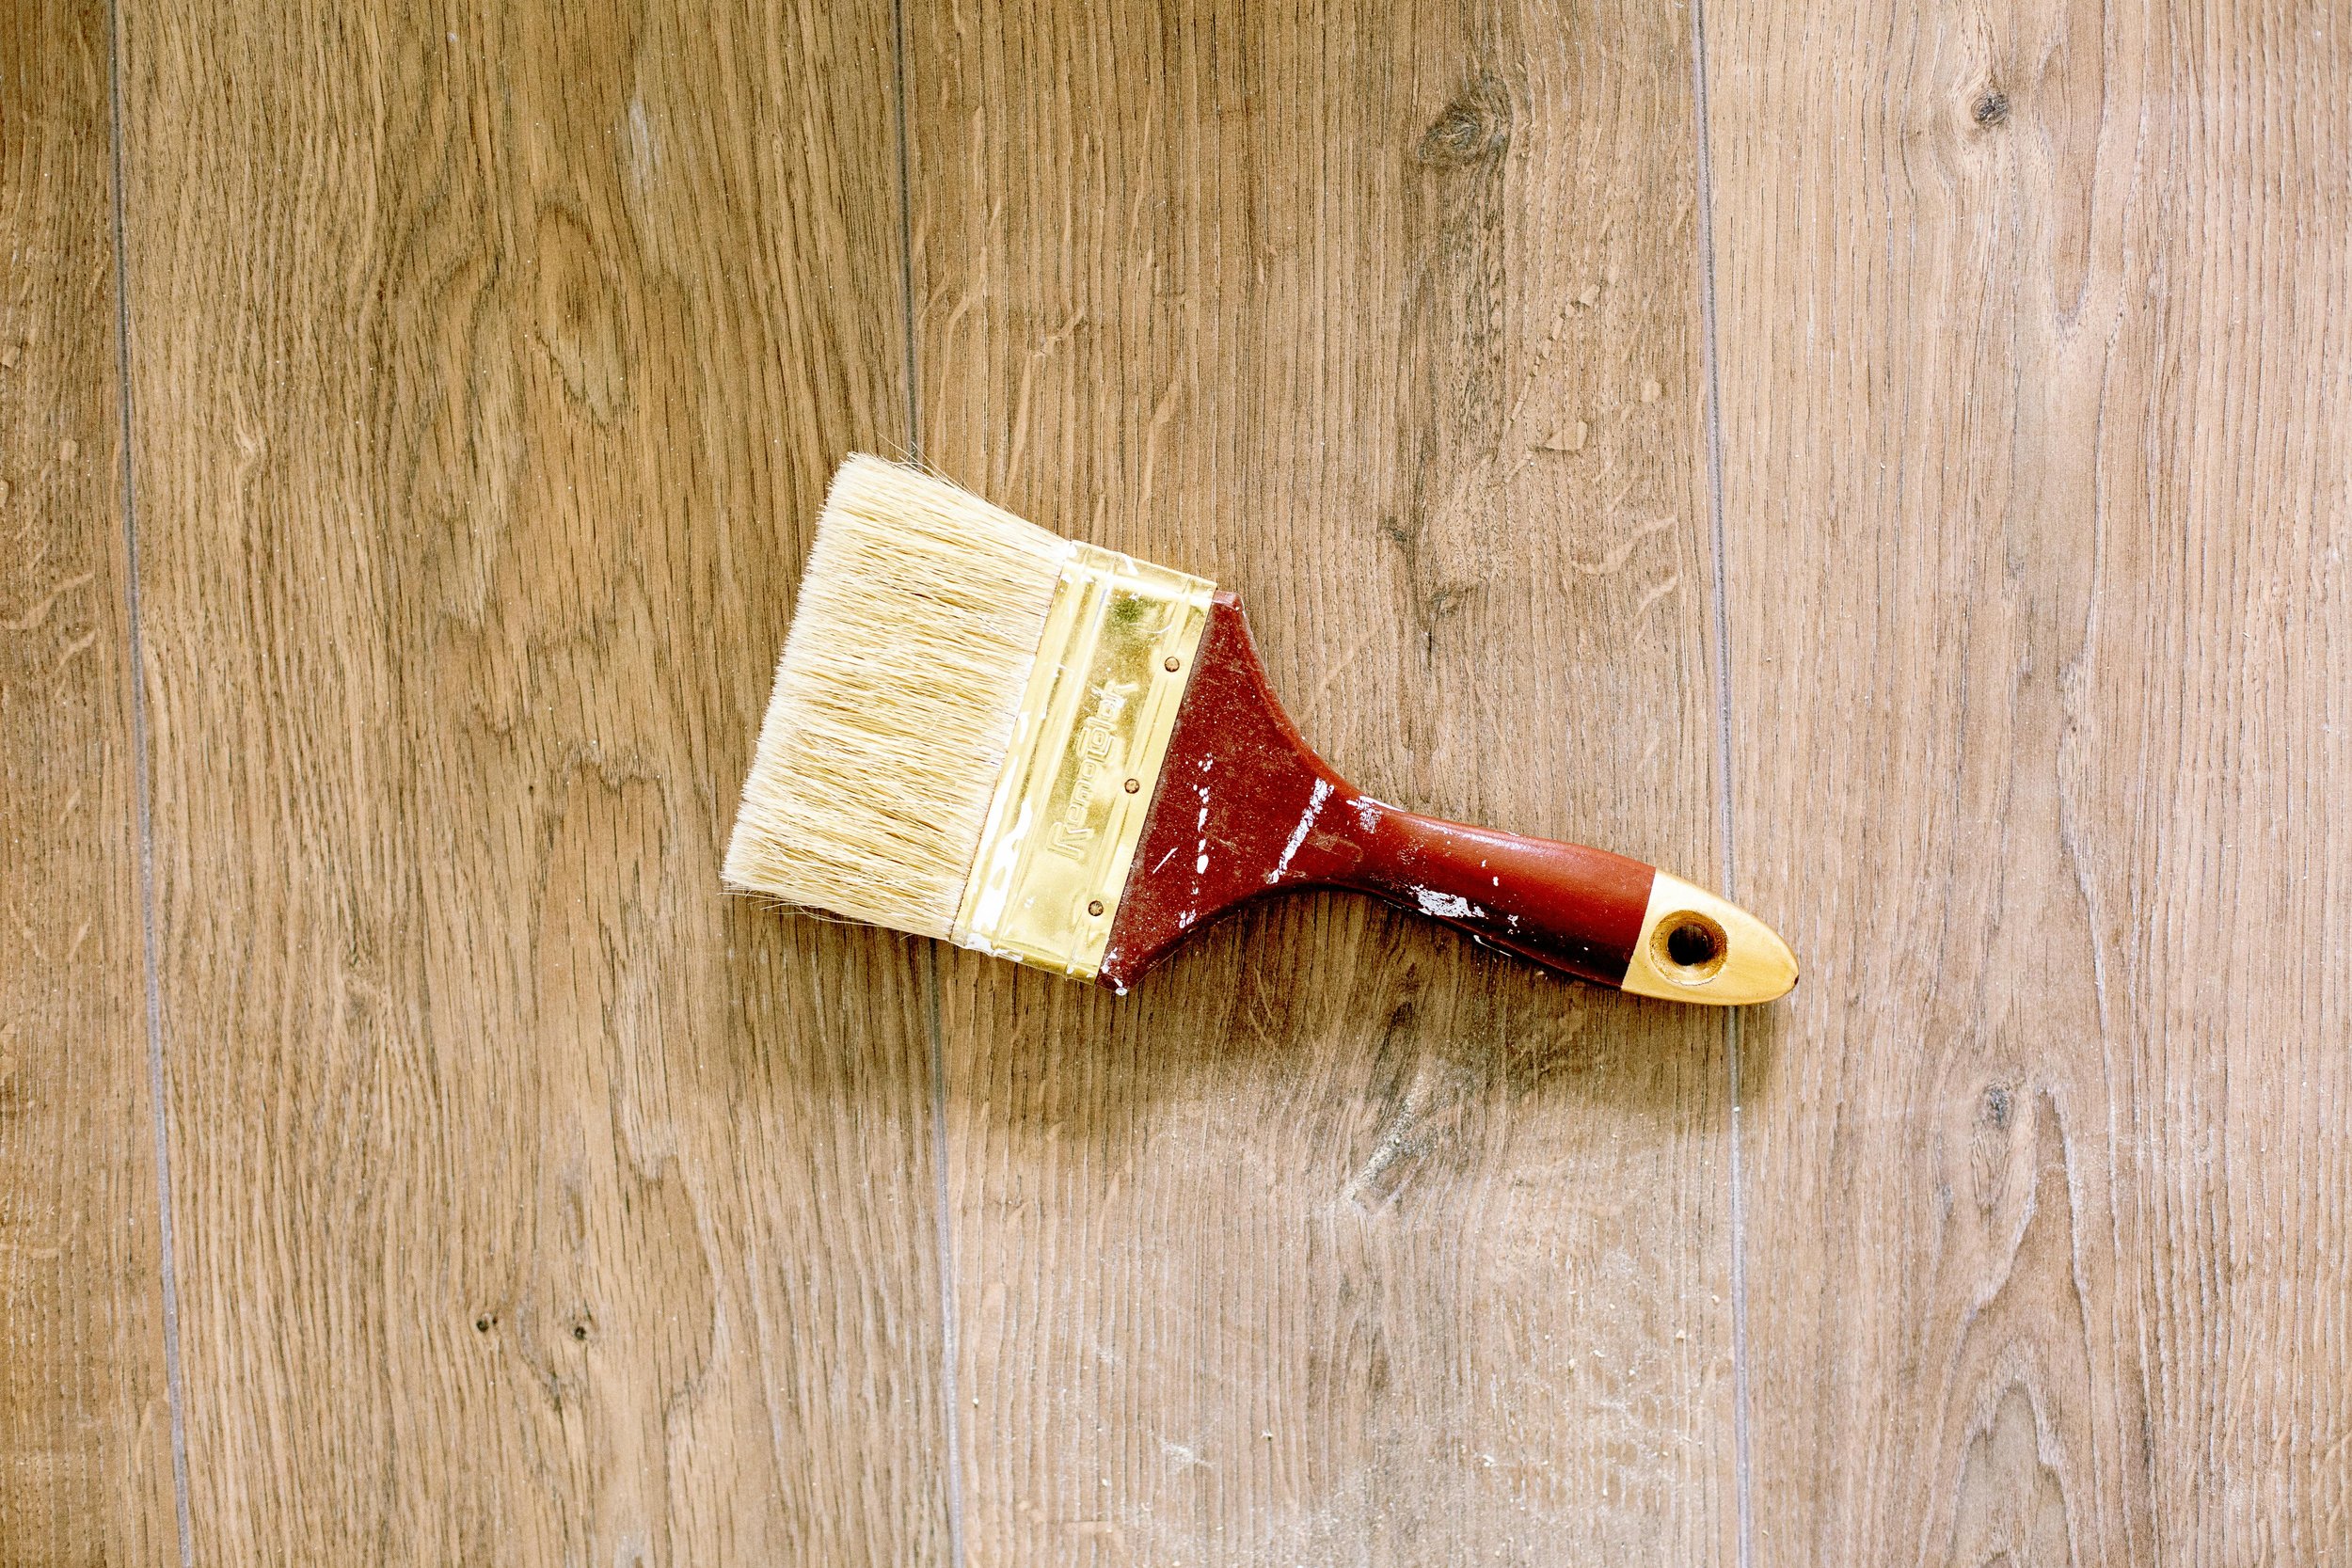
Paintbrush or foam brush
Protective gloves
Drop cloth or tarp
Polyurethane or wood sealant
Step 1: Prepare Your Workspace
Staining can get messy, so setting yourself up for success is key. Start by choosing the perfect spot—work in a well-ventilated area like an open garage or even outdoors to avoid inhaling strong fumes. Next, protect your surroundings by laying down a drop cloth or tarp to catch any drips or splatters that might escape your brush. Trust me, cleaning up stain spills is no picnic! Finally, don’t forget to dress the part. Slip on a pair of protective gloves to keep your hands stain-free and save yourself from scrubbing stubborn marks later. By prepping your workspace and yourself, you’ll ensure a smoother, cleaner process and can focus entirely on achieving that beautiful, professional finish.
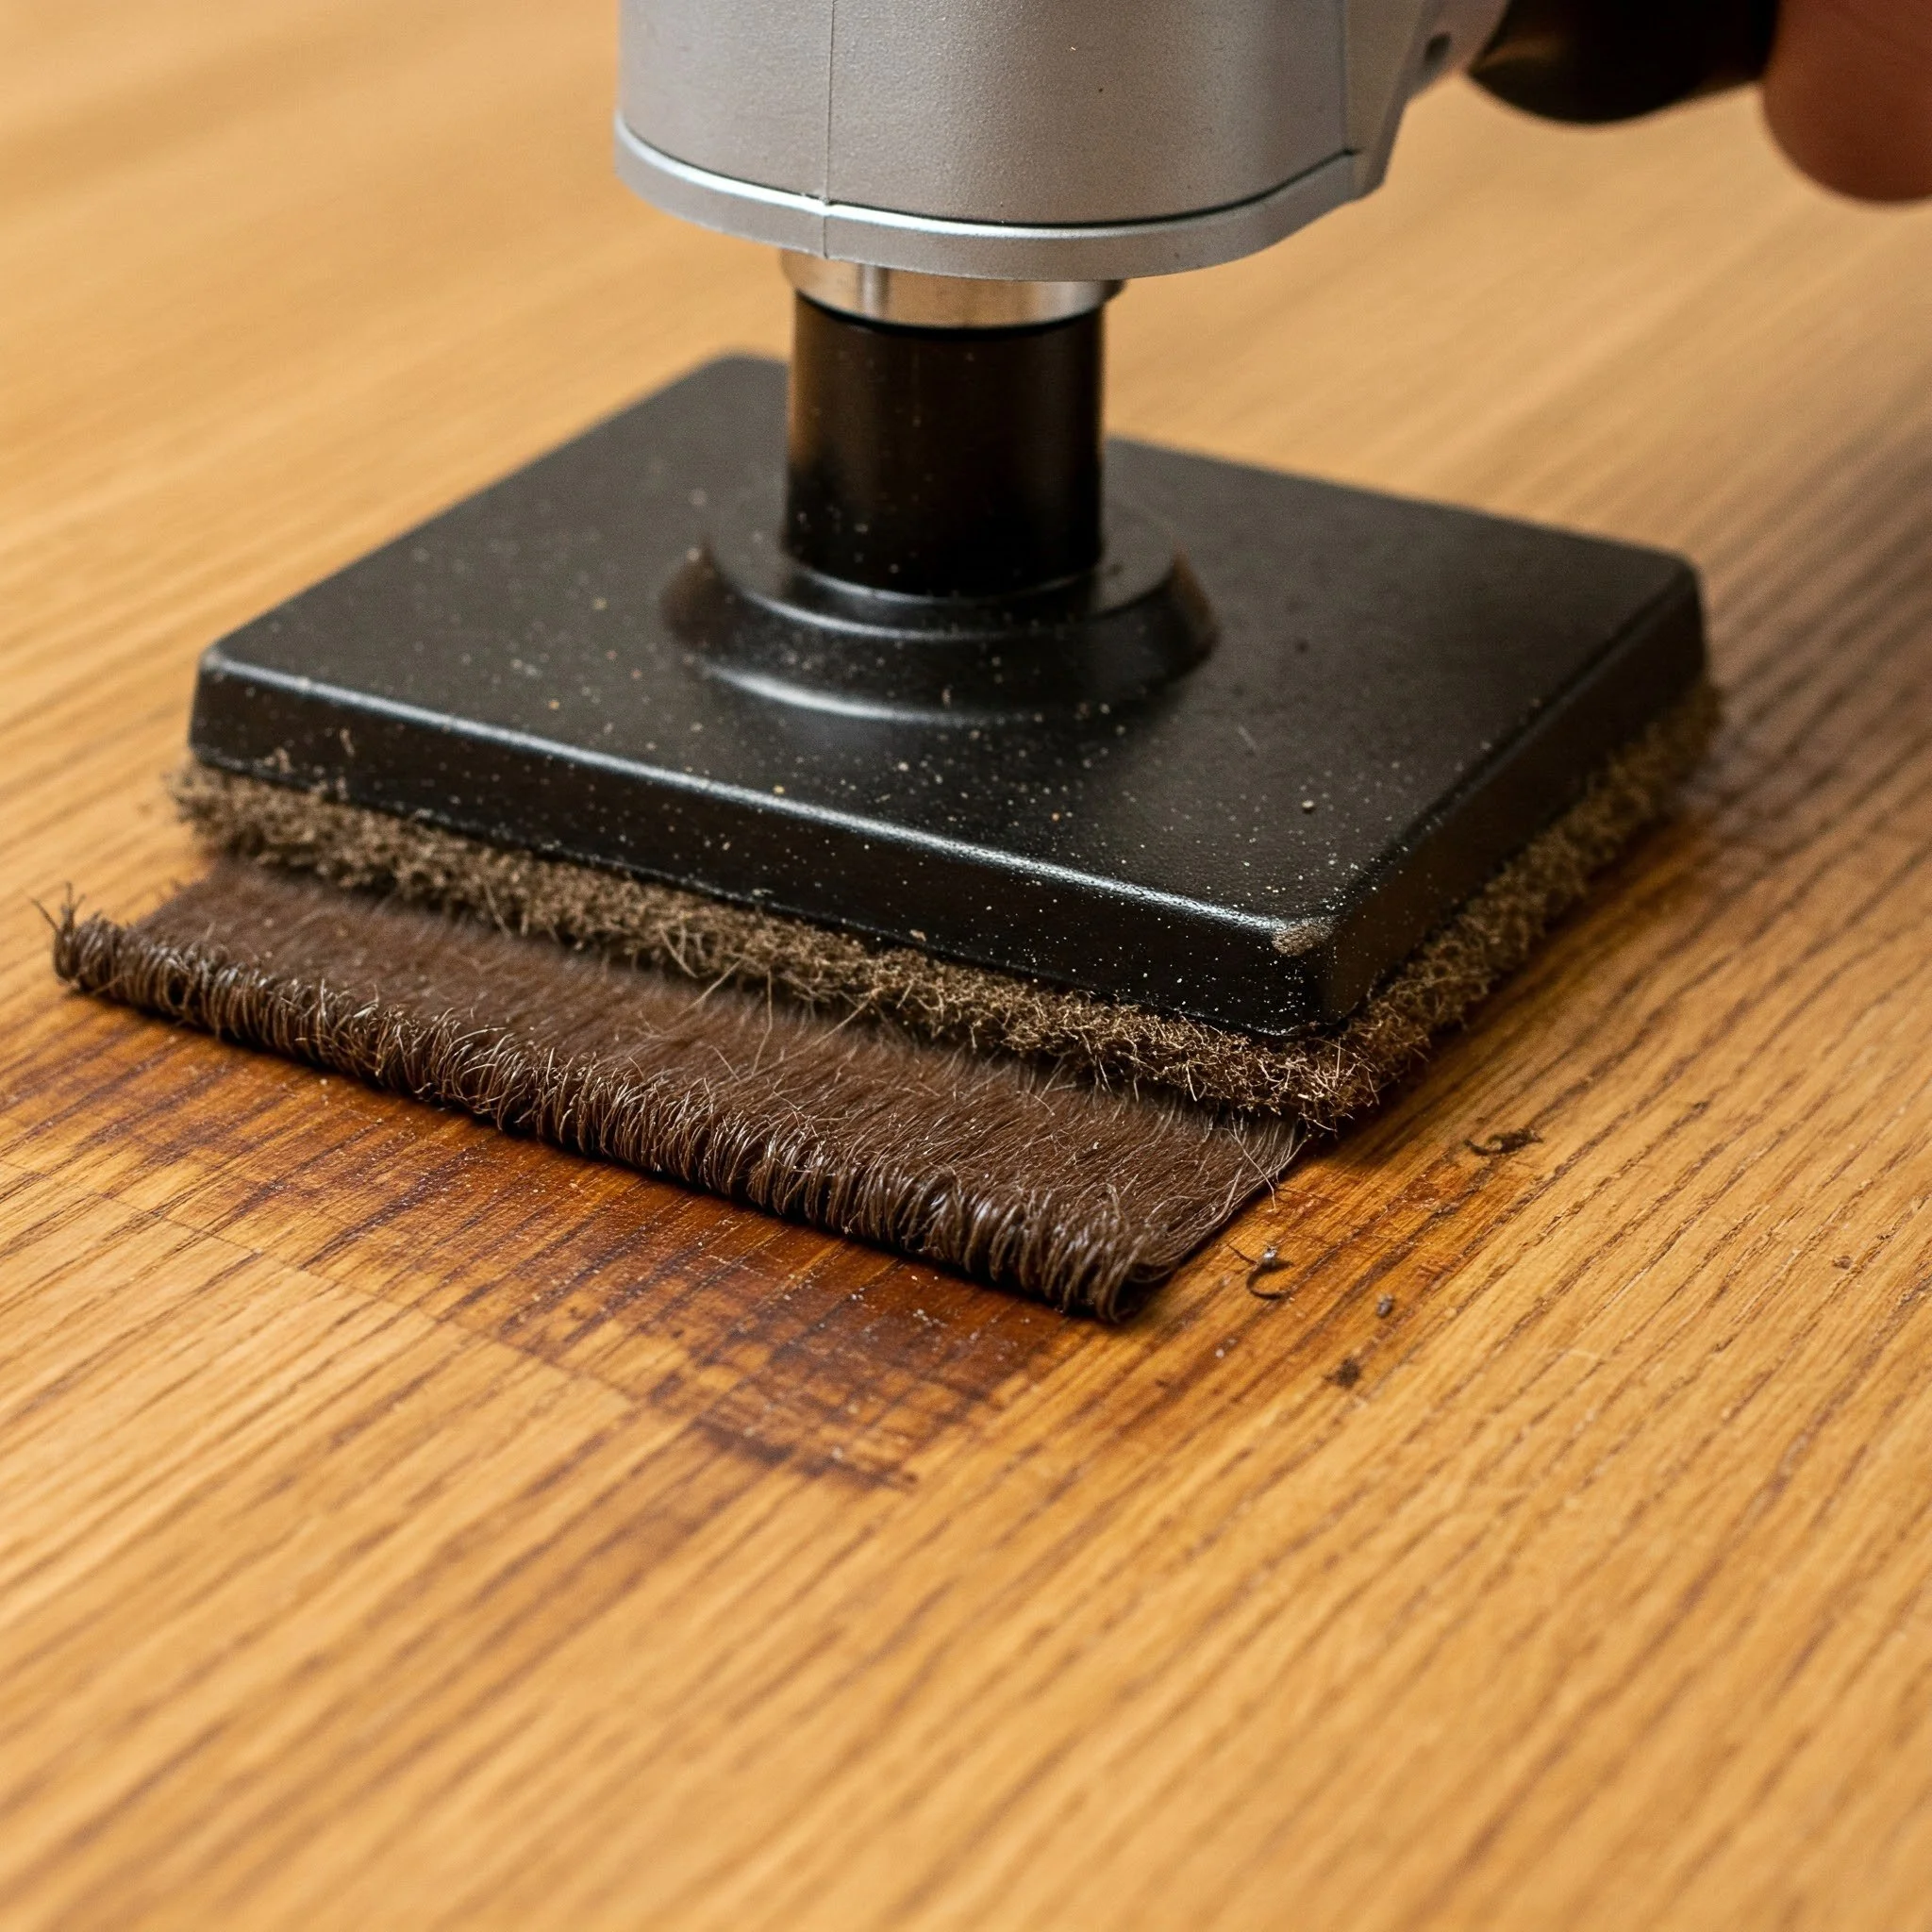
Step 2: Sand Like a Pro
Ah, sanding—the unsung hero of a flawless finish. Skip this crucial step, and you’re practically inviting disappointment. Start rough with 80-grit sandpaper to tackle old finishes, scratches, or blemishes that mar the wood’s surface. Once the rough work is done, smooth things out with 120-grit, and then finish the job with 220-grit for a velvety, baby-soft texture. Sanding in stages ensures the wood is perfectly prepped to absorb the stain evenly. But don’t stop there—wipe it down with a damp cloth to remove every speck of dust. Leftover particles might seem harmless, but they can turn your stain job into a patchy mess. Trust me, a little extra effort here makes all the difference in the final result.
Step 3: Apply Wood Conditioner
Using a wood conditioner isn’t mandatory, but trust me—it’s a total game-changer, especially for porous woods like pine that tend to absorb stain unevenly. Applying it is simple: use a brush or cloth to spread the conditioner evenly over the wood’s surface, making sure to cover every nook and cranny. Let it sit for 10-15 minutes to work its magic, then wipe off any excess with a clean cloth. So, why bother with this extra step? It ensures the stain absorbs smoothly and evenly, eliminating blotches and streaks that can ruin your project. Think of it as the foundation for a flawless finish, giving your wood that polished, professional look you’re aiming for with minimal effort.
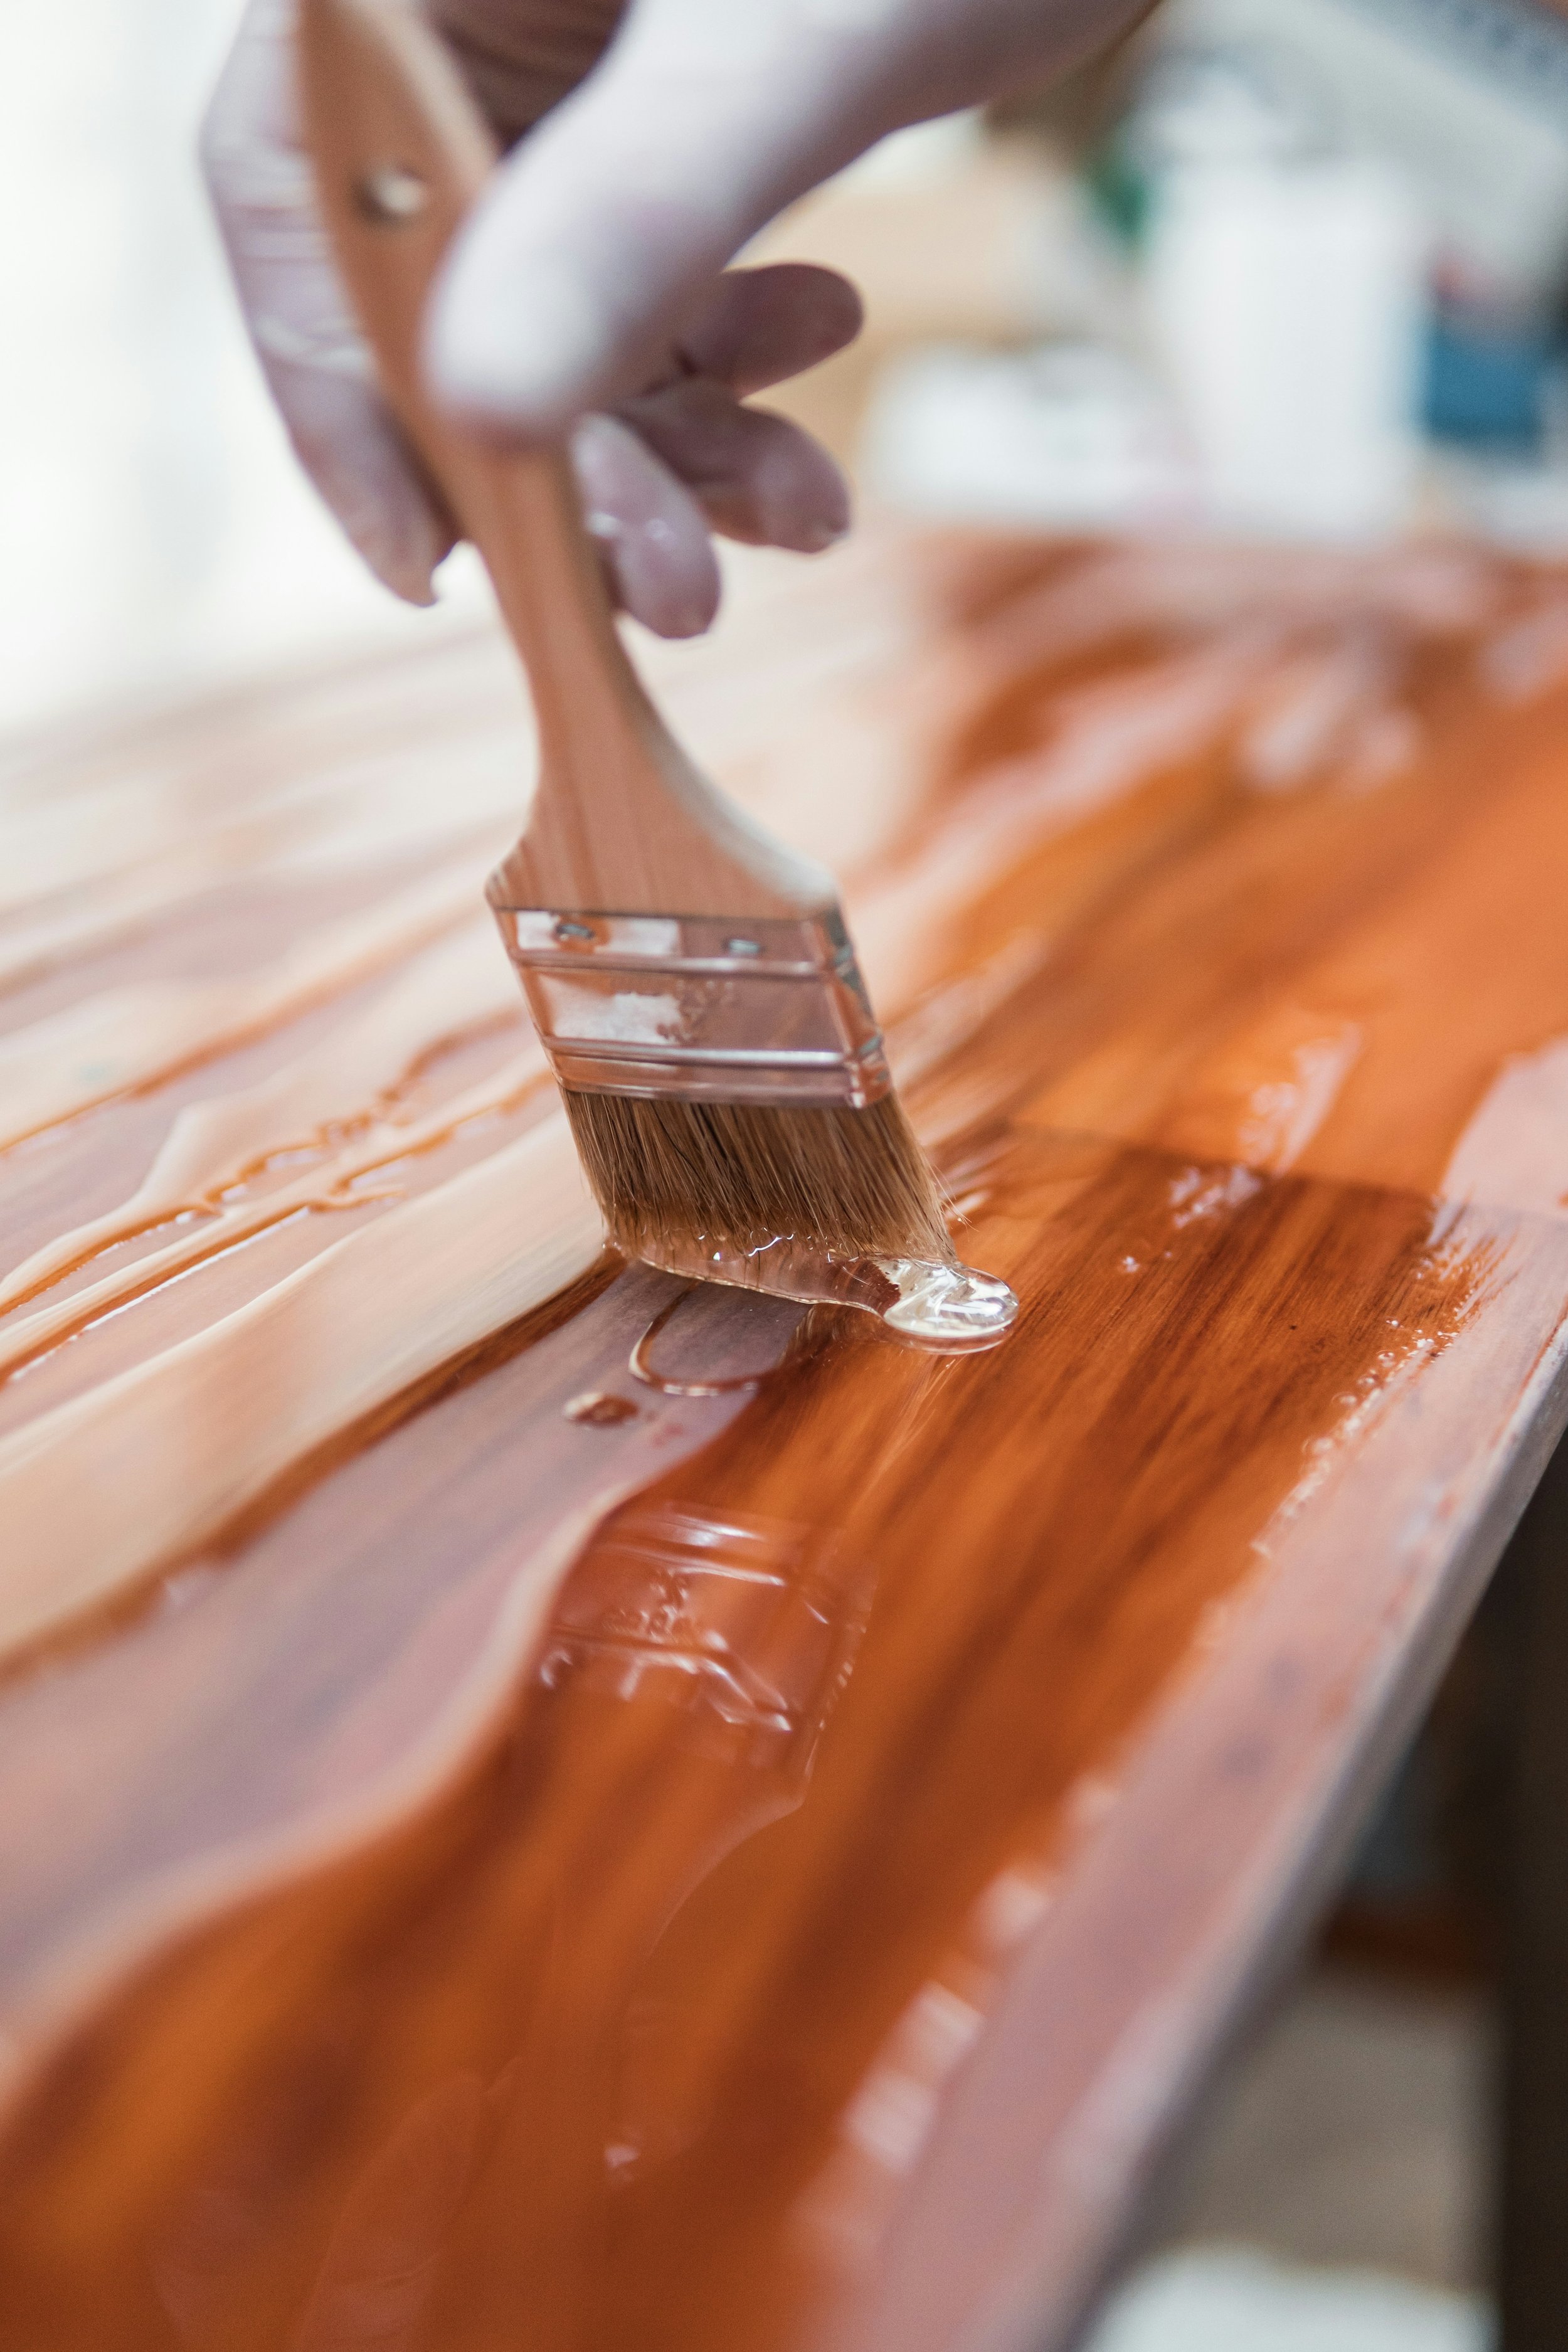
Step 4: Stain Time!
Here’s where the magic truly happens, but take it slow—rushing this step is a surefire way to ruin your hard work. Start by testing the stain on a scrap piece of wood or an inconspicuous spot to see how it’ll look. Trust me, this small step saves a lot of heartache. Once you’re happy with the color, grab a clean cloth, foam brush, or paintbrush, and apply a thin, even coat, always following the grain. This isn’t just about appearances; it helps the stain absorb properly. After letting it sit for 5-15 minutes (check the instructions), wipe off the excess with a lint-free cloth. Remember, the longer it sits, the richer and darker the color will be.
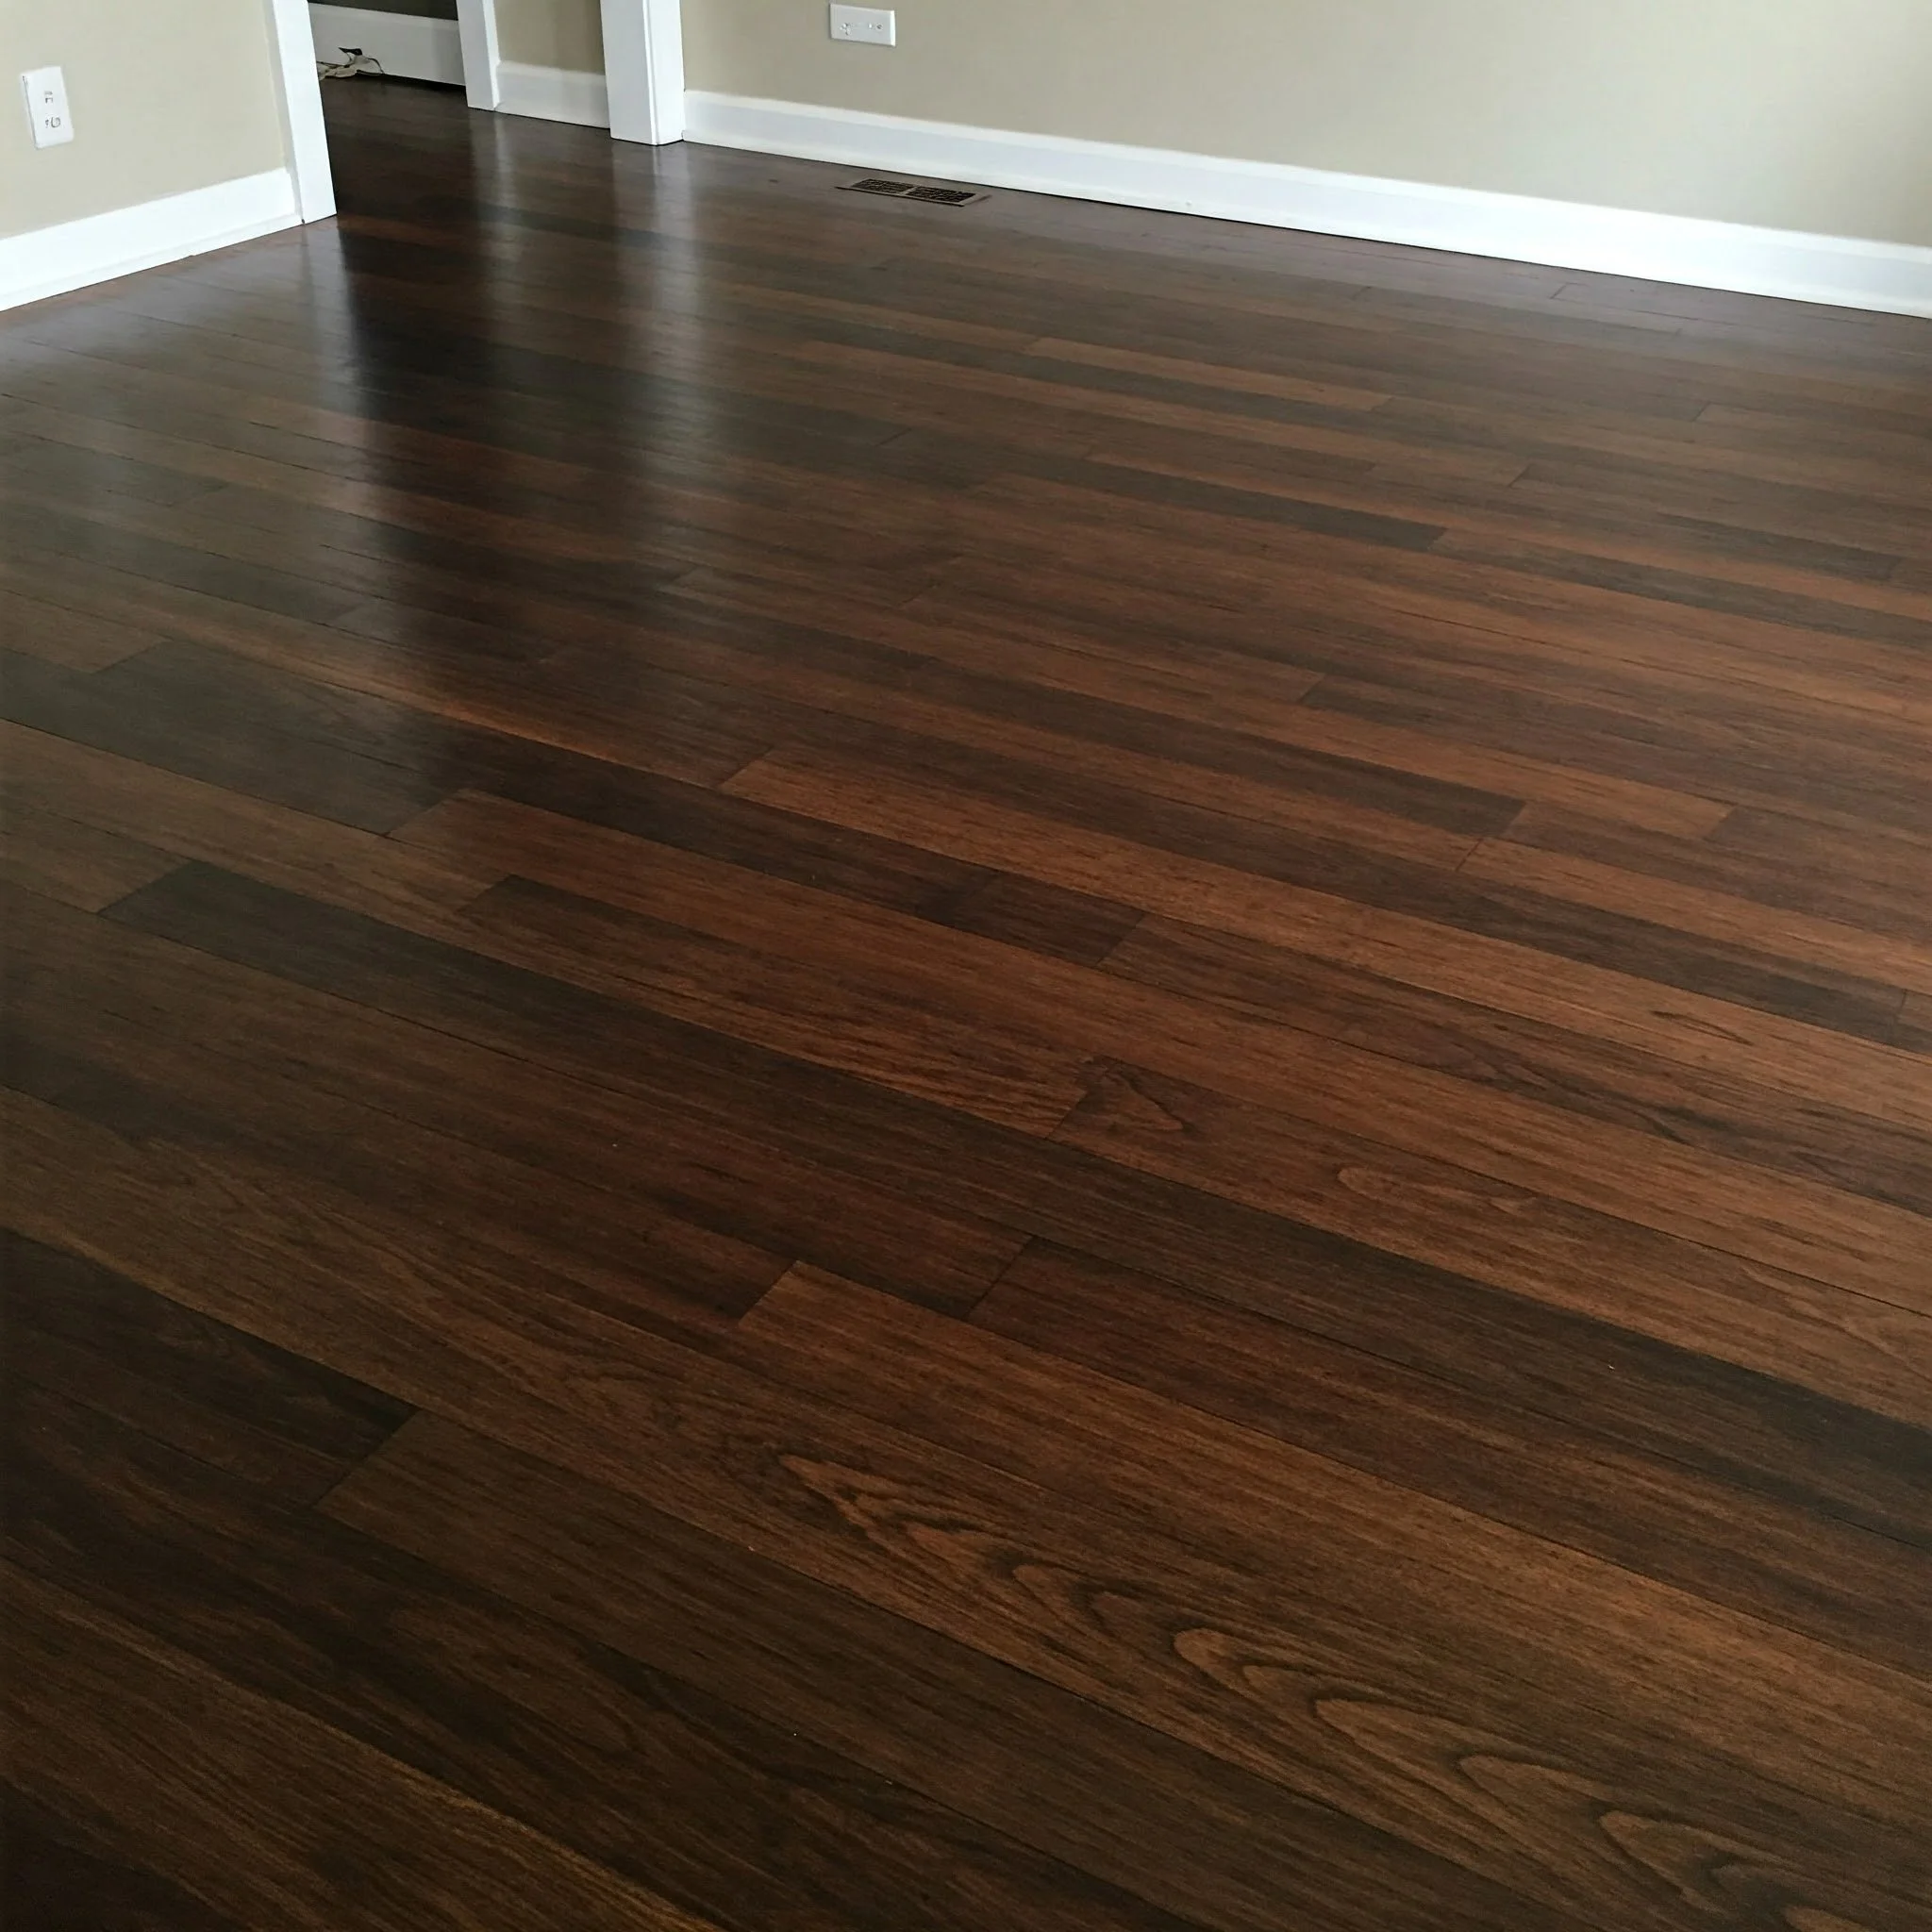
Step 5: Repeat for Richer Color
Want a deeper, richer hue? No problem—you can always apply another coat of stain once the first one dries completely, which usually takes around 4-6 hours (but double-check the instructions on your stain). Adding multiple coats allows you to build up the color to your liking, but there’s one little secret to ensuring a flawless finish: lightly sand the surface with 220-grit sandpaper between coats. This step smooths out any raised wood fibers and ensures the next layer adheres perfectly. After sanding, wipe away any dust with a clean cloth before applying the next coat. Take your time with this process, and you’ll be rewarded with a beautifully deep and even color that enhances your furniture’s natural charm.
Step 6: Seal the Deal
A beautifully stained piece of wood furniture is undeniably stunning, but without protection, it’s vulnerable to wear and tear. That’s where a good sealant steps in to save the day. Start by choosing the finish that matches your style—whether it’s glossy, matte, or somewhere in between. Apply a thin, even coat of polyurethane or your preferred sealant with care, using a high-quality brush for smooth application. Once the first layer dries, lightly sand the surface with 220-grit sandpaper to eliminate any imperfections and ensure the next coat adheres perfectly. Repeat this process for 2-3 coats, letting each one dry completely. The result? A durable, flawless finish that preserves your wood furniture’s beauty for years to come.
Common Mistakes to Avoid
Skipping the sanding process? Don’t even think about it! Proper sanding is the backbone of a flawless finish, and skipping it will only lead to disappointment. Another common mistake is applying too much stain in one go—resist the urge! Thin, even layers are your best bet for a smooth, professional look. Piling it on can lead to uneven absorption and blotches that are tough to fix. And let’s not forget the golden rule: always test your stain beforehand. Apply it to a scrap piece of wood or an inconspicuous area to see how it looks once it dries. Trust me, a quick test can save you from a major project fail. Take your time and follow these steps for a stunning result!
Conclusion
And there you have it—everything you need to know about how to stain wood furniture for a perfect finish. Whether you’re going for a cozy rustic vibe or a sleek modern look, staining is a fantastic way to highlight the natural beauty of wood. Sure, it might take a little elbow grease, but the payoff is absolutely worth it. From proper sanding to careful staining and sealing, every step plays a vital role in achieving that flawless, professional finish. So, grab your sander, choose the perfect stain, and dive in with confidence. With a bit of patience and effort, you’ll transform your wood furniture into a stunning piece that you can be proud of. You’ve got this!
Frequently Asked Questions
1. Do I need to sand furniture before staining?
Absolutely! Sanding ensures the stain adheres properly and looks smooth and even.
2. Can I stain over old varnish?
Not really. You’ll need to sand off the old varnish first; otherwise, the stain won’t penetrate the wood.
3. How long does wood stain take to dry?
Most stains dry in 4-6 hours, but always check the manufacturer’s instructions.
4. What type of wood stain should I use?
It depends on your project! Oil-based stains are durable, while water-based ones are easier to clean up and dry faster.
5. Can I mix wood stains to create a custom color?
Yep! Just mix small amounts first to test the color before committing.
Stay up to date with our latest ideas!