How to Stain Hardwood Floors: Step-by-Step Guide
Want to learn how to stain hardwood floors? Follow this easy step-by-step guide to give your floors a fresh, vibrant look. Get expert tips and tricks to ensure a flawless finish.
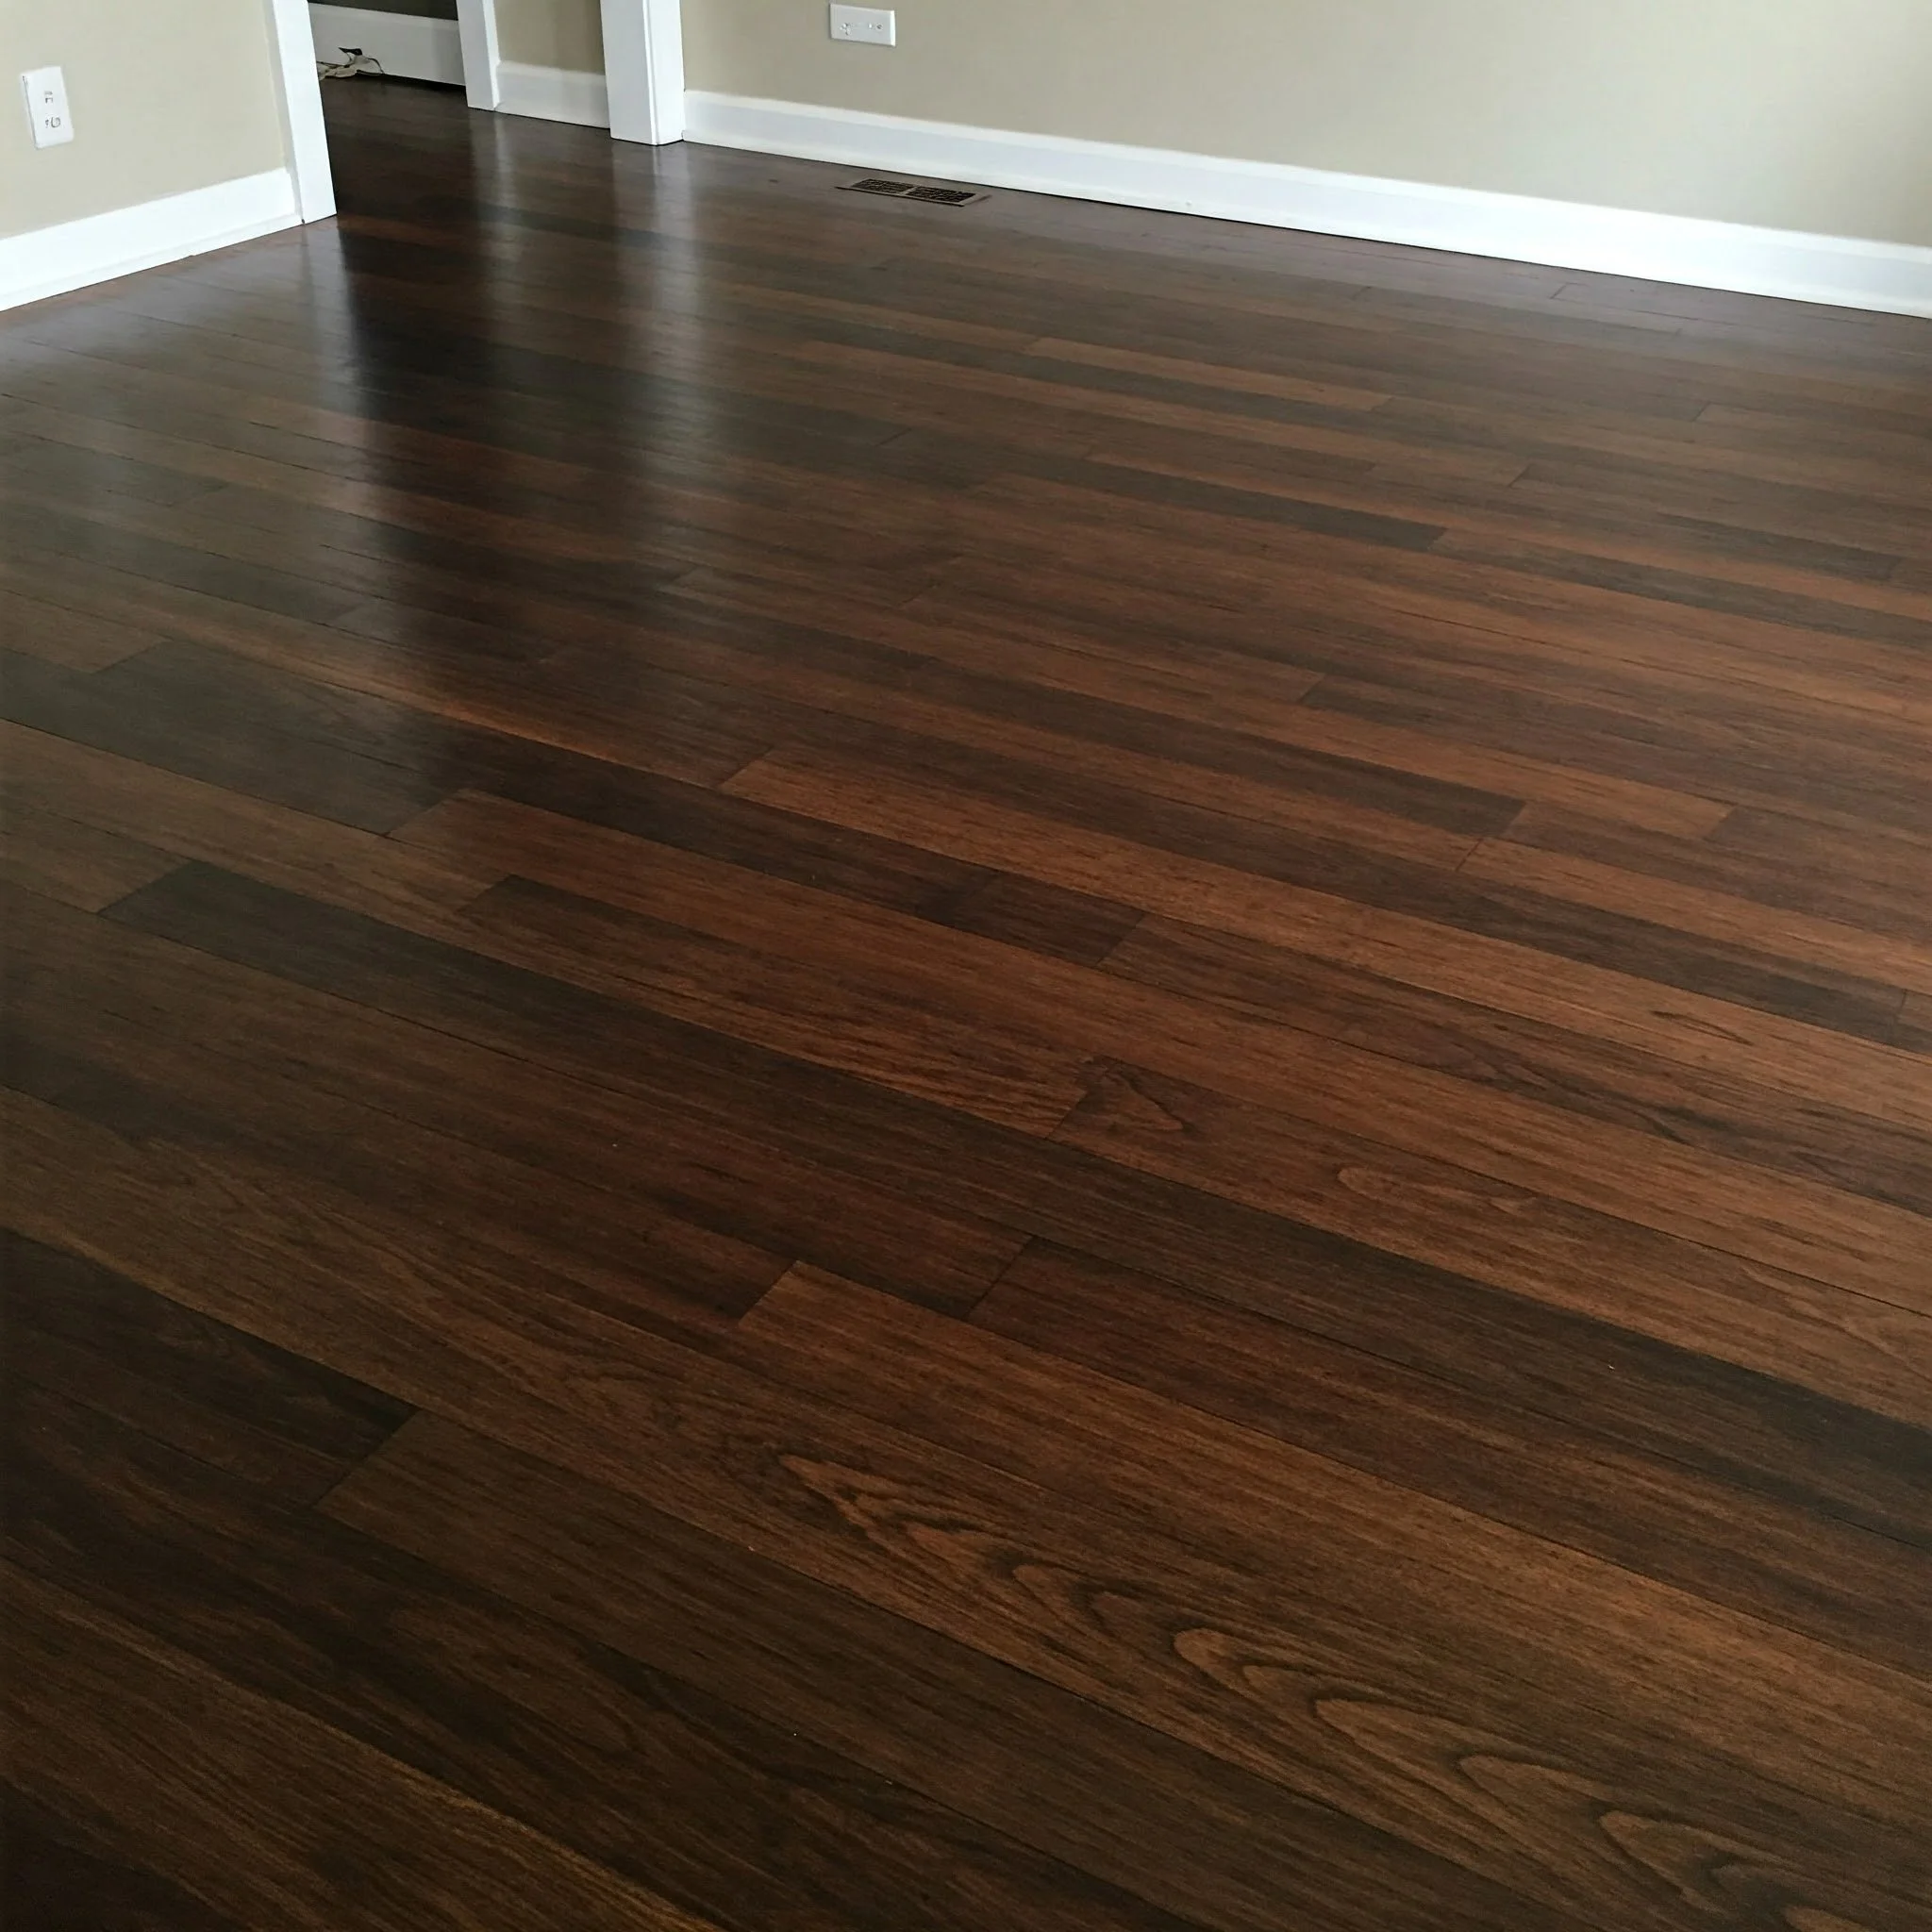
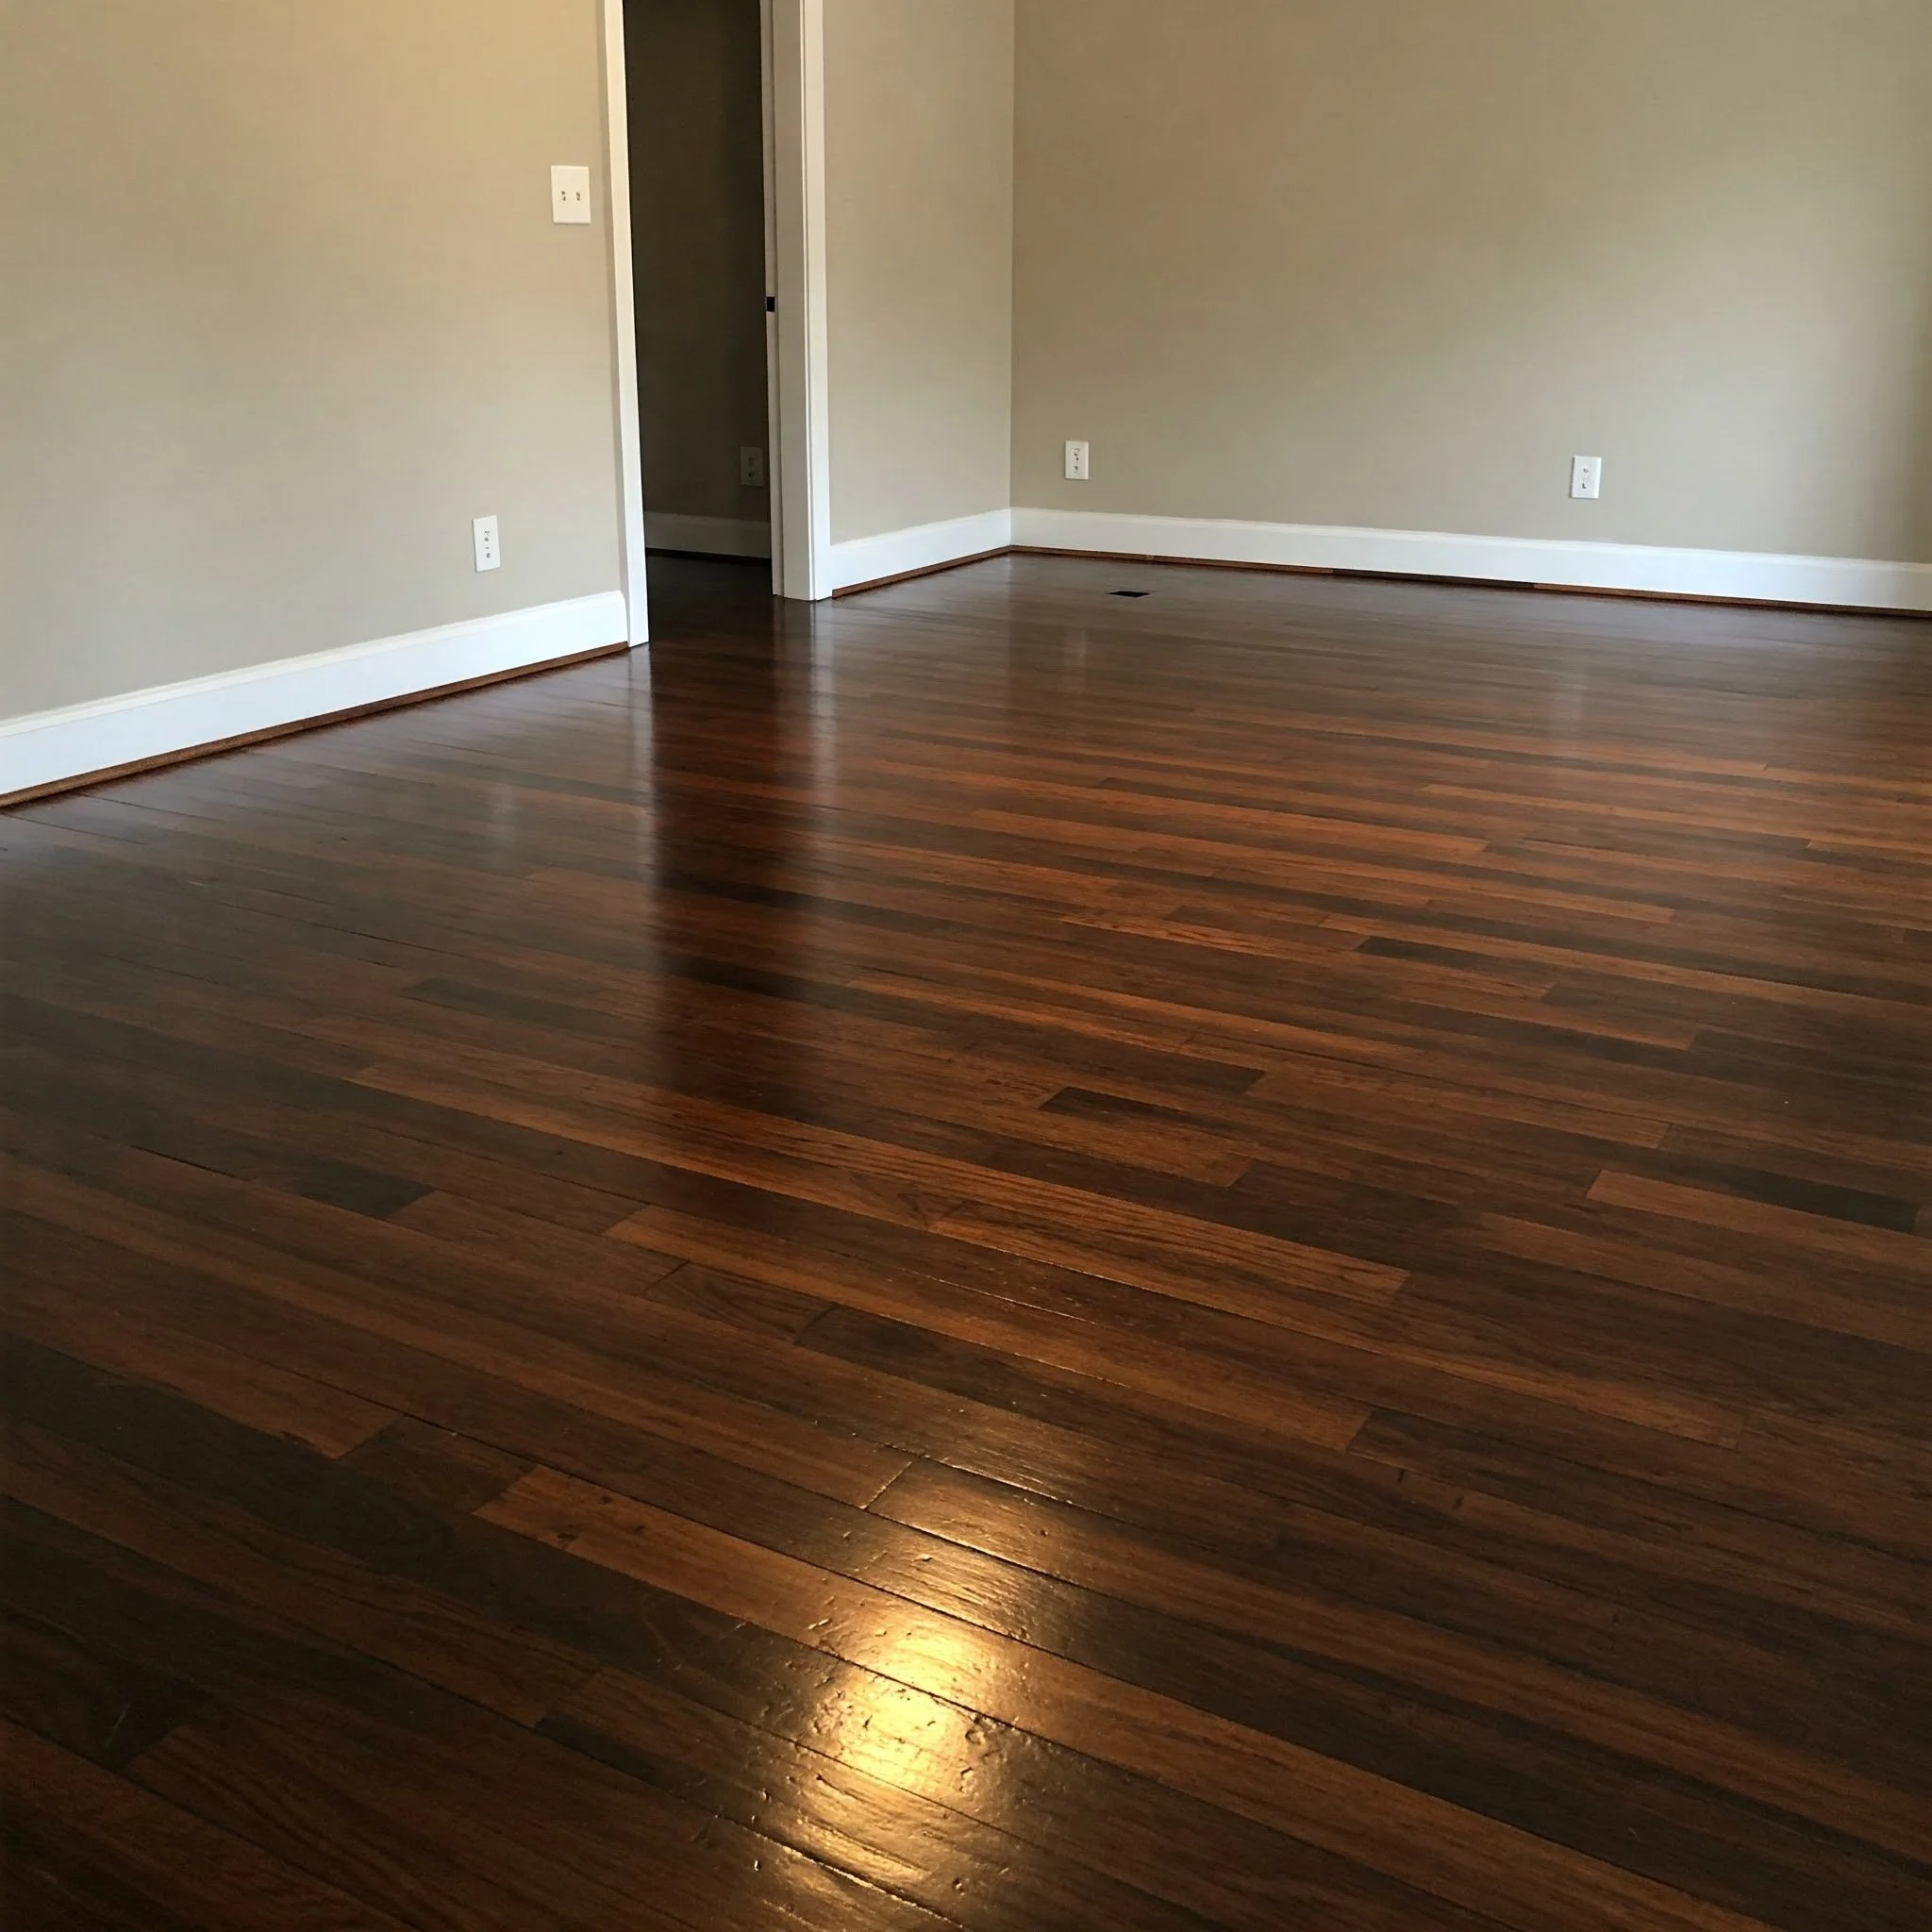
Hardwood floors can add a beautiful, warm touch to any home. However, over time, they can lose their luster and show signs of wear and tear. If you're thinking about revamping your floors but don't want to spend a fortune, staining them is an excellent solution! Staining hardwood floors can bring out their natural beauty, enhance the grain, and give your space a fresh new look.
But, you may be wondering, how to stain hardwood floors? Don’t worry; it's not as difficult as it sounds. In this comprehensive step-by-step guide, we’ll walk you through the entire process, providing all the tips and tricks you need for a smooth, successful project. Let’s get started!
How to Stain Hardwood Floors: Step-by-Step Guide
Before you dive into staining, you'll need to gather the right tools and materials. A little preparation goes a long way, so make sure you've got everything in order before getting started.
Materials You’ll Need:
Floor Stain (choose your preferred color)
Wood Floor Cleaner or TSP Cleaner (for surface prep)
Fine-Grit Sandpaper or a Sanding Pad
Paint Roller or Floor Applicator
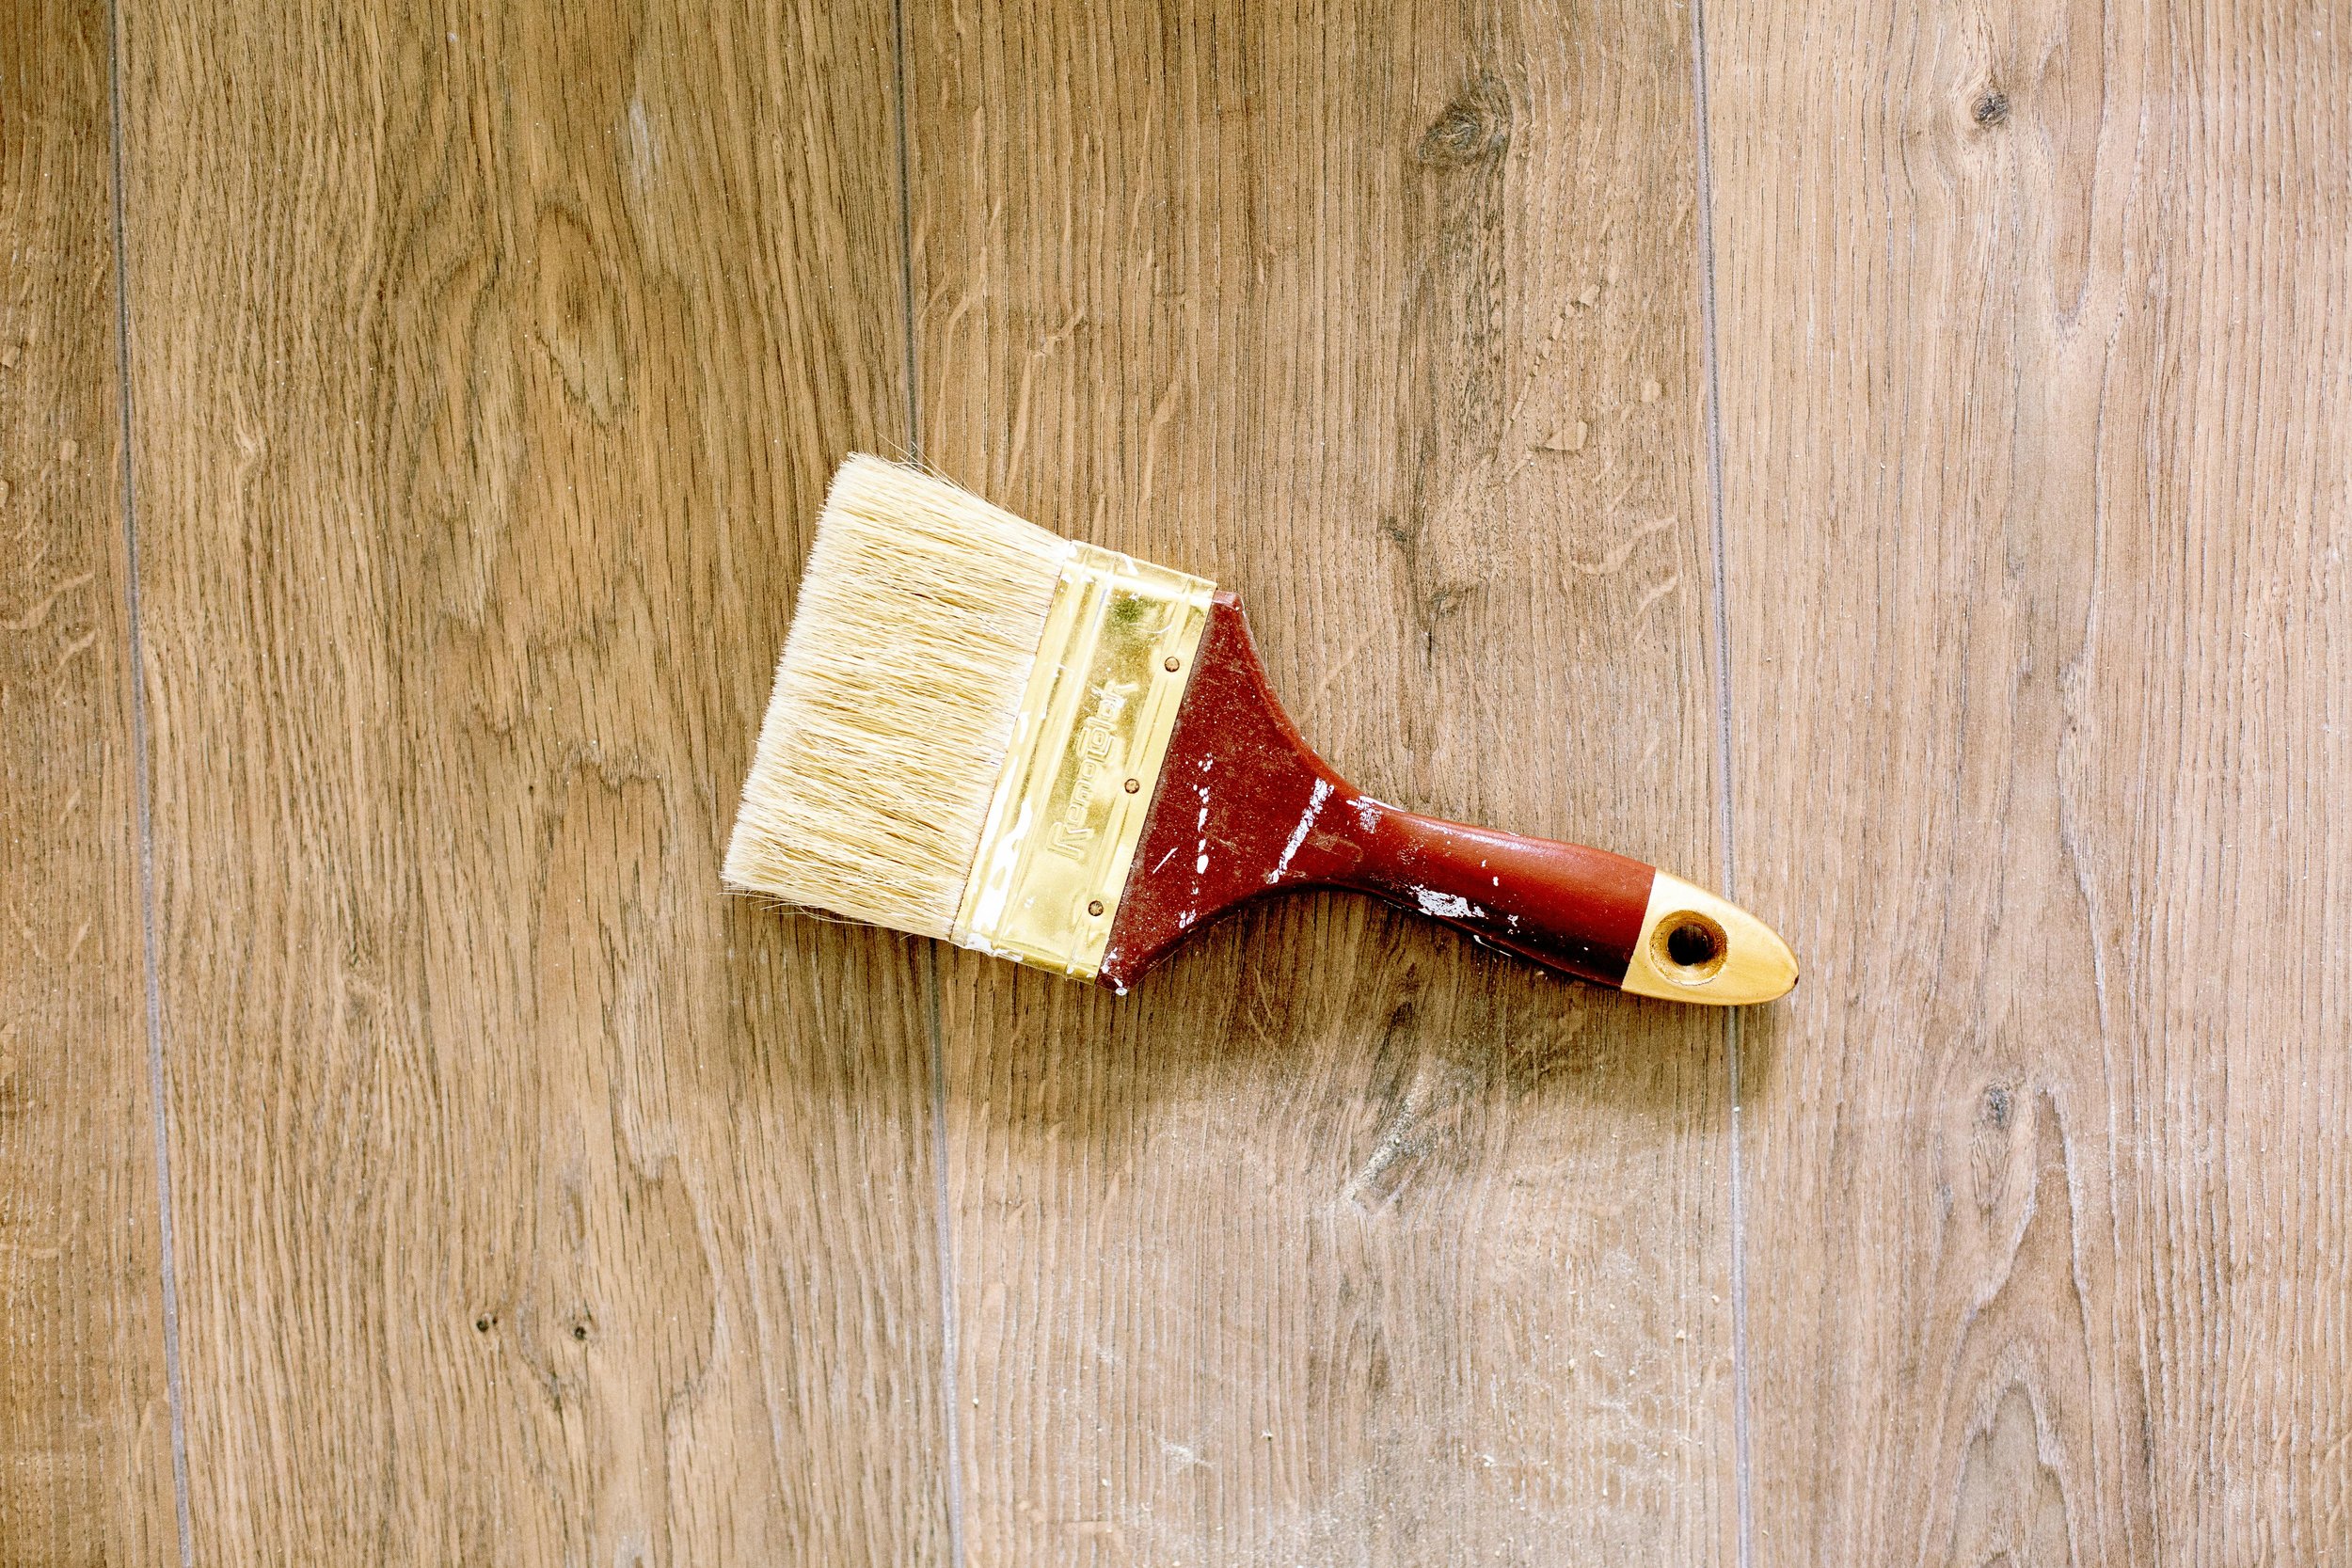
Brushes (for edges and corners)
Rags or Cloths (for wiping off excess stain)
Polyurethane Finish (for sealing the floor after staining)
Dust Mask and Safety Glasses
Gloves (protect those hands!)
Step 1: Prepare Your Space
Alright, first things first – let’s clear the room! You can’t stain your floor with furniture in the way, right? Remove all furniture, rugs, and any other items that could get in the way. Also, ensure that the room is well-ventilated, as the fumes from the stain can be a bit much.
Here’s what you need to do:
Vacuum or Sweep the Floor: You want a clean surface before staining, so make sure the floor is free of dust, dirt, or debris.
Clean the Surface: Use a wood floor cleaner or TSP cleaner to remove any grime that may have built up over time. It’ll help the stain adhere properly.
Step 2: Sand the Floors (if needed)
Now, this step is important for making sure your stain sticks well and the floor looks smooth afterward. If your floor has a previous finish or you notice rough patches, sanding is essential.
Use Fine-Grit Sandpaper or a Sanding Pad to lightly sand the surface. Sanding will also help to remove any old finish that could interfere with the staining process.
Dust Off the Sanding Residue: After sanding, grab your vacuum and clean up all the dust. You don’t want any bits of sawdust to get in the way of your stain.
Step 3: Choose the Right Stain
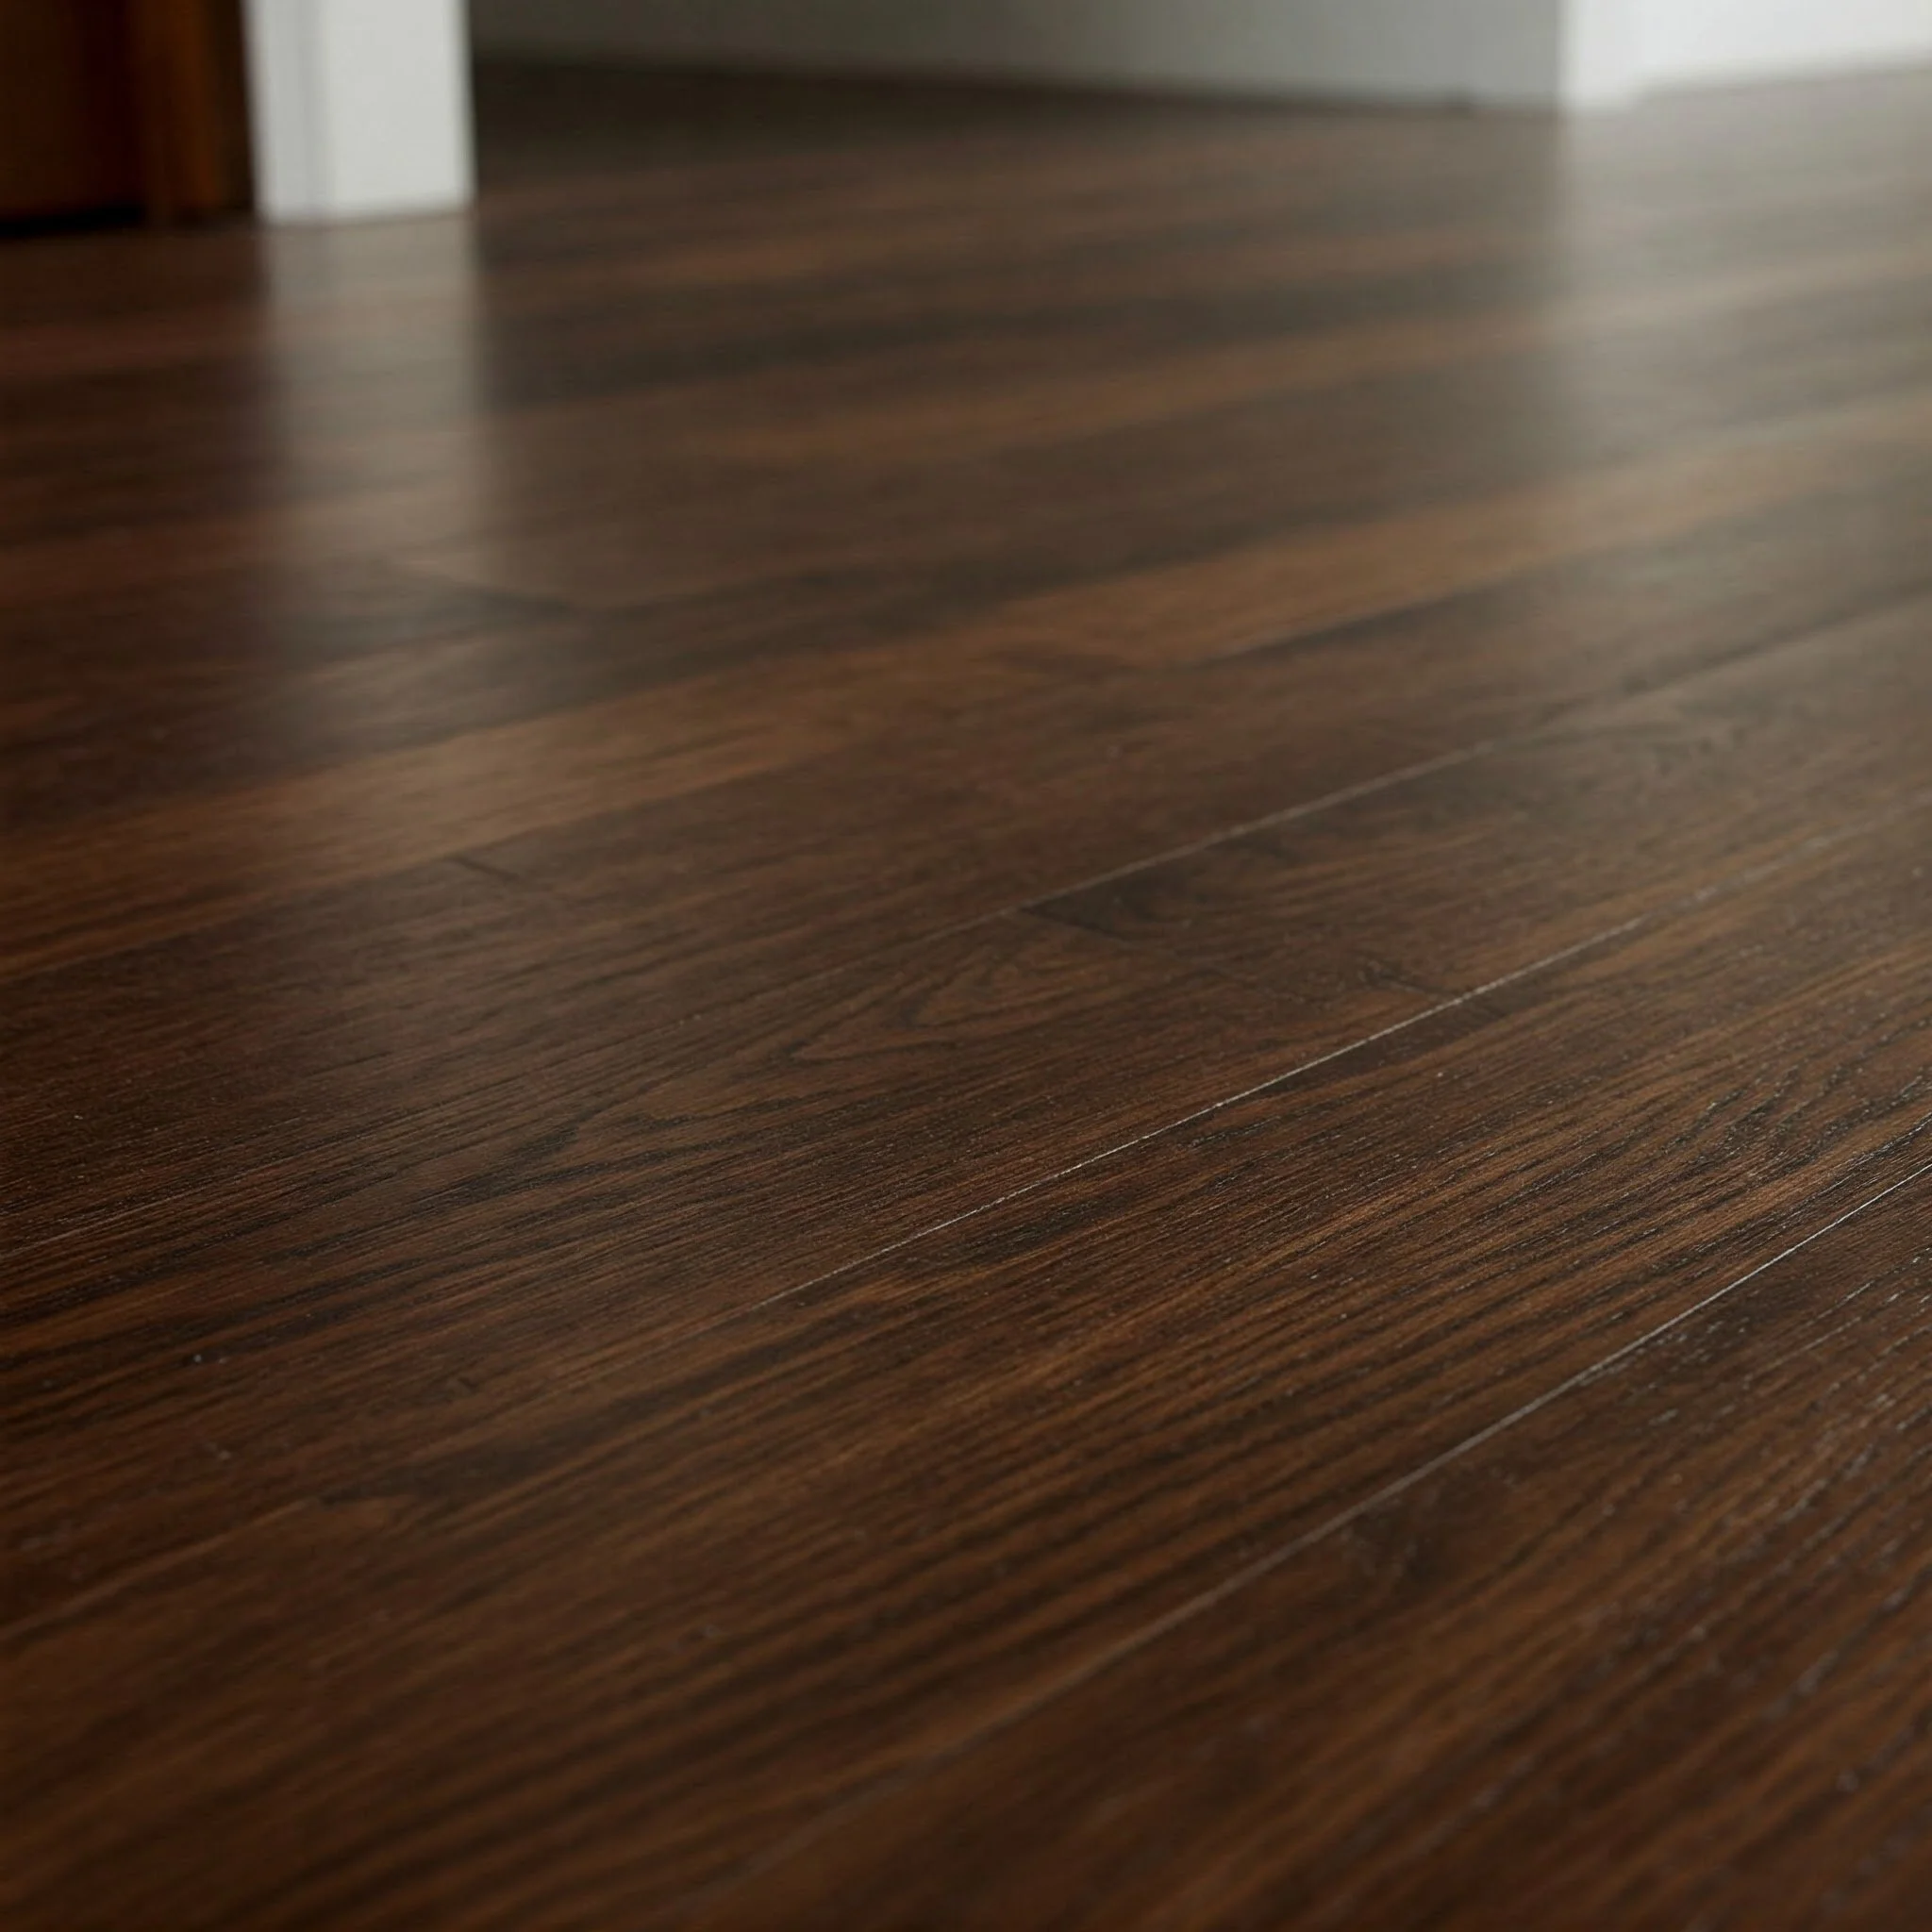
When it comes to choosing a stain for your hardwood floors, there’s no one-size-fits-all. The right stain will depend on your personal preference, the type of wood, and the finish you're going for.
There are a few common types of wood stains:
Oil-based stains: These tend to provide deeper, richer color but take longer to dry.
Water-based stains: These dry faster and have less odor but might not penetrate the wood as deeply.
Here’s how to select your perfect stain:
Test it out first! Apply a small amount of stain on an inconspicuous area of the floor to see how it will look.
Consider the existing color of your wood and the tone you want to achieve. Lighter woods may need a darker stain, while darker woods might look better with a lighter touch.
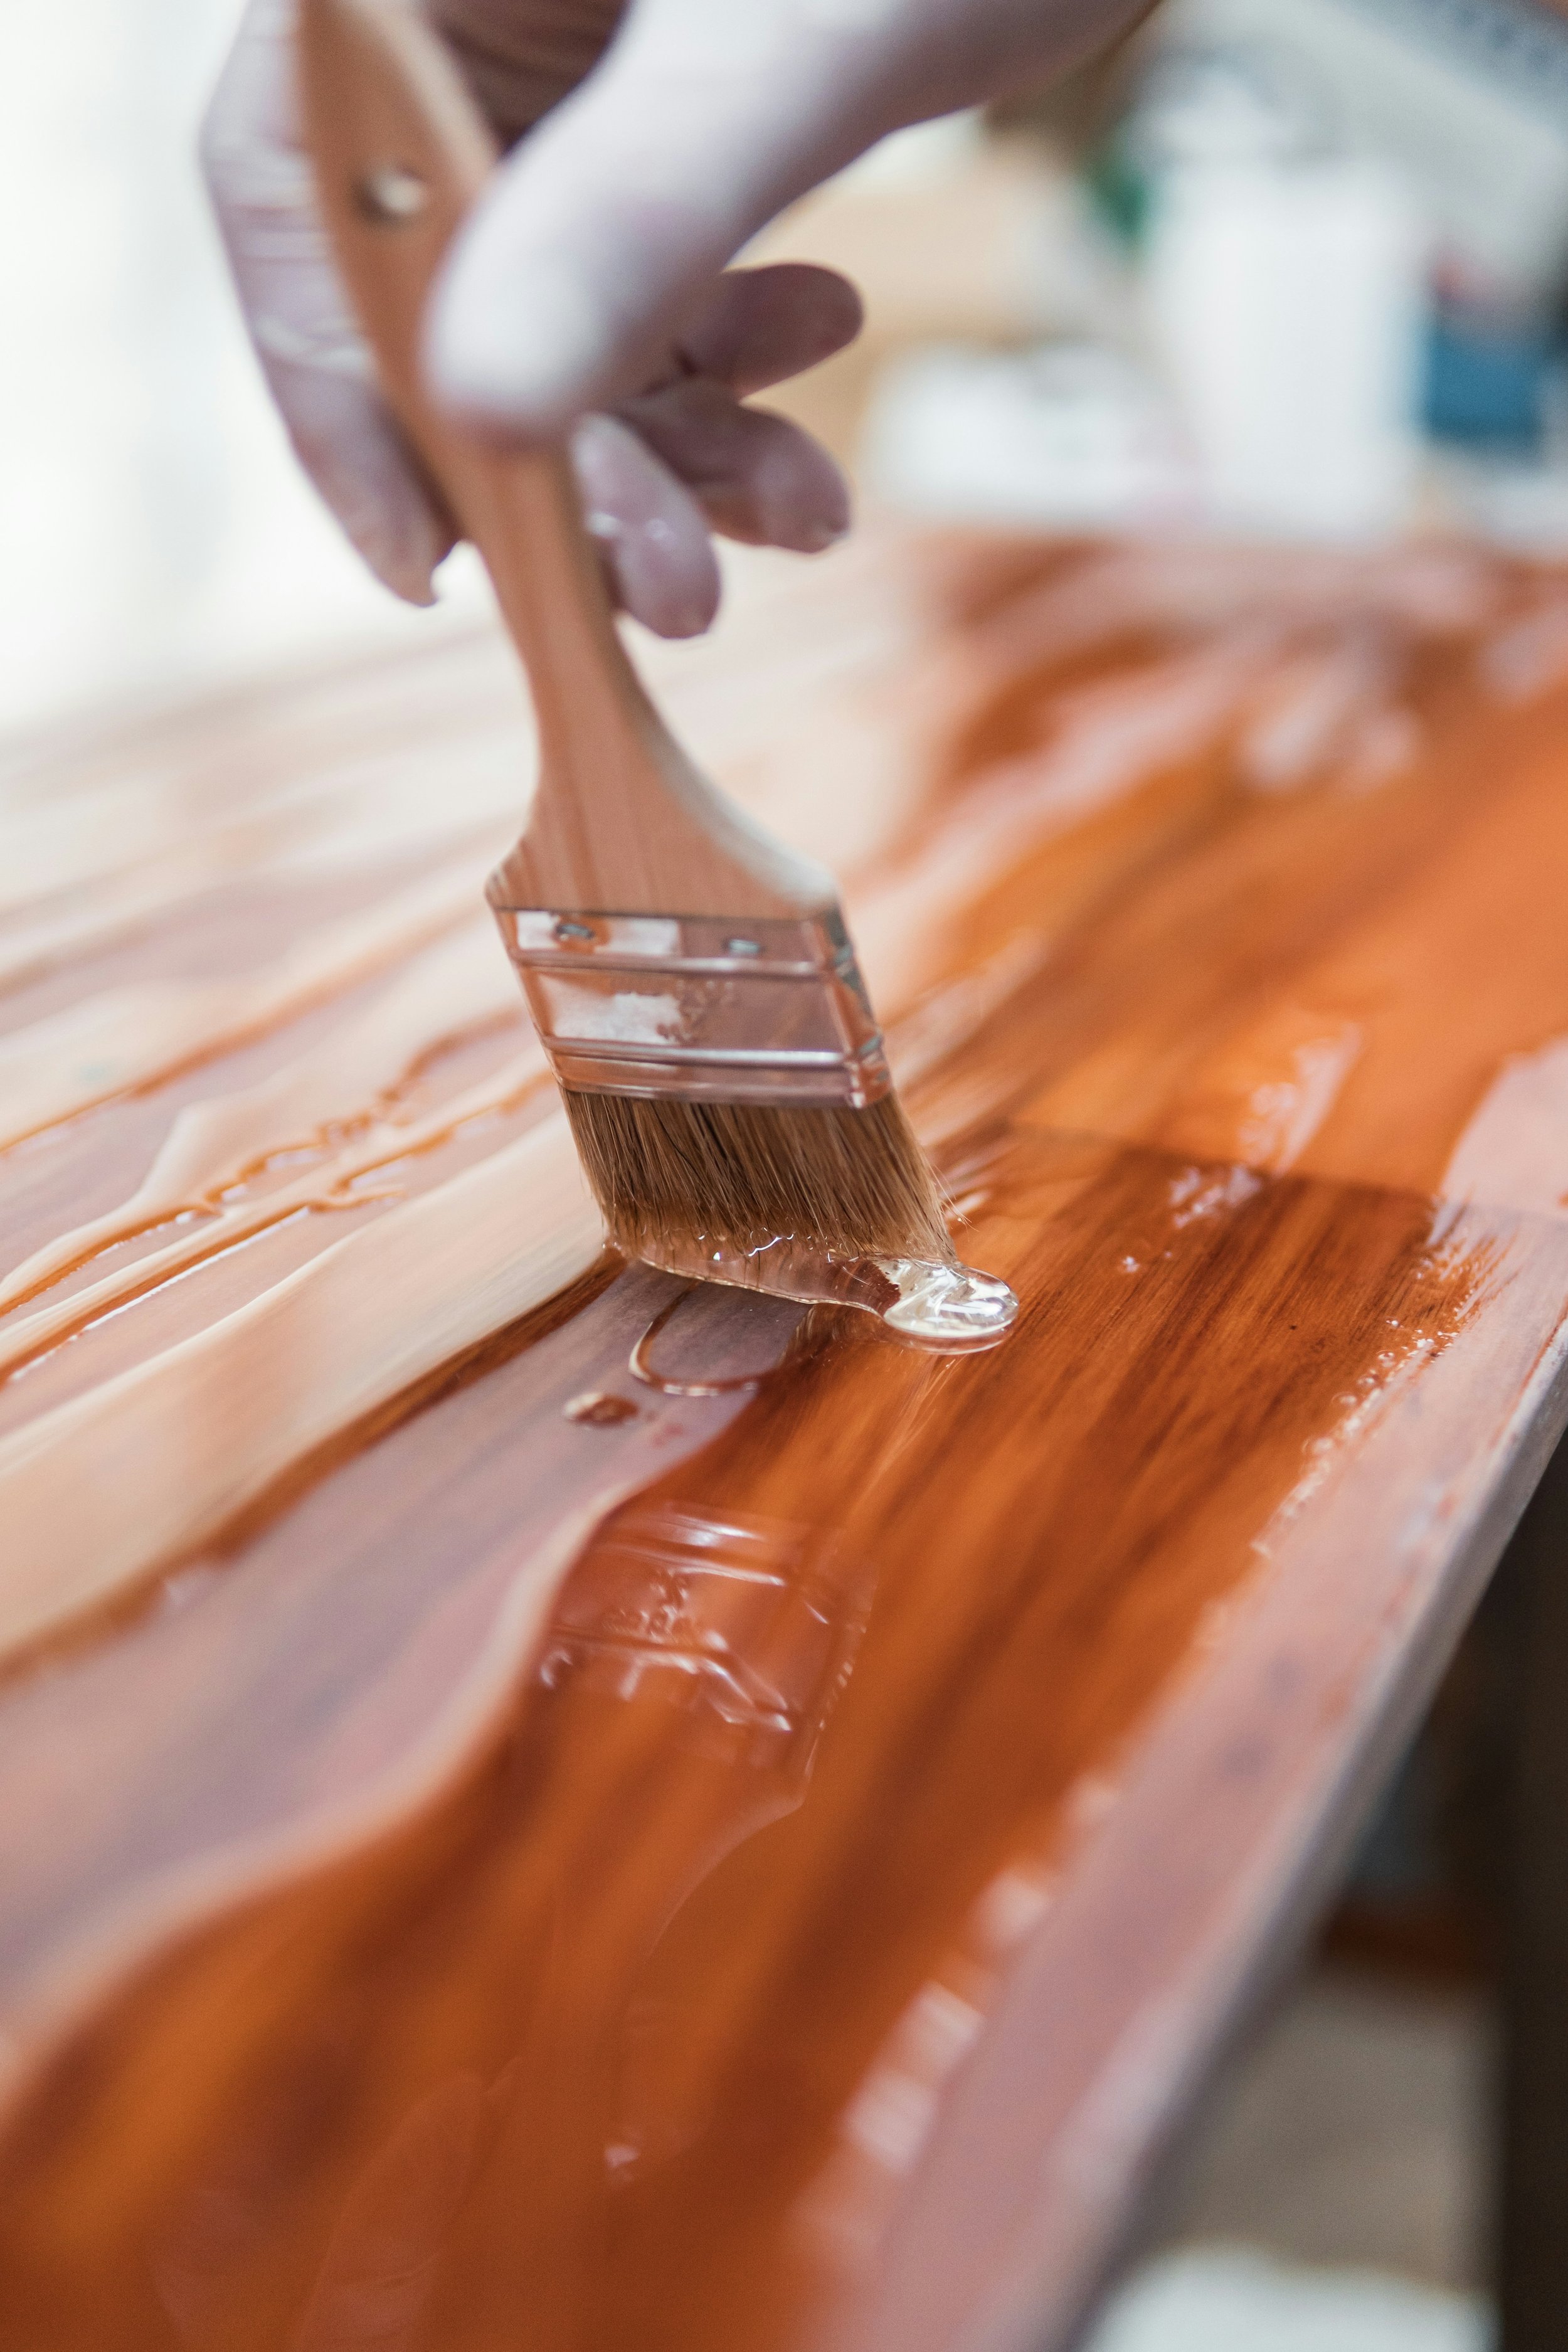
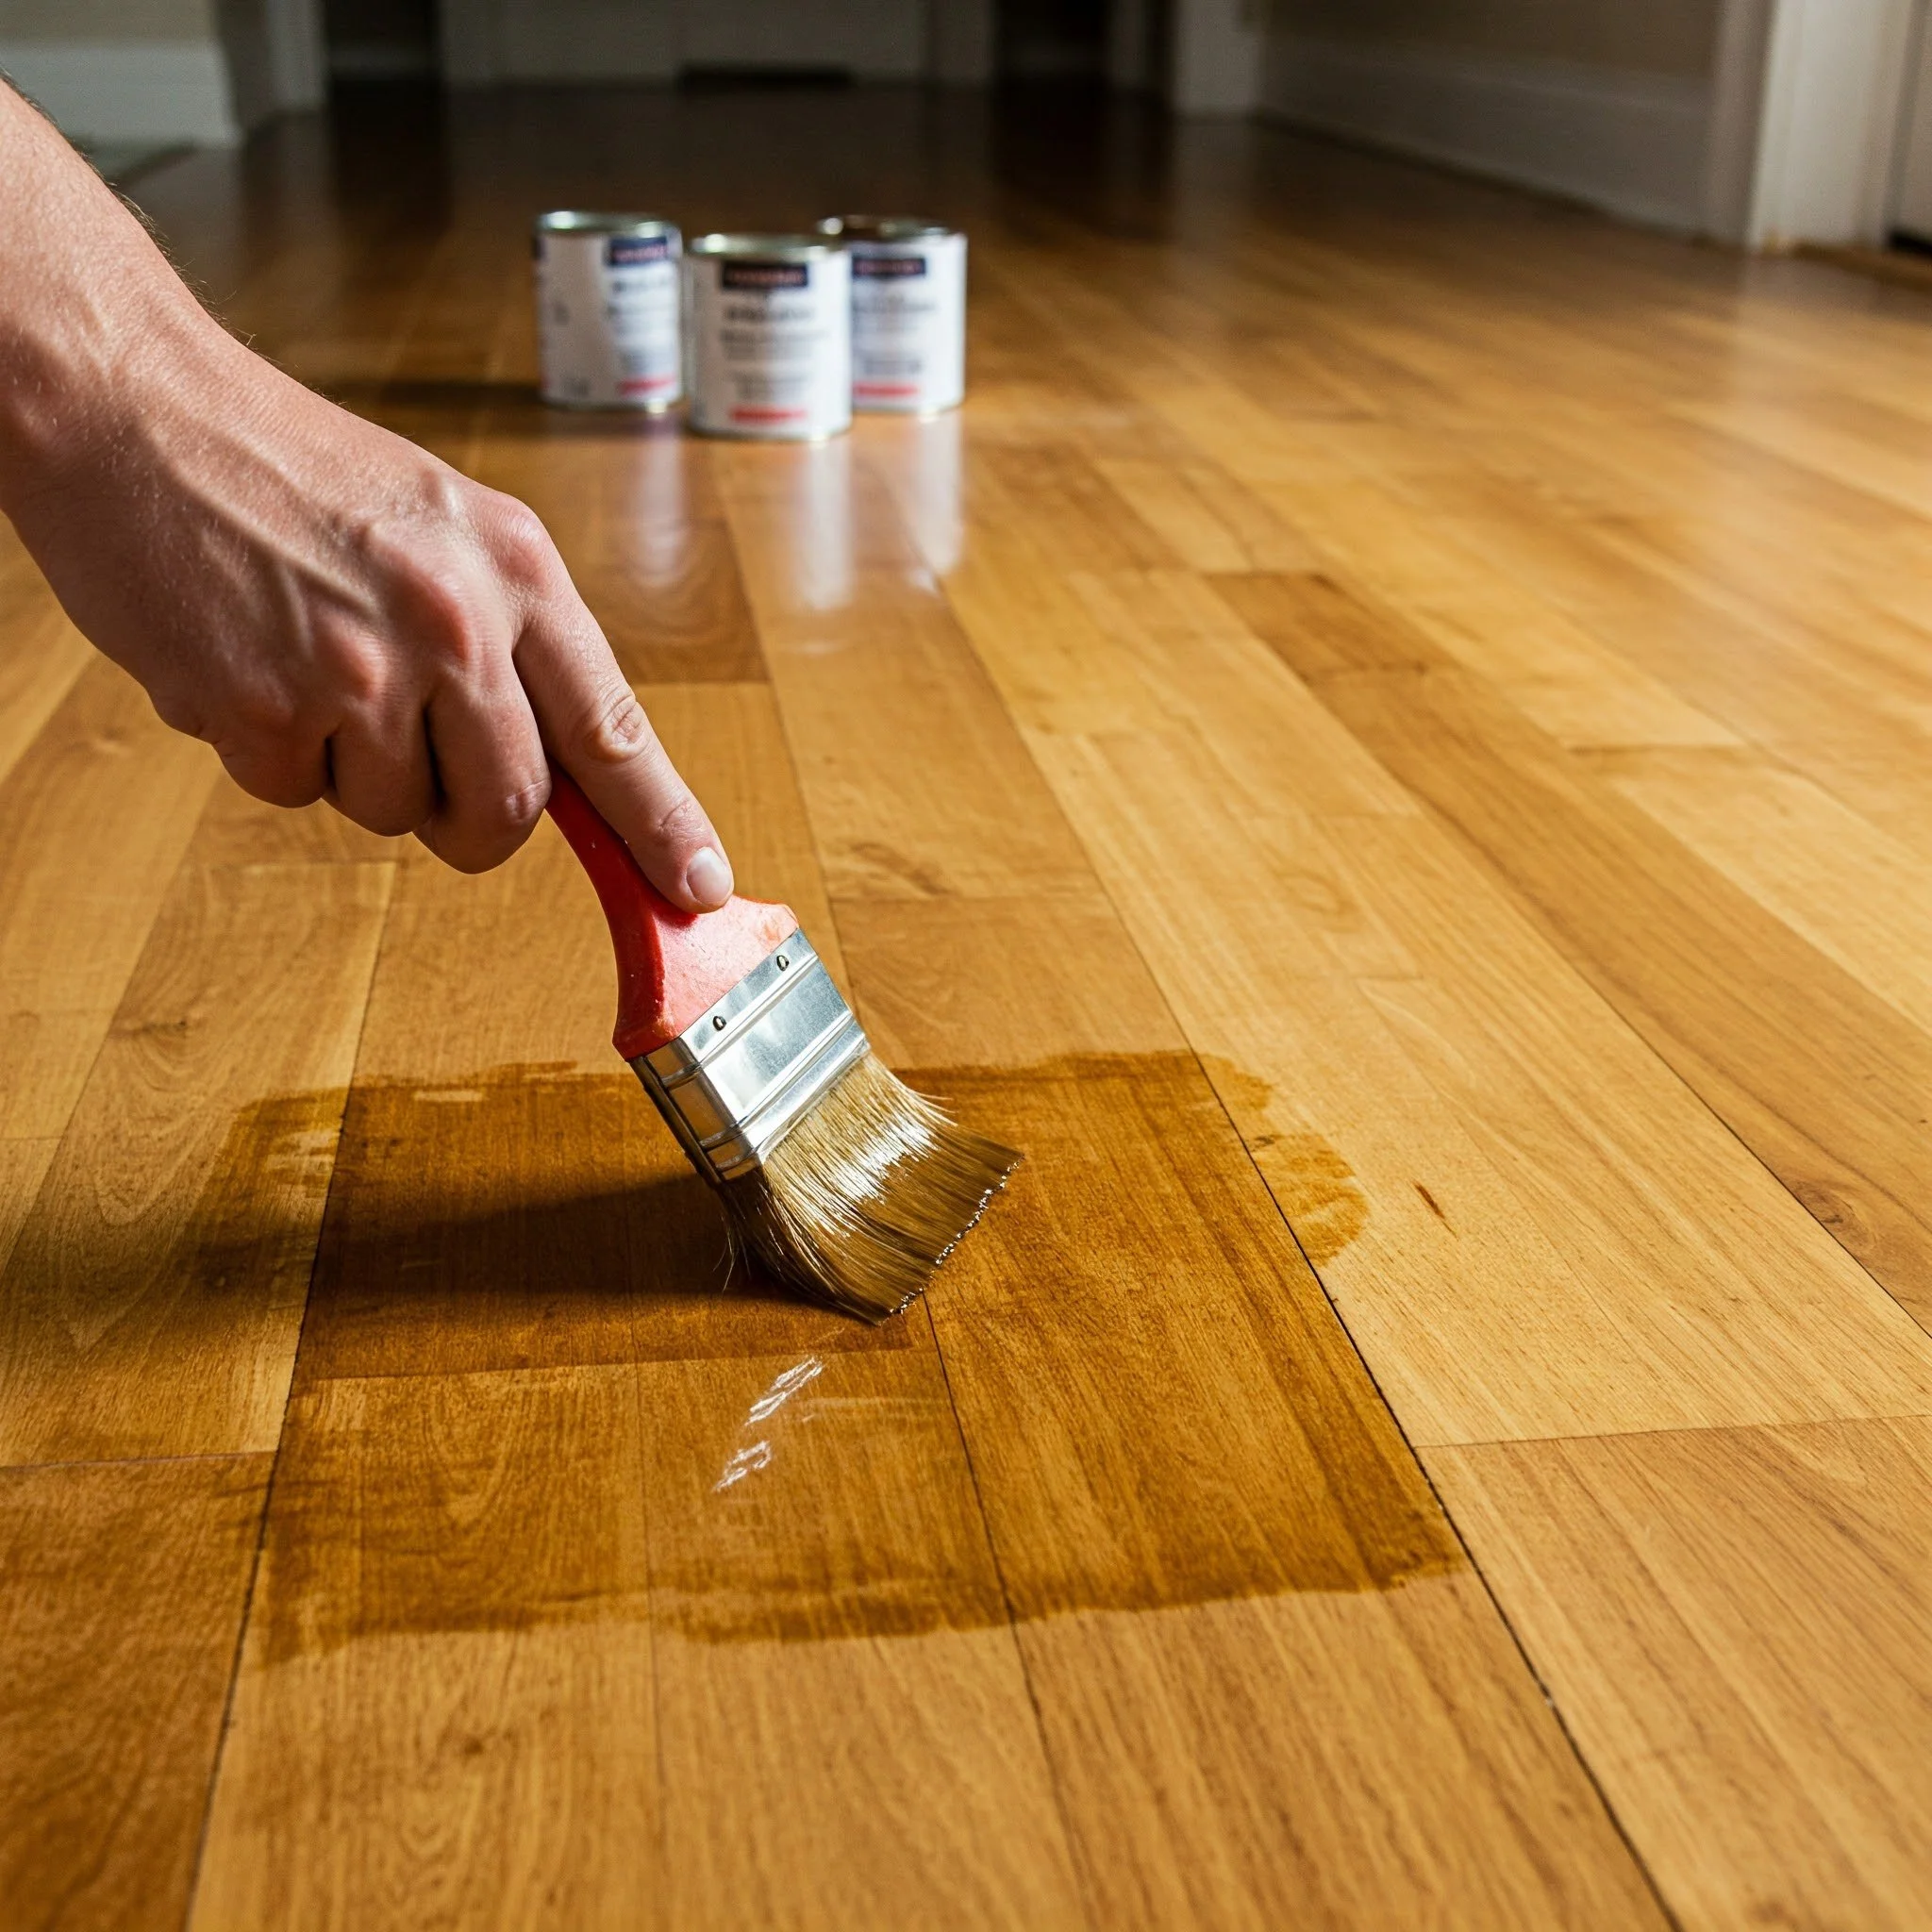
Step 4: Apply the Stain
Now, the fun part – applying the stain! This is where the magic happens, and your hardwood floors begin to transform.
Tips for Staining:
Use a Paint Roller or Floor Applicator: Apply the stain in small sections, working in the direction of the wood grain.
Brush the Edges and Corners: Use a smaller brush for the edges and tight corners where a roller might not reach.
Work Quickly: You’ll want to apply the stain efficiently but evenly. Staining in small sections allows you to keep track of the application and ensures no streaks.
Step 5: Wipe Off Excess Stain
Once you've applied the stain, it's important to wipe off any excess before it dries. If you leave too much stain on the floor, it could lead to blotches and uneven coloring.
Use a Rag or Cloth: Wipe off the stain with a clean cloth, working along the grain of the wood. Be sure to wipe quickly to avoid the stain drying too much.
Step 6: Let the Stain Dry
Patience is key at this stage. After applying and wiping off excess stain, let it dry completely. Drying times will vary depending on the type of stain you used and the room’s temperature. It’s usually a good idea to let it dry for at least 24 hours before walking on it.
Step 7: Apply a Protective Finish
Once the stain is completely dry, it's time to seal your hard work with a protective finish.
Polyurethane Finish: Applying a layer of polyurethane will not only protect your floor from scratches and damage, but it will also add a beautiful sheen to the wood.
Apply the Finish: Use a clean roller or brush to evenly apply the polyurethane over the stained surface. You may need to apply more than one coat for optimal protection.
Let It Dry: Just like with the stain, allow the finish to dry completely before using the floor. Drying times can take anywhere from 4 to 6 hours, and you might want to apply a second coat for extra durability.
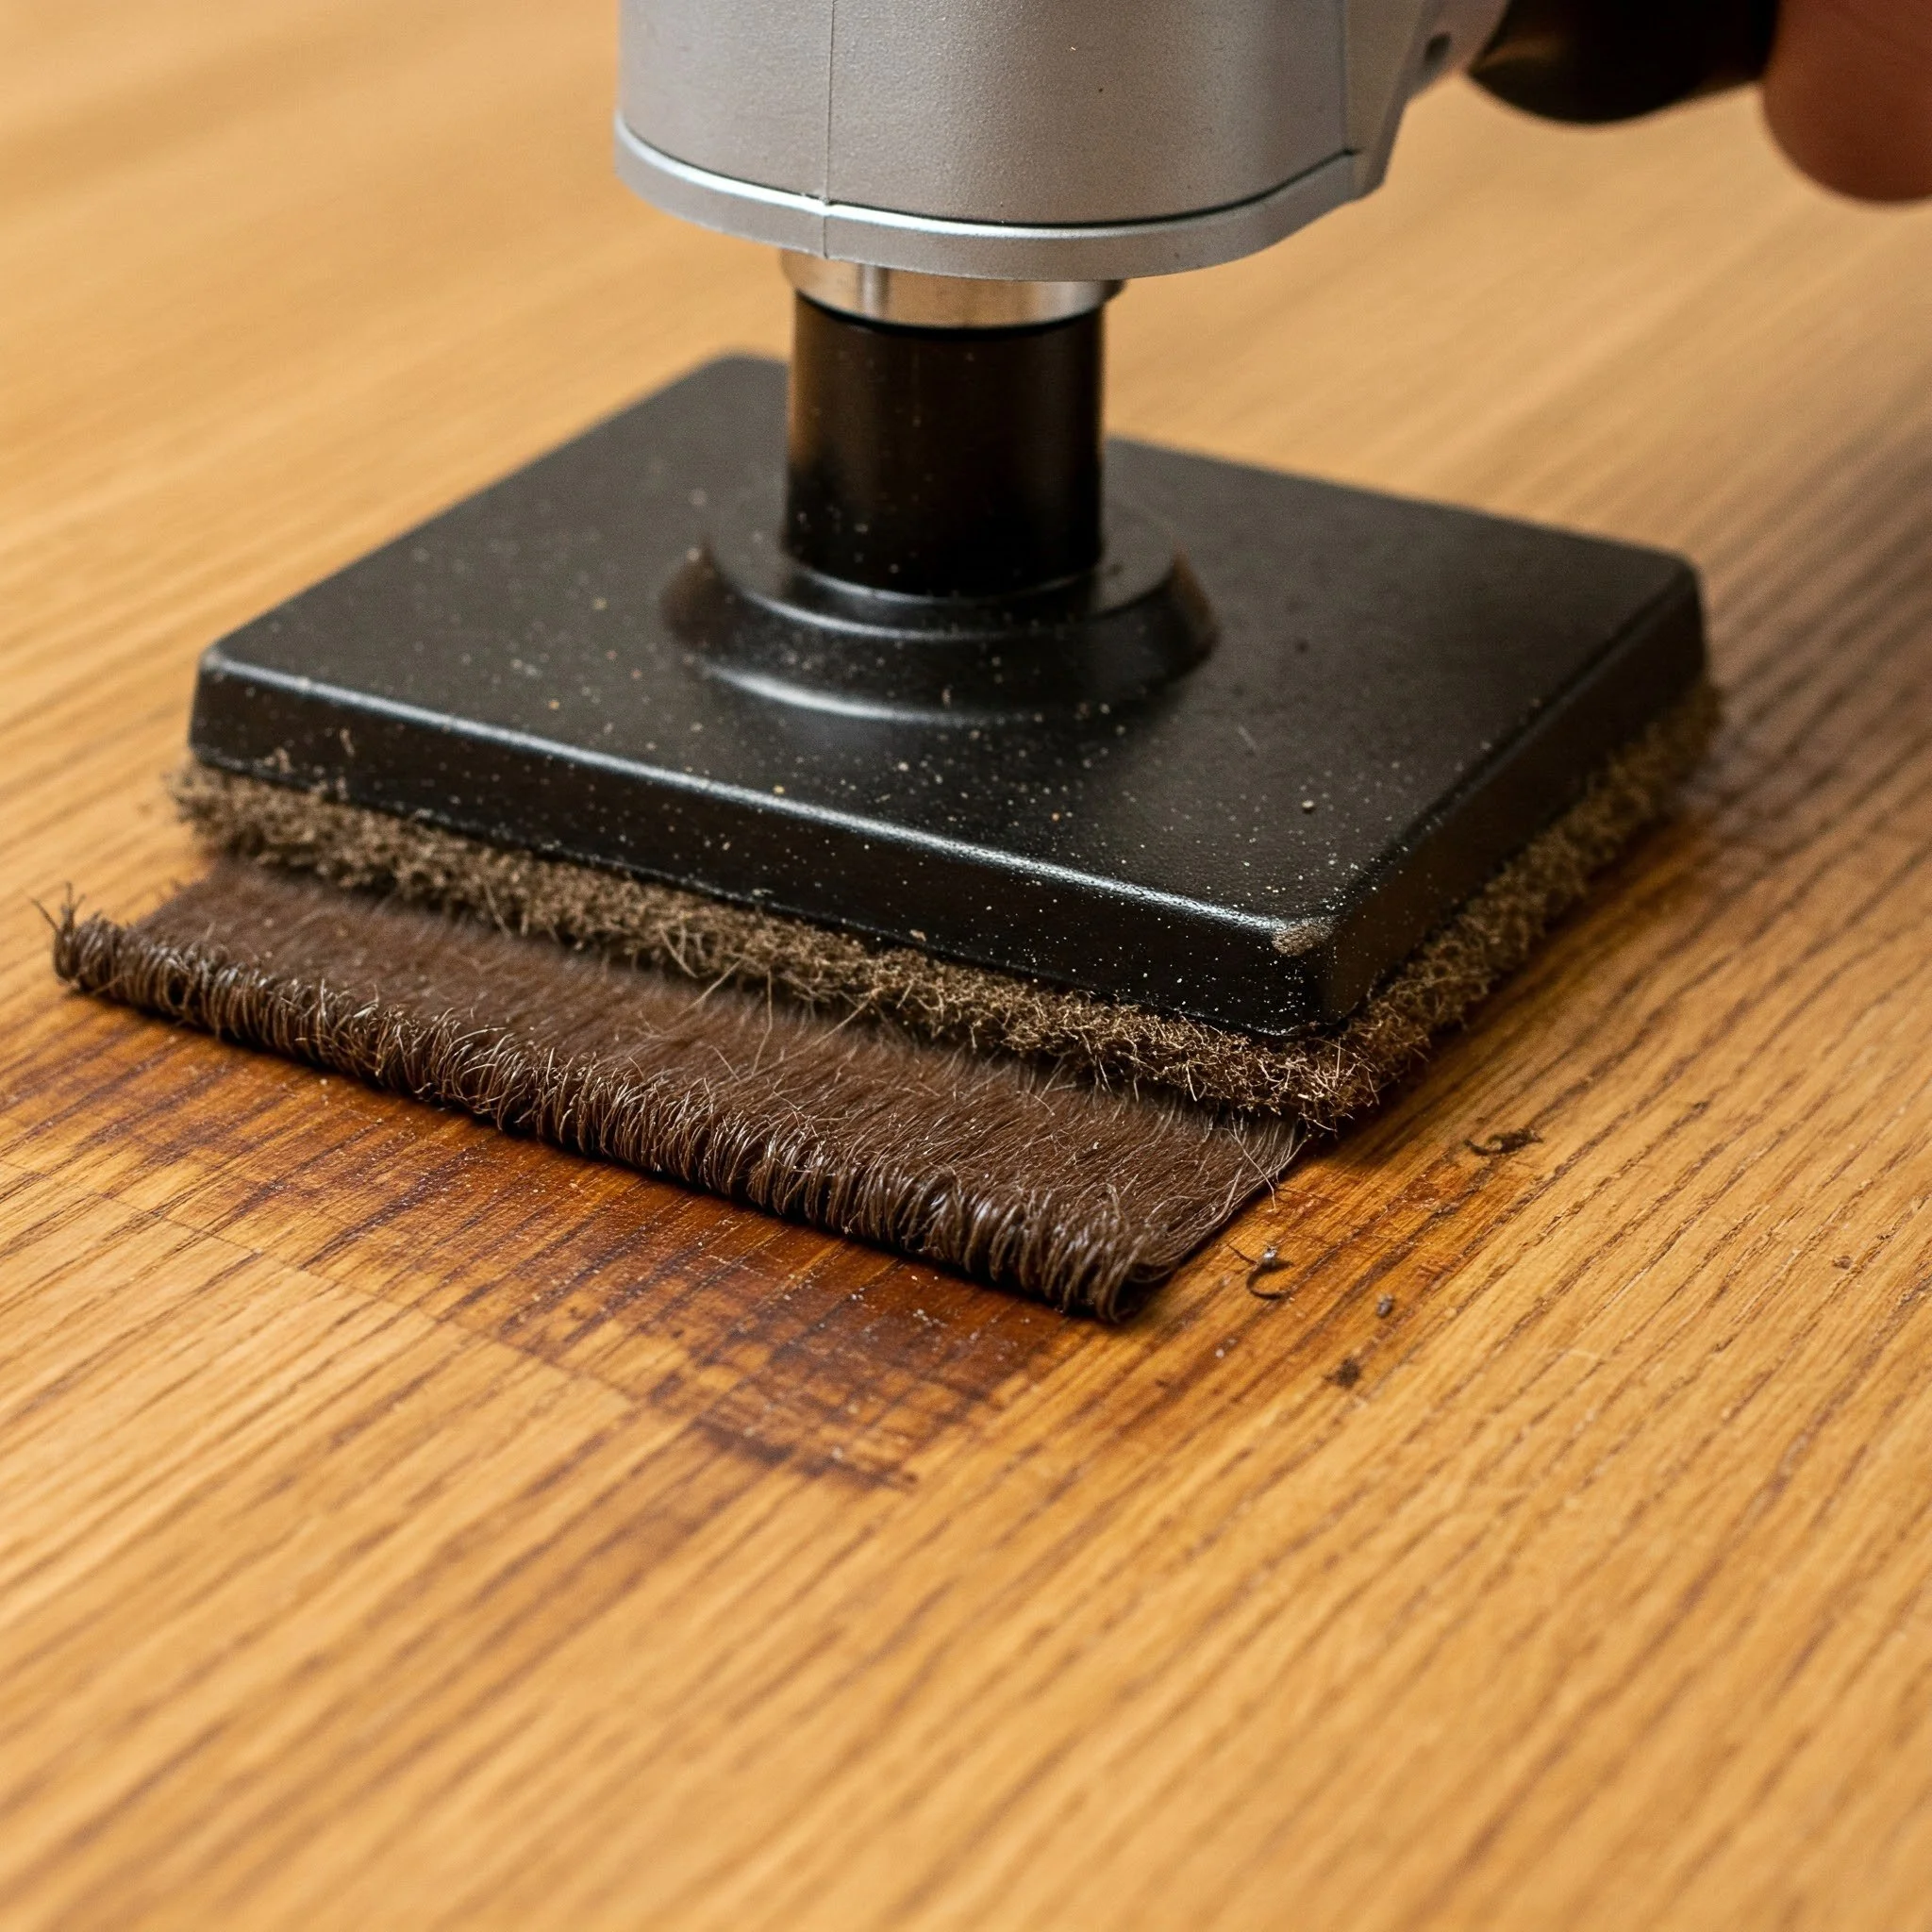
Step 8: Buff the Floor (Optional)
If you're aiming for an extra-smooth, glossy finish, you might want to buff the floor lightly after the final coat of polyurethane dries. A buffer or a polishing pad can help you achieve a flawless, shiny look.
Conclusion
So, now you know how to stain hardwood floors! It's all about the prep work, using the right materials, and applying the stain carefully. With patience and attention to detail, you’ll be able to transform your tired hardwood floors into a beautiful, vibrant feature of your home.
Remember, the how to stain hardwood floors: step-by-step guide we’ve provided is designed to help you achieve professional-looking results without hiring a pro. Follow these steps carefully, and you’ll be enjoying your stunning, stained hardwood floors in no time.
Happy staining!
Read next: How to Stain Wood Floors: Step-by-Step Guide
Frequently Asked Questions
Q1: How long does it take for stained hardwood floors to dry?
A: It typically takes around 24 hours for the stain to dry, but it’s best to wait 48 hours before walking on the floors to ensure the stain is completely set.
Q2: Can I use regular paint for staining hardwood floors?
A: No, regular paint isn't ideal for staining hardwood floors. Paint doesn’t penetrate the wood the way stains do, which could lead to uneven coverage and an unattractive finish.
Q3: How can I maintain my stained hardwood floors?
A: Regular cleaning and reapplying the polyurethane finish every couple of years will keep your hardwood floors looking great. Avoid using harsh chemicals that might damage the finish.
Q4: Should I sand between coats of polyurethane?
A: Yes! Lightly sand between coats of polyurethane using fine-grit sandpaper. This ensures a smoother finish and better adhesion of the next coat.
Q5: How do I know what color of stain to choose?
A: The right stain color depends on the look you're going for. If you’re unsure, test the stain in a small, hidden area before committing to the entire floor
Stay up to date with our latest ideas!