Attic Insulation: What You Need to Know
Ready to turn your drafty attic into a cozy, energy-saving marvel? Check out our comprehensive guide on Attic Insulation: What You Need to Know—covering types, benefits, and pro tips for a snug sanctuary all year round!
Ever felt that chill dancing around your ankles even though the heater’s been blasting all night? Or maybe your summer air-conditioning bill made you gasp so hard you nearly spilled your iced coffee? If you’re nodding along, you’re far from alone. One sneaky culprit could be a lackluster (or downright nonexistent) insulation job in that often-forgotten space above your head: the attic. Enter our main event—Attic Insulation: What You Need to Know—to help you banish those pesky drafts, slash energy expenses, and keep your abode downright delightful, whatever the weather.
But hey, insulation can be a bit of an enigma, can’t it? So many options, R-values, and materials that sound more like science experiments than anything else (spray foam, cellulose, and fiberglass—oh my!). Don’t sweat it. In this lively rundown, we’ll demystify the nuts and bolts of attic insulation, offering you enough insight to tackle that drafty overhead zone once and for all. So pull up a chair, grab a steamy (or icy) beverage, and let’s talk about keeping our homes snug as a bug in a rug—minus the monstrous energy bills.
1. Why Attic Insulation Matters
Some folks might wonder, “Is attic insulation really that big a deal?” Absolutely, and here’s why. Think of your home’s cozy environment as a delicate balancing act: your heating or cooling system works hard to keep things just right, and the insulation stands guard to ensure that precious treated air doesn’t escape. If your attic lacks good insulation, that air can slip away faster than your morning coffee disappears on a Monday.
1.1 Energy Efficiency
Without proper insulation, your furnace or air conditioner essentially fights a losing battle. The warmth in winter and the cool in summer leak right out of the roof, forcing your HVAC system to crank up the effort—leading to higher energy usage and those cringe-worthy bills.
1.2 Comfort Zone
Ever walk into a friend’s house and notice that no matter what time of year, it just feels comfortable? That’s insulation working its magic. Think of it as a cozy blanket on your house: not too hot, not too cold—just right.
1.3 Reduced Carbon Footprint
Feeling that twinge of guilt every time you see news about climate change? Installing or upgrading your attic insulation can help you do your part. By cutting energy use, you’re also trimming your carbon emissions. One small step for your wallet, one giant leap for the planet.
2. Attic Insulation: What You Need to Know (Core Considerations)
It’s high time we reveal some juicy details about attic insulation: what you need to know. While the specific approach might vary depending on your region, the age of your home, and your budget, a few universal truths will help guide you toward your dream attic scenario.
2.1 R-Value Basics
If you’ve peeked into any insulation guide, you’ve seen the term “R-value.” But what does that even mean? In short, R-value indicates an insulation material’s resistance to heat flow. The higher the number, the better the insulation performance. Different climates call for different R-values, so you’ll want to check your region’s recommended specs. But if you’re in the northern states, you’ll likely need a higher R-value than someone chilling out in a balmy, southern locale.
2.2 Ventilation and Air Sealing
Insulation is one piece of the puzzle, but don’t underestimate good ventilation and thorough air sealing. Properly sealed cracks and gaps mean that moisture won’t creep in and undermine your insulation efforts. Good airflow also helps prevent condensation and mold—a moldy attic’s definitely not on anyone’s wish list.
2.3 Moisture Matters
While you’re eyeing insulation, keep a watchful gaze on potential water sources. A leaky roof can turn your insulation project into a soggy mess, rendering it useless. Before you commit to a brand-new layer of fiberglass or cellulose, make sure your roof’s in tip-top shape.

3. Types of Attic Insulation
While “Attic Insulation: What You Need to Know” could be an entire book, let’s streamline your choices by highlighting the main contenders. Each type has its perks and quirks, so read on to discover which might be your match made in heaven (or at least in your attic).
3.1 Fiberglass Batt Insulation
What It Is: Those fluffy, pinkish rolls you might’ve seen on TV home makeover shows.
Pros:
Widely available and pretty affordable.
Easy to install for confident DIYers.
Decent R-value boost when installed correctly.
Cons:
Can leave gaps if not perfectly placed.
Itchy to handle without proper protective gear.
Less effective if compressed or installed in awkwardly shaped attics.
3.2 Blown-In Fiberglass or Cellulose
What It Is: Loose-fill material that’s blown into the attic via specialized equipment.
Pros:
Fills nooks and crannies well.
Cellulose often contains recycled materials.
Ideal for retrofitting older homes.
Cons:
Requires special equipment (read: usually a professional job).
Can settle over time, reducing effectiveness if not maintained.
Dusty application process—wear a mask!
3.3 Spray Foam Insulation
What It Is: A polyurethane-based foam that expands to fill every last crevice.
Pros:
Superior air sealing, thanks to that snug fit.
High R-value in a relatively thin layer.
Moisture-resistant and can deter mold in many cases.
Cons:
Can be pricey, especially closed-cell foam.
Typically requires a certified pro to apply.
May be overkill for mild climates or limited budgets.
3.4 Rigid Foam Board
What It Is: Sturdy panels of polystyrene, polyisocyanurate, or polyurethane foam.
Pros:
Doesn’t settle or shift over time.
Offers excellent insulation with fewer layers.
Works well for sealing around edges or creating insulated attic hatches.
Cons:
Can be more expensive than other options.
Requires precise cutting and sealing to avoid gaps.
Not as flexible for unusual attic shapes.
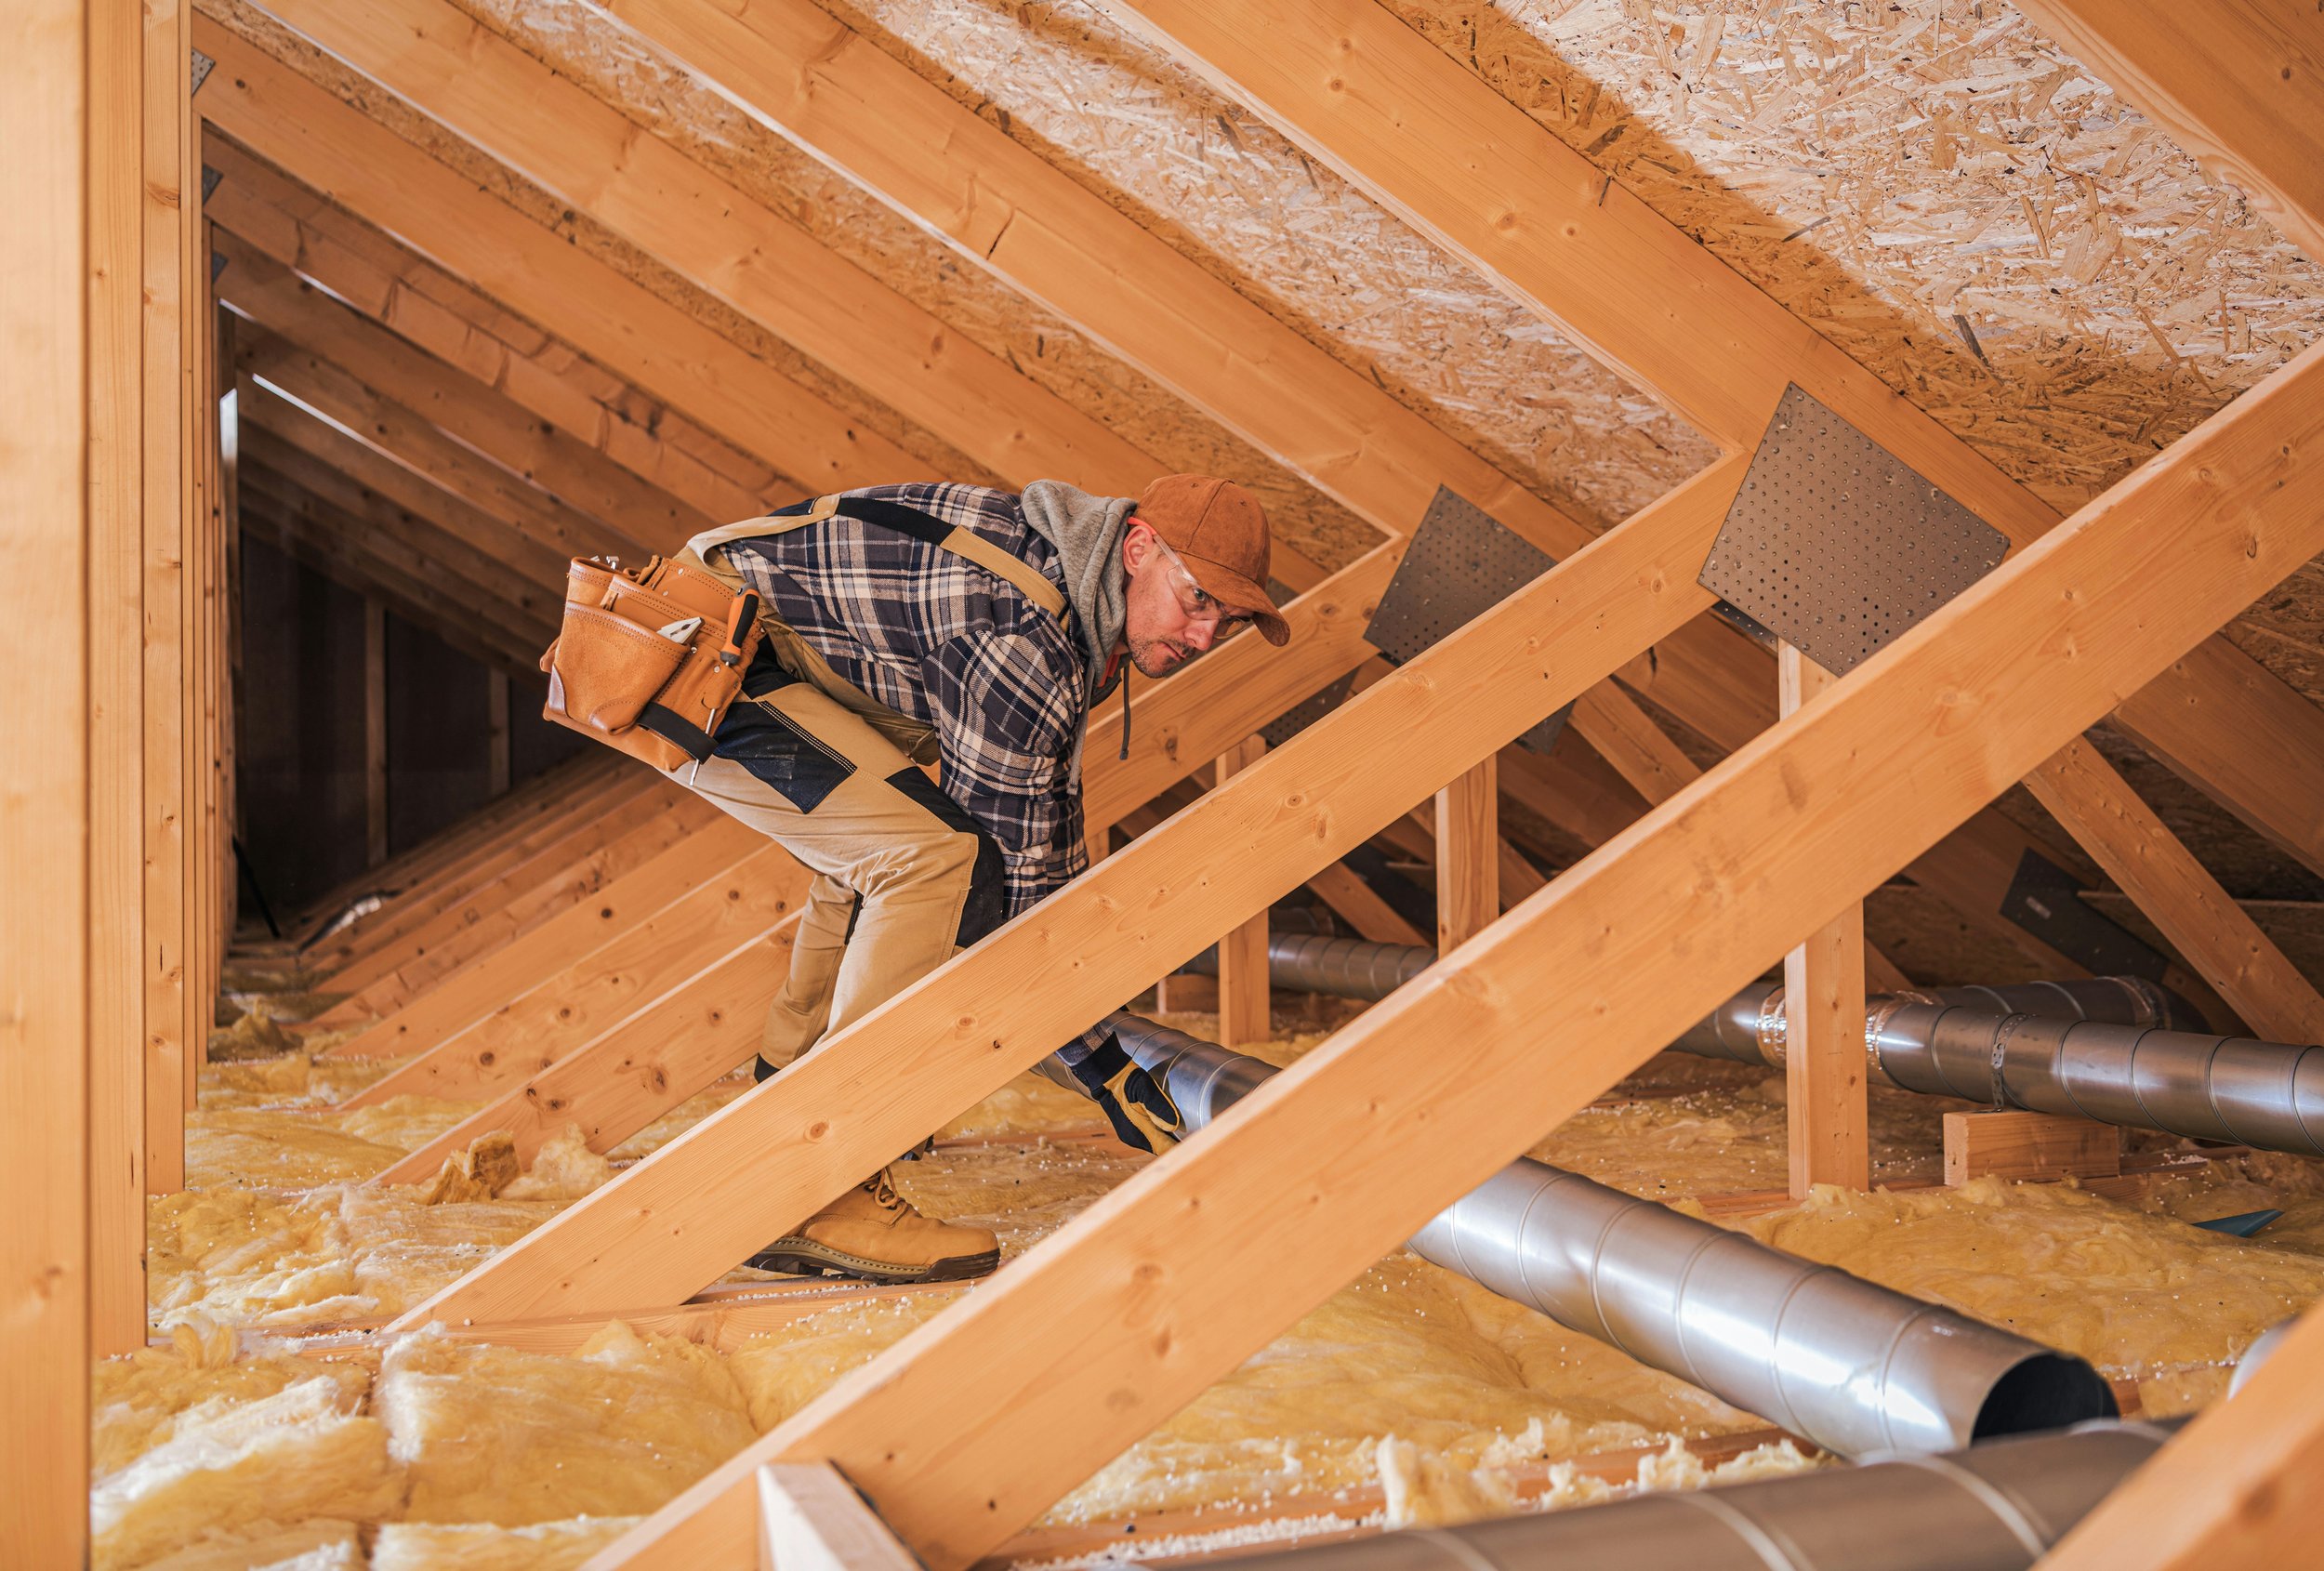
4. DIY vs. Hiring a Pro
So, you’re keen on improving your attic insulation. Should you roll up your sleeves and tackle it yourself or call in the cavalry? That depends on your confidence level, budget, and how gnarly your attic is.
4.1 Going the DIY Route
Pros:
Potentially save big bucks on labor.
Learn new skills—who doesn’t love that sense of accomplishment?
Control over every step, ensuring it’s done to your standards.
Cons:
It can get messy, especially with blown-in insulation.
Safety hazards—attics are cramped, dusty, and sometimes precarious.
A slip-up in installation might hamper performance or lead to moisture issues.
4.2 Professional Installation
Pros:
Pros have the equipment and experience to do it faster.
They can spot potential problems like leaks or mold before you pour in insulation.
Peace of mind from warranties or guarantees.
Cons:
Cost—labor fees can add up.
You might have less “creative control” over the approach (though a good pro will work with your preferences).
Scheduling availability—some top-notch contractors are booked out weeks in advance.
If you’re the kind who loves a weekend challenge, a small attic insulation job with fiberglass batts may be right up your alley. But if your attic resembles a labyrinth of low-clearance spaces and existing insulation riddled with who-knows-what, you might prefer a seasoned pro’s help.

5. Planning Your Insulation Project
Now that you know the major material options and your strategy for who does the work, it’s time to map out the project. “Attic Insulation: What You Need to Know” at this stage is essentially about prepping like a boss.
5.1 Check Current Insulation Levels
Does your attic already have some insulation? If so, measure its depth. Compare that number to your local recommended R-value. Remember, older insulation might be matted down or compromised by moisture.
5.2 Address Air Leaks and Ventilation
Before you toss in new insulation, seal up any glaring leaks around ductwork, wiring cutouts, or vents. You might use spray foam or caulk for small gaps. Double-check that your attic vents aren’t blocked—fresh airflow is vital to a healthy attic ecosystem.
5.3 Calculate the Numbers
Buying more insulation than you need can be a budget buster, but underestimating leads to multiple store runs. Measure your attic’s floor area. If you’re using batts, note their coverage per package. For blown-in, check how many square feet each bag can handle at your target R-value.
5.4 Gather the Tools and Materials
Protective Gear: Goggles, masks, gloves, long-sleeve clothing.
Utility Knife (for batts or foam board).
Measuring Tape and a yardstick if you’re going the loose-fill route.
Staple Gun (handy for securing batts or vapor barriers).
Lighting: A well-lit workspace reduces mishaps—just don’t rely on your phone flashlight alone.
6. Installation Tips and Tricks
All right, let’s suppose you’re diving into a weekend insulation escapade. These tips can help you sidestep rookie mistakes:
Mind Your Head: If your attic has nails poking through the roof deck, a hard hat or at least a sturdy cap might save you some pain.
Lay It Right: If you’re using fiberglass batts, place them snugly between joists without compressing them. Air pockets are good for insulation—squashing them reduces efficiency.
Overlap?: For multiple layers, offset the seams of each layer so you don’t create a thermal bridge.
Labeling: Keep track of R-values, brand names, and any other details you might need later. You don’t want to forget which type of insulation you used, especially if you discover you need to add more down the line.
Stay Cool: Attics get hot, so schedule your insulation spree for the cooler parts of the day, or in mild weather.
7. Common Attic Insulation Mistakes
They say an ounce of prevention is worth a pound of cure, so let’s highlight a few pitfalls:
7.1 Blocking Ventilation
It’s tempting to stuff insulation into every nook, but plugging the soffit vents can trap moisture. Check for baffles or install them if needed to maintain airflow.
7.2 Forgetting Vapor Barriers
In colder climates, a vapor barrier on the warm side can help prevent condensation within the insulation. Some batts come with a kraft-paper facing that serves this purpose.
7.3 Combining Incompatible Materials
If you’re adding new insulation over old material, verify they coexist nicely. For instance, placing faced insulation over existing faced insulation can create moisture entrapment. Sometimes, you might need to remove or slit the paper facing on the older layer.
7.4 Underestimating the Project Scope
If your attic is huge or has complicated architecture, the job might be bigger than you anticipated. There’s no shame in calling reinforcements—neighbors, family, or even a pro—when you realize you’re waist-deep in cellulose and only halfway done.

8. ROI and Long-Term Payoffs
Sure, installing attic insulation requires time, money, and possibly a layer of dust on your overalls. But the benefits can outweigh the hassle:
Lower Energy Bills: Depending on your region and how much you currently spend, you could save up to 10-50% on heating and cooling costs (no joke!).
Extended HVAC Lifespan: When your furnace or AC isn’t battling the elements 24/7, it’s bound to last longer.Cozy Comfort: No more tiptoeing around frigid floors in winter or sweltering under your own roof in summer.
Resale Value: Proper insulation can be a selling point for prospective buyers, especially those who cringe at the mention of “old house, big bills.”
9. Beyond the Basics: Additional Ways to Boost Attic Efficiency
After you’ve nailed down the “Attic Insulation: What You Need to Know” essentials, you might ask, “What else can I do to make my attic even more efficient?” Well, you’re in luck—there are a few more tricks up that rafter:
Seal Attic Hatches: Attic doors can be major leaks. A simple foam board cut to size or adhesive weatherstripping can do wonders.
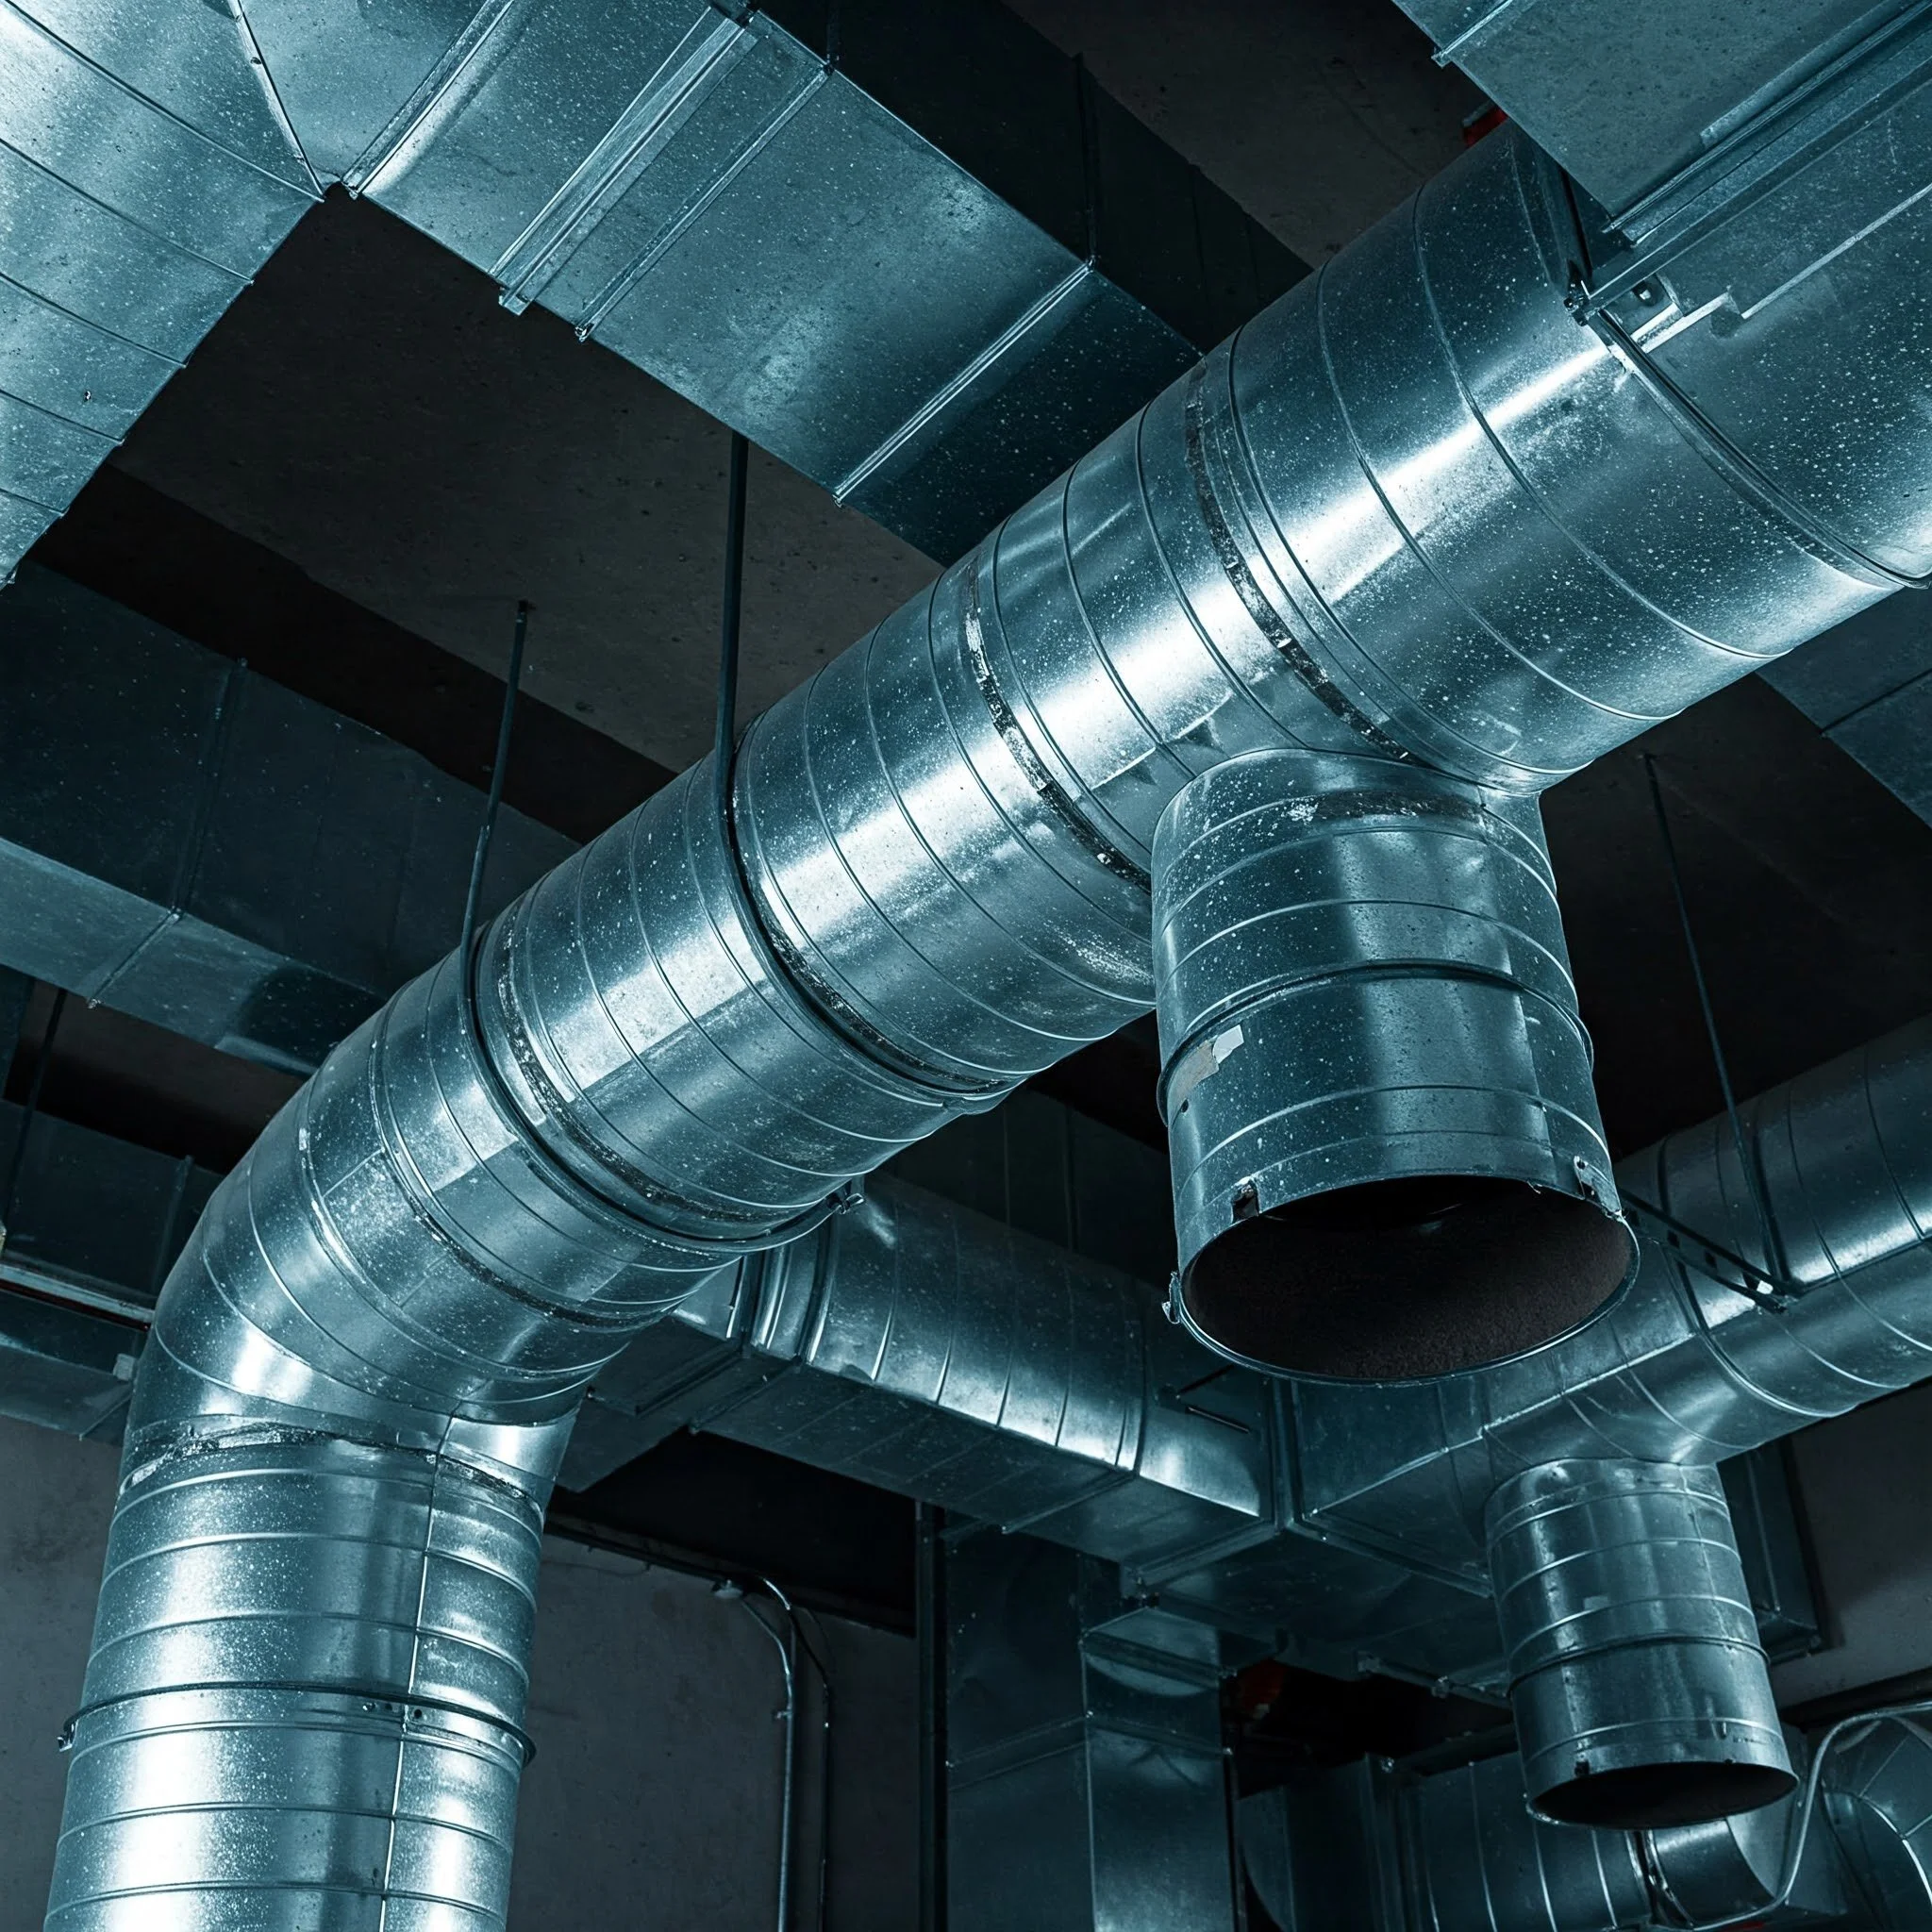
Insulate Attic Ductwork: If your home’s duct lines run through the attic, wrapping them in insulation prevents lost heating or cooling en route to your living space.
Add Radiant Barriers: In super-hot climates, reflective foil or paneling can help bounce away some of that scorching sun.
Use a Smart Thermostat: While not attic-specific, a learning or programmable thermostat can better regulate your home’s temps without you fiddling with the dial every hour.
10. A Glimpse into the Future of Insulation
Technological innovations keep popping up in the construction world. You might see new eco-friendly materials or advanced insulating coatings that go on like paint. Some day soon, we might be installing aerogel-based insulation—an ultra-light, ultra-efficient solution NASA has toyed with.
Plus, with green building codes becoming stricter in many places, you can anticipate improvements in standards, meaning higher R-values for future builds. So if you think your attic insulation is a once-and-done scenario, think again—emerging technologies could tempt you back for an upgrade in a decade or so.
Conclusion
In a nutshell, Attic Insulation: What You Need to Know could be summarized in two words: comfort and savings. By picking the right material (be it fiberglass, cellulose, foam, or rigid board), sealing pesky air leaks, and ensuring proper ventilation, you’ll transform your attic from an overlooked dust trap into a silent hero that helps regulate your entire home’s climate.
Whether you’re a hardcore DIY enthusiast or prefer leaving the gritty details to a pro, there’s a perfect approach out there just waiting for you. So if you’re sick of those teeth-chattering winters and sweaty summers—and let’s not forget those utility bills that stretch your budget—attic insulation just might be your saving grace.
With the right strategy in mind, a bit of elbow grease (or a reputable installer), and a clear focus on your attic’s unique quirks, you’ll be well on your way to creating a home environment that’s cozy in winter, cool in summer, and easier on the wallet year-round. In other words, you’ll be living the comfy life, minus the frigid nights and boiling afternoons. And that, my friend, is something worth celebrating!
Frequently Asked Questions
Q1. Can I just add more insulation over my existing attic insulation?
Yes, in many cases, you can. But be sure the old stuff isn’t water-damaged or moldy. If it is, you’ll want to remove it first to avoid bigger problems. Also, watch for faced insulation—double vapor barriers can trap moisture. Slit or remove the paper face if you’re layering new insulation on top.
Q2. Which insulation material is the best?
There’s no universal “best.” Fiberglass batts are budget-friendly and accessible, while spray foam gives top-notch air sealing (but costs a pretty penny). Blown-in cellulose or fiberglass can fill tight spots well. Choose the product that matches your climate, budget, and comfort goals.
Q3. Do I need a professional energy audit?
Not mandatory, but it sure can help. An energy audit uses tests like a blower door check to pinpoint leaks. That data can guide you in targeting the attic’s trouble spots, ensuring your insulation efforts really pay off.
Q4. Will attic insulation prevent ice dams in winter?
Good insulation and ventilation can help reduce ice dams by keeping your roof’s surface temperature more uniform. However, it won’t cure them alone. Proper roof maintenance, gutter cleaning, and sealing attic air leaks play a big part, too.
Q5. How often should I check my attic insulation?
A yearly inspection can catch problems like water damage, pest infiltration, or areas that have flattened over time. Pay extra attention after severe storms or if you spot suspicious water stains on your ceiling.
Stay up to date with our latest ideas!