How to Clean Heating and AC Ducts Yourself Easily
Discover how to clean heating and AC ducts yourself easily with our ultimate DIY guide. Learn practical tips, step-by-step instructions, and expert FAQs to keep your home fresh, efficient, and healthy!
Let’s face it – keeping your home spick and span is no walk in the park, and one of the most overlooked areas is your heating and AC ducts. Dirty ducts can wreak havoc on your indoor air quality, not to mention your energy bills. If you've ever wondered, "How to Clean Heating and AC Ducts Yourself Easily?" then you’re in for a treat. In this guide, we’ll dive deep into the nitty-gritty of duct cleaning, share practical steps, safety tips, and even answer some burning FAQs. So, roll up your sleeves and get ready to breathe in cleaner air without breaking the bank!
Why Bother Cleaning Your Ducts?
The Hidden Benefits
You might ask, “Why should I invest my time cleaning heating and AC ducts myself?” Well, the answer isn’t just about dusting off a few specks here and there. Regular cleaning helps:
Improve Air Quality: Over time, dust, pollen, and other debris can accumulate, turning your home into a veritable dust bunny haven.
Boost Energy Efficiency: Clogged ducts make your HVAC system work overtime, leading to higher energy bills.
Extend System Life: Keeping ducts clean can reduce strain on your heating and cooling system, prolonging its lifespan.
Reduce Allergens: For allergy sufferers, clean ducts mean fewer irritants floating around.
In short, a little elbow grease can lead to a healthier, happier home. And honestly, who doesn’t want that?
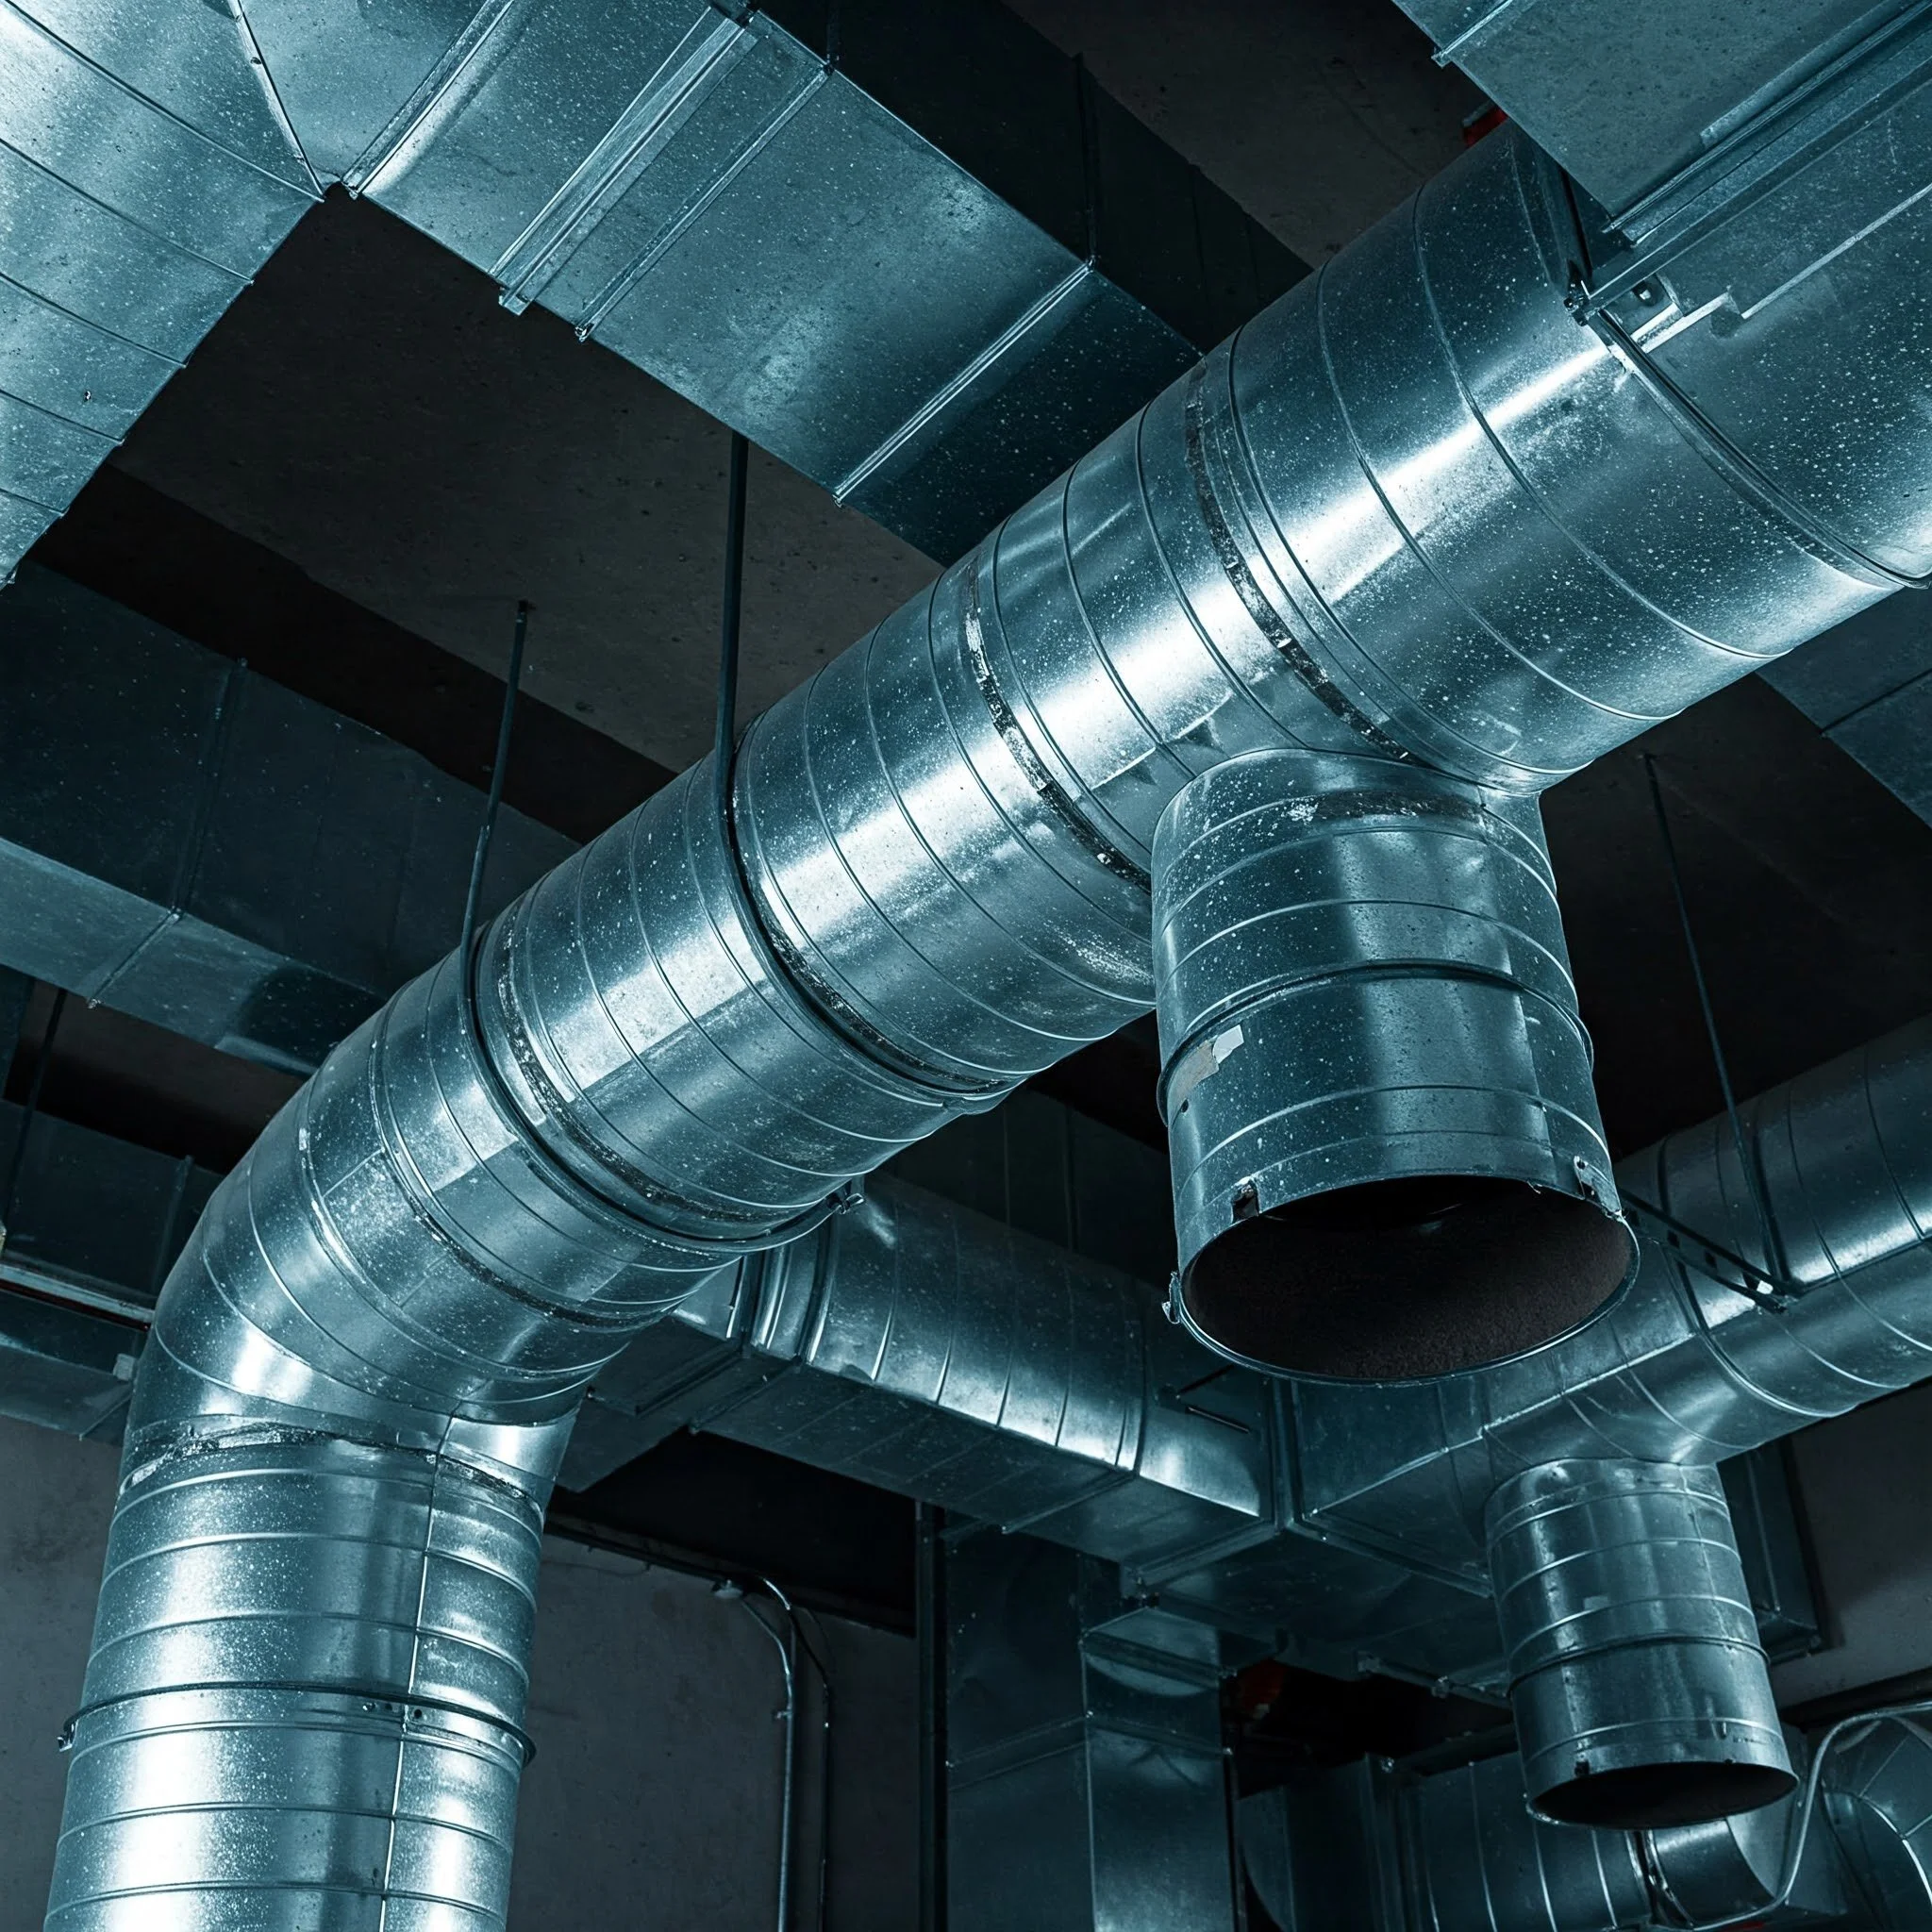
Understanding the Basics
Before we jump headfirst into the cleaning process, let’s break down what you’re dealing with. Your heating and AC ducts are essentially a network of passages that distribute conditioned air throughout your home. Over time, these pathways collect dust, debris, and sometimes even mold. Cleaning them not only keeps your system running smoothly but also ensures that every breath you take is as clean as it can be.
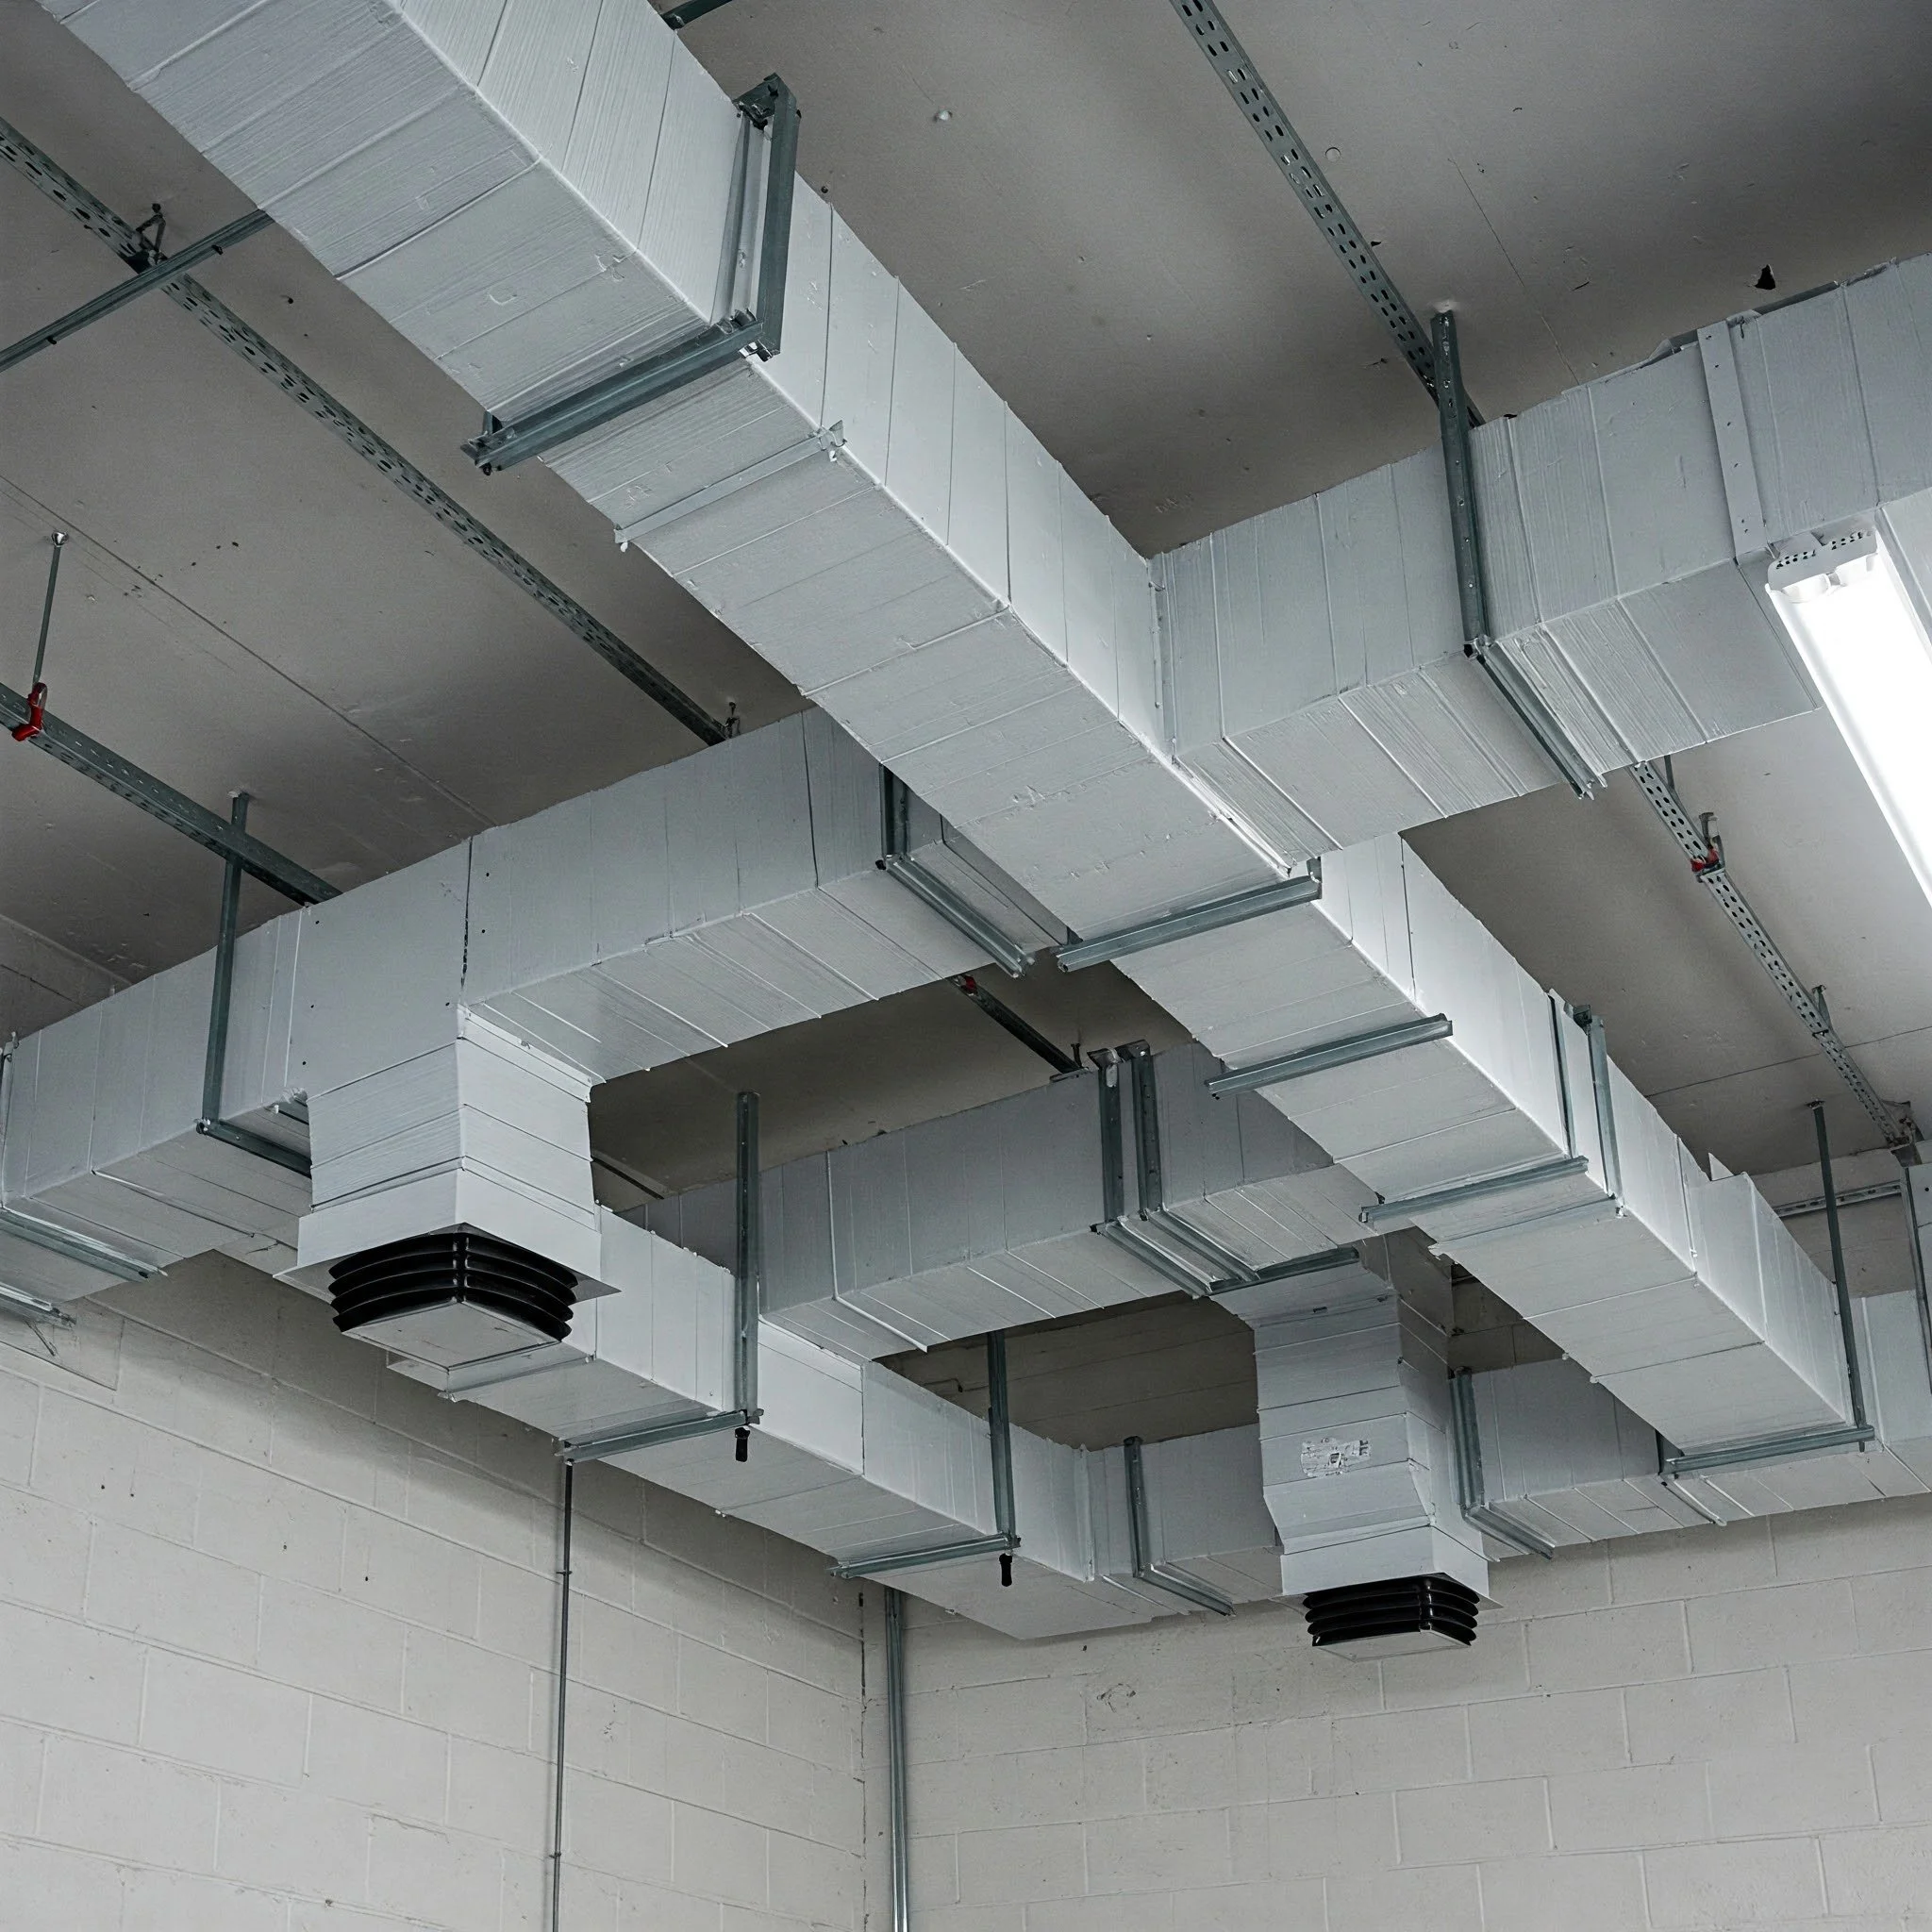
Key Components of Your Duct System
Supply Ducts: These carry the conditioned air from your HVAC system to your living spaces.
Return Ducts: These pull air back into the system for reconditioning.
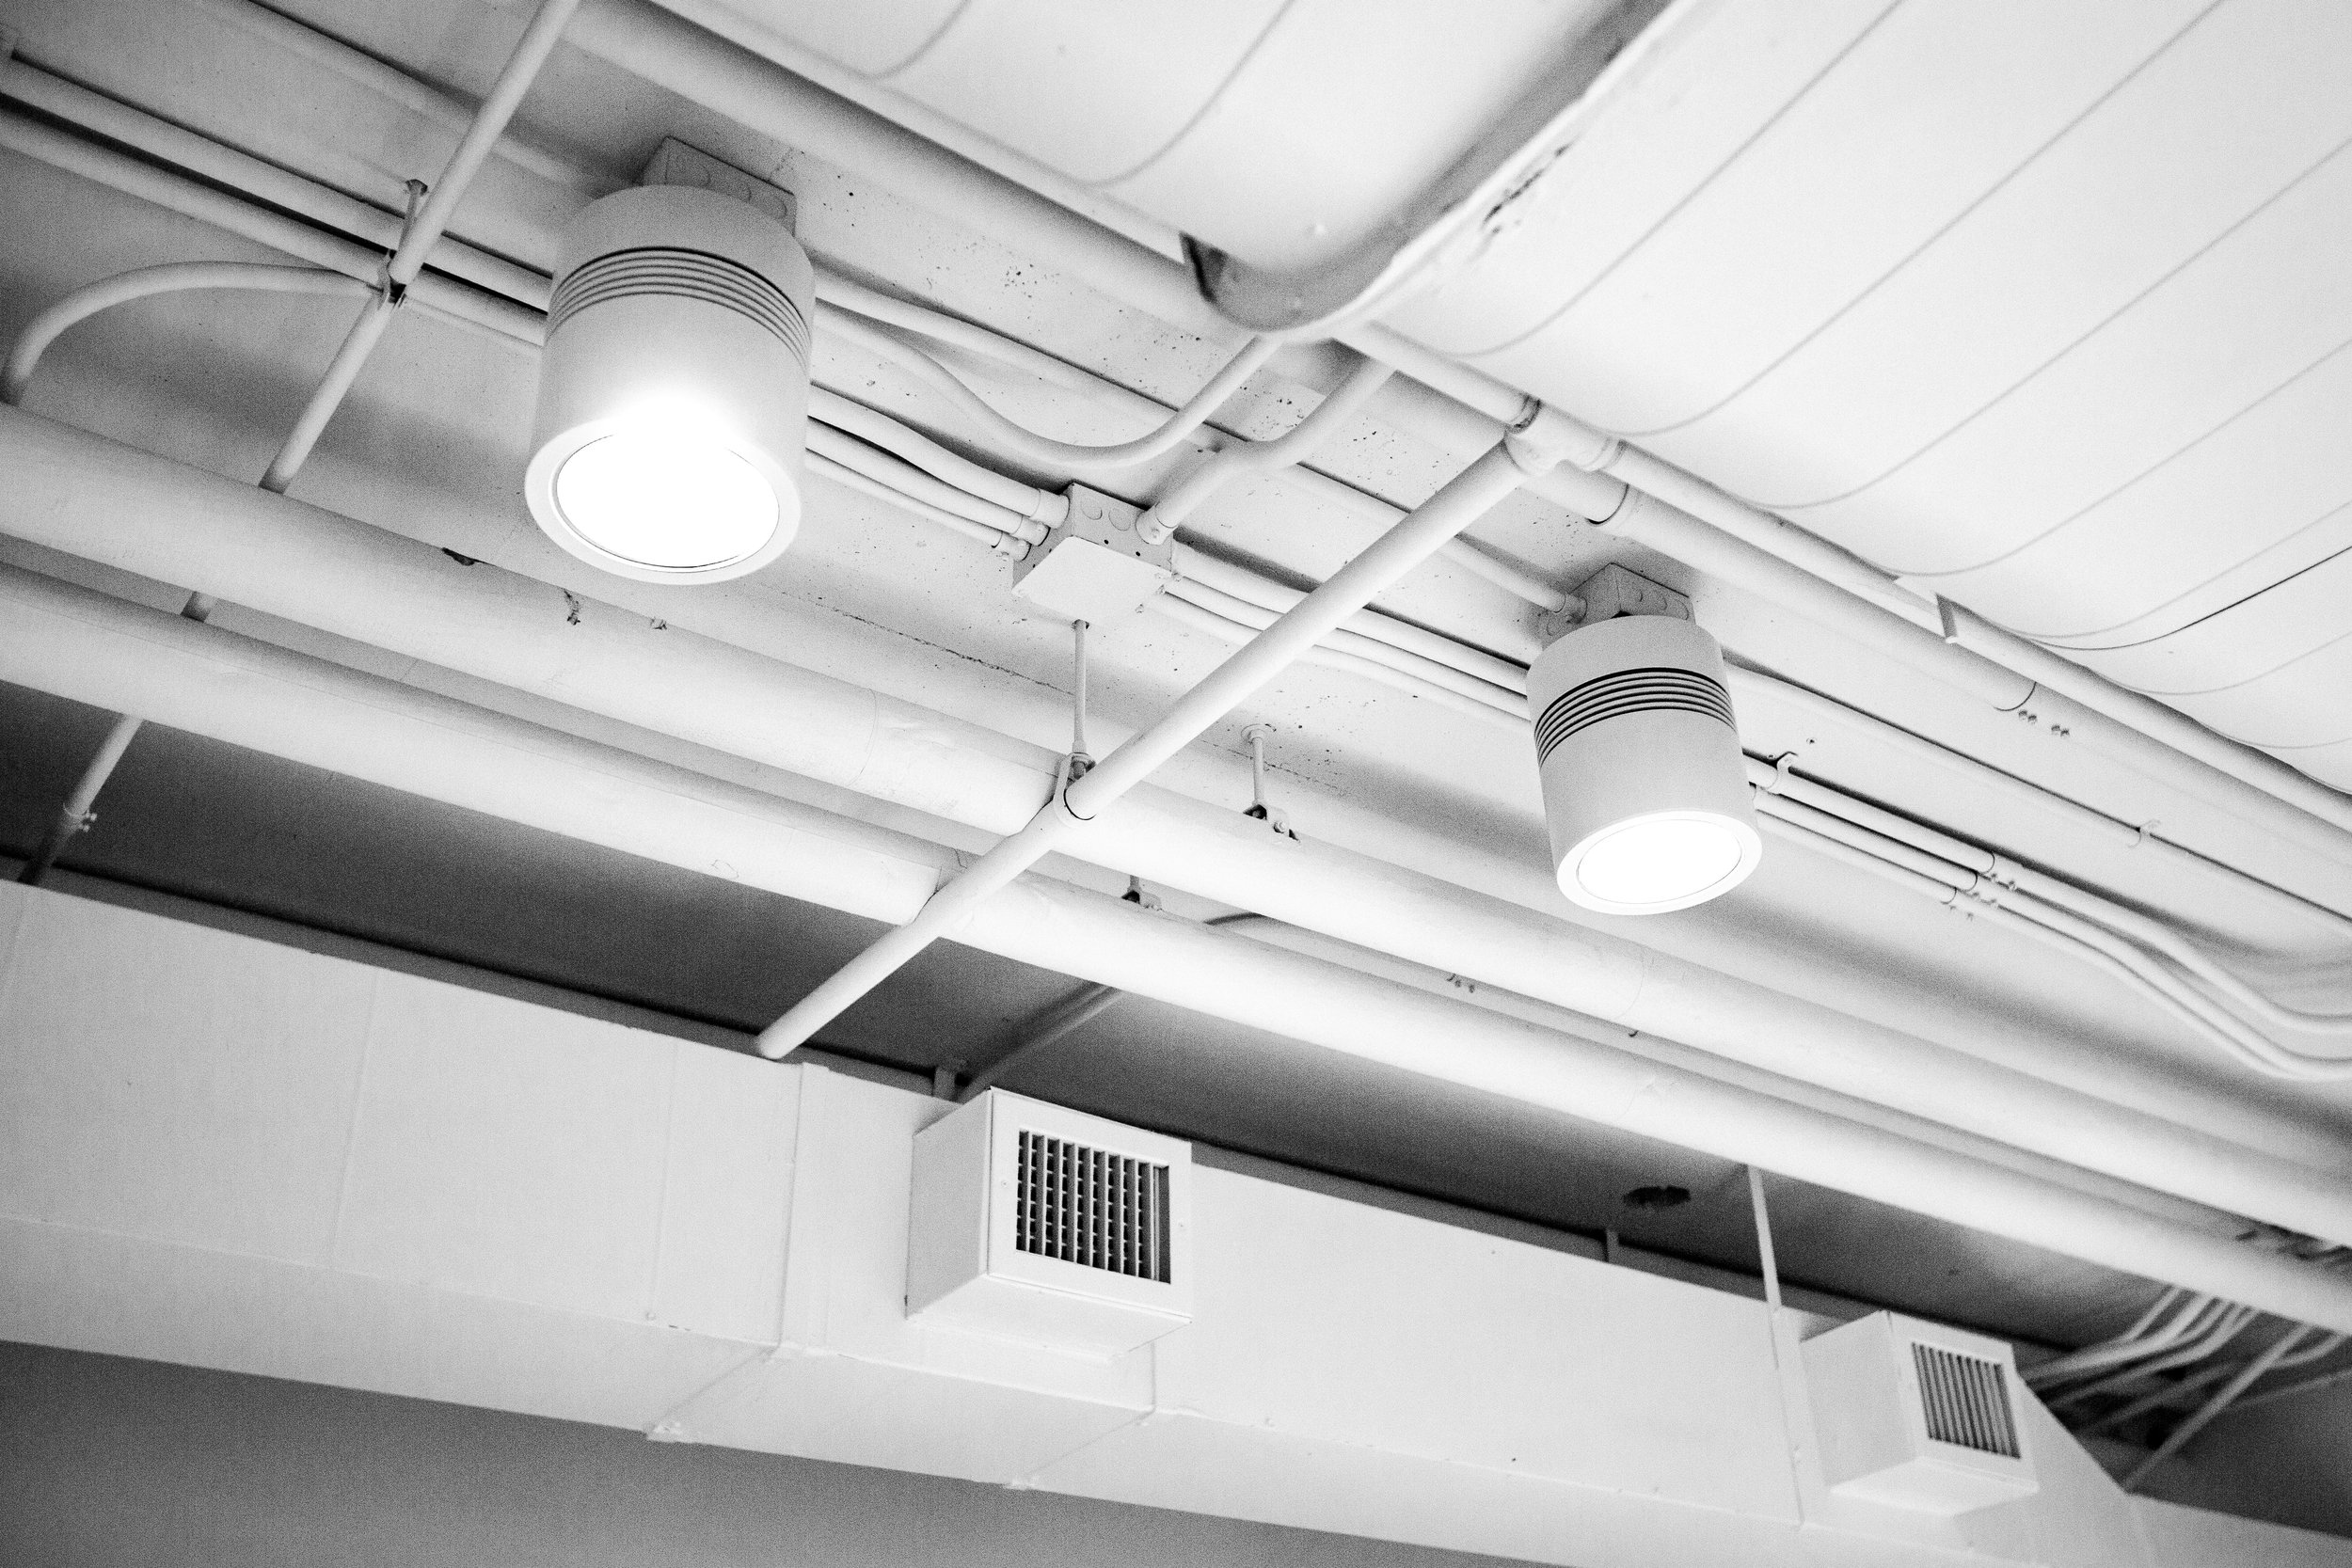
Registers and Grilles: The vents through which air enters and exits your rooms.
Filters: Often the first line of defense against dust and allergens.
Understanding these parts will help you better appreciate the impact of a thorough cleaning.
Tools and Materials You’ll Need
Now, don’t get your knickers in a twist if you’re thinking this project requires a ton of fancy equipment. In reality, most of the tools you need are likely lying around in your garage. Here’s a quick checklist:
Screwdriver set: For removing vent covers.
Vacuum cleaner with hose attachment: Preferably one with a HEPA filter.
Long-handled brush or broom: For reaching deep into the ducts.
Microfiber cloths: For wiping down surfaces.
Dust masks and gloves: To keep you safe from allergens and dust.
Flashlight: To inspect hard-to-see areas.
DIY cleaning solution: A mix of warm water and mild detergent or vinegar.
Having everything at your fingertips before you start will save you a heap of time and energy.
Safety First: Precautions to Keep in Mind
While rolling up your sleeves for a DIY project can be exhilarating, safety should always come first. Here are some pointers to ensure your duct cleaning adventure doesn’t turn into a mishap:
Turn Off the System: Before you begin, make sure to switch off your HVAC system to avoid any accidents.
Wear Protective Gear: Dust masks, gloves, and even goggles are a must when dealing with dust and potential allergens.
Mind the Electricals: If your ducts are near electrical wiring or outlets, tread carefully.
Work in a Well-Ventilated Area: You don’t want to breathe in a cloud of dust, so open windows and doors if possible.
Use a Sturdy Ladder: If you need to reach high spots, ensure your ladder is secure and stable.
By following these safety tips, you’re not only protecting yourself but also ensuring a smooth cleaning process.
Step-by-Step Guide: How to Clean Heating and AC Ducts Yourself Easily
Ready to get started? Follow these detailed steps to transform your dusty ducts into a clean, efficient network.
1. Preparation Phase
A. Turn Off Your HVAC System:
Before you even think about removing any covers, turn off your heating and AC system. This prevents dust from being blown around and ensures your safety.
B. Gather Your Tools:
Lay out all your necessary tools – screwdriver, vacuum cleaner, brush, cloths, cleaning solution, and protective gear. Having everything ready prevents unnecessary back-and-forth trips.
C. Plan Your Approach:
Take a quick look at your duct system. If some ducts are more accessible than others, note them down. Sometimes, you might even need to schedule a couple of sessions if the job seems too overwhelming for a single day.
2. Removing the Duct Covers
Locate the Screws: Most duct covers are held in place by screws. Using your screwdriver, carefully remove these screws.
Detach the Covers: Gently lift off the covers, being cautious not to damage any of the surrounding structures. Place the covers in a safe spot for cleaning later.
Inspect for Visible Debris: Take a moment to inspect the opening of the ducts for any visible buildup of dust or debris.
3. Cleaning the Ducts
This is where the rubber meets the road. Follow these steps for a thorough cleaning:
A. Vacuuming
Insert the Hose: Attach the hose of your vacuum cleaner to the duct opening. If your vacuum has multiple attachments, choose the one that best reaches inside the duct.
Suction Away Dust: Turn on the vacuum and let it work its magic. Move the hose around to cover all angles. If you come across stubborn spots, pause and focus on those areas.
Repeat as Needed: Depending on the size of your ducts and the amount of buildup, you might need to go over each duct a few times.
B. Brushing and Wiping
Use the Long-Handled Brush: For ducts that have a lot of grime, a long-handled brush can help dislodge particles that the vacuum might miss.
Wipe Down Surfaces: Dampen a microfiber cloth with your cleaning solution and wipe down the inside of the ducts. This helps remove any remaining dust and disinfects the area.
Repeat the Process: Work in sections, moving systematically through your entire duct system.
C. Dealing with Stubborn Areas
Spot Cleaning: For any particularly stubborn or grimy areas, consider using a soft-bristled brush dipped in your cleaning solution.
Rinse and Dry: If possible, lightly rinse the area with a damp cloth (avoiding over-wetting) and then dry it thoroughly with another clean cloth.
4. Cleaning the Vent Covers
While your ducts are drying or being inspected, don’t neglect the vent covers.
Soak in Warm, Soapy Water: Let the vent covers soak in a basin of warm water mixed with a few drops of dish soap.
Scrub Gently: Use a soft brush or sponge to scrub away any dust or grease buildup.
Rinse and Dry: Rinse the covers with clean water and let them air dry completely before reinstalling.
5. Reassembling and Final Touches
Reattach the Covers: Once both the ducts and vent covers are dry, carefully reattach the vent covers to their original positions.
Turn On the HVAC System: Now that everything is back in place, turn your system back on. You should notice an immediate improvement in airflow and air quality.
Final Inspection: Give the area one last look to ensure no dust or debris was left behind.
Troubleshooting: Common Issues and How to Fix Them
Even a seasoned DIYer might encounter a hiccup or two. Here are some common issues and what to do about them:
Stubborn Dust Buildup: If certain ducts remain dusty despite repeated vacuuming and brushing, consider renting a more powerful vacuum or seeking professional help.
Mold Concerns: If you detect mold or a musty odor, wear a mask and gloves, and use a cleaning solution with a bit of bleach (diluted properly) to disinfect the area.
Blocked Ducts: Sometimes, a blockage could be a sign of a bigger problem. If you suspect a blockage, inspect the ducts thoroughly and remove any debris that could be causing the obstruction.
Reinstallation Woes: If the vent covers don’t fit back properly, check for any warping or damage. You might need to replace them if they no longer secure tightly.
By troubleshooting these issues as they arise, you can ensure your duct cleaning project runs like clockwork.
Pro Tips for a Sparkling Clean Duct System
Regular Maintenance: Don’t wait until your ducts are screaming for attention. Clean them at least once a year to maintain optimum performance.
Mind the Filters: Regularly replace or clean your HVAC filters. This small step can reduce the amount of dust that reaches your ducts.
Schedule Seasonal Checks: Before the heating season kicks in or right after summer, give your ducts a quick check. A little preventative maintenance goes a long way.
Enlist a Buddy: Sometimes, two heads are better than one. Having a helper can make the job less daunting and even a bit more fun!
How to Clean Heating and AC Ducts Yourself Easily: Expert Tips and Tricks
Dive Deeper Into the Process
When you're in the thick of your DIY project, remember that patience is key. Here are some expert tips to ensure you get the best results:
Plan Your Route: Instead of tackling the entire duct system at once, break it down into manageable sections. This way, you can focus on one area at a time and not get overwhelmed.
Keep It Consistent: Consistency is the name of the game. If you make duct cleaning a regular part of your home maintenance routine, you’ll never have to deal with a massive dust buildup.
Use the Right Tools: Believe it or not, using the correct attachments on your vacuum cleaner can make all the difference. Experiment with different nozzles until you find the one that fits your ducts best.
Don’t Skip the Details: While it might be tempting to rush through the job, taking the time to thoroughly clean each section will pay off in the long run.
Ventilation is Vital: Make sure you open windows and doors during the cleaning process. It helps dissipate the dust and gives you a better view of your progress.
By incorporating these tips, you'll not only master the art of duct cleaning but also be armed with a foolproof plan for future maintenance.
Additional Tips and Tricks
Keep a Cleaning Log: Jot down when you last cleaned your ducts. It might sound trivial, but tracking your maintenance schedule can save you from future headaches.
Invest in a Quality Vacuum: Not all vacuums are created equal. If duct cleaning is going to be a recurring chore, investing in a high-quality model with strong suction and HEPA filters is worth its weight in gold.
Educate Your Household: Let everyone in the family know the importance of regular duct cleaning. It’s a team effort to maintain a healthy living environment!
Consider Professional Help Occasionally: While DIY is great, sometimes a professional cleaning might be necessary for an in-depth job, especially if mold or persistent blockages are an issue.
Conclusion
All in all, knowing How to Clean Heating and AC Ducts Yourself Easily is a game changer for anyone looking to maintain a cleaner, healthier home environment. By following the detailed steps and tips provided in this guide, you'll not only improve your indoor air quality but also extend the lifespan of your HVAC system while saving a pretty penny.
Remember, the key to a successful DIY duct cleaning lies in preparation, patience, and persistence. From turning off your system and gathering your tools to meticulously vacuuming and wiping down every nook and cranny, each step plays a vital role in achieving that sparkling clean finish. Plus, with regular maintenance and a few handy pro tips, you’ll never be caught off guard by a dust overload again.
So, the next time you’re wondering, "How to Clean Heating and AC Ducts Yourself Easily?" just follow this guide and tackle the job like a pro. It might seem daunting at first, but once you get the hang of it, you'll find that a little DIY effort can lead to big rewards—fresh air, improved energy efficiency, and a home that’s truly a breath of fresh air.
Take it one step at a time, and don’t hesitate to ask questions along the way. After all, a little curiosity goes a long way when it comes to home maintenance. Happy cleaning!
Read next: How to Clean Your Air Ducts: A Step-by-Step Guide
Frequently Asked Questions
Q1: How often should I clean my heating and AC ducts?
A: Experts typically recommend cleaning your ducts every 3 to 5 years, though if you have pets, allergies, or live in a dusty environment, you might want to do it more frequently.
Q2: What are the signs that my ducts need cleaning?
A: Look out for these red flags:
A noticeable dust buildup around your vents.
Increased allergy symptoms or respiratory issues.Higher energy bills due to inefficient airflow.
A musty or stale odor coming from your ducts.
Q3: Can I use regular household cleaners on my ducts?
A: While mild detergents or a vinegar-water solution can work wonders, avoid harsh chemicals that might damage the duct material. Always do a spot test first.
Q4: Is it really safe to clean ducts myself?
A: Absolutely, as long as you take proper precautions such as turning off your HVAC system, wearing protective gear, and following safety guidelines. If in doubt, consult a professional.
Q5: How long does the cleaning process take?
A: Depending on the size of your home and the extent of the dust buildup, it can take anywhere from a couple of hours to an entire day. Breaking the task into smaller sections can make it more manageable.
Stay up to date with our latest ideas!