How to Strip Stain from Wood: Step-by-Step Guide
Embark on a DIY adventure with our comprehensive "How to Strip Stain from Wood: Step-by-Step Guide". Discover expert tips, essential tools, and a fun, detailed process to restore your wood’s natural beauty effortlessly.
Ever catch yourself gazing longingly at that beautiful piece of wood furniture or flooring, only to notice its once-vibrant stain has dulled or even turned unsightly? If you’ve ever wondered how to breathe new life into your wood surfaces, then you’re in luck. Welcome to our ultimate guide—How to Strip Stain from Wood: Step-by-Step Guide—designed to help you uncover the hidden beauty of your wood with a little elbow grease and plenty of know-how.
In this guide, we’re diving deep into the nitty-gritty of stripping off old stain to reveal the raw, natural charm of wood beneath. Whether you’re a seasoned DIY enthusiast or just dipping your toes into the world of home improvement, this article is packed with practical advice, step-by-step instructions, and plenty of insider tips. So, roll up your sleeves, grab your tools, and get ready to transform your wood into a stunning centerpiece!
Why Strip Stain from Wood?
Stripping the stain from wood isn’t just about aesthetics—it’s a way to reclaim the wood’s natural beauty and prepare it for a fresh, new finish. Let’s break down some of the key reasons why you might choose to strip stain from wood:
Revitalize Old Wood:
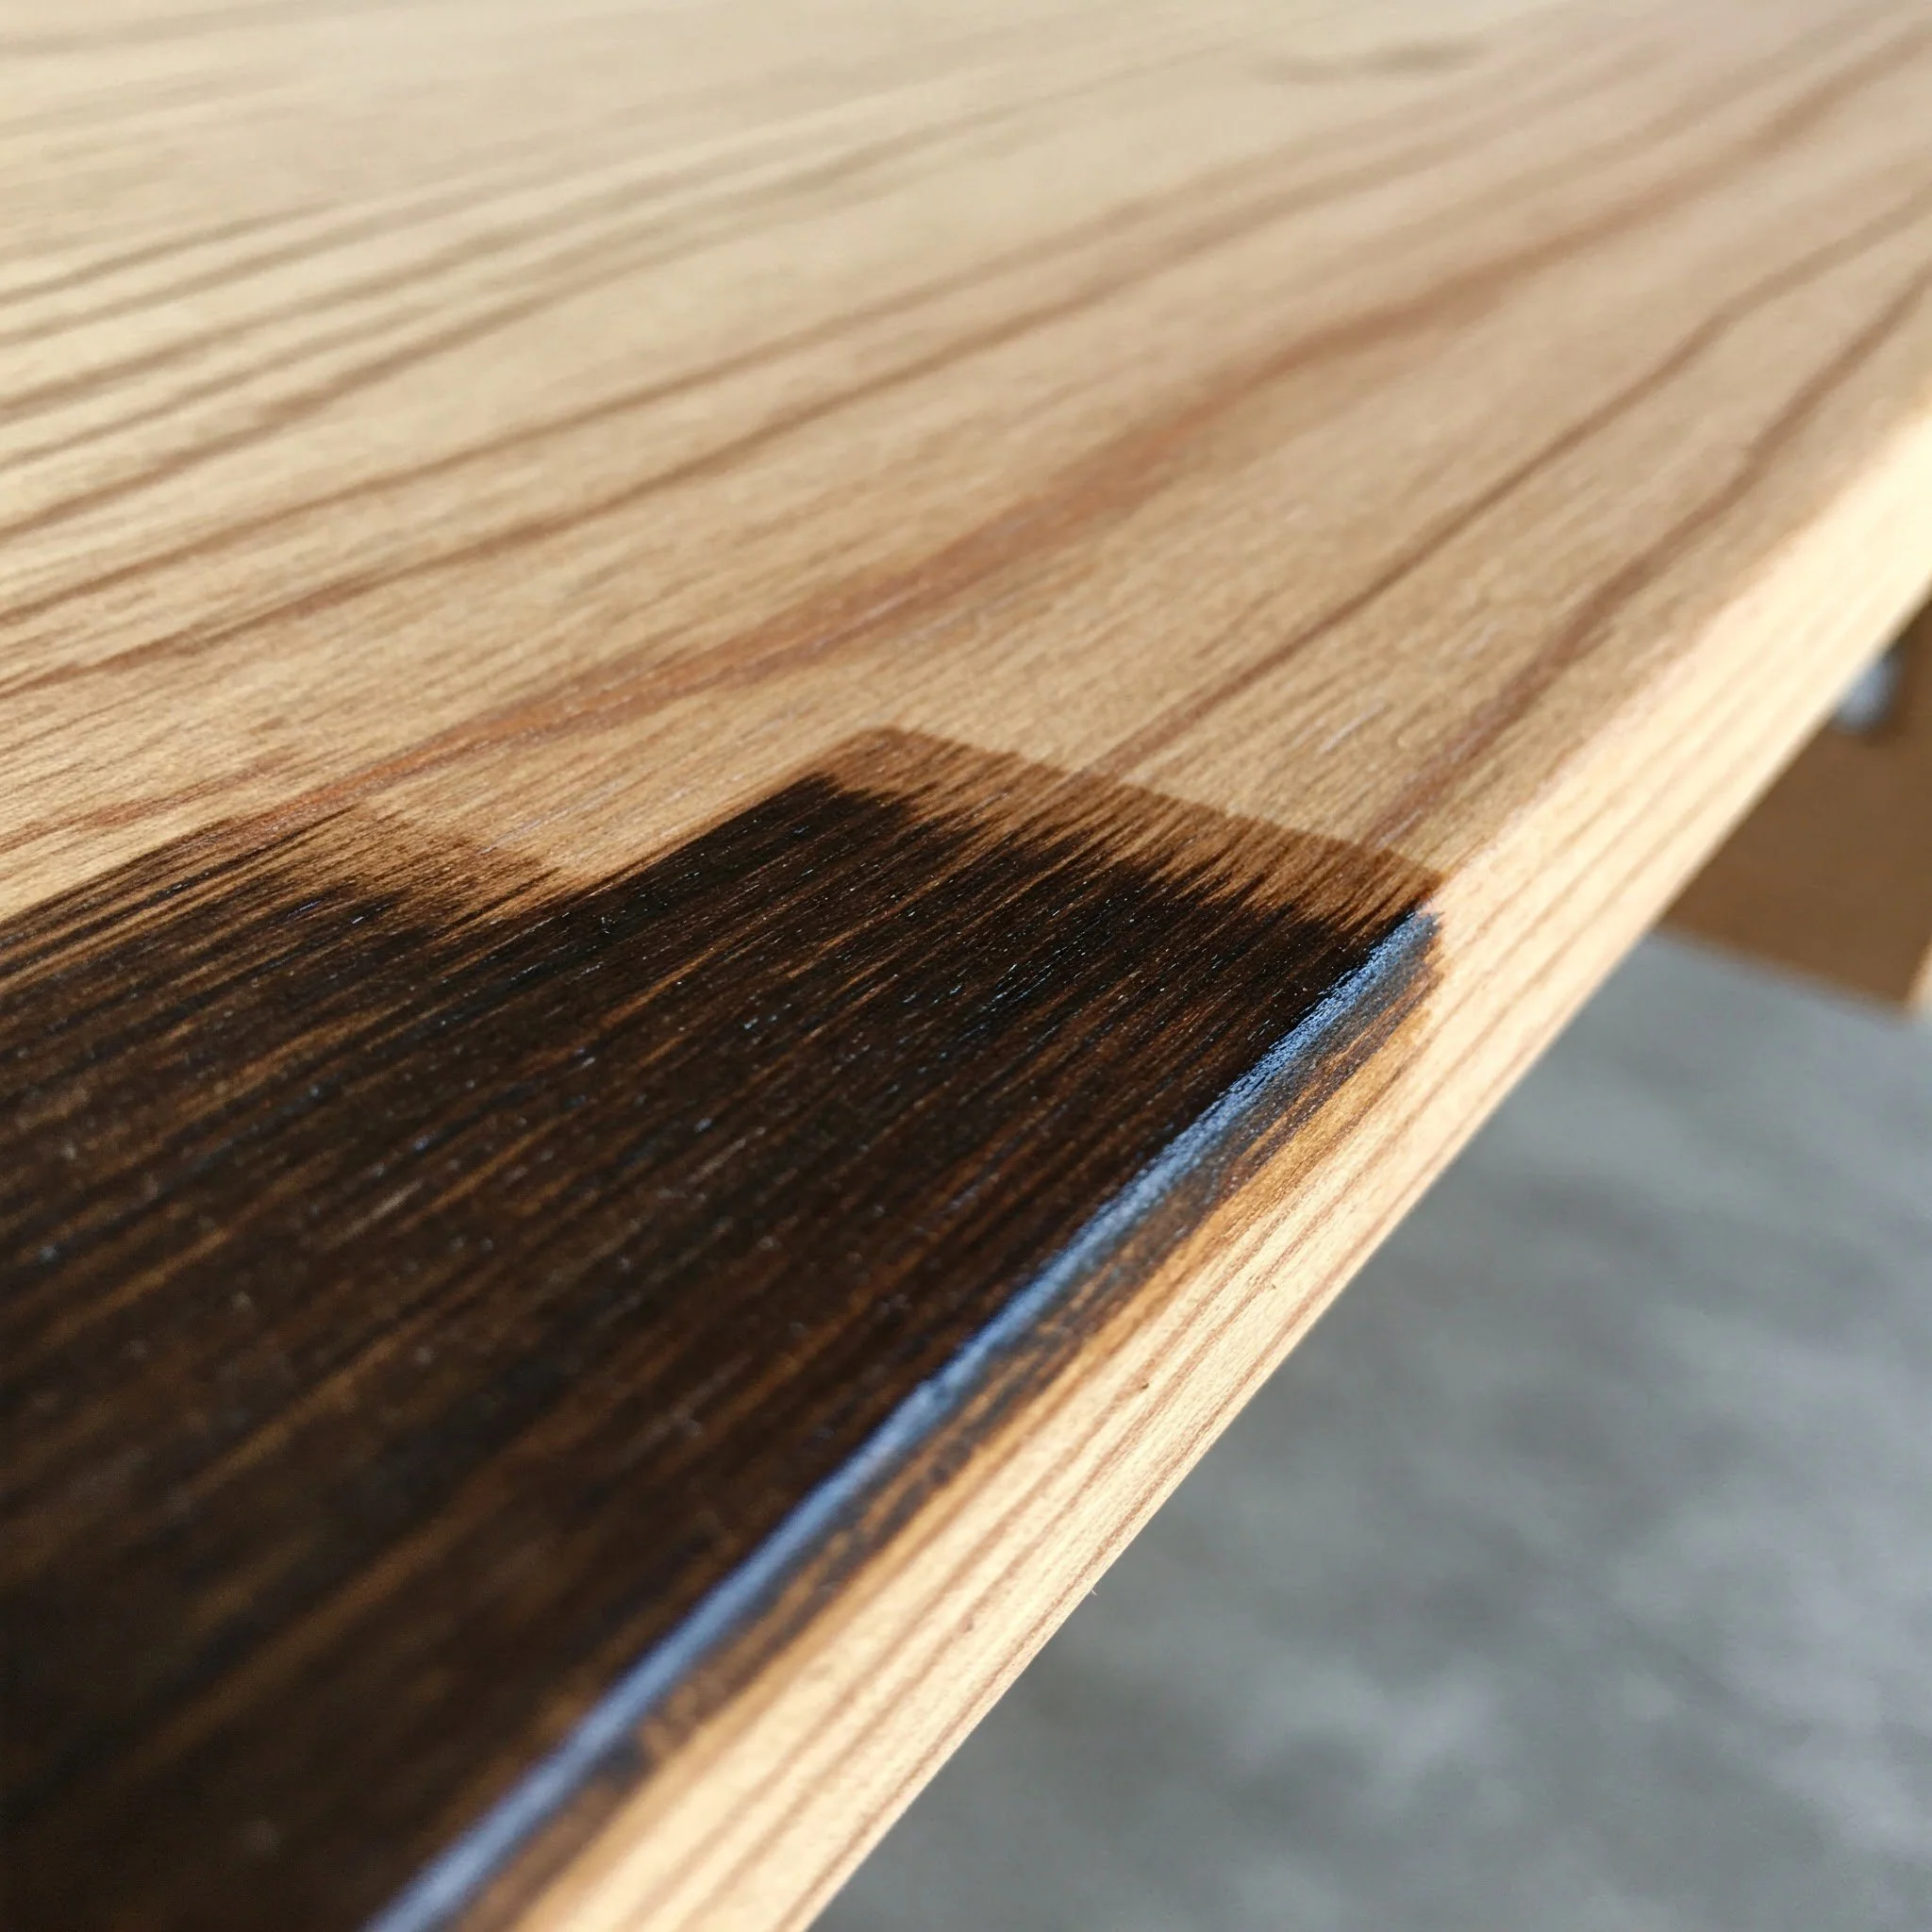
Over time, stains can fade, chip, or become uneven. Stripping them away can restore the wood’s original allure.Prepare for a New Finish:
Whether you plan to re-stain, paint, or apply a clear finish, removing the old stain ensures that the new treatment adheres properly.Enhance Durability:
Removing deteriorated stain helps prevent issues like peeling, flaking, or moisture damage.Eco-Friendly Renovation:
Instead of replacing old wood surfaces, stripping and refinishing them is a sustainable and cost-effective solution.Customization:
Stripping the stain allows you to start fresh—imagine having a blank canvas to experiment with new colors or finishes that truly reflect your style!
Tools and Materials You’ll Need
Before diving into the How to Strip Stain from Wood: Step-by-Step Guide, it’s important to gather all your essential tools and materials. Think of it as prepping your toolkit for a fun and fruitful project. Here’s what you’ll need:
Chemical Stripper:
Choose a stripper that’s effective yet safe for your wood type. Options include liquid, gel, or paste formulations.Protective Gear:
Safety comes first—rubber gloves, safety goggles, and a mask to protect against fumes.Scrapers and Putty Knives:
Essential for removing the loosened stain and residue.Steel Wool or Abrasive Pads:
For scrubbing off any stubborn remnants.Brushes and Rags:
To apply the chemical stripper and clean up the surface.Sandpaper (Medium and Fine Grit):
Sanding is key to smoothing the wood after stripping.Drop Cloths or Plastic Sheeting:
To protect your work area from chemical spills and debris.Bucket of Water and Soap:
For rinsing off the wood and neutralizing the stripper.Optional: Heat Gun:
For particularly stubborn areas, a heat gun might help to soften the stain further.
Safety First: Prepping Your Work Area
Before you even think about applying a chemical stripper, it’s crucial to set up a safe workspace. After all, you don’t want your DIY adventure to turn into an accident waiting to happen!
Ventilation is Key:
Work in a well-ventilated area or outdoors if possible. Open windows and doors, and consider using a fan to circulate fresh air.Protect Yourself:
Don your safety gear—gloves, goggles, and a mask are non-negotiable when dealing with chemicals.Cover the Surroundings:
Lay down drop cloths or plastic sheeting to protect your floors and nearby surfaces from spills or splatters.Read the Label:
Carefully read the manufacturer’s instructions on your chemical stripper. Knowing the proper application time and safety precautions is half the battle.
How to Strip Stain from Wood: Step-by-Step Guide
Now, let’s get to the heart of our article—the detailed, easy-to-follow steps of How to Strip Stain from Wood: Step-by-Step Guide. Follow these steps closely, and you’ll be well on your way to a beautifully stripped wood surface.
Step 1: Preparing the Wood Surface
Before you start, prep like a pro!
A clean, ready-to-strip surface is the secret to success.
Clean the Wood:
Dust and debris can interfere with the chemical stripper’s effectiveness. Wipe down the wood with a damp cloth and let it dry completely.Test a Small Area:
Always perform a spot test in an inconspicuous area. This ensures the stripper reacts well with your wood without causing damage.Remove Hardware:
If you’re working on furniture, remove any knobs, handles, or other hardware that might get in the way.
Step 2: Applying the Chemical Stripper
Time to roll up your sleeves and get into the thick of it—applying the chemical stripper.
Stir It Up:
Mix the chemical stripper according to the manufacturer’s instructions. If it’s a gel or paste, stir it well for consistency.Even Application:
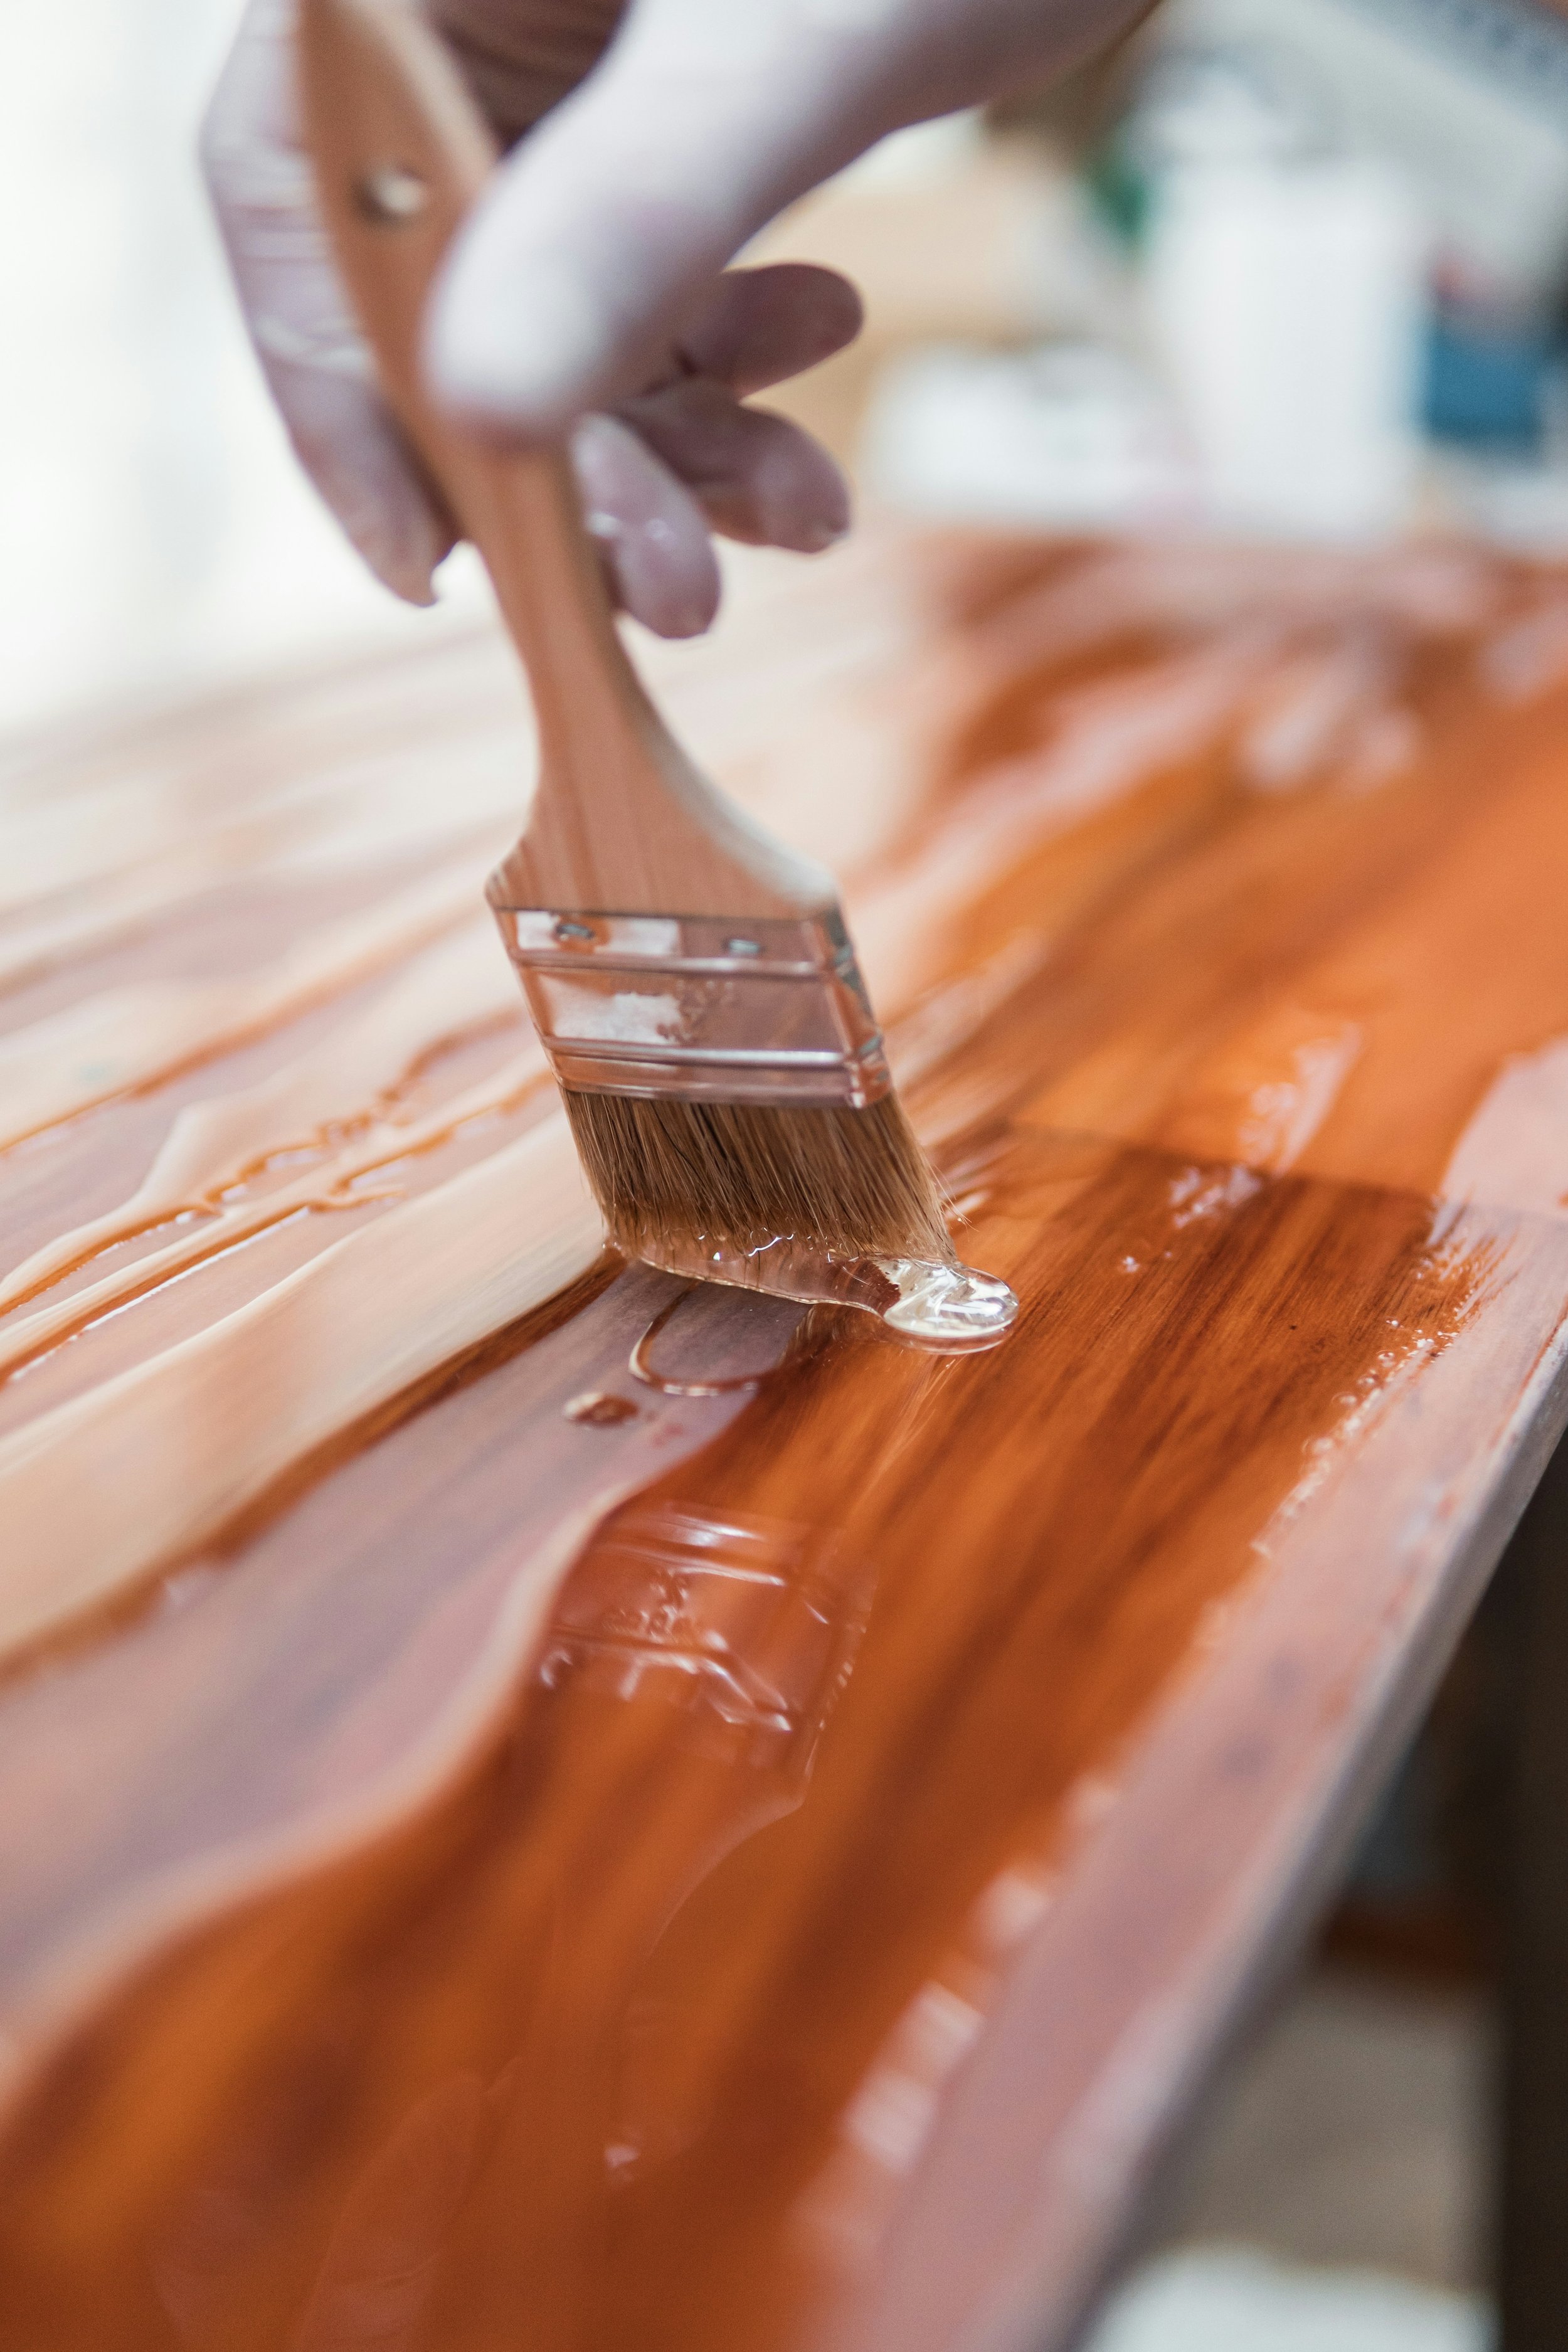
Using a brush or rag, apply a generous, even coat of the stripper over the stained wood. Make sure to cover every nook and cranny.Let It Sit:
This is the part where patience pays off. Allow the stripper to sit for the recommended time, usually between 15 minutes to an hour. You might see the stain start to bubble or soften—this is a good sign that the process is working.
Step 3: Removing the Old Stain
Now comes the fun part: stripping away the old, tired stain to reveal that gorgeous, bare wood.
Scrape Off Gently:
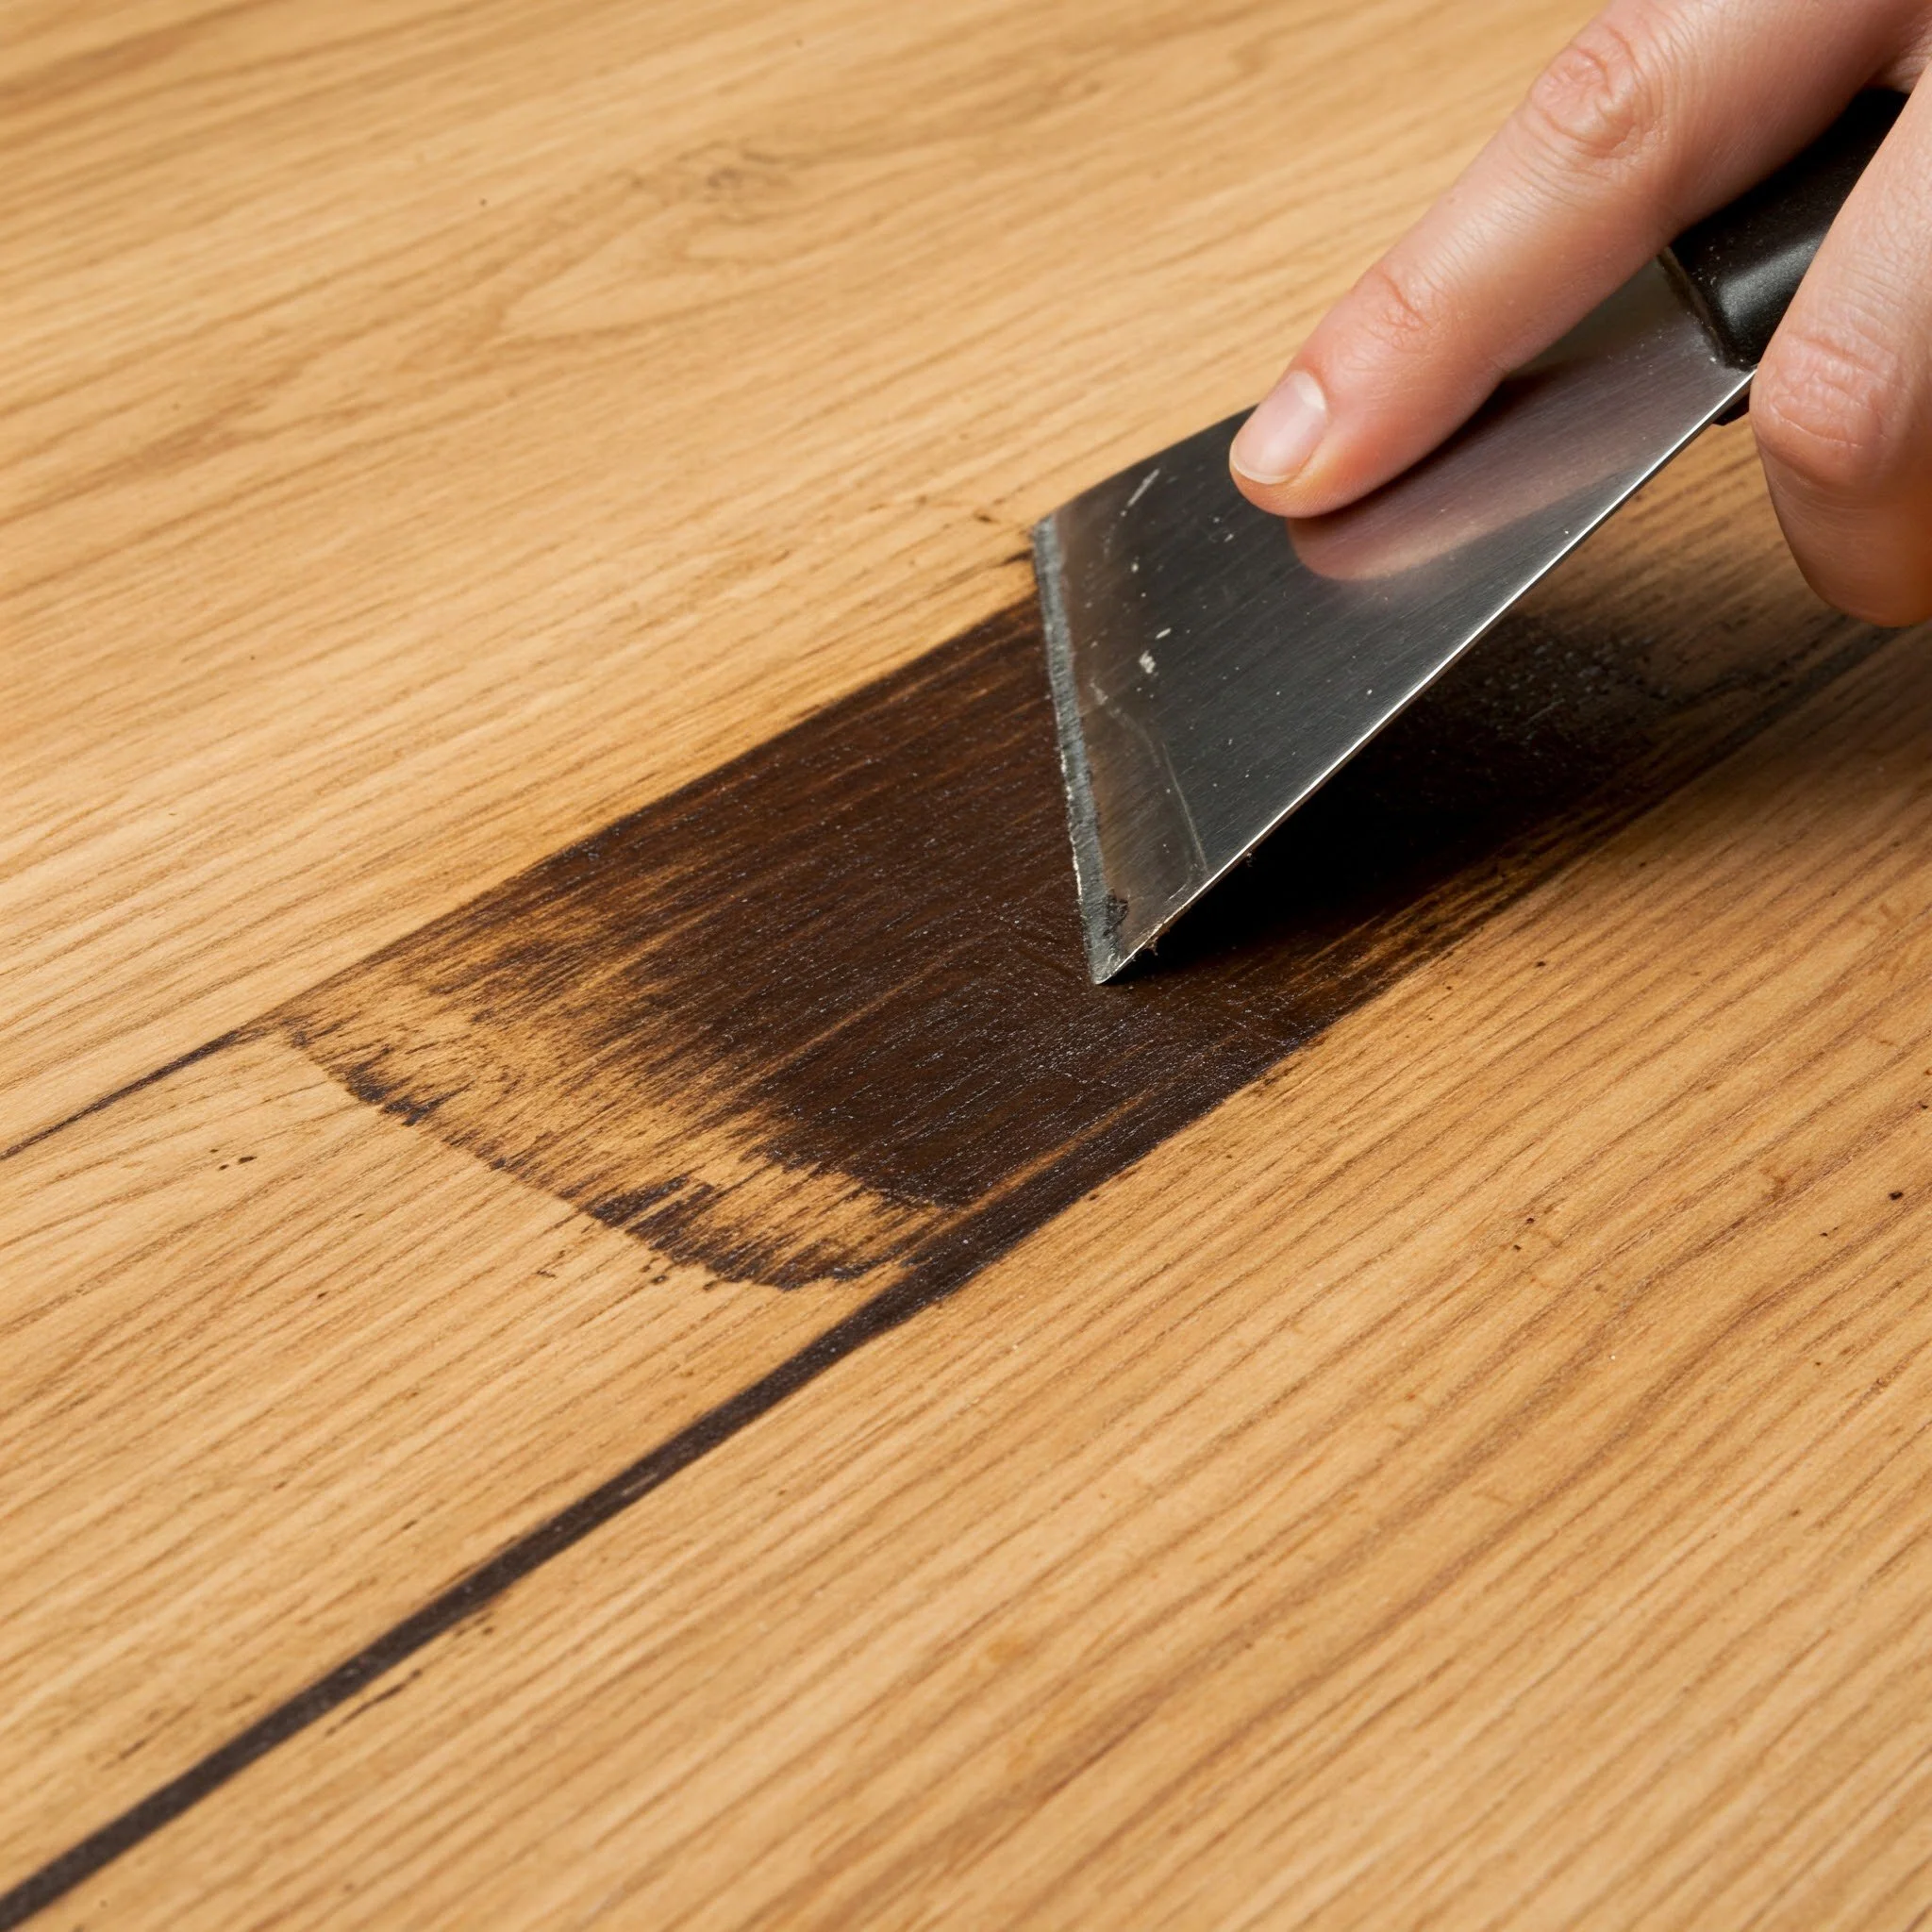
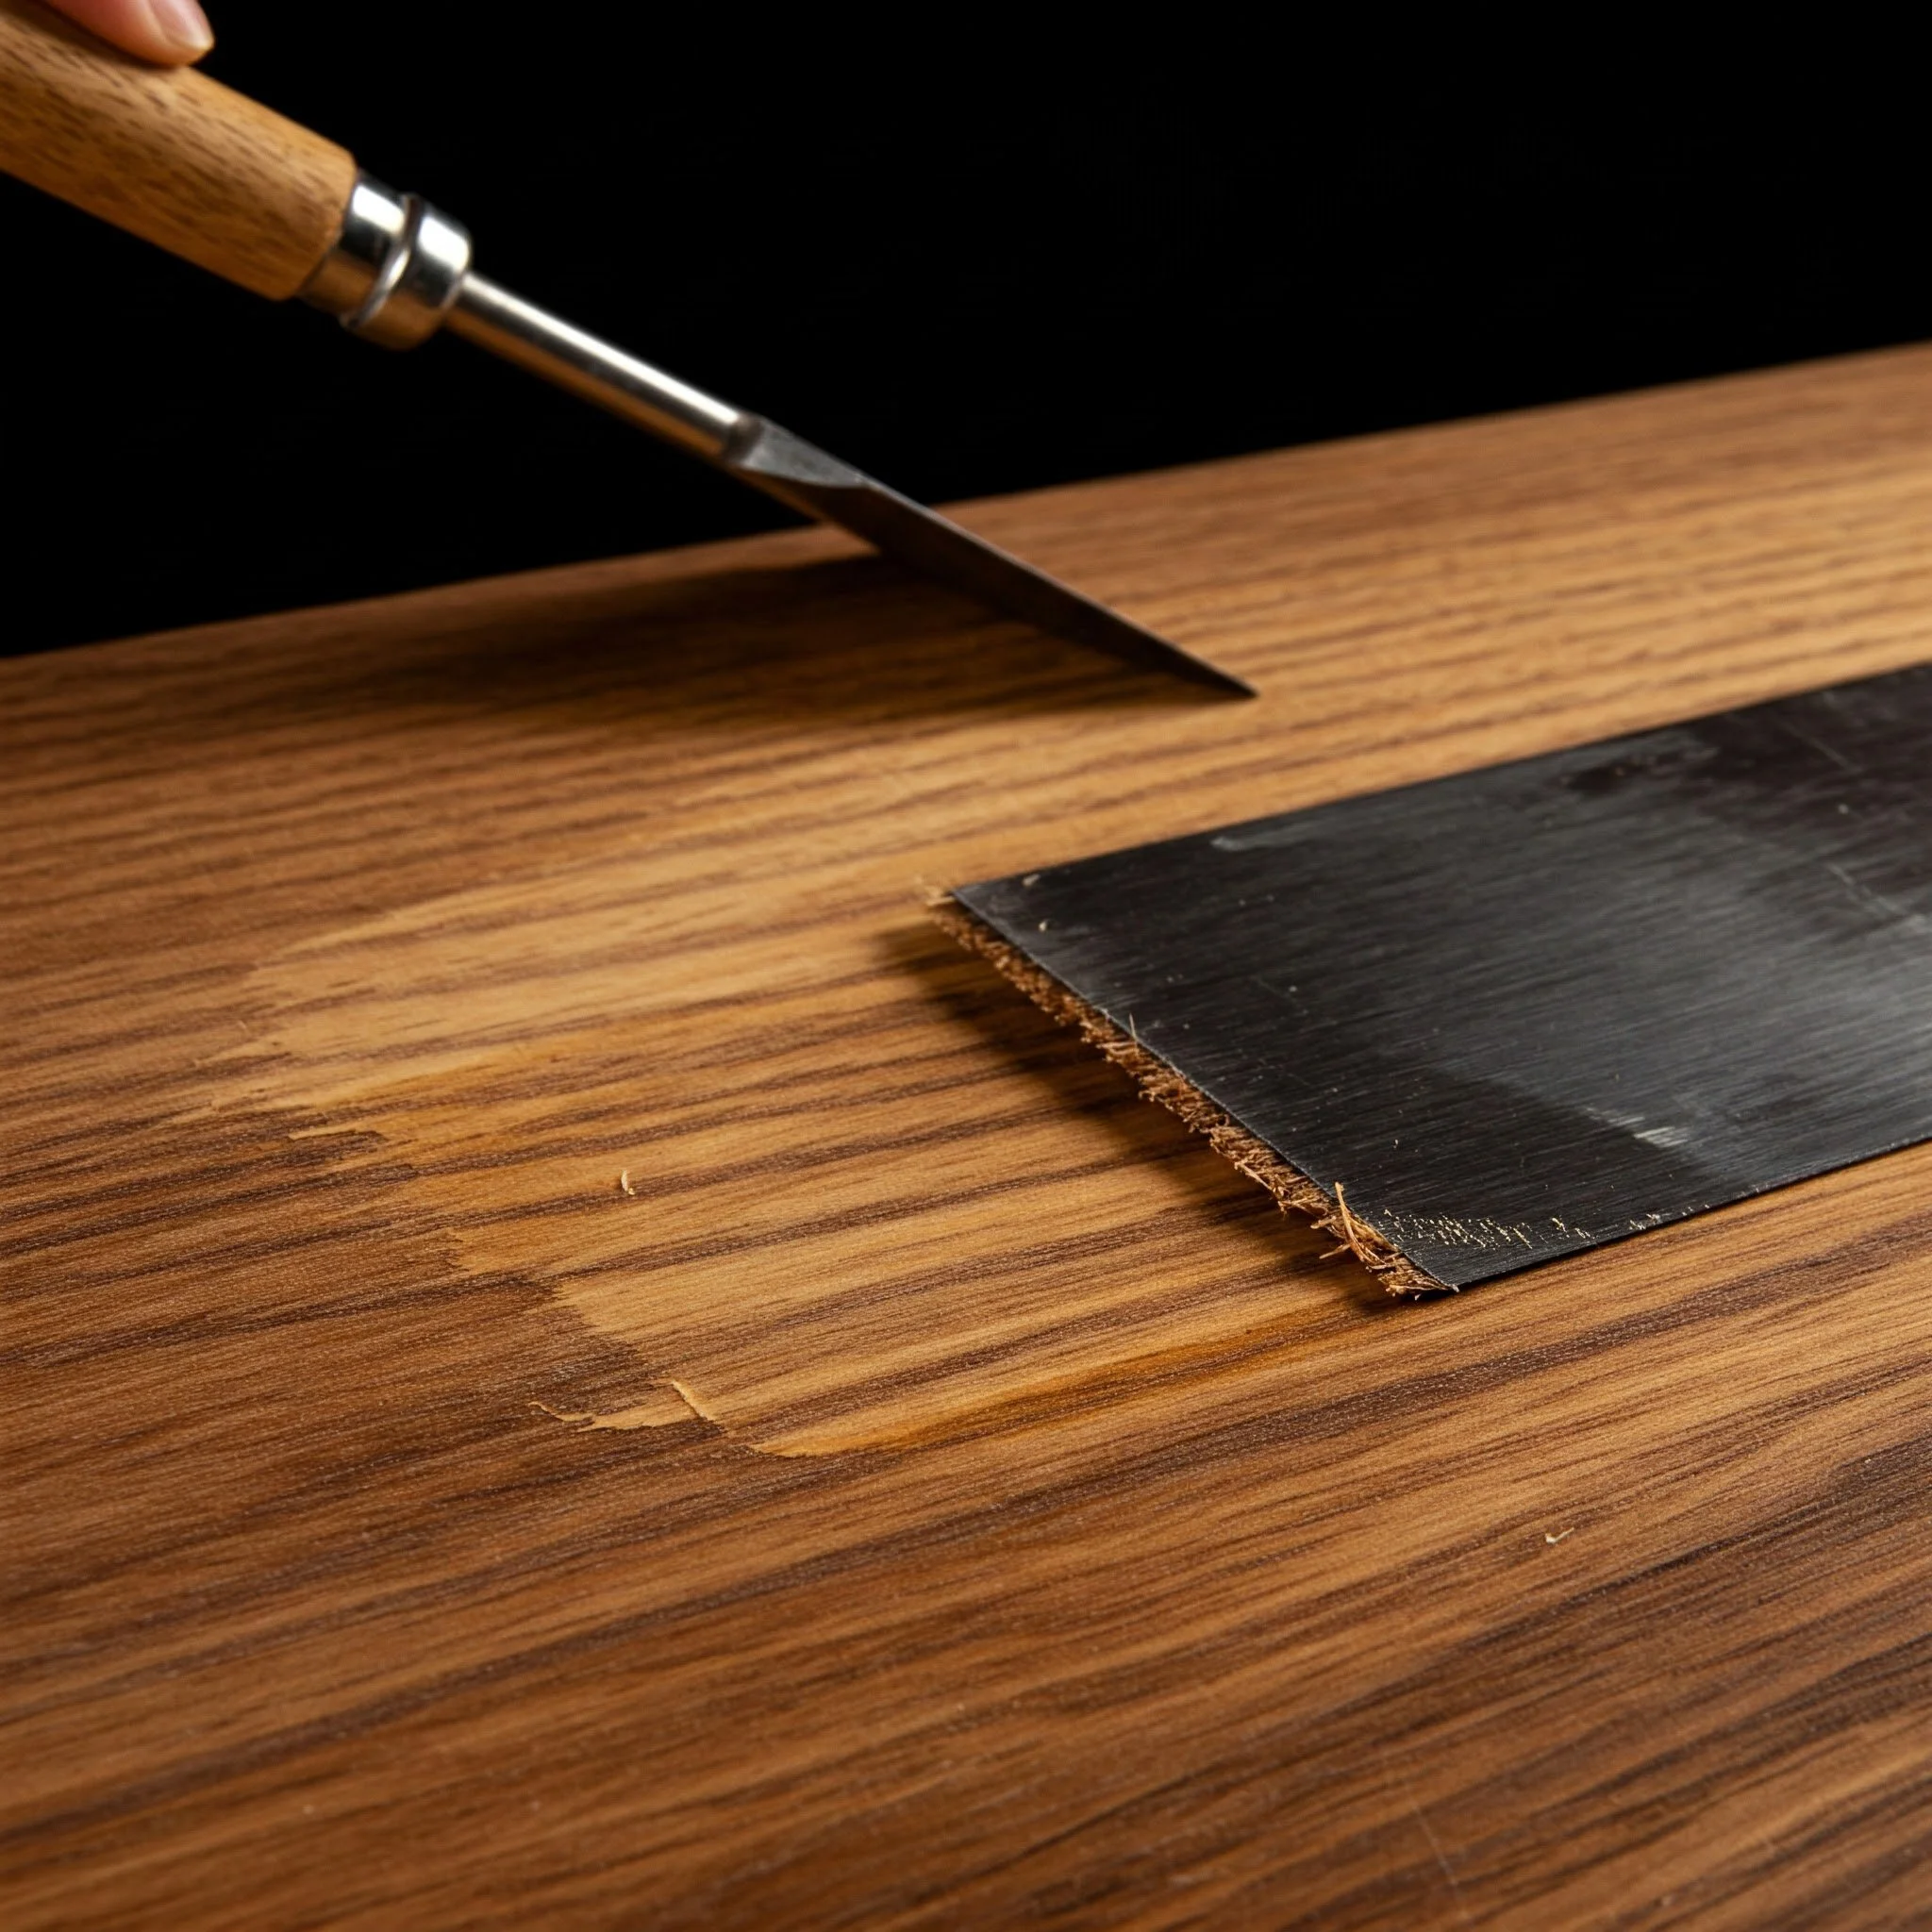
Use a scraper or putty knife to gently remove the softened stain. Keep your angle low to avoid gouging the wood. Work with the grain whenever possible.Repeat If Necessary:
Some areas might be stubborn. Reapply the stripper and let it sit again if needed. Don’t rush—sometimes, a second or even a third application is necessary for stubborn spots.Wipe Clean:
Once most of the stain is removed, use a clean rag to wipe down the surface, removing any remaining residue.
Step 4: Sanding the Wood
After stripping, sanding is essential to smooth out the surface and remove any lingering bits of stain.
Start with Medium Grit Sandpaper:
Sand the wood along the grain to remove any rough patches. This helps to smooth out the surface for a fresh finish.Switch to Fine Grit:
Follow up with a fine grit sandpaper for a silky finish. This step is crucial if you plan to re-stain or apply a new finish.Clean Up Dust:
Vacuum or wipe down the wood with a tack cloth to remove all the sanding dust. A dust-free surface ensures a flawless finish later on.
Step 5: Finishing Touches and Cleanup
Almost there! With the stain stripped and the wood sanded, it’s time to give your work the final polish.
Rinse Thoroughly:
If you used a water-based stripper, rinse the wood with a mixture of water and mild soap. For chemical strippers, follow the manufacturer’s instructions for neutralizing the chemical.Dry Completely:
Let the wood dry completely before applying any new stain or finish. Patience is key—rushing this step might ruin all your hard work.Inspect Your Work:
Take a close look at your wood. Is it smooth and free of residue? If you spot any stubborn bits, a light sanding should do the trick.
Troubleshooting and Common Pitfalls
Even seasoned DIYers can run into a few hiccups along the way. Here are some common challenges and how to overcome them:
Persistent Stain Remnants:
If certain areas remain stained after the first application, don’t panic. Reapply the chemical stripper, and let it sit a bit longer. Sometimes, a little extra time is all it takes.Damaged Wood Surface:
Oops! If you accidentally scratch or gouge the wood, use wood filler to repair the damage before sanding again. A little extra care goes a long way.Chemical Odors:
Fumes can be a bit overwhelming. Ensure your workspace is well-ventilated, and take regular breaks outside for fresh air.Uneven Results:
Inconsistent stripping might occur if the wood wasn’t evenly coated. Make sure to apply the stripper uniformly and work in small sections for the best results.
Expert Tips for Success
Here are some golden nuggets of wisdom to ensure your project turns out beautifully:
Work in Sections:
Break your project down into manageable sections. Tackling one small area at a time makes the process less overwhelming and more controllable.Keep a Clean Workspace:
Regularly clean off your tools and the work area. A tidy workspace not only speeds up your progress but also reduces the risk of accidents.Stay Patient:
Rushing is the enemy of perfection. Let the chemical stripper do its job, and give each step the time it deserves.Test Different Strippers:
Not all wood and stains are created equal. If one chemical stripper doesn’t seem to work well, consider trying another type—sometimes a change in product can yield surprising results.Document Your Progress:
Snap a few before-and-after photos. Not only is it a great motivator, but it also helps you track what worked best for future projects.
Real-Life Success Stories: Inspiration for Your DIY Journey
Imagine stumbling upon an old, worn-out dining table that once held countless family gatherings, its rich stain now dulled by time. One crafty homeowner decided to tackle this challenge head-on using our How to Strip Stain from Wood: Step-by-Step Guide. With determination, the right tools, and a sprinkle of patience, they stripped away years of wear and tear, revealing a stunning, natural wood surface ready for a new finish. Friends marveled at the transformation, and the table became a cherished centerpiece once again.
Another DIY enthusiast recounted how a weathered hardwood floor in a quaint living room was given a new lease on life. After following the guide’s step-by-step process, every board gleamed with a refreshed, clean look. The success wasn’t just about aesthetics—it was about the satisfaction of knowing that a bit of hard work and creativity can completely change the vibe of a space.
Conclusion
In wrapping up our extensive exploration of How to Strip Stain from Wood: Step-by-Step Guide, it’s clear that stripping old stain is much more than a chore—it’s a transformative process that revives the natural beauty of wood. From preparing your workspace with meticulous care to applying chemical strippers and sanding for a flawless finish, every step in this guide is designed to help you reclaim and enhance the inherent charm of your wood surfaces.
So, whether you’re restoring a beloved piece of furniture or rejuvenating your entire floor, remember that a little effort can yield tremendous rewards. This guide isn’t just a set of instructions; it’s a pathway to creativity, sustainability, and a deep sense of accomplishment. Embrace the journey, experiment with different techniques, and don’t be afraid to take your time—the end result is well worth it!
With our detailed How to Strip Stain from Wood: Step-by-Step Guide in hand, you’re now equipped to tackle even the most stubborn stains and unlock the natural elegance of your wood. Happy stripping, and here’s to a beautifully refreshed space that reflects your personal style and DIY spirit!
Frequently Asked Questions
1. What types of wood work best with this process?
Most hardwoods and softwoods can be treated with this guide. However, very delicate or antique woods may require a gentler approach. Always test a small, inconspicuous area first to ensure the wood reacts well.
2. Can I use any chemical stripper, or is there a specific type recommended?
It really depends on your project and the type of stain. Liquid, gel, and paste strippers all have their merits. Generally, gel strippers are great for vertical surfaces, while liquid strippers might work best on flat, horizontal surfaces. What’s most important is following the manufacturer’s directions and ensuring proper ventilation.
3. How long should I wait between applications of the stripper?
Typically, the instructions will suggest a waiting period of anywhere from 15 minutes to an hour. If you're dealing with particularly stubborn stain, you might need to repeat the application. Have you ever wondered if a bit more time could really make a difference? Often, the answer is a resounding yes!
4. Is sanding absolutely necessary after stripping?
While you might be tempted to skip sanding, it’s a crucial step to smooth out the wood and ensure an even finish for any new stain or varnish. Sanding helps remove any residual stain particles and evens out the wood surface.
5. What precautions should I take when working with chemical strippers?
Safety first, right? Always wear protective gear, ensure good ventilation, and follow the product instructions to the letter. It might sound like a lot, but a few extra precautions go a long way in keeping you safe.

