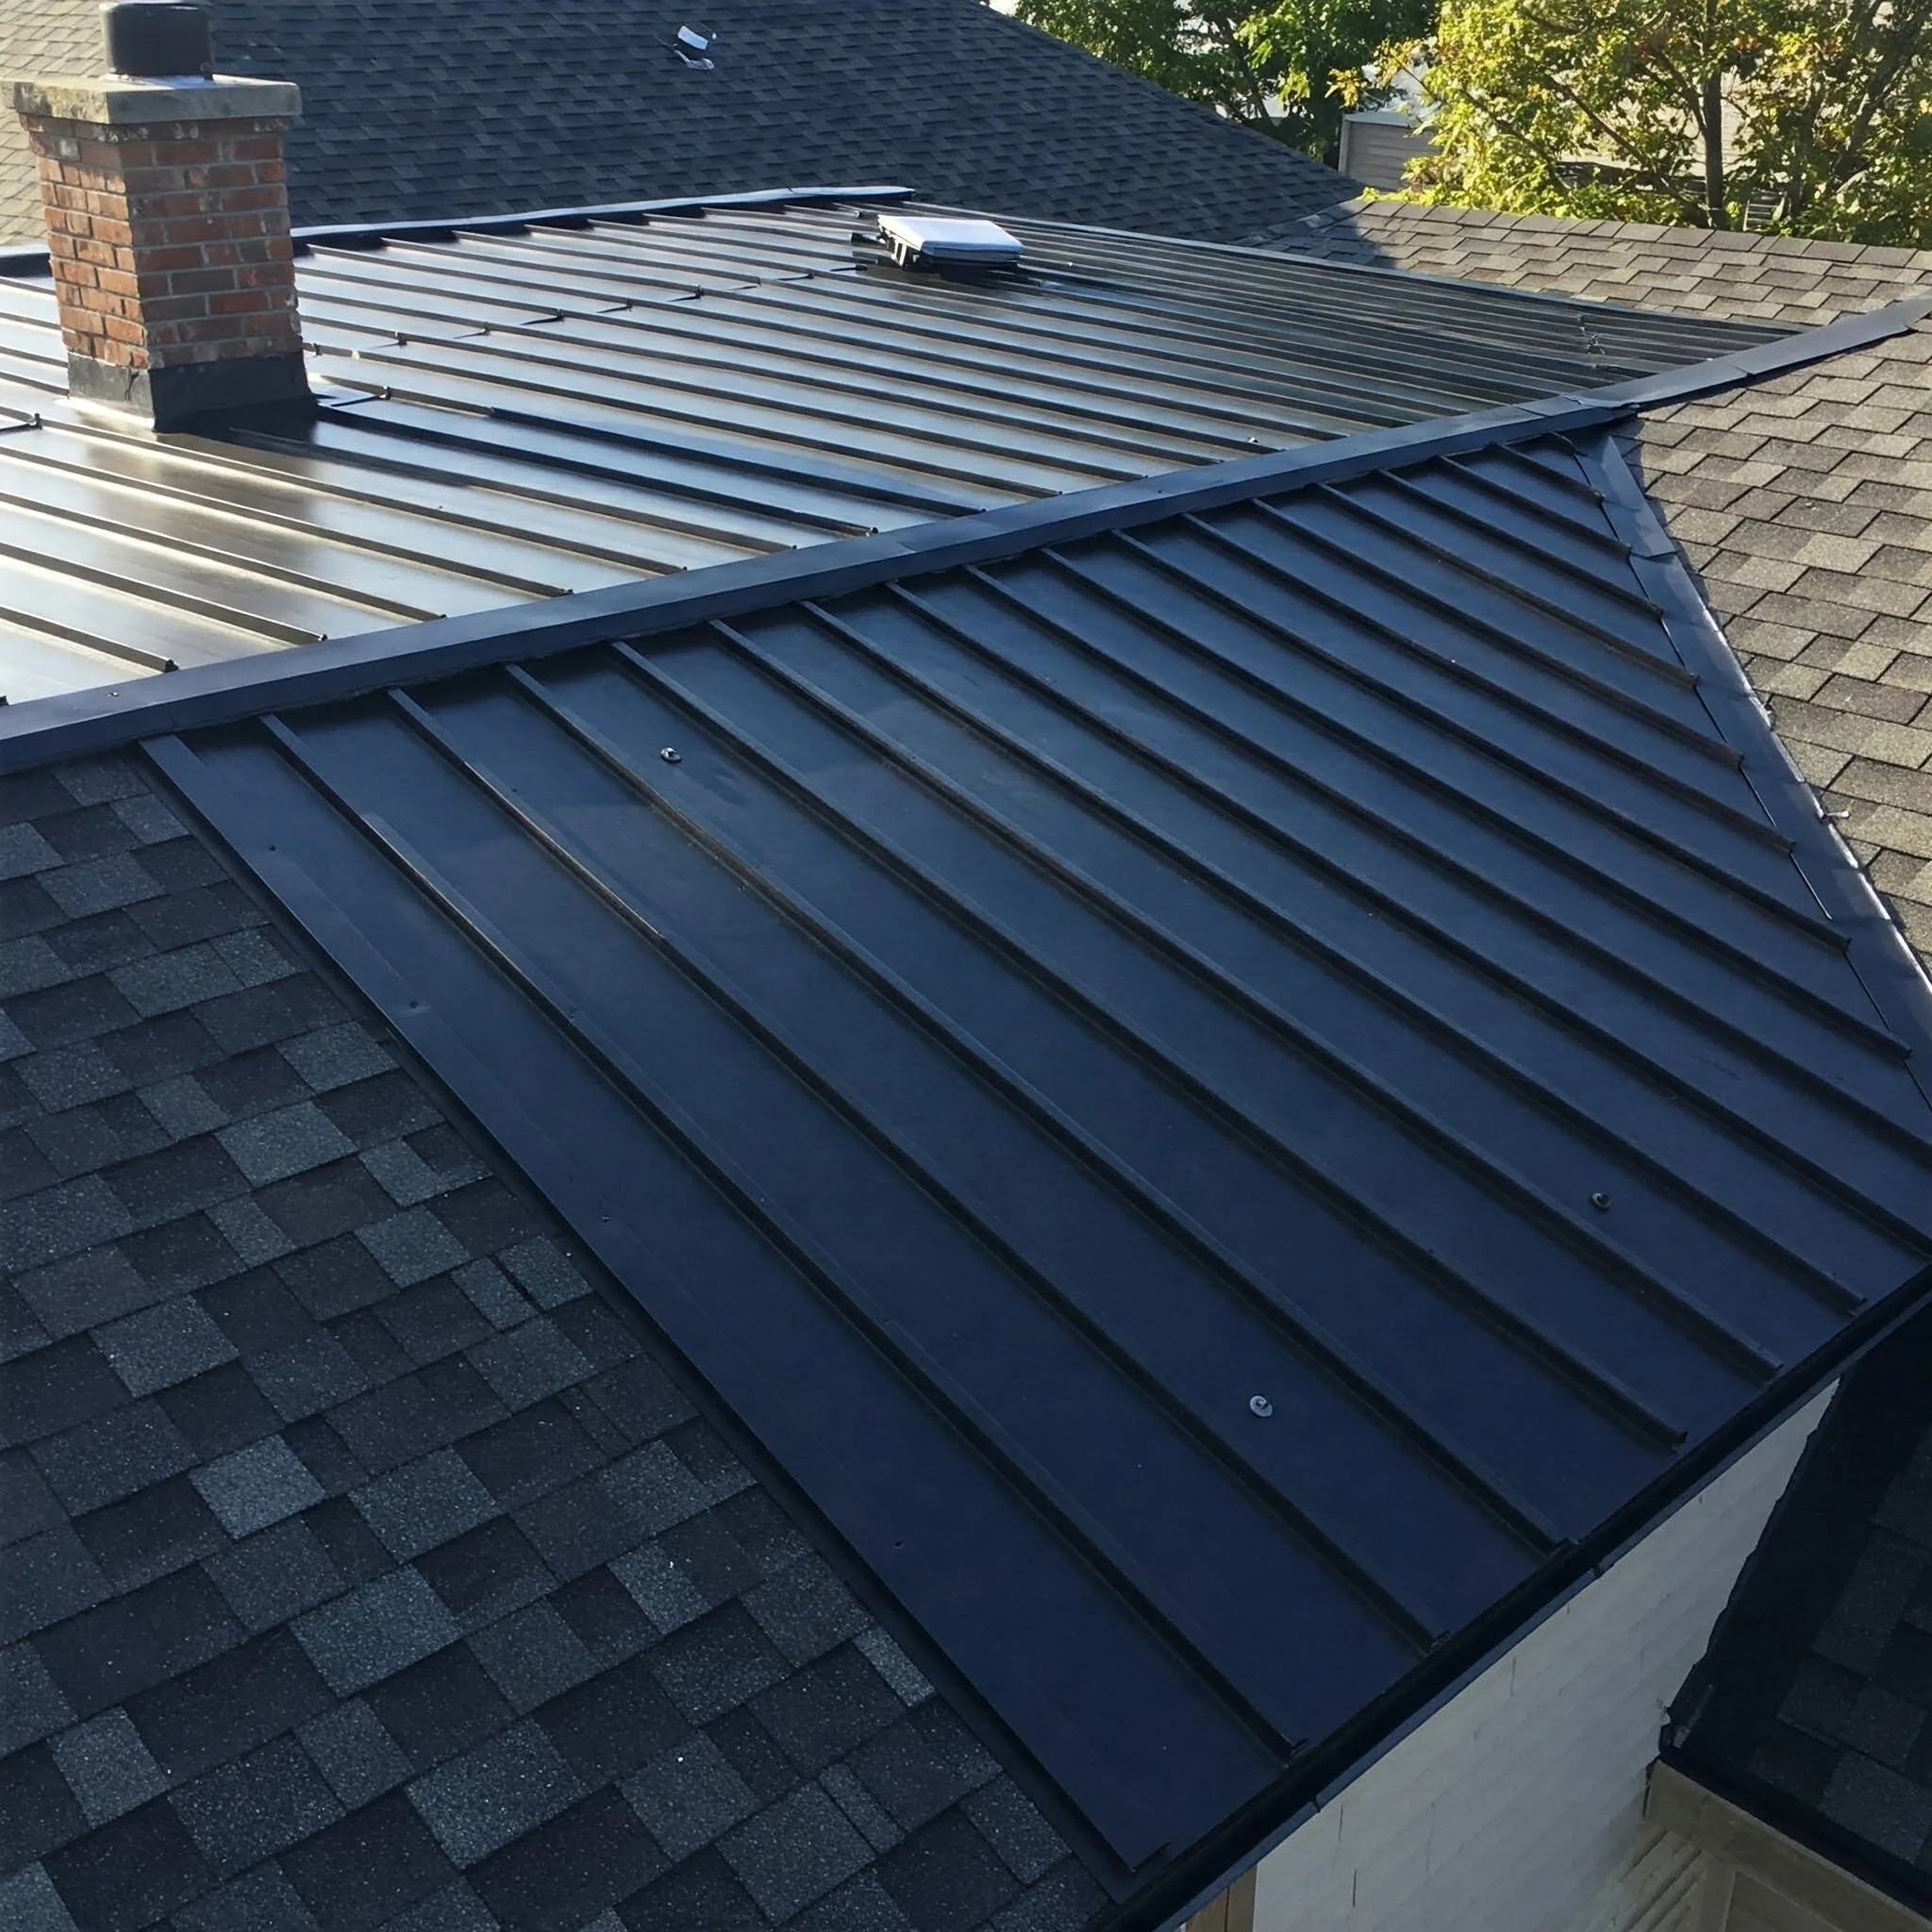
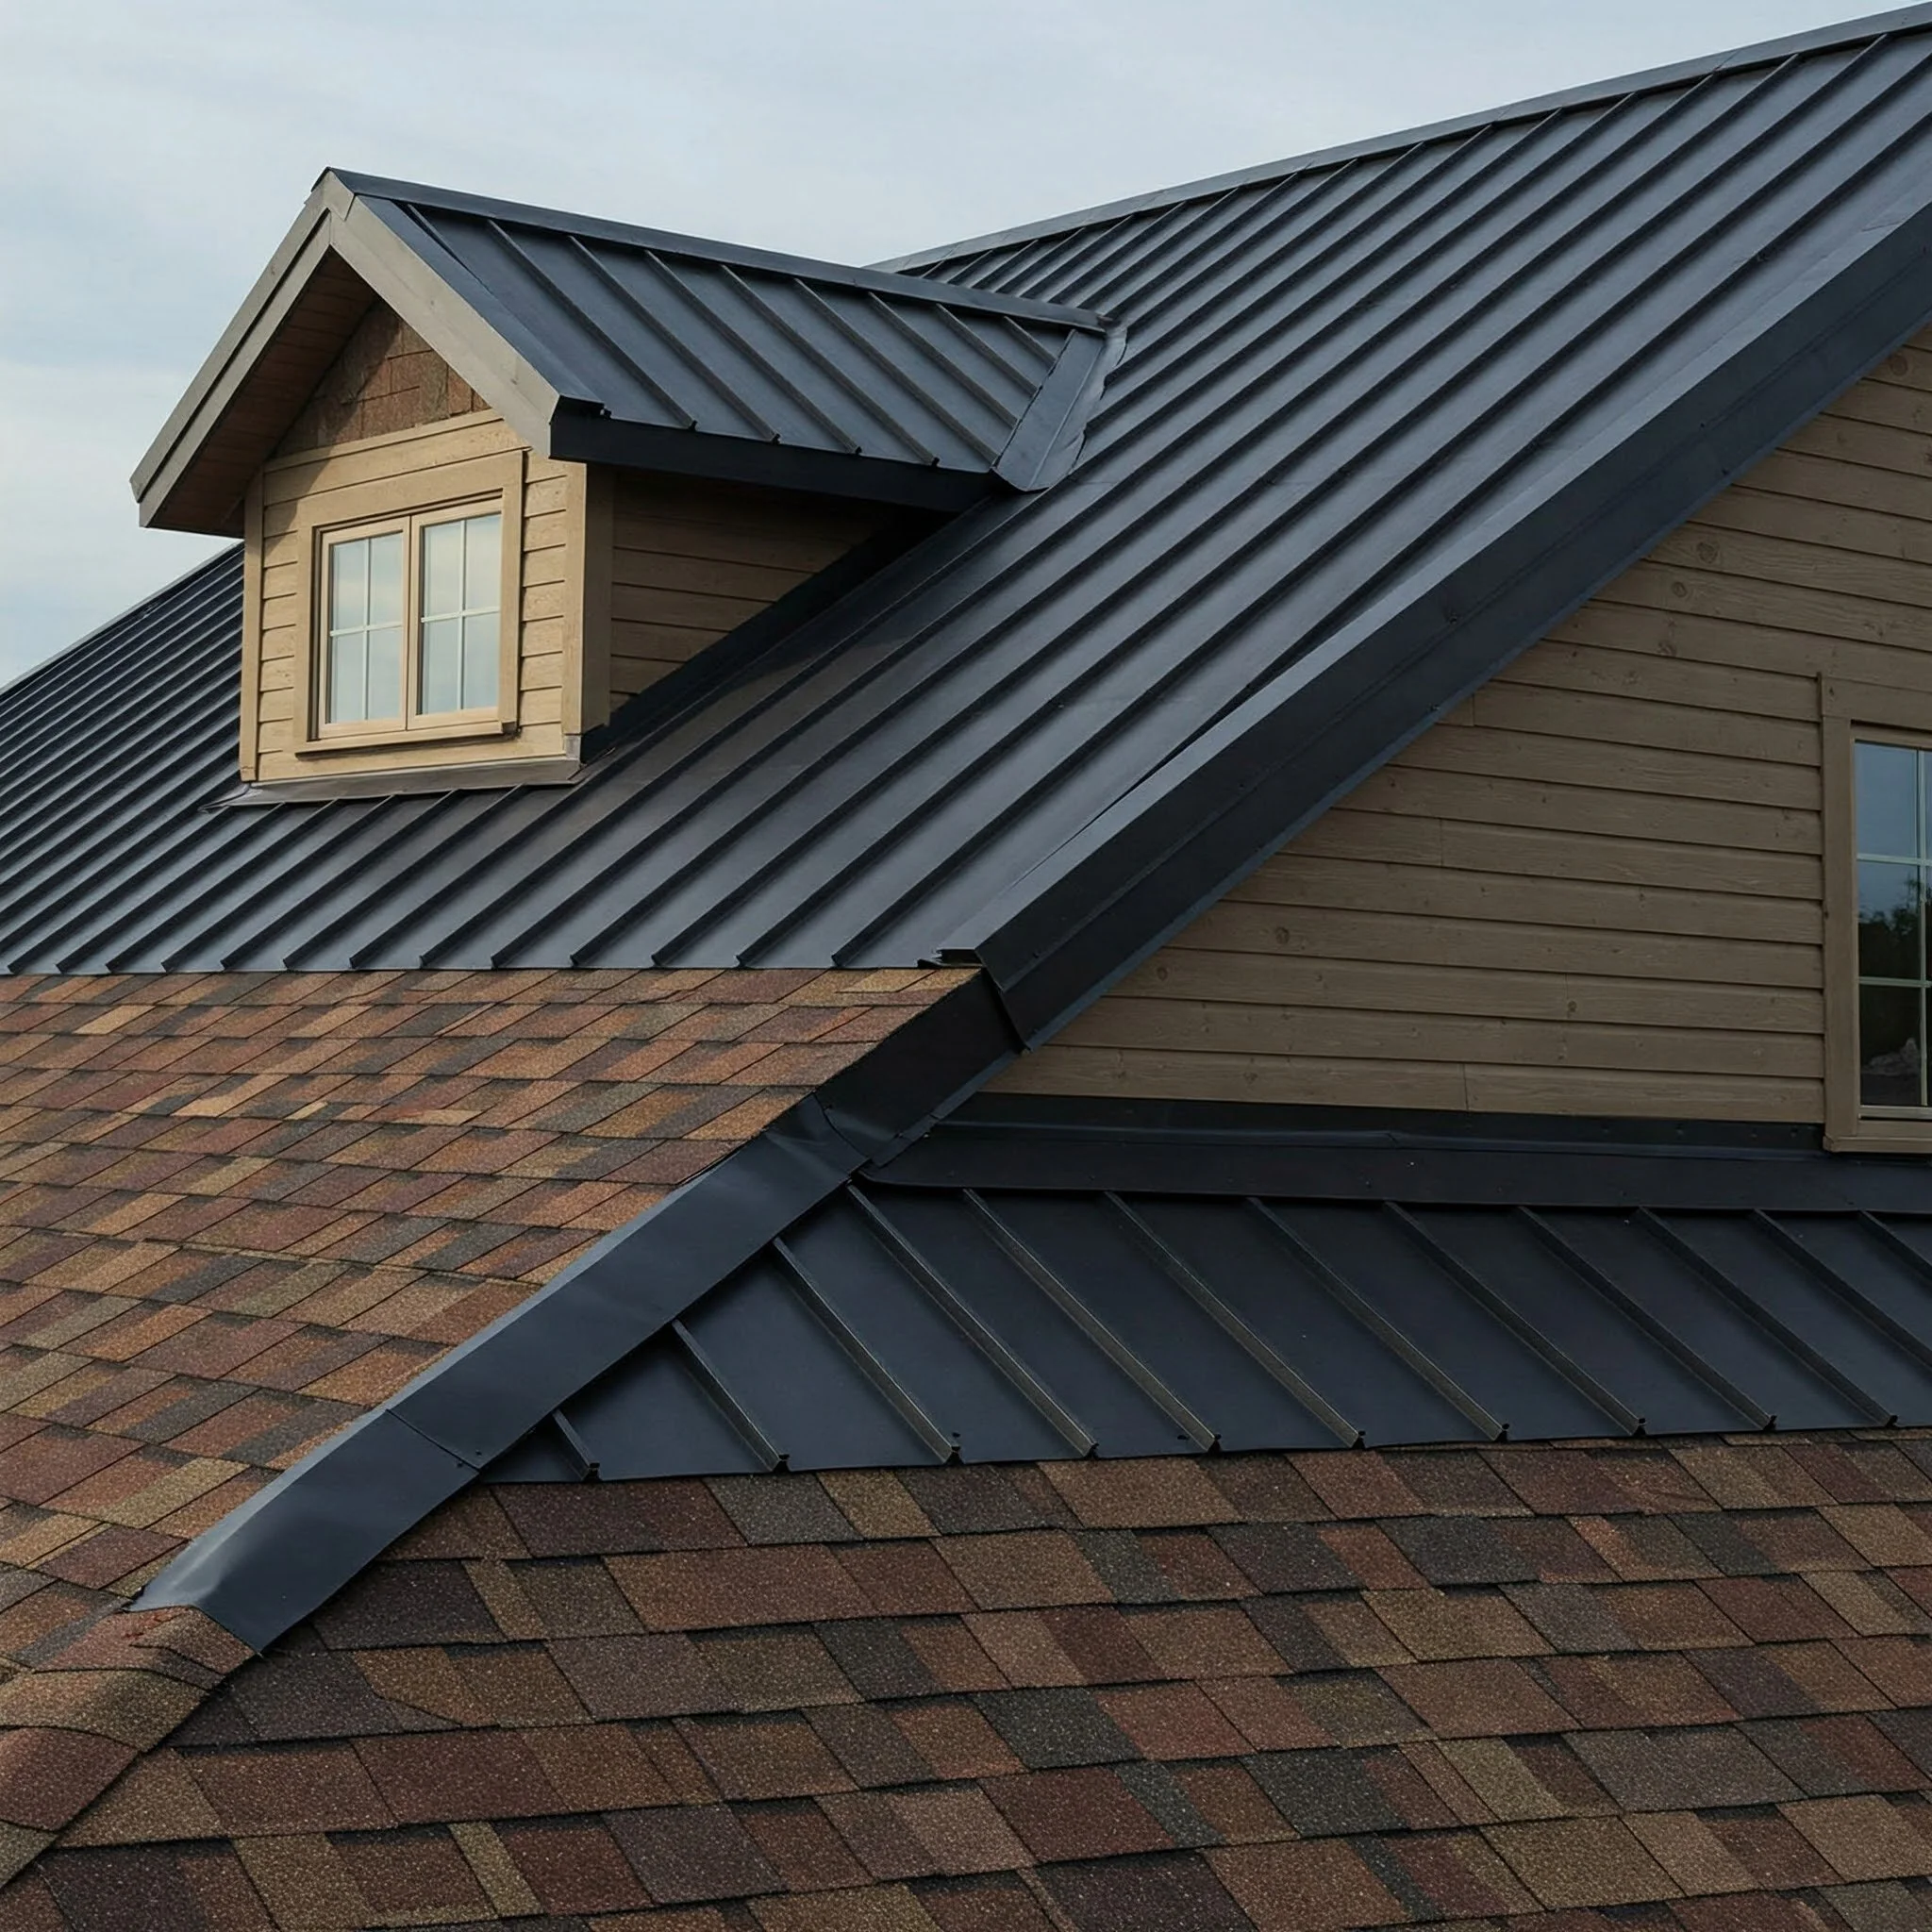
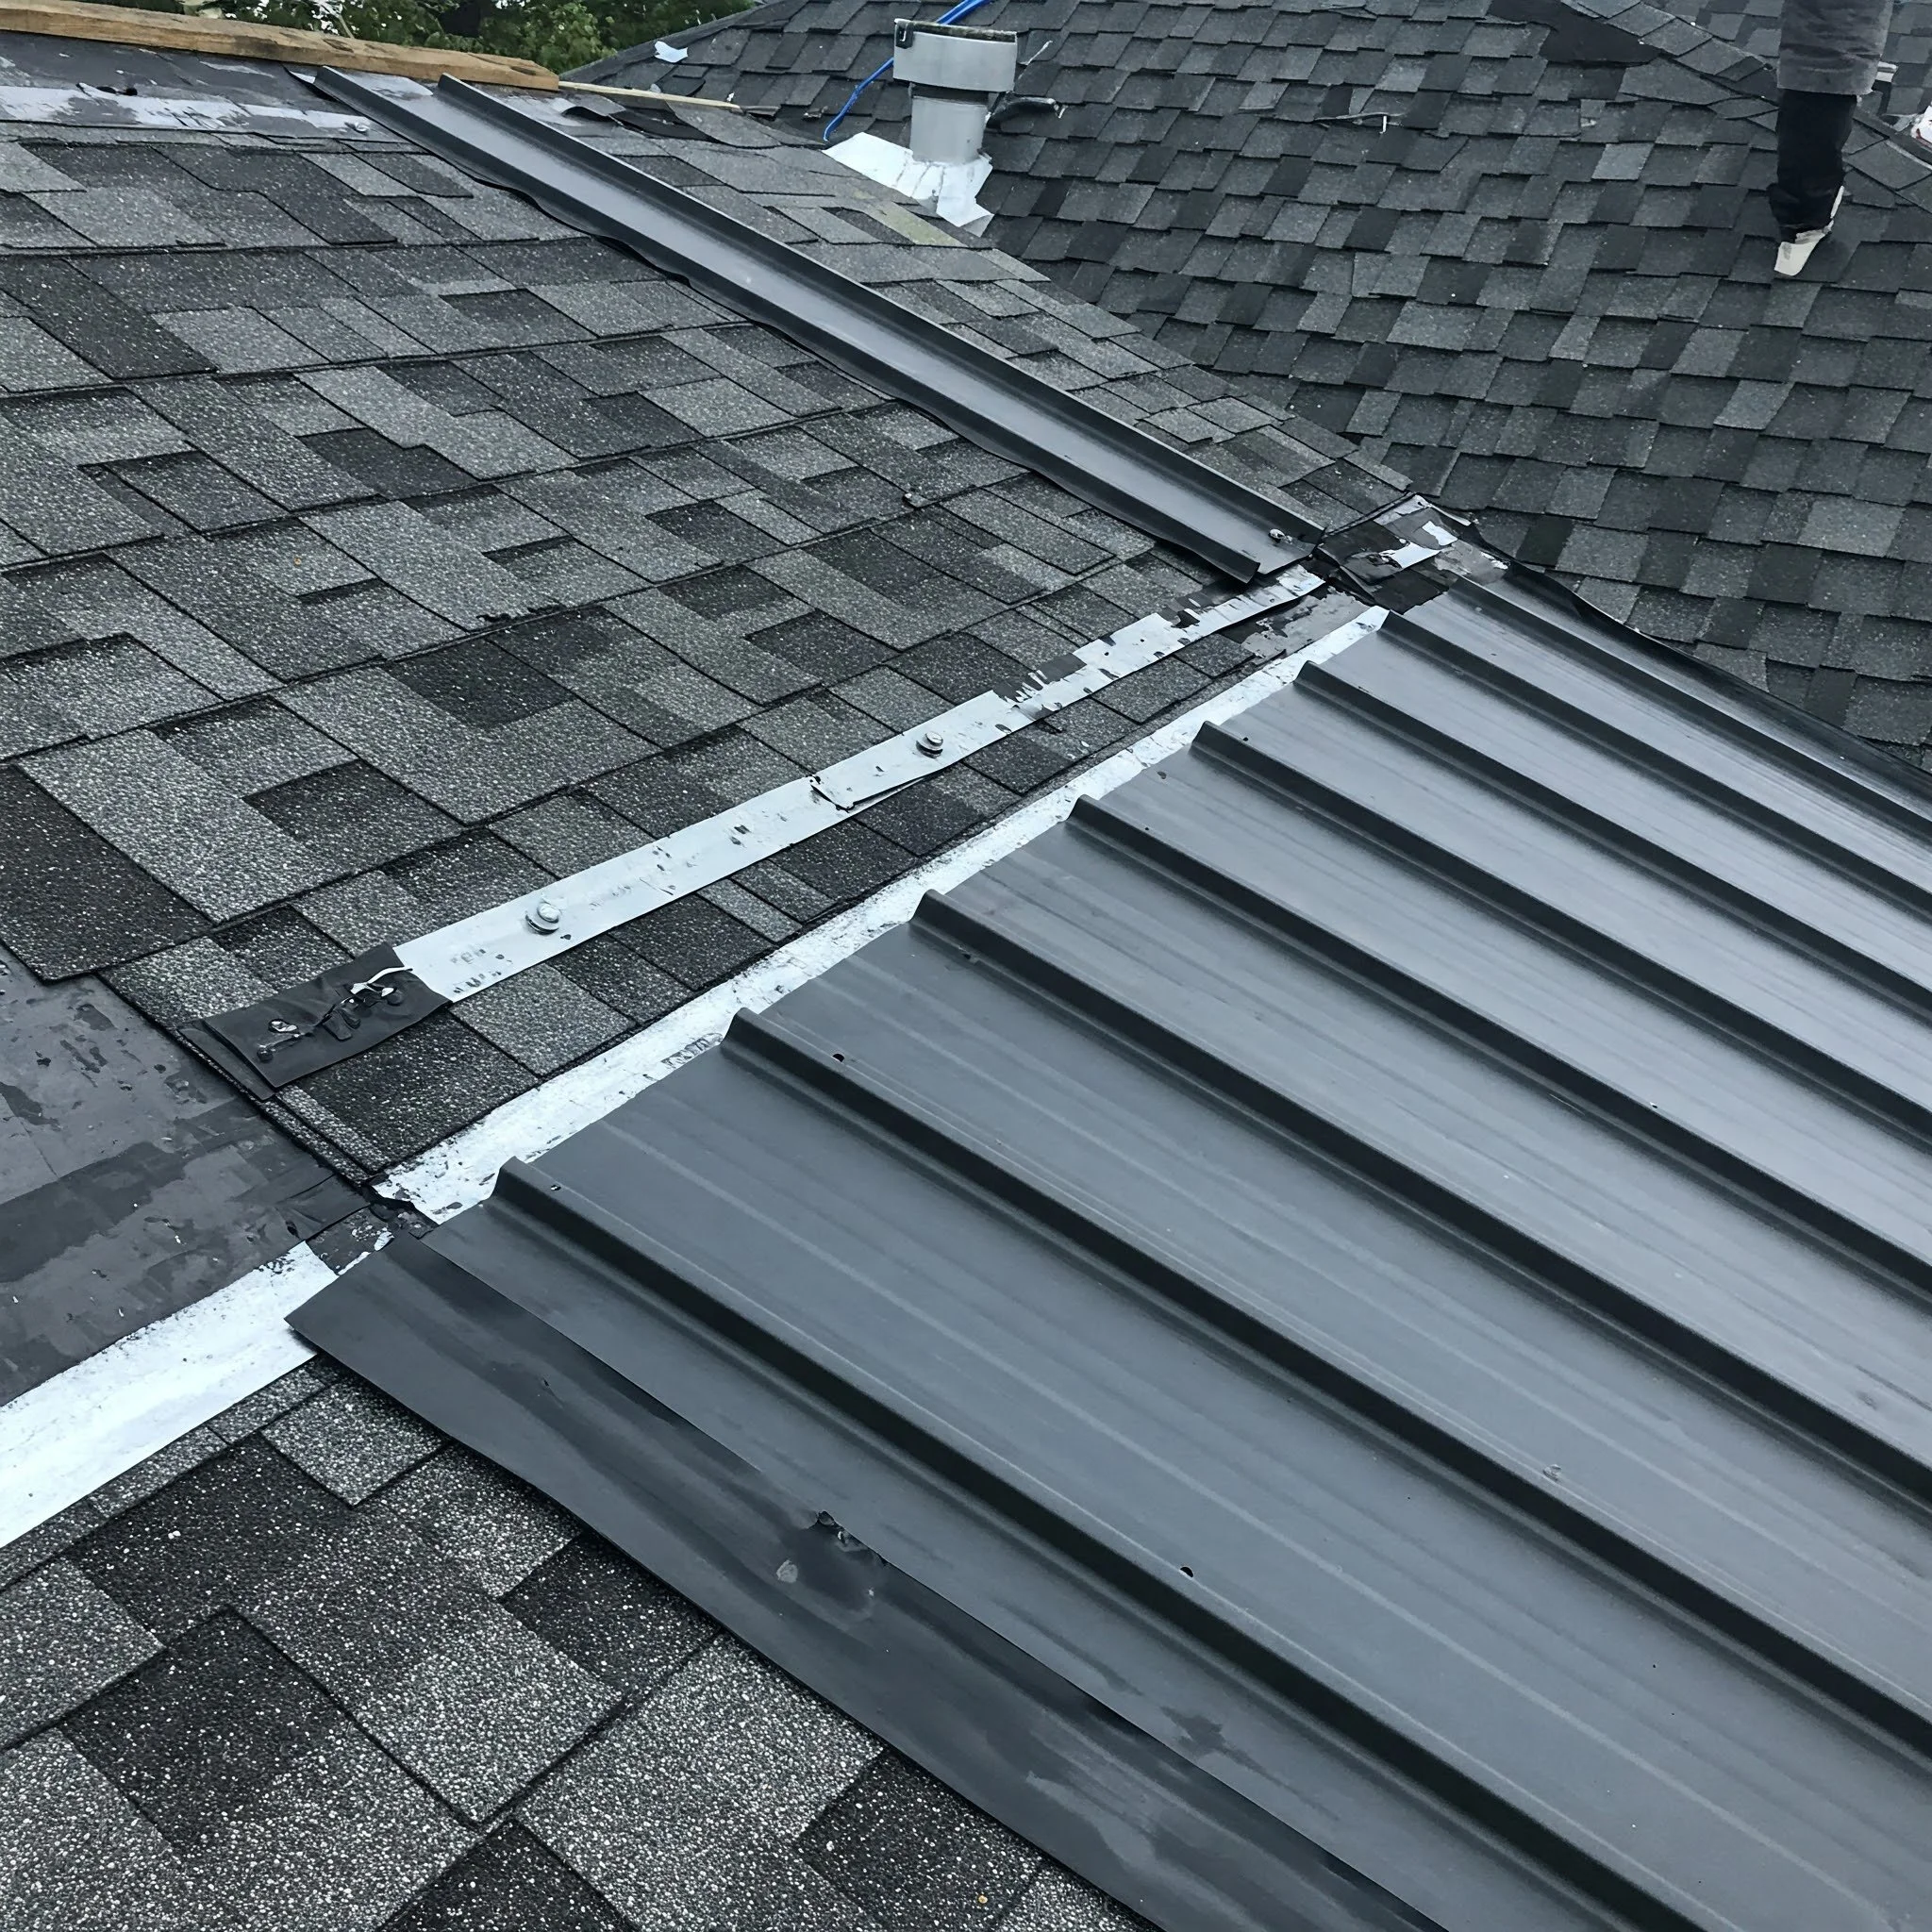
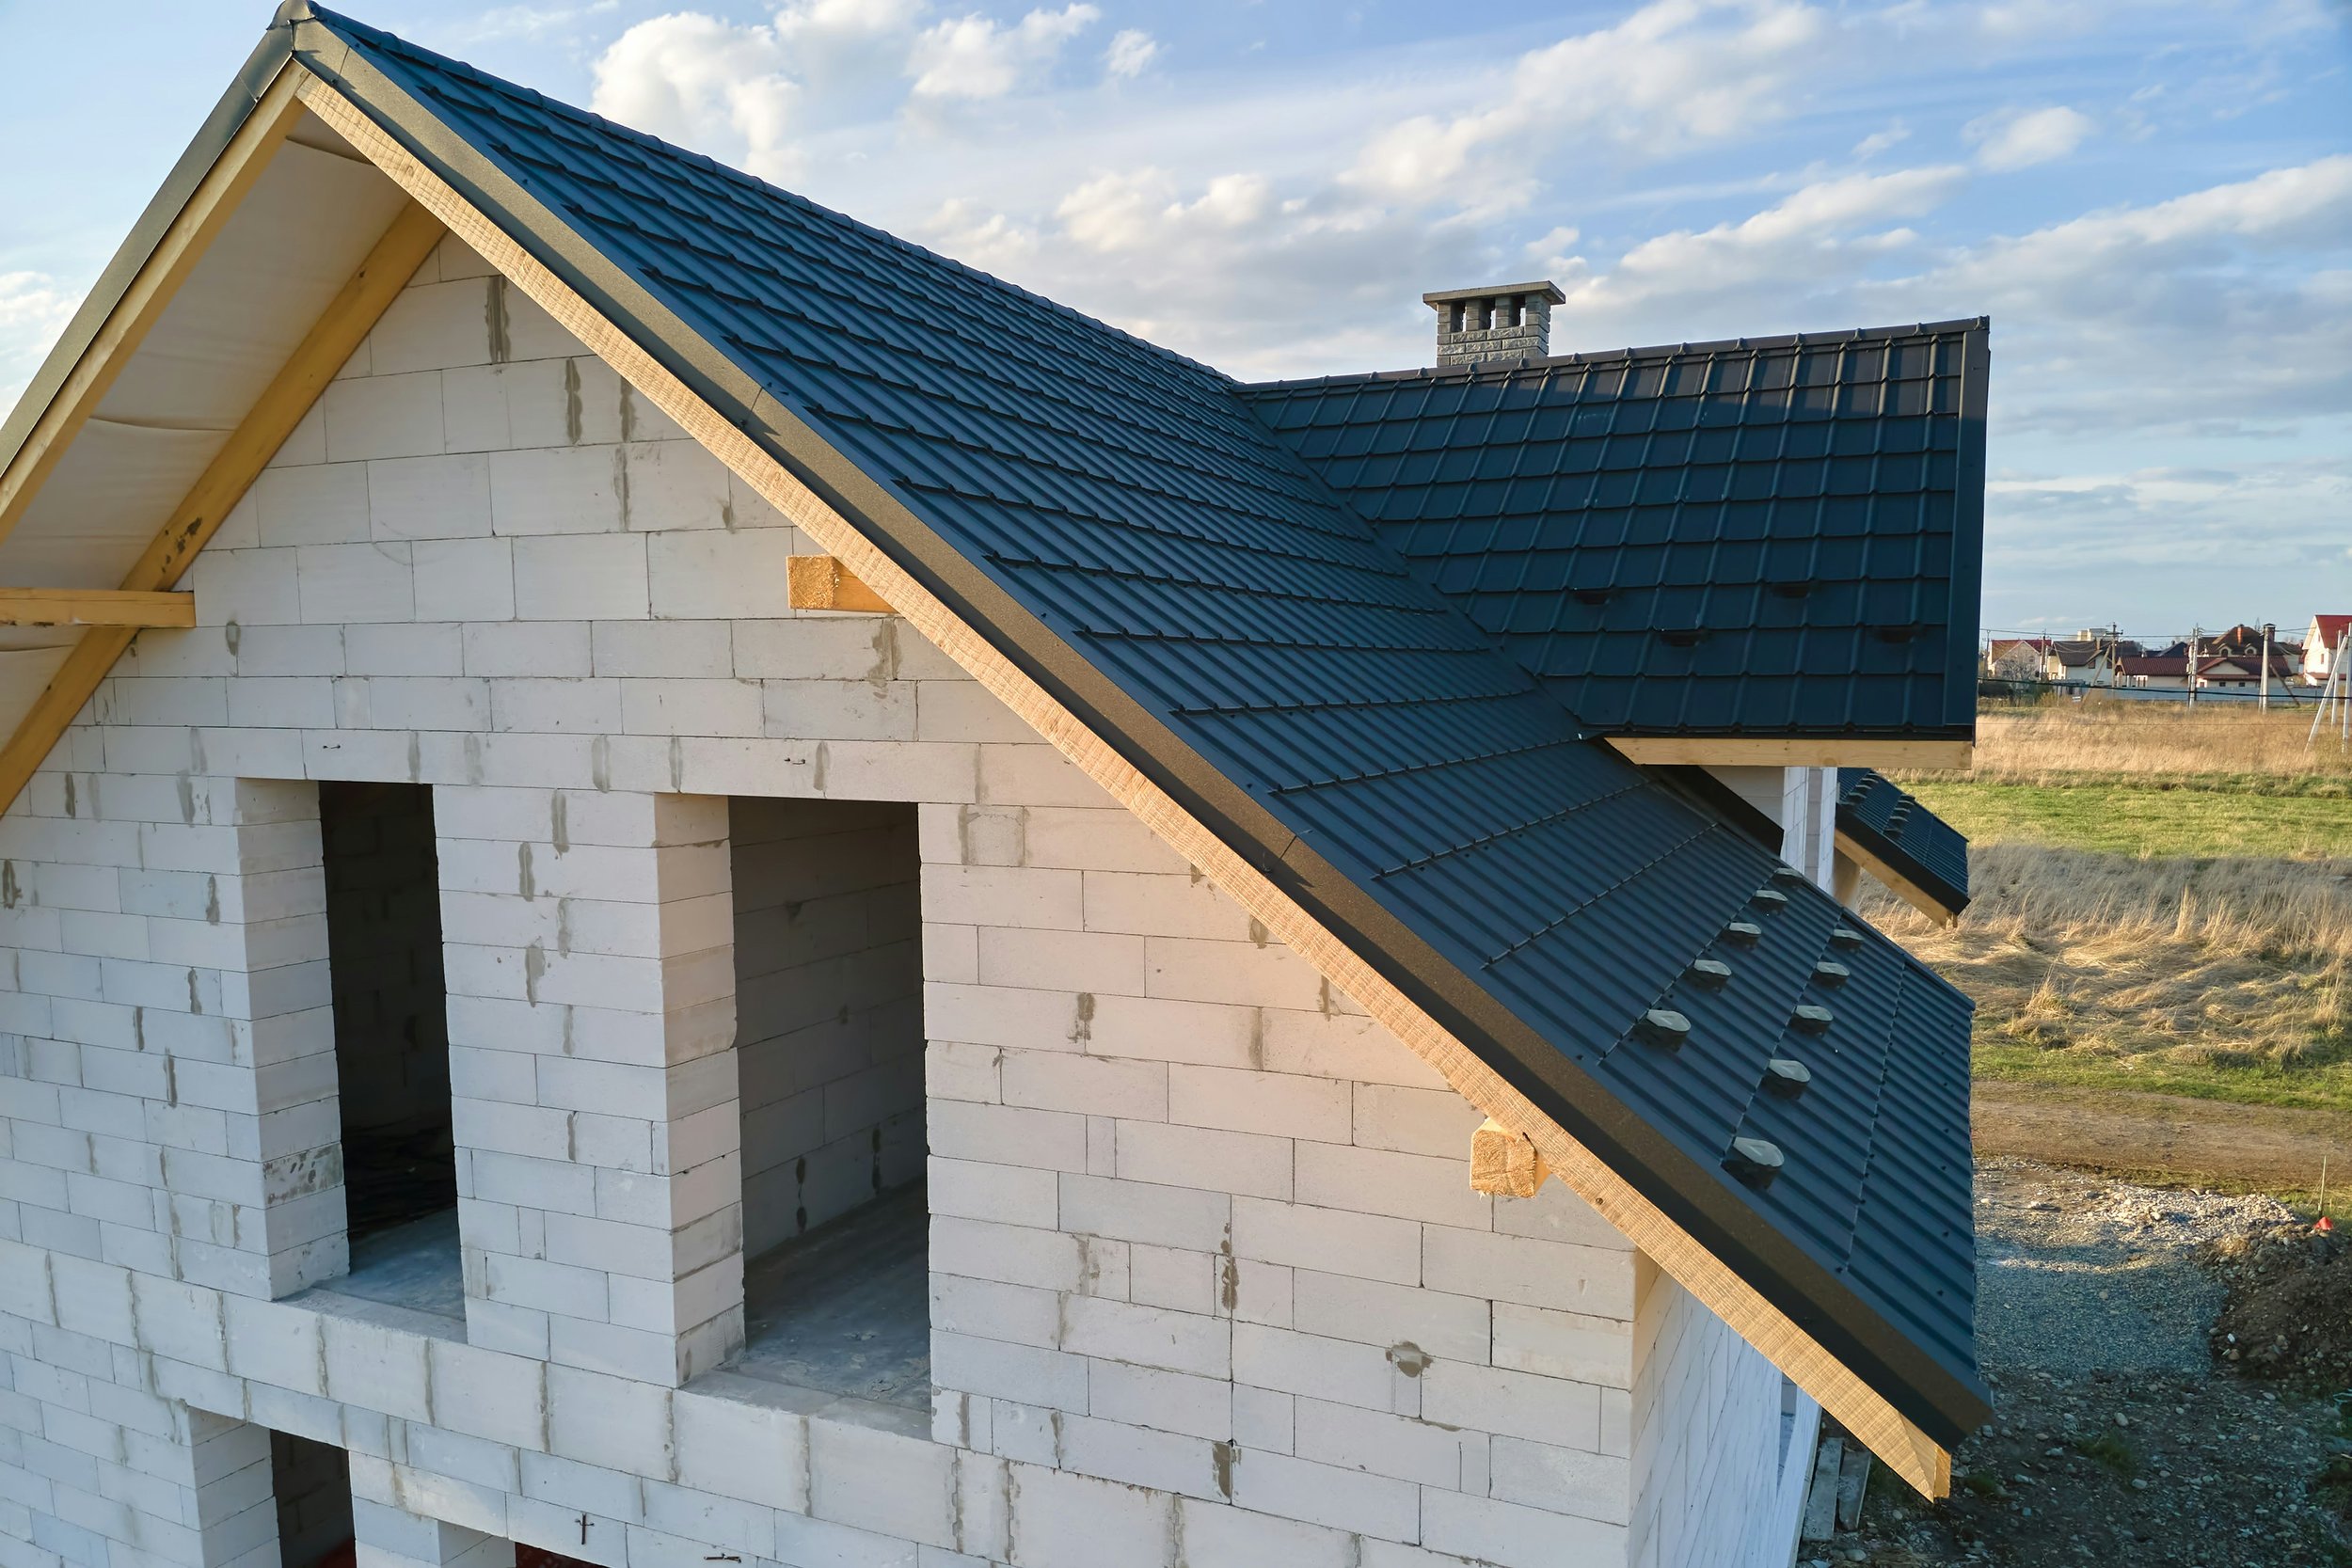
How to Install Metal Roofing Over Shingles: Step‑by‑Step Guide
Discover our fun and detailed guide on how to install metal roofing over shingles. From gathering tools to finishing touches, our step‑by‑step walkthrough is packed with practical tips, expert advice, and a dash of humor to help you transform your roof with confidence!
Ever found yourself staring up at your roof on a sunny day, wondering if there might be a better way to protect your home? Well, you're in for a treat! Welcome to our comprehensive guide, How to Install Metal Roofing Over Shingles: Step‑by‑Step Guide. If you're ready to upgrade your old shingles with the sleek, durable, and energy-efficient charm of metal roofing, then grab your toolkit and a cup of coffee—this DIY journey is about to get real interesting!
Now, before you roll up your sleeves and dive in, let’s have a heart-to-heart about why metal roofing is making waves in home improvement circles. It’s not just about looks, folks; metal roofing brings longevity, improved energy efficiency, and minimal maintenance to the table. And the best part? You can install it over your existing shingles, which means less mess, less hassle, and a whole lot of time saved. In this guide, we’ll walk you through every twist and turn of the process, peppering in a few pro tips and insider hacks along the way. Ready to get started? Let’s hit the ground running with How to Install Metal Roofing Over Shingles: Step‑by‑Step Guide!
Why Consider Metal Roofing Over Shingles?
Switching to metal roofing might sound like a big leap, but it’s one that comes with a treasure trove of benefits. Here’s why you might want to consider it:
Durability: Metal roofs can stand up to harsh weather conditions—think hail, high winds, and heavy rain.
Energy Efficiency: With reflective properties that keep your home cooler in the summer, metal roofs can help lower energy bills.
Low Maintenance: Unlike shingles, which can warp, crack, or lose their luster over time, metal roofs require minimal upkeep.
Eco-Friendly: Many metal roofing options are made from recycled materials, making them a greener choice.
Installation Ease: Since you can install metal roofing over your existing shingles, you avoid the messy and time-consuming process of roof tear-off.
So, whether you're aiming to boost your home’s curb appeal or looking for a long-term roofing solution, metal roofing might just be your best bet.
Tools and Materials You'll Need
Before embarking on this adventure, it’s essential to gather all the necessary tools and materials. Think of it as assembling your personal crew for the big day!
Metal Roofing Panels: Choose panels that suit your style and match the dimensions of your roof.
Underlayment Material: This provides an extra layer of protection and improves the lifespan of your new roof.
Roofing Nails or Screws: Make sure you have corrosion-resistant fasteners.
Metal Snips or Tin Snips: For cutting metal panels to fit around vents and edges.
Measuring Tape and Chalk Line: To ensure accurate measurements and straight lines.
Ladder or Scaffolding: Safety first! Always use secure access methods.
Safety Gear: Hard hat, gloves, safety goggles, and non-slip shoes.
Sealant or Caulking: To waterproof joints and seams.
Drill and Screwdriver: For securing panels and fasteners.
Ratcheting Wrench or Impact Driver: To tighten screws effectively.
Safety and Preparation
Before you even think about climbing up there, let’s cover some must-do safety and preparation steps:
Inspect Your Roof:
Check for any damage or weak spots in your existing shingles. It’s a good idea to fix these issues before laying down metal panels.Weather Watch:
Don’t start on a rainy or overly windy day. Ideal weather conditions are crucial for safe and effective installation.Secure Your Work Area:
Use ladders and scaffolding correctly. Make sure your footing is secure, and never work alone—having someone nearby can be a lifesaver.Clear the Surroundings:
Remove any debris, loose shingles, or obstacles that might hinder your work.Read the Manufacturer’s Instructions:
Every metal roofing system is slightly different. Familiarize yourself with the specifics of your chosen product to avoid any surprises.
How to Install Metal Roofing Over Shingles: Step‑by‑Step Guide
Alright, now that you’re all set up and geared up, let’s jump into the main event—installing your new metal roof over existing shingles. We’ll break it down into digestible, easy-to-follow steps that even a newbie can tackle with a bit of elbow grease and a lot of enthusiasm!
Step 1: Preparing the Roof Surface
The first step is all about setting the stage. A clean, well-prepared surface is key to a smooth installation.
Clean the Shingles:
Use a broom or a blower to clear away any debris, leaves, or dirt from the shingles. A clean surface ensures that your underlayment and metal panels adhere properly.Inspect for Damage:
Take a close look at your shingles. Replace any damaged ones if necessary. While metal roofing is forgiving, starting with a solid base is essential.Mark the Layout:
With a chalk line and measuring tape, mark out the areas where you’ll install the underlayment and metal panels. Accuracy here will save you time later on!
Step 2: Installing the Underlayment
Underlayment is like the unsung hero of your roofing project—it provides extra protection and acts as a moisture barrier.
Roll Out the Underlayment:
Unroll the underlayment over your shingles, ensuring it overlaps by at least 2 inches on all sides. This overlap is crucial for keeping water at bay.Secure the Underlayment:
Use roofing nails or staples to secure the underlayment in place. Make sure it’s tight and smooth, with no wrinkles or bubbles that could create pockets for moisture.Seal the Seams:
Apply roofing cement or sealant along the seams to ensure a watertight barrier. This step is key in preventing leaks down the line.
Step 3: Laying Out the Metal Panels
Now, it’s time for the star of the show—your metal panels! This part of How to Install Metal Roofing Over Shingles: Step‑by‑Step Guide is where precision really pays off.
Measure and Cut Panels:
Use your measuring tape and metal snips to cut the panels to size. Be sure to leave a little extra for overlap, as this helps with water runoff and durability.Lay the First Panel:
Start at the bottom edge of the roof. Position the first metal panel so that it overhangs the edge by a few inches. This overhang is essential for proper water drainage.Align with the Chalk Line:
Use your chalk line as a guide to ensure that the panels are straight. A misaligned panel can throw off the entire look and function of your roof.
Step 4: Securing the Metal Panels
With the panels in place, it’s time to secure them properly. This is where those roofing nails or screws come into play.
Fasten the Panels:
Begin fastening at the top edge of the panel, working your way down. Use corrosion-resistant screws or nails to avoid rust over time.Tip: For a secure hold, fasten the panels every 12 to 16 inches along the overlap.
Seal the Fasteners:
Once all panels are secured, apply a bead of sealant over each fastener. This extra step ensures that water won’t sneak in around the screws or nails.Check the Alignment:
As you secure each panel, take a moment to double-check that they’re aligned correctly. It might seem tedious, but a few extra seconds now will save you hours of frustration later.
Step 5: Finishing Touches and Sealants
The final stage is all about perfecting your work. This is where you add the finishing touches that make your new metal roof not just functional, but a real head-turner.
Install Flashing:
Flashing is used around roof edges, valleys, and other vulnerable spots. It helps direct water away from critical areas and into the gutters.Seal the Edges:
Run a bead of high-quality caulk along all edges and seams. This step is crucial in preventing any leaks and ensuring that your new roof stays watertight.Final Inspection:
Walk around your roof (from a safe vantage point) and inspect your work. Look for any loose panels, misaligned screws, or areas that might need an extra layer of sealant.
Common Challenges and Troubleshooting
Even the best projects hit a few bumps in the road. Here are some common challenges you might face and how to tackle them head-on:
Uneven Shingles:
If your old shingles aren’t level, it might be tough to get a smooth installation. Use additional underlayment or shims as needed to level the surface.Fastener Issues:
Struggling with screws that just won’t tighten? Make sure you’re using the right type for metal roofing—corrosion-resistant fasteners are a must.Weather Delays:
Rain or high winds can throw off your schedule. Keep an eye on the forecast and be flexible with your timeline. It’s better to wait for the right conditions than to risk a botched installation.Noise Concerns:
Metal roofs can be noisier than traditional shingles, especially during rain. Consider adding an extra layer of underlayment or insulation if noise is a major concern.
Expert Tips for a Flawless Installation
A little know-how can go a long way. Here are some insider tips to ensure your project runs smoothly:
Plan Every Detail:
Before you start, sketch out your entire plan. Knowing exactly where each panel and fastener will go helps prevent mistakes.Work in Sections:
Breaking the job into manageable sections can make the task feel less overwhelming. Tackle one area at a time, and take breaks when needed.Use the Right Tools:
Investing in quality tools can save you heaps of frustration. A reliable ladder, sturdy metal snips, and a good drill can make a world of difference.Enlist a Helping Hand:
Roofing projects can be a bit of a team sport. Having a buddy to assist can not only speed up the process but also keep you safe.Double-Check Measurements:
In roofing, precision is everything. A small error in measurement can lead to costly mistakes, so always measure twice before cutting.Mind the Overlap:
The secret to a durable metal roof is in the overlap of the panels. Follow the manufacturer’s recommendations on how much overlap is needed to ensure optimal performance.
Real-Life Success Stories
Imagine this: You’re enjoying a lazy Sunday morning, sipping your coffee while admiring your newly installed metal roof. Not only does it add a modern touch to your home, but it also cuts down your energy bills during those blistering summer months. One homeowner we spoke with mentioned that the seamless installation process, following the How to Install Metal Roofing Over Shingles: Step‑by‑Step Guide, made them feel like a true DIY rockstar. Their neighbors couldn’t stop complimenting the sleek finish and durability, proving that sometimes a little effort can yield massive rewards.
Another success story came from a family who had been battling leaky shingles for years. After following our guide and installing metal roofing over the existing shingles, they not only solved the leak issues but also added value to their property. These real-life examples remind us that with the right preparation and a bit of know-how, you too can transform your roof into a durable, energy-efficient masterpiece.
Final Thoughts: How to Install Metal Roofing Over Shingles: Step‑by‑Step Guide Recap
So, where does that leave you? At the end of the day, How to Install Metal Roofing Over Shingles: Step‑by‑Step Guide isn’t just a set of instructions—it’s a roadmap to a better, more resilient home. From preparing your roof and installing underlayment to carefully aligning and securing each metal panel, every step is designed to ensure that your new roof stands the test of time.
Remember, patience and precision are your best friends in this process. Whether you’re a seasoned DIY enthusiast or a first-timer, taking the time to plan your project can make all the difference. And if you ever run into a snag or feel unsure about a step, there’s no harm in pausing to reassess or even calling in a pro for a little extra guidance.
Conclusion
In wrapping up our extensive exploration of How to Install Metal Roofing Over Shingles: Step‑by‑Step Guide, it’s clear that the journey from outdated shingles to a modern metal roof is both exciting and rewarding. With durability, energy efficiency, and a boost in curb appeal all on the line, this DIY project is a win-win for any homeowner looking to invest in long-term value and beauty.
We’ve taken you through every step—from prepping your roof and installing a robust underlayment to aligning your metal panels with expert precision and sealing the deal with a final inspection. And let’s not forget those handy troubleshooting tips and FAQs that can help you navigate any unexpected bumps along the way.
So, why wait? It’s time to roll up your sleeves, grab your toolkit, and get started on your roofing project. Whether you’re tackling it on your own or enlisting a helping hand, the satisfaction of watching your home transform is absolutely priceless. Happy roofing, and here’s to a roof that not only protects your home but also adds a touch of modern elegance to your everyday life!
Remember, every successful project begins with a single step—so take that first leap of faith, follow the guide, and let your home shine under the brilliance of a newly installed metal roof. Cheers to your next DIY adventure!
Frequently Asked Questions
1. What is the primary advantage of installing metal roofing over shingles?
Installing metal roofing over shingles saves you time and effort by eliminating the need for a complete tear-off. It also reduces waste and can be more cost-effective in the long run, all while offering enhanced durability and energy efficiency.
2. Can I install metal roofing over any type of shingles?
Not necessarily. While many asphalt shingles can serve as a base for metal roofing, it's crucial to inspect the condition of your existing roof. If the shingles are loose, damaged, or nearing the end of their lifespan, they may need to be replaced first. Always check the manufacturer’s guidelines for compatibility.
3. Is the process messy?
Compared to a full tear-off, installing metal roofing over shingles is relatively clean. However, you might still encounter some dust and debris during preparation. Covering surrounding areas and using protective gear can help keep the mess to a minimum.
4. How long does the installation process typically take?
Depending on the size of your roof and your experience level, the entire process can take anywhere from a couple of days to a week. Always allow extra time for weather delays and unexpected challenges.
5. Will the additional layer add too much weight to my roof?
In most cases, metal roofing is designed to be lightweight, and the additional weight of the existing shingles is generally not a concern. However, if you’re unsure, it’s wise to consult with a structural engineer to assess your roof’s load-bearing capacity.

