How to Replace a Pedestal Sink: Step‑by‑Step Guide
Discover a foolproof, creative, and human-like guide on how to replace a pedestal sink. Our comprehensive step-by-step walkthrough, complete with FAQs, tips, and detailed instructions, makes it easier than ever to transform your bathroom!
Welcome to your ultimate DIY adventure—yes, we're diving into the world of bathroom makeovers! If you’ve ever felt like your old sink was cramping your style or just downright outdated, you’re in the right place. Today, we’re talking all about one of the most popular upgrades: How to Replace a Pedestal Sink: Step‑by‑Step Guide. This article isn’t just a bland set of instructions; it’s a fun, creative ride sprinkled with practical tips, quirky idioms, and real-life advice that’ll make you feel like a pro in no time. So, grab your toolkit and let’s get started on turning that tired bathroom into a sleek sanctuary.
Why Replace Your Pedestal Sink?
Sometimes, the little things can make a huge difference. A worn-out pedestal sink might be leaking, stained, or simply no longer match your bathroom’s vibe. By replacing it, you can:
Enhance Aesthetics: Modern sinks can completely transform your bathroom’s look.
Boost Efficiency: Newer models are often more water-efficient.
Increase Home Value: Upgraded fixtures can bump up your home's resale appeal.
Prevent Water Damage: Outdated sinks might cause leaks or water damage if not maintained.
Ready to dive into the nitty-gritty details? Let’s break it down further.
Tools and Materials You’ll Need
Before you jump in, it’s important to have everything at your fingertips. Here’s a quick checklist to make sure you're all set:
New Pedestal Sink (ensure it matches your bathroom decor)
Plumber’s Wrench and Adjustable Wrench
Screwdriver Set
Bucket and Towels
Plumber’s Tape
Silicone Sealant
Gloves and Safety Goggles
Pipe Cutter (if needed)
Rags or Cleaning Cloths
Tip: Always double-check the compatibility of your new sink with the existing plumbing system—nobody wants an ill-fitting piece to mess up their day!
Prepping Your Bathroom for the Replacement
Before you get your hands dirty, preparation is key. Here’s what you need to do:
Clear the Area: Remove any items from under and around the sink. Safety first!
Turn Off the Water: Shut off the water supply to prevent any mishaps. This step is crucial—trust me on this!
Cover the Floor: Place towels or a tarp around the sink to catch any stray drips or debris.
Inspect the Plumbing: Have a look at the pipes. If anything seems off, it might be a good time to call in a professional.
Taking these preliminary steps not only saves you time but also prevents potential headaches later on.
How to Replace a Pedestal Sink: Step‑by‑Step Guide
Alright, now that you're prepped and ready, let’s roll up our sleeves and jump into the step-by-step process. This section is the heart of our guide, so pay close attention!
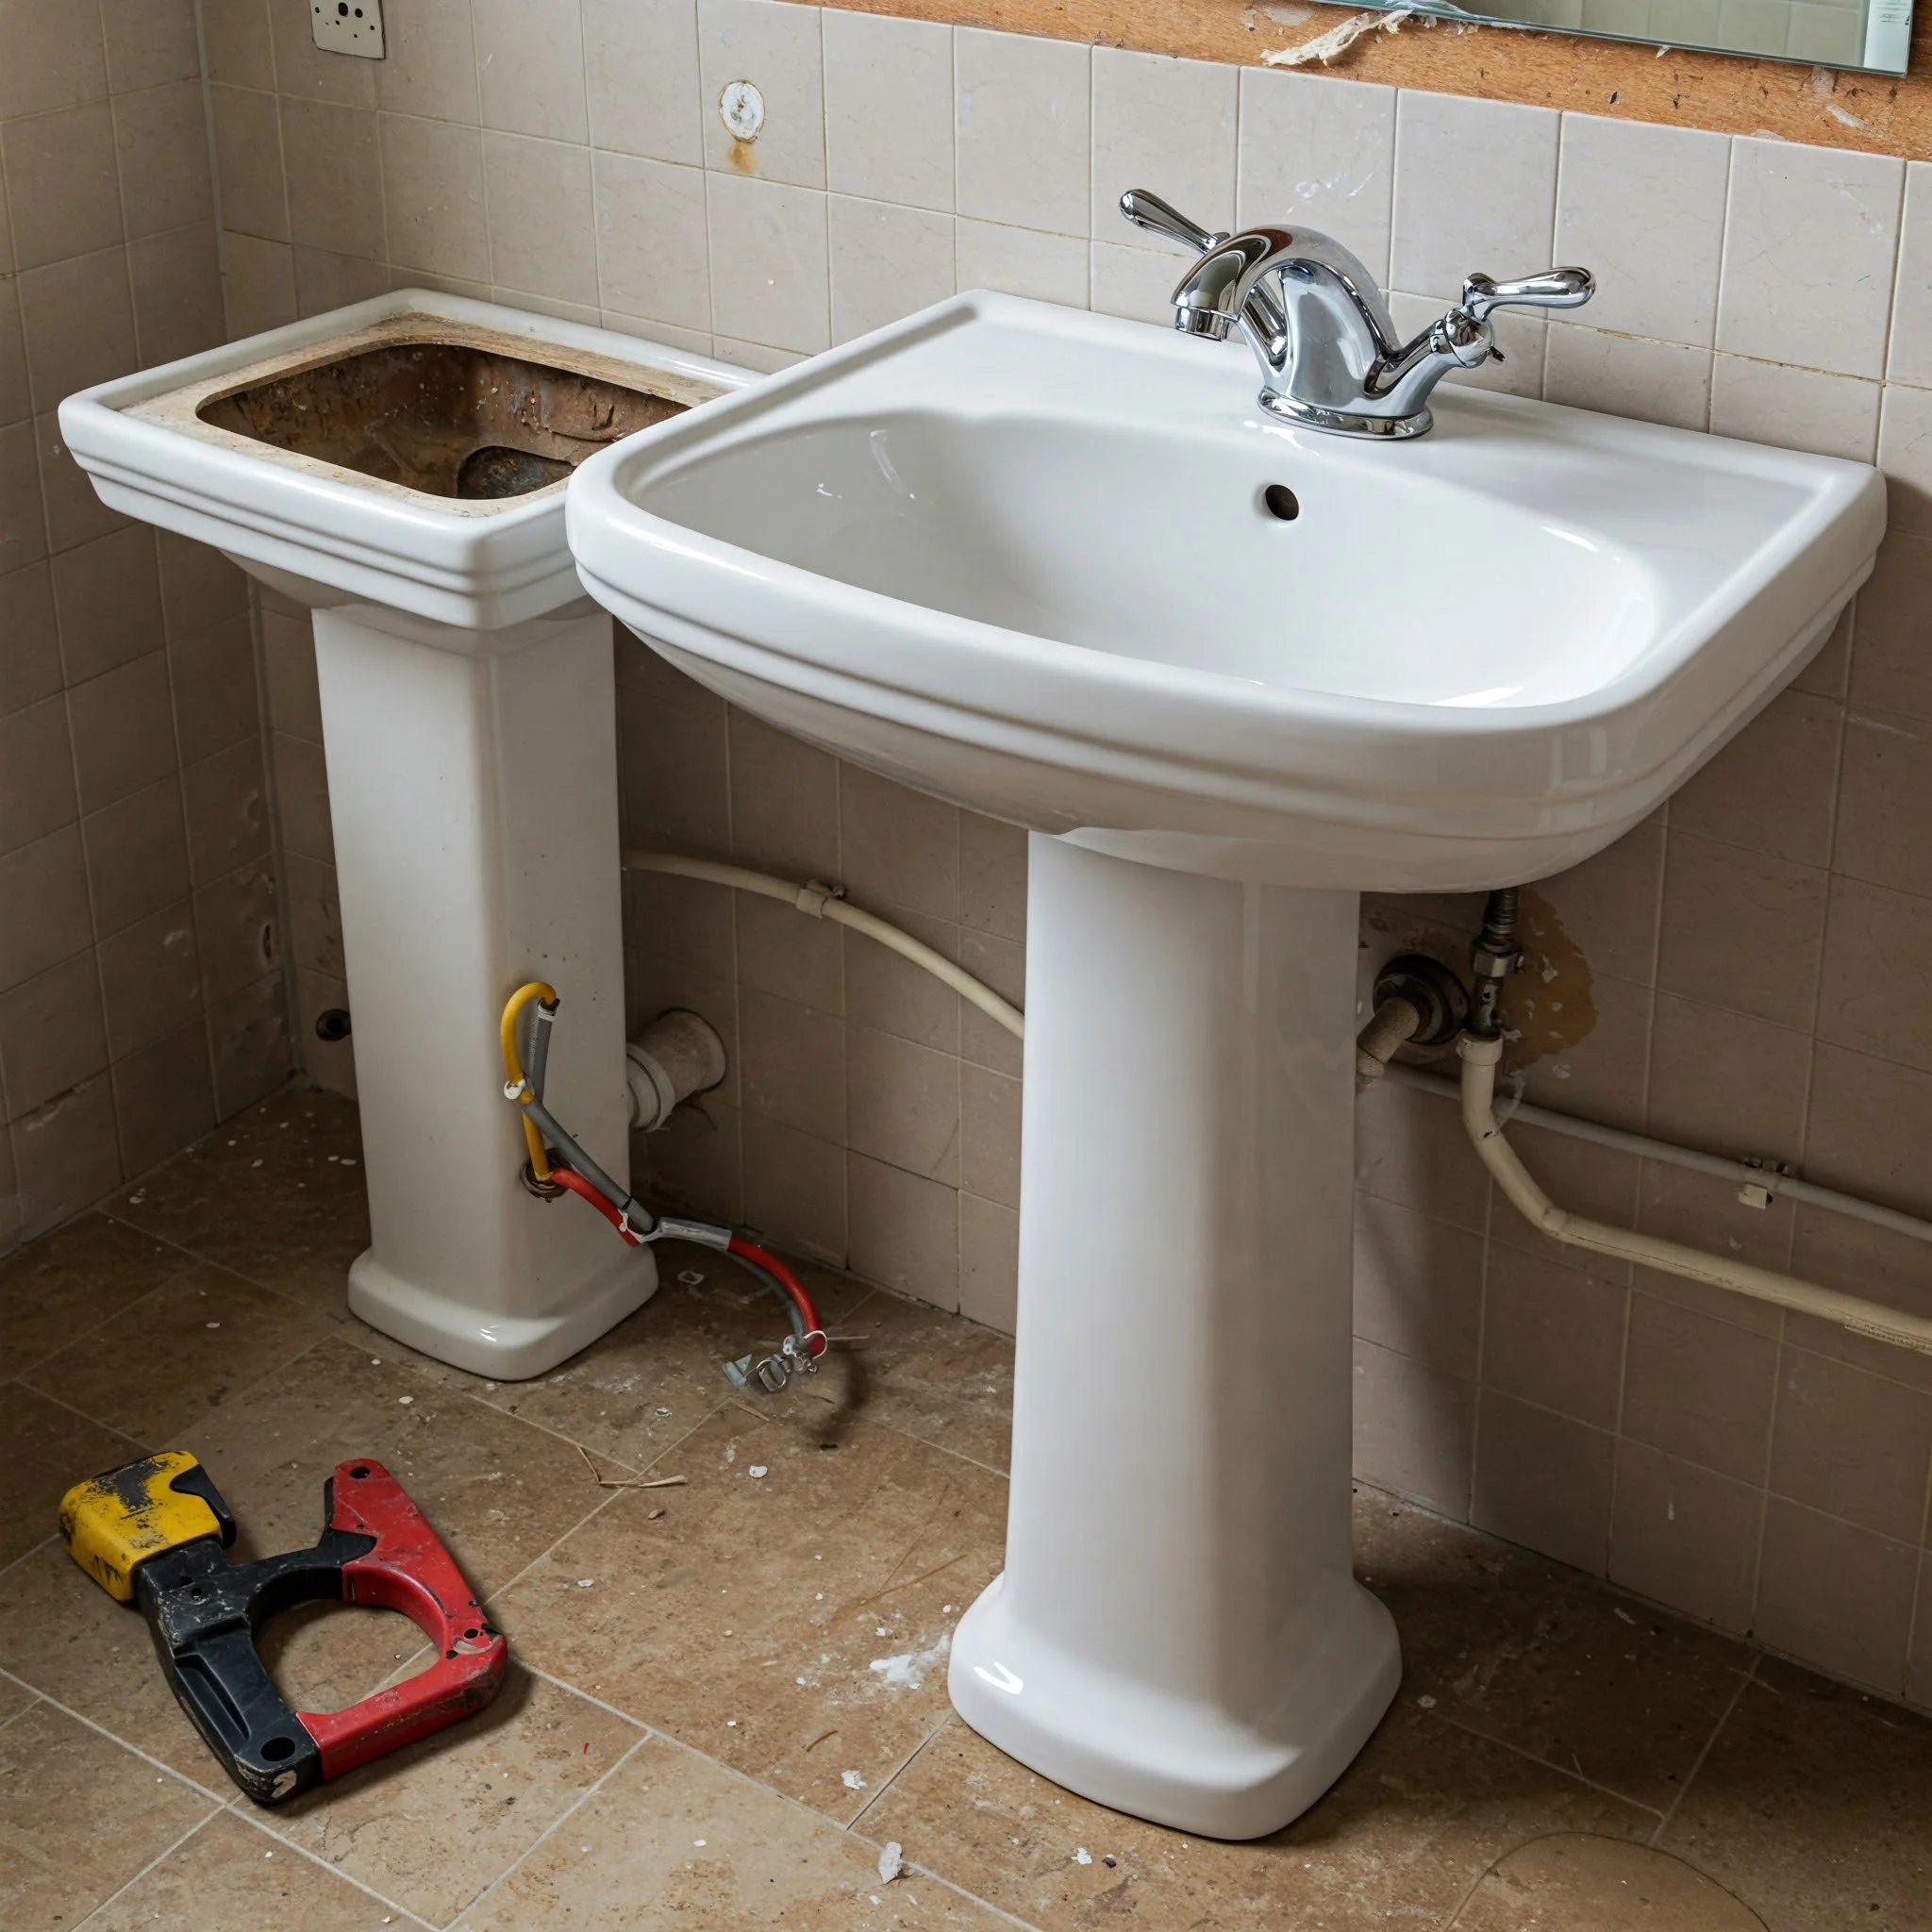
Step 1: Disconnecting the Old Sink
Turn Off the Water Supply: Make sure both the hot and cold water lines are off.
Drain the Pipes: Open the faucet to let any remaining water flow out.
Disconnect the Plumbing: Using your adjustable wrench, carefully disconnect the water supply lines. Don’t worry if a little water spills—it happens!
Remove the Sink: If it’s attached to a pedestal, you might have to remove a few screws. Gently wiggle it free and set it aside.
Remember: It’s a good idea to take a picture of your setup before you disconnect anything. This visual aid will come in handy when installing the new sink.
Step 2: Removing the Pedestal
Unscrew the Base: If your pedestal is attached to the wall or floor, locate the screws or mounting brackets holding it in place. Use a screwdriver to remove them.
Lift Carefully: Pedestals can be heavy and awkward. Ask a friend for help if needed.
Clean Up: Once the pedestal is removed, clean the area thoroughly. Old grime and residue can interfere with your new installation.
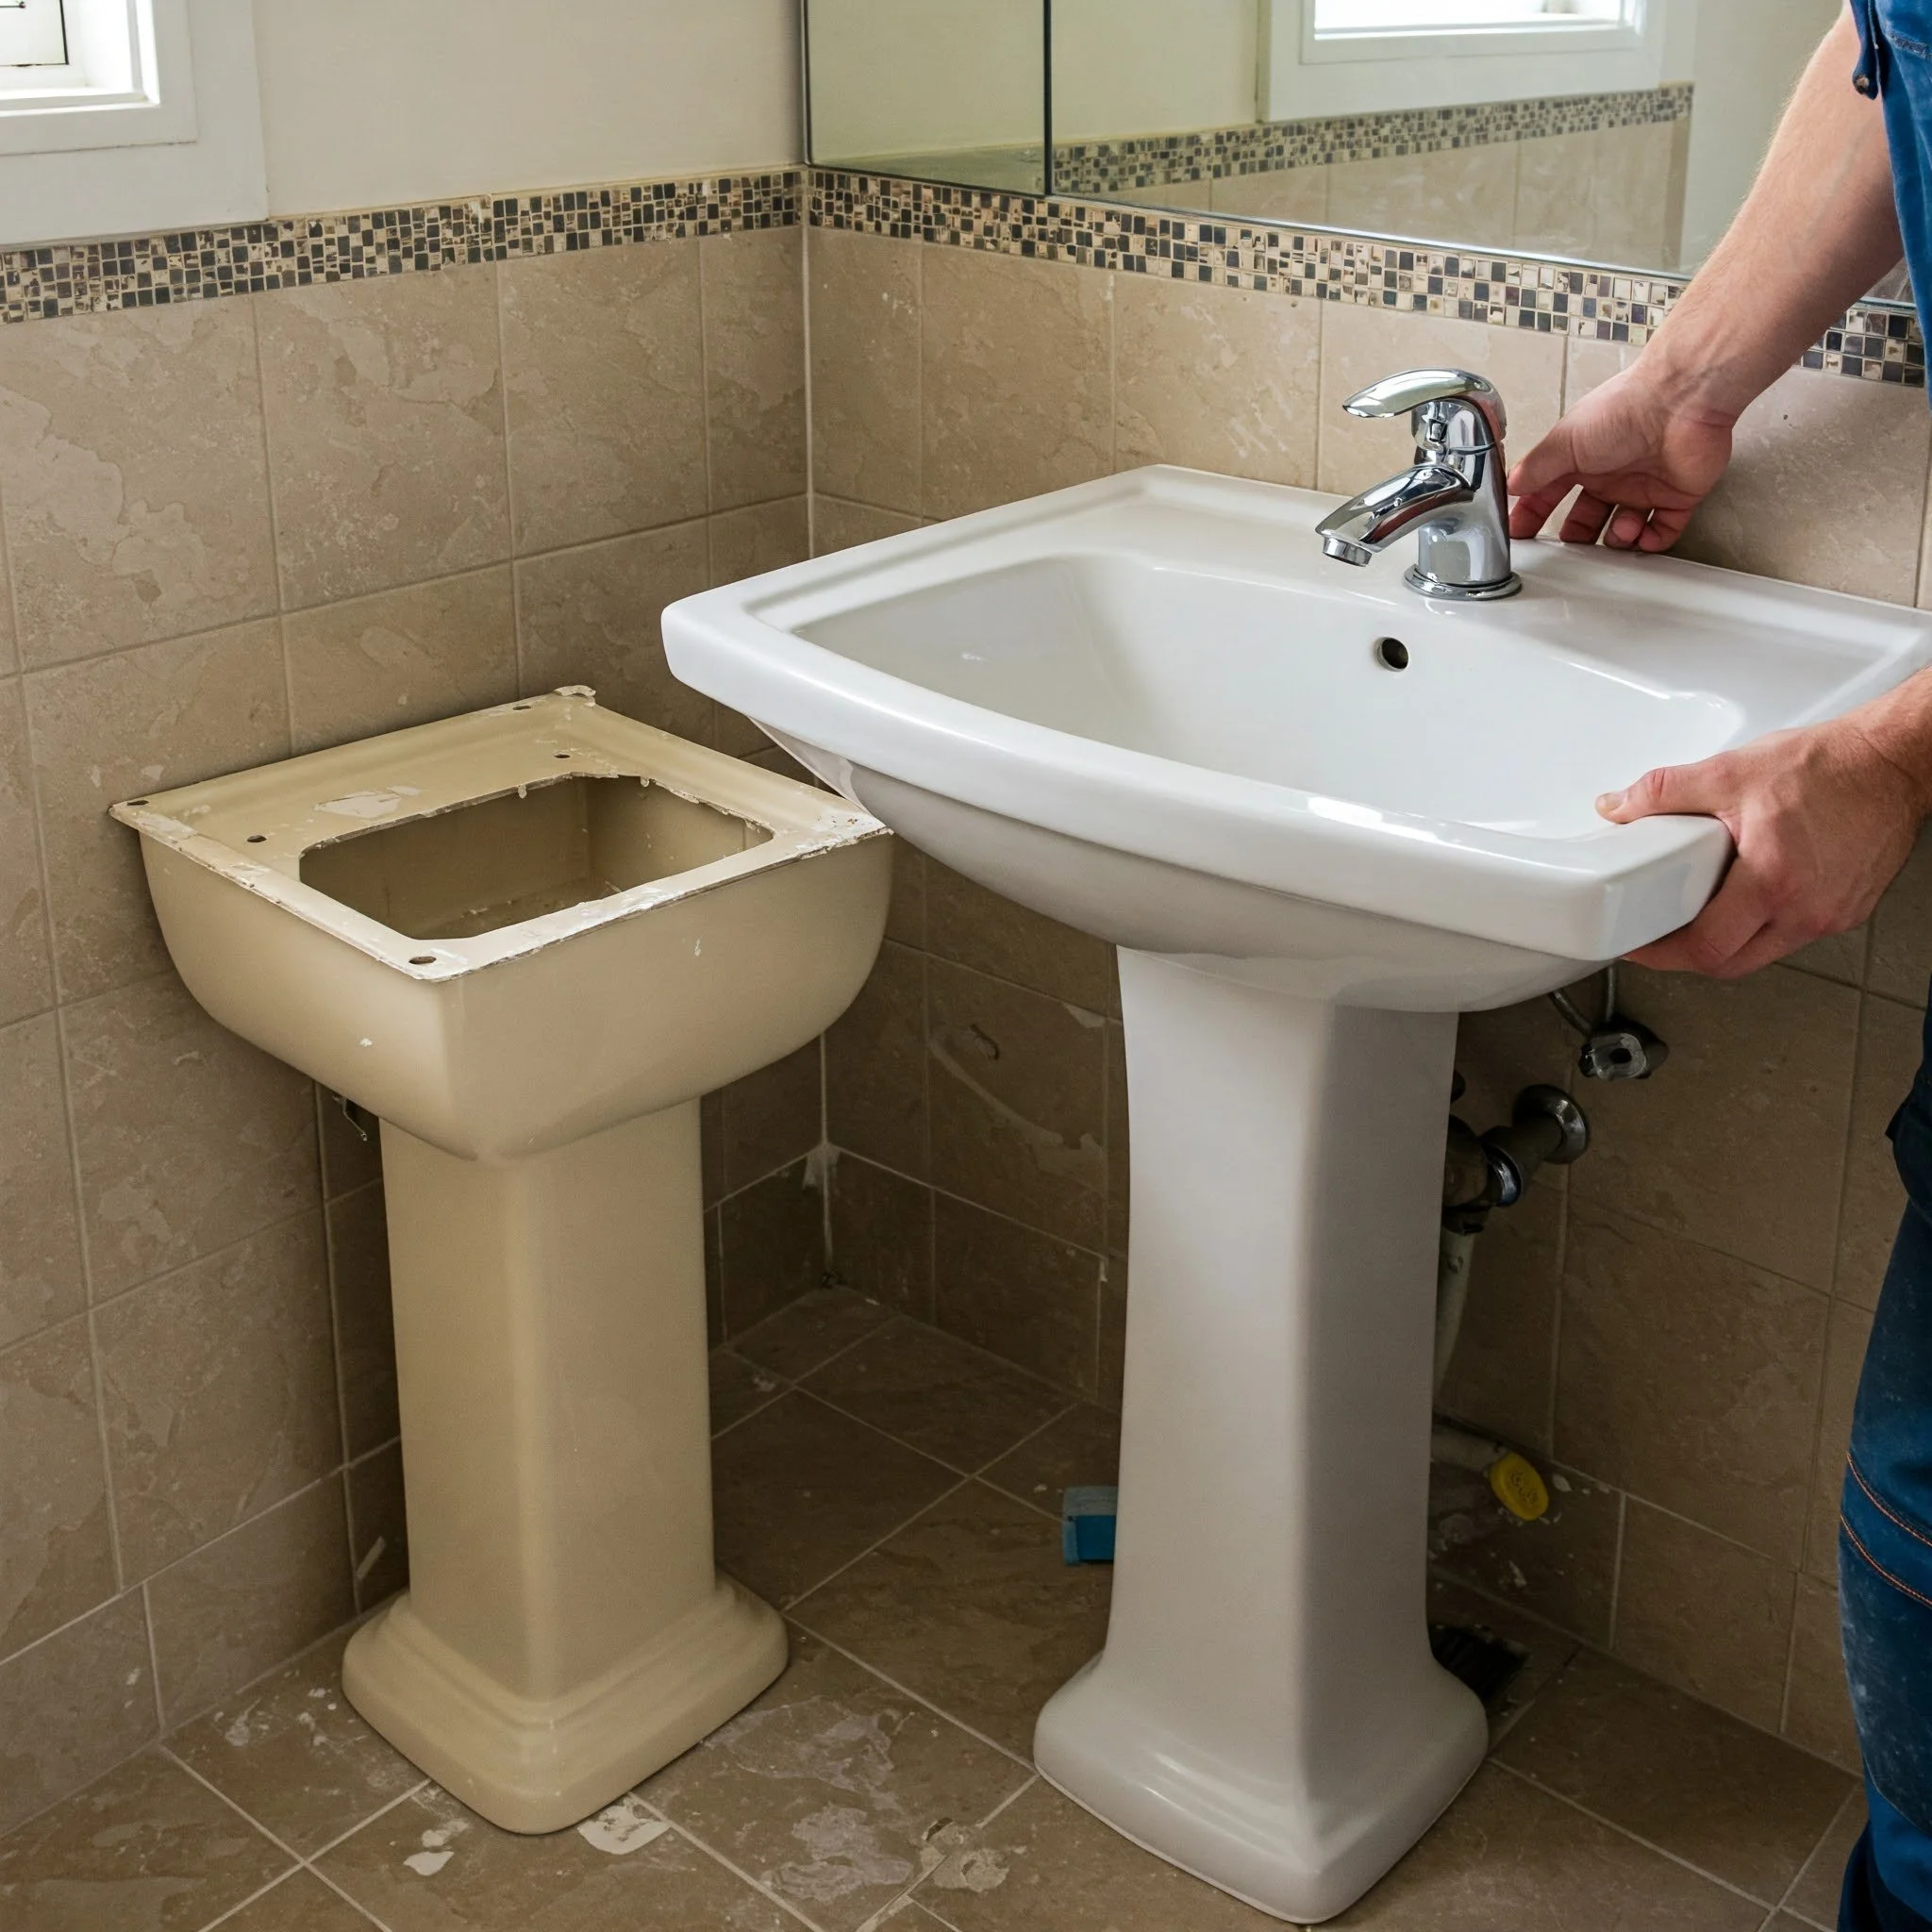
Step 3: Preparing the New Sink
Unbox and Inspect: Open up your new sink package and ensure everything is in order. Missing parts? Better contact the manufacturer right away.
Assemble if Necessary: Some sinks come with multiple components. Follow the manufacturer’s instructions carefully.
Seal the Edges: Apply silicone sealant along the edges where the sink meets the wall or countertop. This prevents water from sneaking in where it shouldn’t.
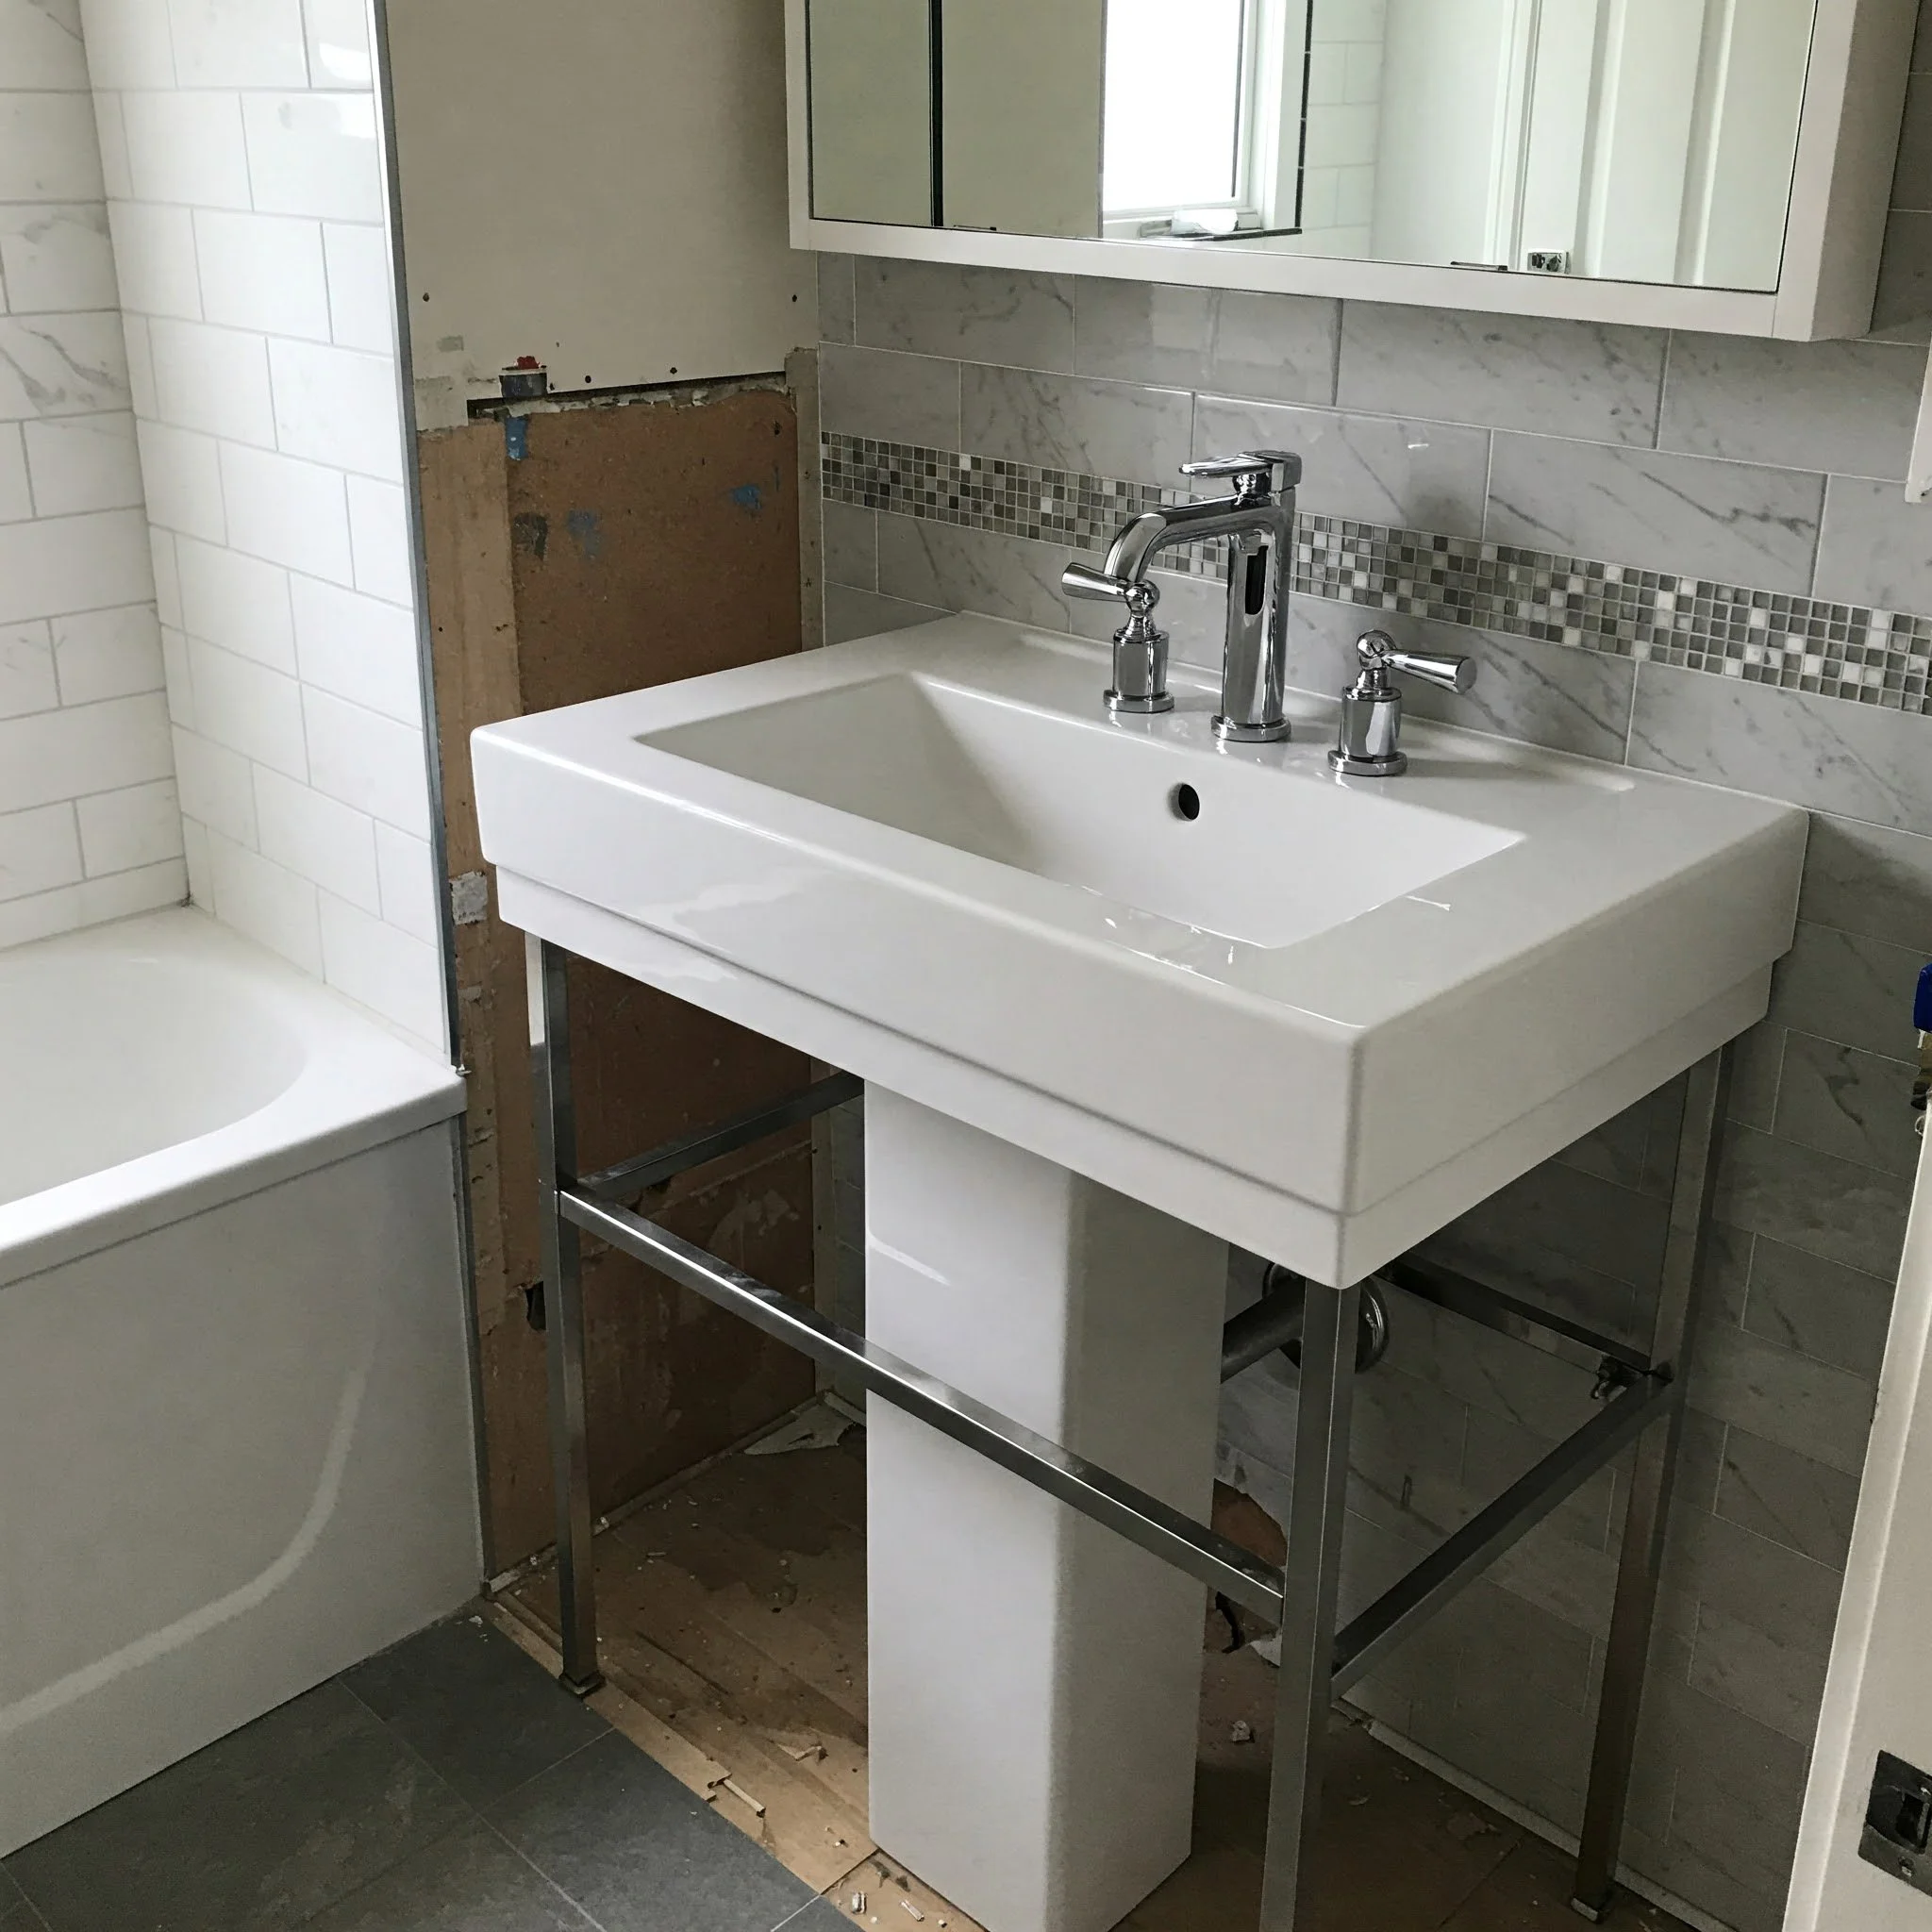
Step 4: Installing the New Sink
Positioning: Place the new pedestal sink in its designated spot. Make sure it aligns perfectly with the plumbing.
Secure the Sink: Use the provided screws or mounting hardware to secure the sink. Tighten them gradually to ensure even pressure.
Reconnect the Plumbing: Reattach the water supply lines to the new sink. Use plumber’s tape on the threads to create a watertight seal.
Pro Tip: While reconnecting the pipes, check for any signs of wear or corrosion. If the old ones look rusty, consider replacing them as well.
Step 5: Final Touches
Test for Leaks: Turn the water back on slowly. Check all connections to ensure no leaks are present. A few drips might indicate a loose connection or insufficient tape.
Clean Up: Wipe away any excess silicone or water splashes with a clean cloth.
Admire Your Work: Step back and appreciate the transformation. Your bathroom just got a serious facelift!
Additional Tips and Tricks
Replacing a pedestal sink isn’t rocket science, but a few extra tips can make your life easier:
Double-Check Measurements: Always measure twice (or thrice) before cutting any pipes or making modifications.
Have a Backup Plan: If you’re not confident in your DIY skills, it might be worth having a plumber on standby.
Keep Safety in Mind: Don’t rush. Use gloves, goggles, and proper tools to avoid injuries.
Budget Wisely: Sometimes, spending a little extra on quality parts saves you from future headaches.
Stay Organized: Lay out all your tools and parts in an orderly fashion. You’ll thank yourself when you’re in the middle of the project.
Troubleshooting Common Issues
Even the best-laid plans can hit a snag. Here are a few common hiccups and how to address them:
Leaks After Installation
Check Connections: Sometimes, leaks occur due to loose fittings. Tighten all connections carefully.
Reapply Sealant: If water is seeping through gaps, reapply silicone sealant along the edges.
Inspect Pipes: Ensure that the pipes aren’t damaged or misaligned. A small crack could be the culprit.
Misaligned Sink
Reposition Carefully: If the sink isn’t level, loosen the mounting screws and adjust. Use a level tool to check your work.
Support Structures: Sometimes, adding a small support bracket underneath the sink can help maintain alignment.
Slow Drainage
Clean the Pipes: Over time, debris can build up in your drainage pipes. A quick flush or use of a drain cleaner might do the trick.
Check the Trap: The U-shaped pipe (or trap) could be clogged. Remove and clean it if necessary.
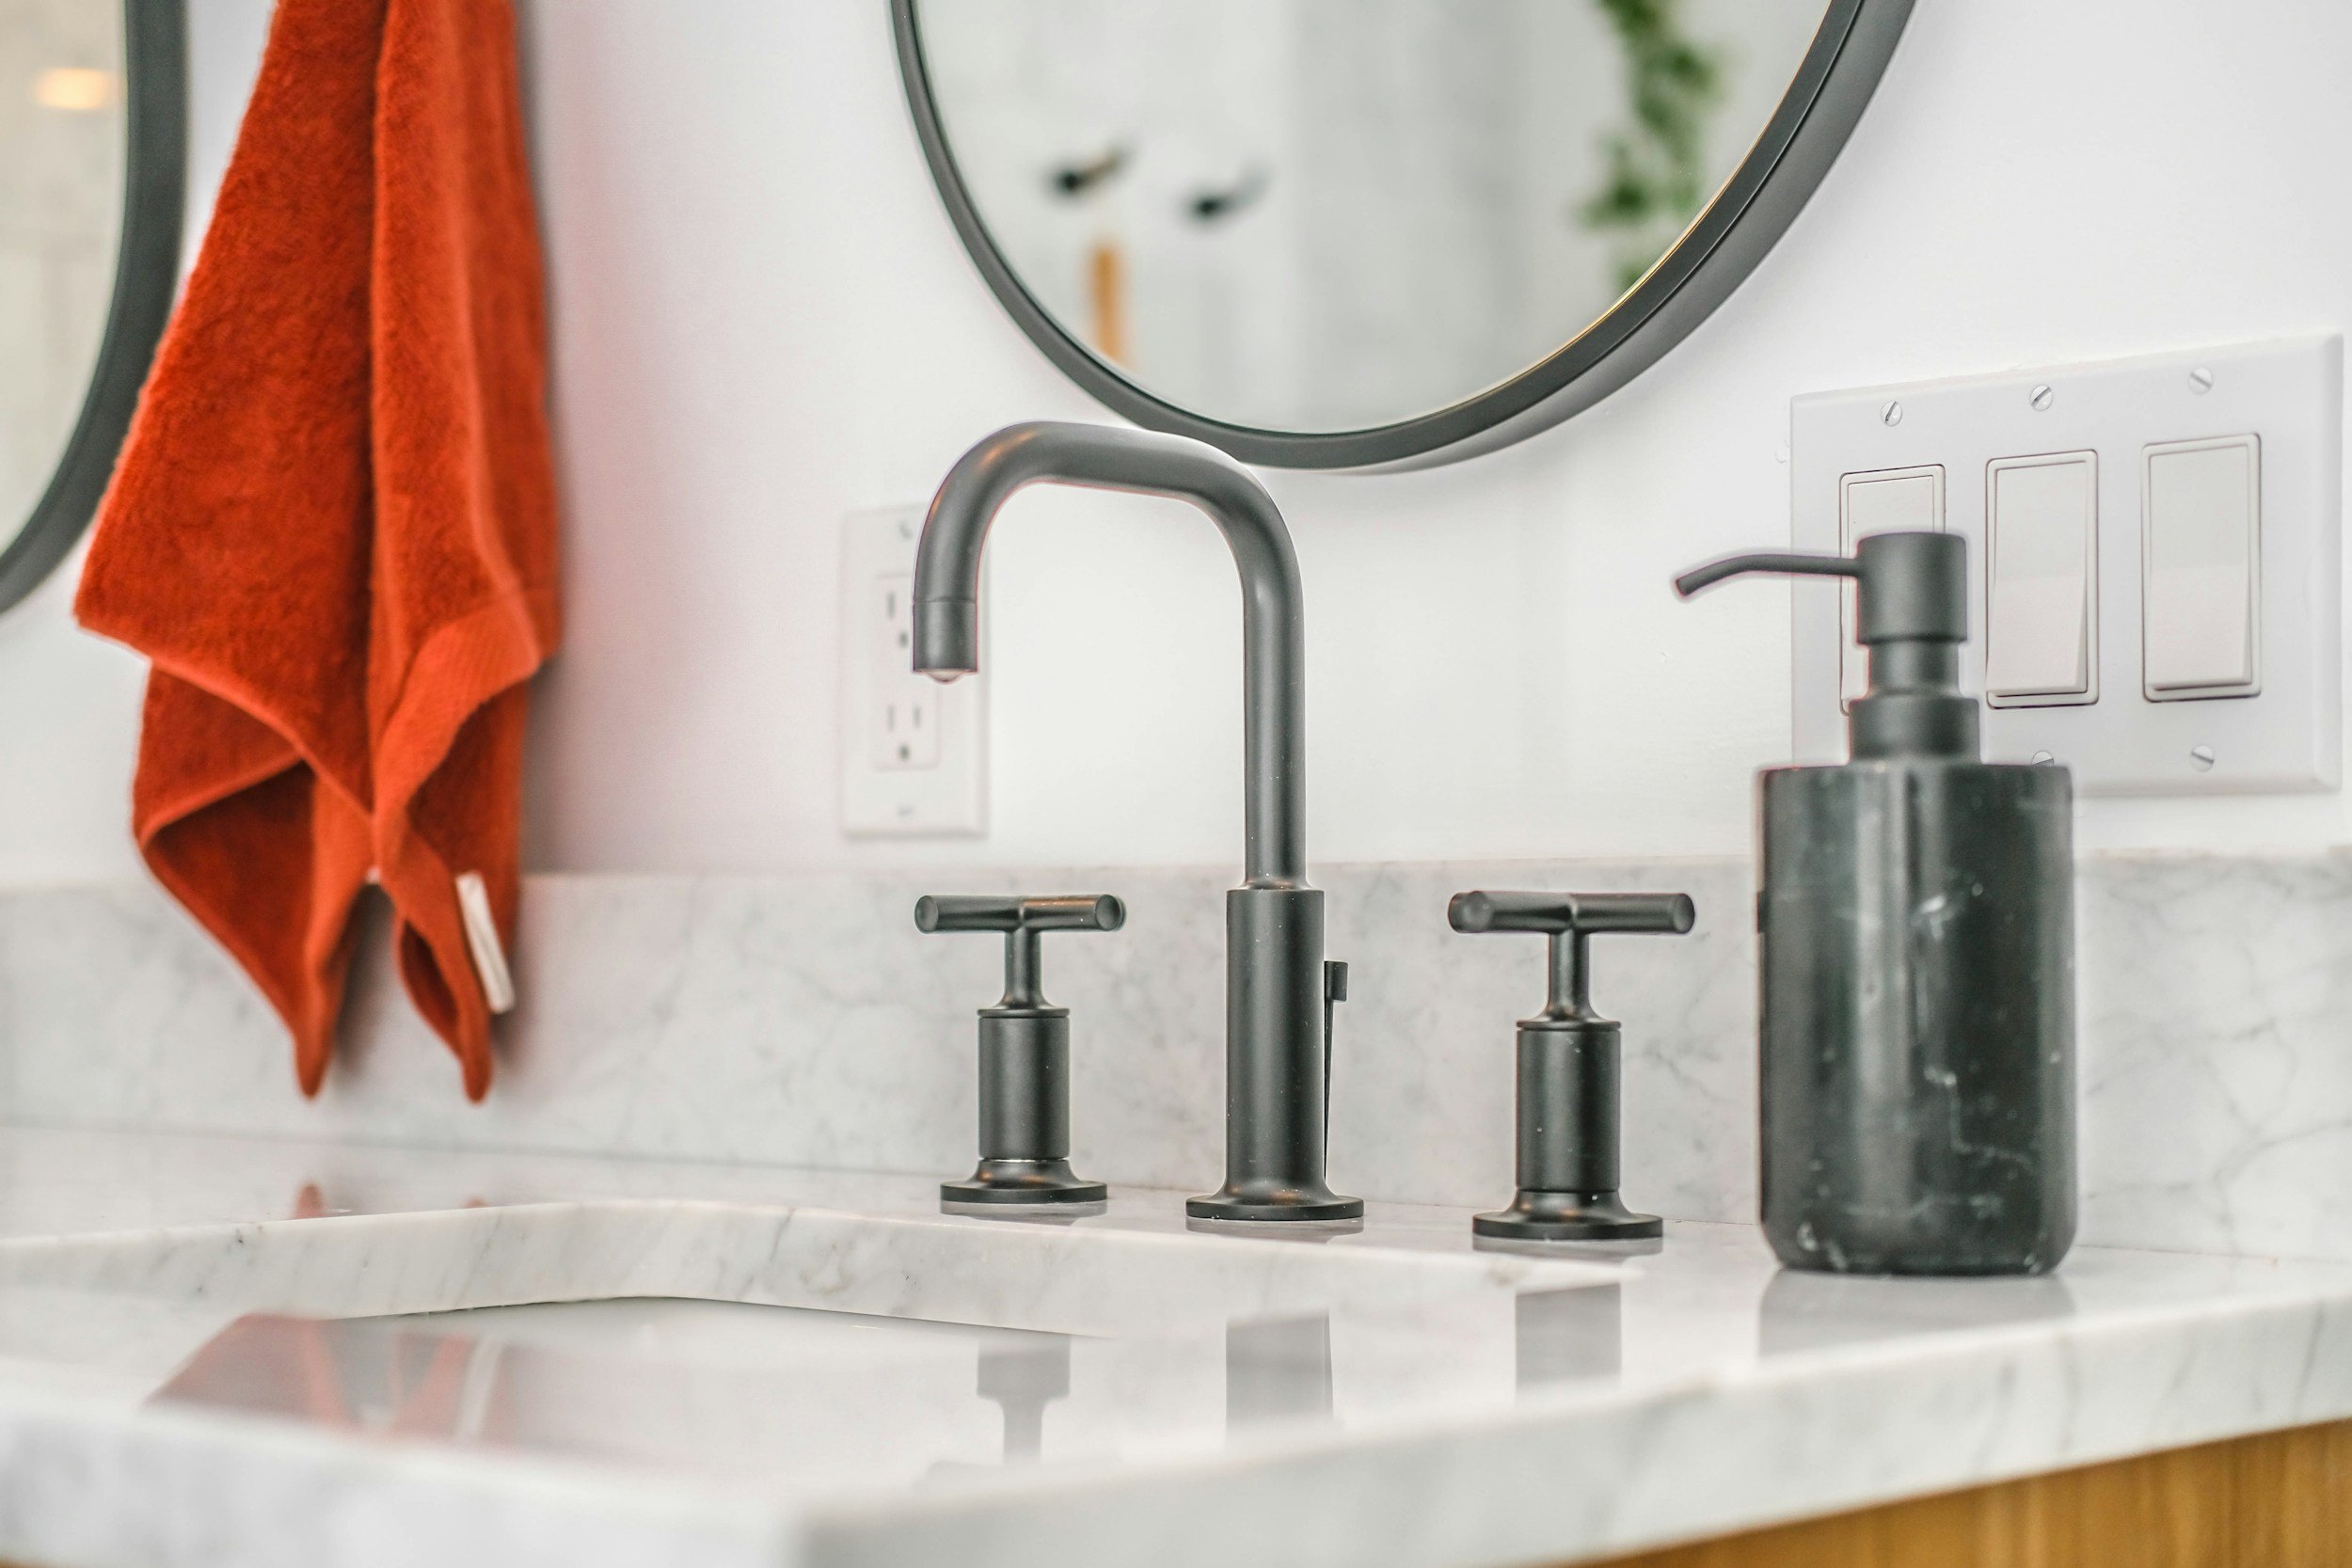
Creative Uses for Your New Sink
You might be thinking, “This is just a sink, right?” But hold on a minute—upgrading your pedestal sink can open up a world of creative possibilities:
Floating Shelves: Pair your new sink with floating shelves to display decorative items.
Mirror Magic: Install a stylish mirror above your sink to create an illusion of more space.
Lighting Love: Under-cabinet lighting or LED strips can give your bathroom a modern, spa-like ambiance.
Accessorize: Add a chic soap dispenser or a set of trendy toothbrush holders to complete the look.
These small tweaks can make your bathroom not only more functional but also a place you genuinely enjoy spending time in.
How to Replace a Pedestal Sink: Step‑by‑Step Guide—Revisited
Just to reinforce the main point, let’s quickly revisit the How to Replace a Pedestal Sink: Step‑by‑Step Guide. It’s as straightforward as disconnecting the old, prepping the new, and securing everything in place. The key is to take it slow, follow each step diligently, and not be afraid to call for help when needed. By embracing this approach, you’re not just replacing a sink—you’re embarking on a DIY journey that can boost your confidence and elevate your home's charm.
Conclusion
And there you have it—a full-blown, step-by-step guide on How to Replace a Pedestal Sink: Step‑by‑Step Guide that’s as engaging as it is informative. From disconnecting your old sink to enjoying the fruits of your labor, every step of this journey is a chance to learn something new and feel empowered by your DIY prowess.
Changing out a pedestal sink might seem like a small project, but trust me, it can totally revamp your bathroom’s look and functionality. With the right tools, a dash of patience, and our friendly guide by your side, you’re all set to create a space that’s both modern and uniquely yours. Remember, every successful DIY project starts with a bit of courage and a whole lot of enthusiasm. So, roll up your sleeves, put on your favorite tunes, and get ready to transform your bathroom—one step at a time!
In the end, whether you're a seasoned DIY-er or just dipping your toes into the world of home improvement, this guide is meant to inspire confidence and creativity. Who knew that replacing a pedestal sink could be this fun and rewarding? Now, it's your turn to take action—dive in, experiment, and most importantly, enjoy the process.
Happy renovating, and may your new sink bring you many years of satisfaction and sparkling clean mornings!
Frequently Asked Questions
1. What tools do I need for this project?
You’ll need basic plumbing tools like an adjustable wrench, plumber’s tape, a screwdriver set, silicone sealant, and a bucket, among others. These are typically available at your local hardware store.
2. How long does the replacement process take?
On average, you can expect to complete the process in about 2-4 hours, depending on your experience level and the complexity of your bathroom setup.
3. Is it necessary to call a professional?
Not really! This DIY project is designed for the handy homeowner. However, if you’re ever in doubt or run into unexpected issues, don’t hesitate to call a plumber for advice.
4. Can I install any pedestal sink in my bathroom?
Almost—but make sure the sink matches your plumbing setup and bathroom dimensions. Measure your space and consult with the supplier if you’re unsure.
5. What should I do if I encounter leaks after installation?
Double-check all connections, reapply silicone sealant where necessary, and ensure the pipes are properly aligned. If leaks persist, consulting a professional might be the best course of action.
Stay up to date with our latest ideas!