Tile Backer Board Types: Choosing the Right One
Confused about tile backer boards? Discover the different types available, their pros and cons, and how to choose the right one for your next tiling project in this comprehensive guide!
When it comes to home renovations, especially in wet areas like bathrooms and kitchens, having the right materials is key to achieving a durable and beautiful finish. One of the unsung heroes in this realm is the tile backer board. You might be wondering, "What exactly is a tile backer board?" Well, it’s a type of board that provides a stable and moisture-resistant surface for tiles. But here’s the kicker: not all backer boards are created equal!
In this guide, we’re diving deep into the Tile Backer Board Types: Choosing the Right One to suit your specific needs. Whether you’re a DIY enthusiast or a seasoned pro, understanding the various options available will help you make the best choice for your project.
So, let’s roll up our sleeves and get started!
Understanding Tile Backer Boards
What Is a Tile Backer Board?
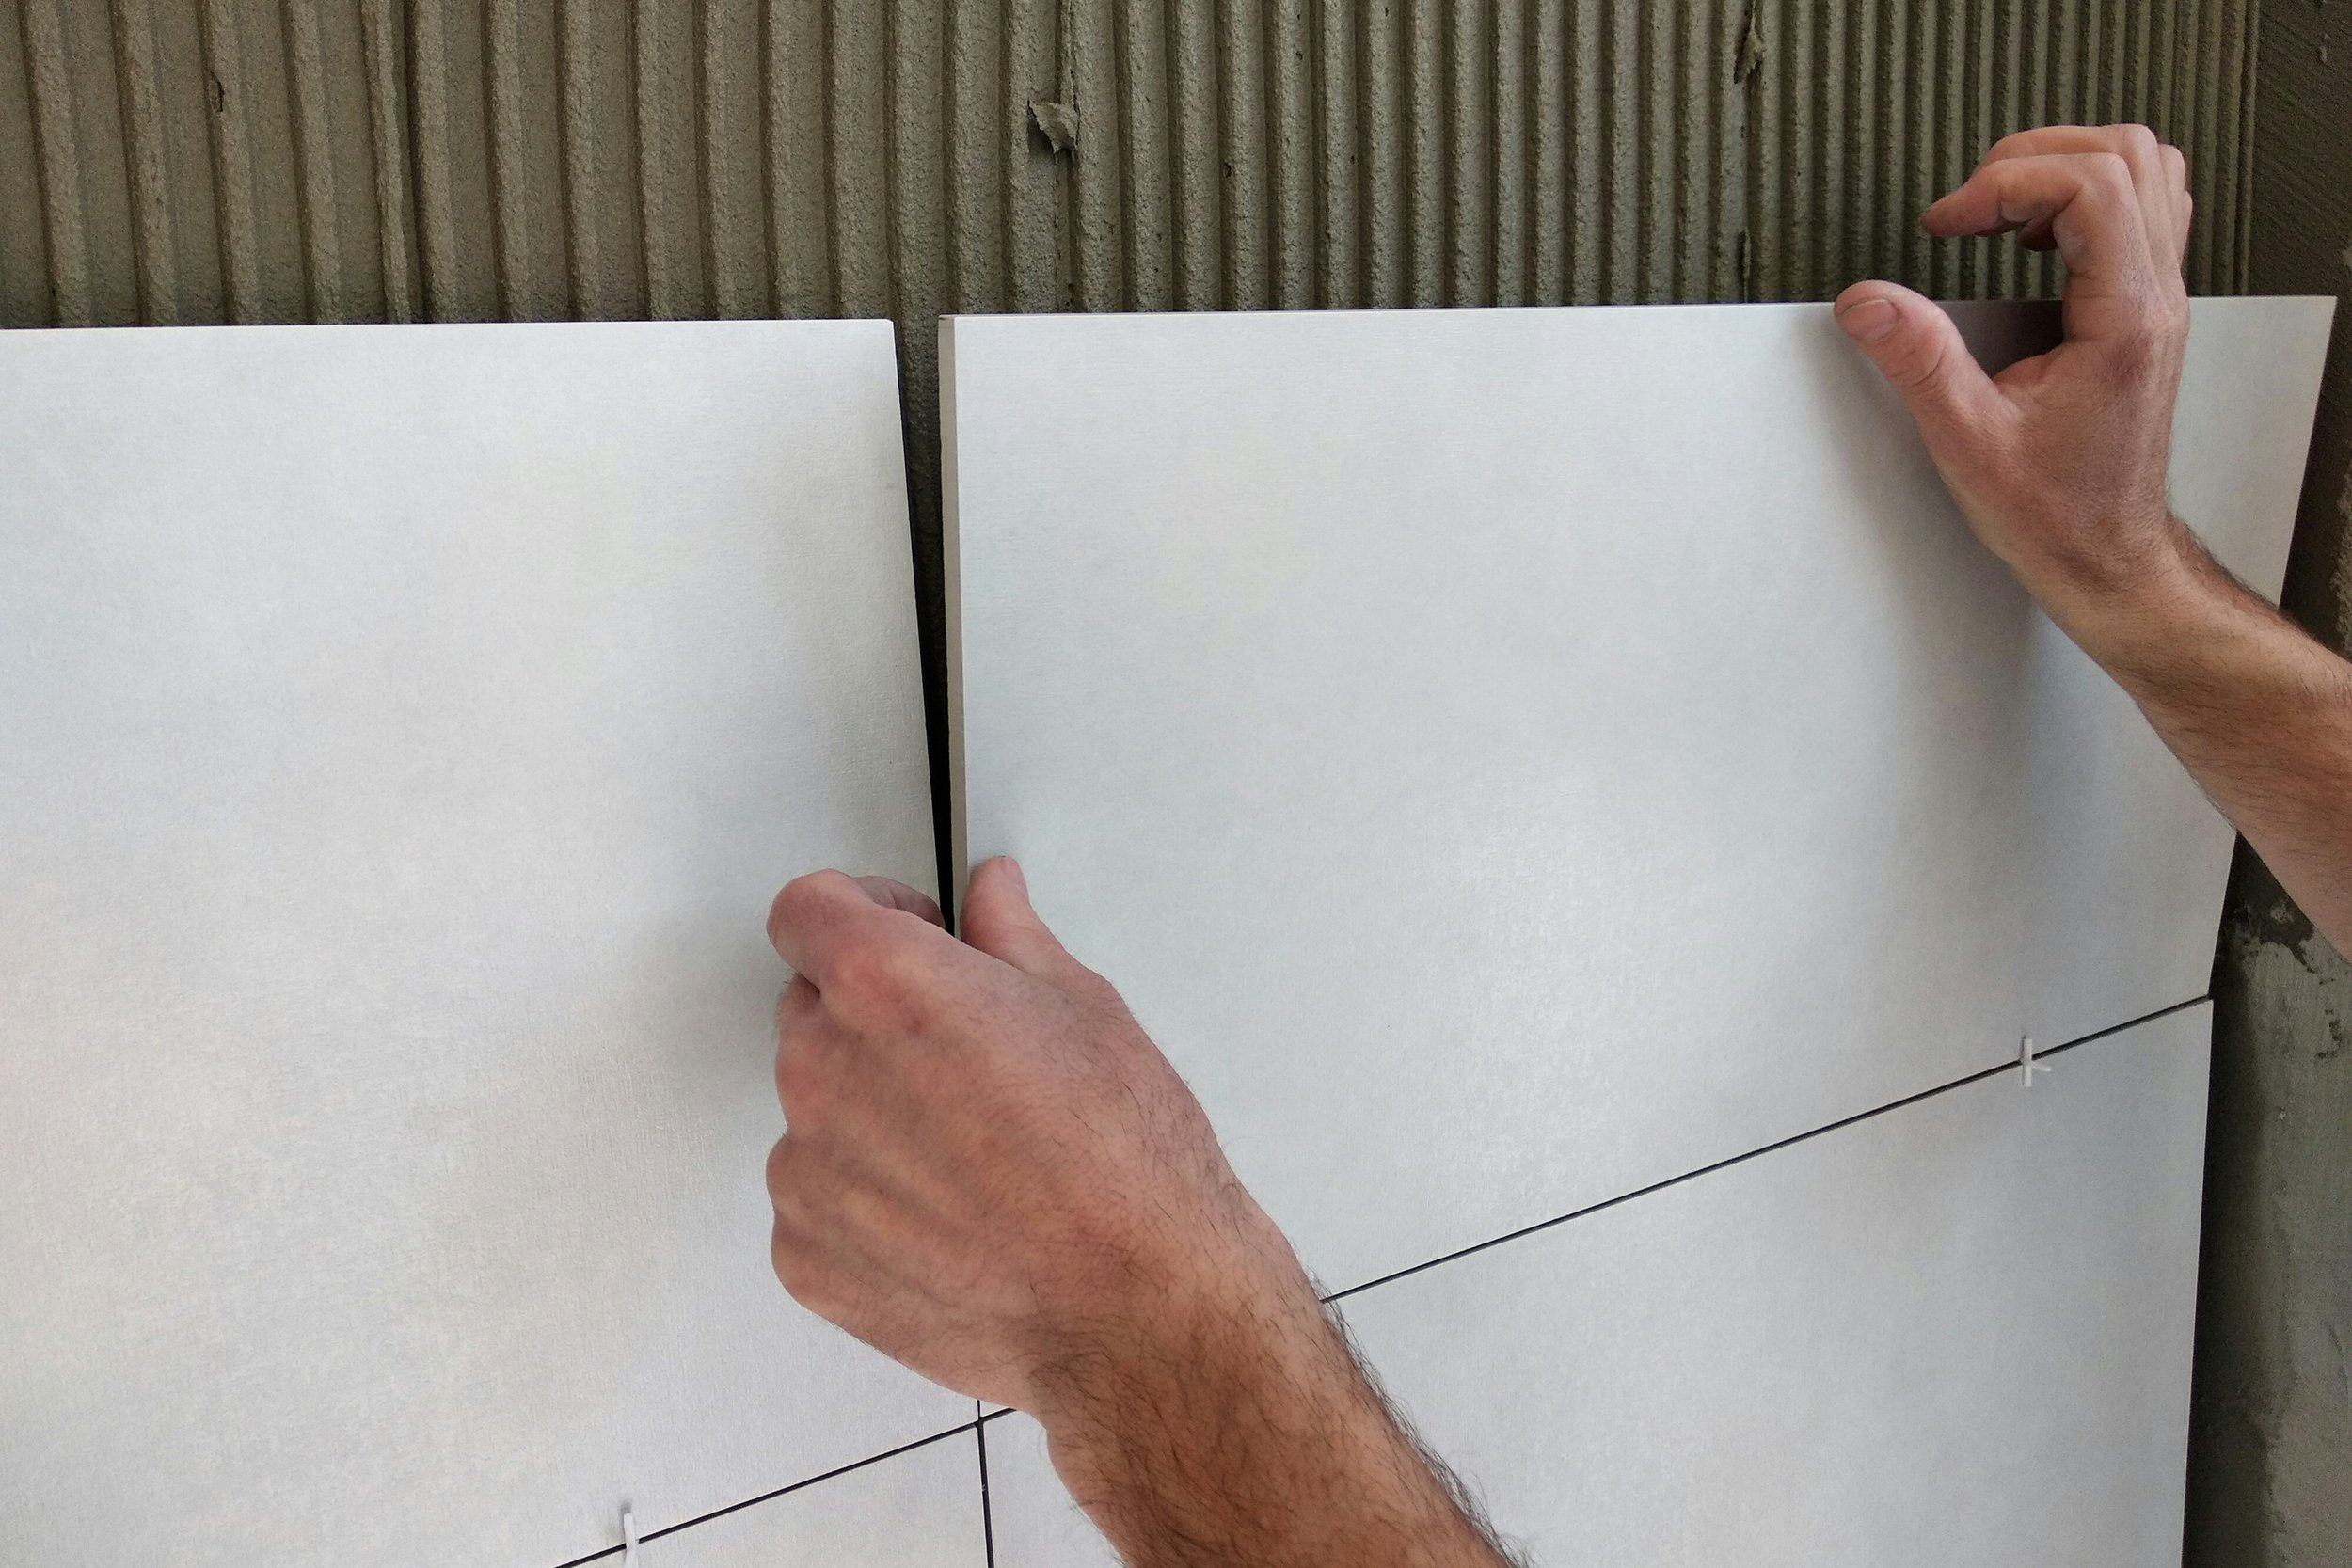
Tile backer boards are materials used to provide a flat, stable surface for tile installation. They protect the underlying structure from moisture, mold, and damage, particularly in areas exposed to water. Using a tile backer board is crucial in ensuring your tiles adhere properly and last longer.
Why Use a Tile Backer Board?
You might be asking yourself, “Why can’t I just tile directly onto drywall or plywood?” While it’s tempting to skip the backer board, doing so can lead to significant problems down the line. Here’s why using a backer board is essential:
Moisture Resistance: Backer boards help prevent water damage.
Durability: They provide a sturdy surface that withstands wear and tear.
Mold Prevention: Many backer boards are resistant to mold and mildew.
Improved Adhesion: Tiles adhere better to the textured surface of backer boards compared to drywall.
Tile Backer Board Types: Choosing the Right One
When it comes to choosing a backer board, there are several options available. Let’s break down the most common types:
1. Cement Board
Overview
Cement board is a popular choice for tiling in wet areas. It’s made of a cementitious core with a fiberglass mesh on both sides, making it incredibly durable and water-resistant.
Pros
Highly resistant to moisture and mold.
Can support heavy tiles, making it suitable for various applications.
Durable and long-lasting.
Cons
Heavier and more challenging to cut compared to other options.
Requires additional labor for installation.
Best Use
Ideal for areas like showers, bathtubs, and kitchen backsplashes.
2. Fiber Cement Board
Overview
Fiber cement board is similar to cement board but includes cellulose fibers, making it lighter and easier to handle. It offers a great balance between strength and weight.
Pros
Lightweight, which makes installation easier.
Offers excellent moisture resistance.
Non-combustible and durable.
Cons
Not as strong as standard cement board when supporting heavy tiles.
May still require a vapor barrier in certain applications.
Best Use
Great for bathroom walls and areas with moderate moisture exposure.
3. Gypsum Board (Green Board)
Overview
Gypsum board, especially the moisture-resistant "green board," is a popular choice for areas with lower moisture exposure. This type of drywall is treated to withstand humidity, making it suitable for spaces like bathrooms or kitchens where occasional moisture is present.
Pros
Lightweight and easy to cut.
More affordable than cement-based boards.
Cons
Not suitable for areas with direct water exposure (like showers).
Can still be susceptible to mold if not properly sealed.
Best Use
Green board is ideal for spaces with high humidity, like powder rooms and laundry rooms. Its moisture-resistant properties help prevent mold and mildew buildup, making it a durable choice for areas where dampness is common but direct water contact is limited.
4. Foam Board
Overview
Foam board, often made from extruded polystyrene, provides insulation and moisture resistance. It’s lightweight and easy to work with.
Pros
Very lightweight and easy to install.
Excellent insulation properties.
Water-resistant.
Cons
May not be as durable as cement or fiber cement boards for heavy tiles.
Can be more expensive than traditional options.
Best Use
Green board is well-suited for wall tile installations in spaces where insulation is a priority. Its moisture-resistant qualities add durability, making it ideal for areas like bathrooms or kitchens where humidity is high but direct water exposure is minimal.
5. HardieBacker Board
Overview
HardieBacker is a brand of cement board known for its unique formulation that makes it easier to cut and handle. It’s a preferred choice for many DIYers and professionals alike.
Pros
Easier to cut compared to traditional cement boards.
Highly resistant to moisture.
Available in various thicknesses.
Cons
Still relatively heavy.
Requires specific screws for installation.
Best Use
Great for bathrooms, kitchens, and other areas where tiles are used.
Factors to Consider When Choosing a Tile Backer Board
Before making your decision, there are several factors to take into account:
1. Location
Consider the location of your tile installation: for wet areas like showers, cement board or HardieBacker is ideal due to its water-resistant properties. In drier spaces, such as a bathroom wall away from direct moisture, gypsum board or green board may be sufficient.
2. Weight of the Tiles
For heavy tiles, it’s essential to choose a backer board that can handle the load without sagging. Cement boards are particularly reliable for this purpose, providing the strength and stability needed to keep heavier tiles securely in place.
3. Moisture Exposure
Consider the moisture levels in the installation area. High-humidity zones, such as bathrooms or showers, require a more durable backer board like cement board to prevent water damage. Cement boards are specially designed to withstand moisture, ensuring long-lasting support for your tiles.
4. Ease of Installation
For DIY enthusiasts, lighter and easy-to-cut options like fiber cement or foam boards are ideal. These materials offer the durability needed for tiling projects while being manageable to work with, making installation smoother and less labor-intensive.
5. Cost
Budget is essential—although some backer boards may cost more upfront, they can save money in the long term by effectively preventing water damage and mold growth. Investing in quality materials can ensure durability and reduce future repair costs.
Installation Tips for Tile Backer Boards
Step 1: Gather Your Materials
Before you start, make sure you have everything you need:
Tile backer board
Utility knife or cement board cutter
Backer board screws
Drywall tape
Thin-set mortar
Level
Measuring tape
Safety gear (gloves, goggles, dust mask)
Step 2: Measure and Cut
Measure Your Space: Determine how much backer board you need.
Cut the Board: Use a utility knife or cement board cutter to cut the board to size. Score it and snap it cleanly for a nice edge.
Step 3: Install the Backer Board
Position the Board: Place the board in your desired location.
Secure with Screws: Use backer board screws, ensuring they are spaced appropriately (usually about 8 inches apart).
Tape the Joints: Cover any seams with drywall tape and apply thin-set mortar over them.
Step 4: Ready for Tiling
Once the backer board is installed and the joints are taped, you’re ready to begin tiling! Follow the manufacturer's instructions for the tile and adhesive you choose.
Conclusion
Choosing the right tile backer board can make all the difference in your tiling project. By understanding the different types available and their specific benefits, you can ensure a solid foundation for your tiles that will stand the test of time. Whether you go with cement board for its durability or opt for the lighter foam board for ease of installation, each choice has its own advantages.
Frequently Asked Questions
1. How do I know which backer board to use?
It depends on the location and the moisture exposure. For wet areas, use cement board or HardieBacker. For dry areas, gypsum board may work.
2. Can I use backer board in outdoor applications?
Yes, but ensure it’s rated for outdoor use, like fiber cement board.
3. How thick should my backer board be?
Typically, 1/2 inch is standard for most applications, but check the manufacturer’s guidelines.
4. Can I install tiles directly on drywall?
It’s not recommended, especially in wet areas, as drywall can deteriorate.
5. How do I maintain my tiled area?
Regular cleaning and sealing grout lines can help maintain the integrity of your tiles.
