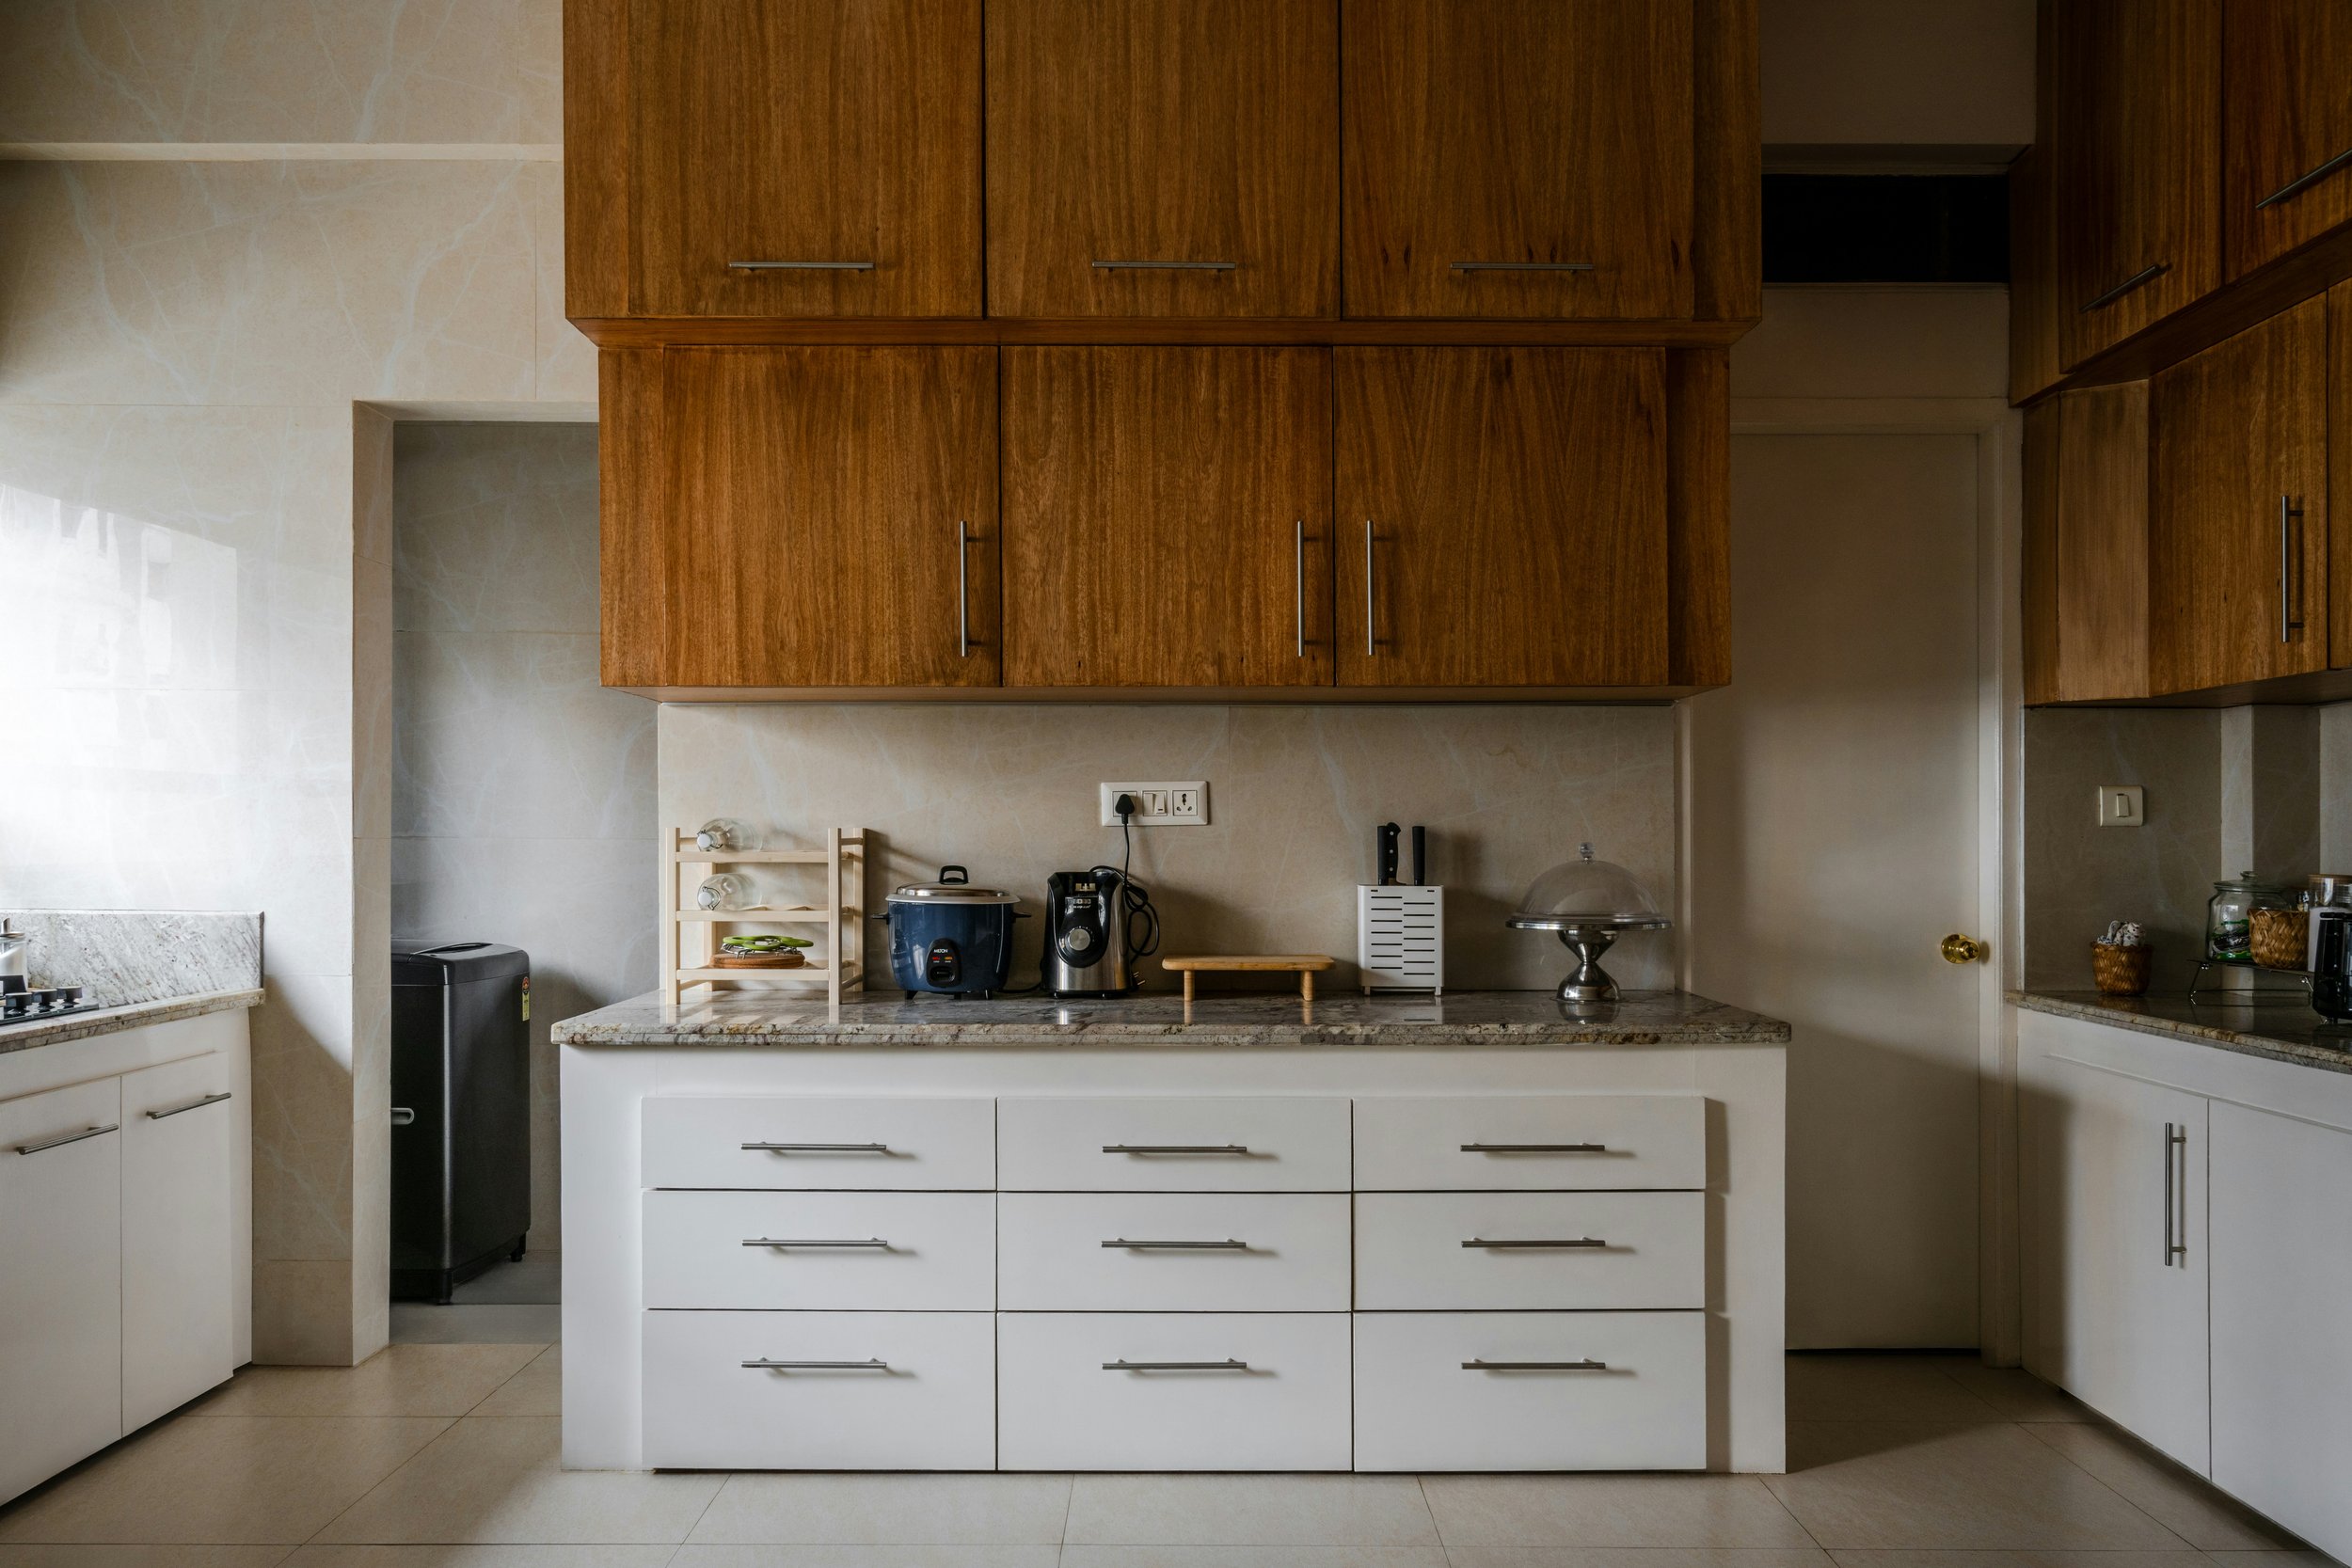
How to Make Shaker Cabinet Door: Step-by-Step Guide
Learn how to create stunning Shaker cabinet doors with our detailed "How to Make Shaker Cabinet Door: Step-by-Step Guide." Perfect for DIY enthusiasts looking to add a touch of classic style to their home.

Shaker cabinet doors are a timeless choice in home decor, known for their clean lines, simple design, and functional beauty. Whether you're renovating your kitchen or building new cabinets from scratch, Shaker-style doors offer a versatile and classic look that complements a wide range of interiors. And the best part? You can make them yourself! In this guide, we'll walk you through How to Make Shaker Cabinet Door: Step-by-Step Guide, providing easy-to-follow instructions, tips, and tricks to help you create beautiful, high-quality doors. So, grab your tools, roll up your sleeves, and let's get started on this rewarding DIY project!
What is a Shaker Cabinet Door?
Understanding the Shaker Style
Before diving into the construction, it's important to understand what defines a Shaker cabinet door.
Simplicity:
Shaker doors are known for their minimalist design with a flat center panel and rectangular frame, highlighting material quality and craftsmanship. Their clean lines and simplicity make them versatile for both traditional and contemporary spaces. This timeless, easy-to-maintain design adapts well to changing trends and styles.
Functionality:
The Shaker style emphasizes practicality and craftsmanship, prioritizing functionality over ornamentation. This approach results in durable, user-friendly designs with spacious interiors and efficient use of space. Shaker cabinets are known for their sturdy construction and ease of use, making them ideal for busy households and ensuring long-lasting value.
Versatility:
Shaker style is highly versatile, blending seamlessly with various interior designs. Its simple, clean lines and lack of excessive ornamentation allow it to pair well with different colors, materials, and decorative elements. This adaptability makes Shaker cabinets a timeless choice, evolving with changing tastes and trends while providing both beauty and functionality.

Key Components of a Shaker Cabinet Door
A Shaker cabinet door consists of three main parts:
Stiles:
Stiles are the vertical pieces forming the sides of a Shaker-style door frame, providing structural support and stability. Typically unadorned, they emphasize the minimalist aesthetic of Shaker design. Using high-quality wood, stiles enhance the door's durability and longevity, contributing to its clean, linear appearance.
Rails:
Rails are the horizontal pieces connecting the stiles at the top and bottom of a Shaker-style door frame. They ensure structural stability and support the center panel. Like the stiles, rails are simple and unadorned, maintaining the Shaker style's emphasis on simplicity. Their alignment and joinery are crucial for the door's overall strength and uniform appearance.
Panel:
The panel is the flat center piece of a Shaker-style door, enclosed by the stiles and rails. Made from solid wood or plywood, the panel highlights the wood's natural beauty with its smooth, unembellished surface. Sometimes slightly recessed, it adds subtle depth without compromising the minimalist aesthetic, contributing to the timeless appeal and versatility of Shaker doors.
How to Make Shaker Cabinet Door: Step-by-Step Guide
1. Gather Your Materials and Tools
The first step in How to Make Shaker Cabinet Door: Step-by-Step Guide is gathering all the necessary materials and tools.
Materials:
Solid Wood Boards for Stiles and Rails: High-quality solid wood boards, like maple or oak, provide strength and durability for the stiles and rails, giving the door a solid structure and classic look.
Plywood or Solid Wood for the Panel: The panel can be made from solid wood for a premium finish or plywood for a budget-friendly option, both offering stability and aesthetic appeal.
Wood Glue: Essential for bonding the stiles, rails, and panel securely, wood glue ensures a strong and durable assembly.
Sandpaper: Used to smooth surfaces and remove imperfections, sandpaper prepares the wood for painting or staining.
Wood Filler (if needed): Fills gaps, cracks, or nail holes, providing a smooth, even surface for finishing.
Paint or Stain (optional): Enhances the wood's appearance and provides protection, with stain highlighting grain and paint offering uniform color.
Tools:
Table Saw or Circular Saw: Used to cut wood to precise dimensions, essential for the accurate fitting of stiles, rails, and panel.
Router or Table Saw with a Dado Blade: Creates grooves and joints for fitting the panel into the frame, ensuring a secure fit.
Clamps: Hold pieces in place while glue dries, ensuring tight joints and proper alignment.
Measuring Tape: Ensures precise measurements for accurate cuts and assembly.
Square: Checks right angles for proper alignment and symmetry.
Pencil: Marks measurements and guidelines on wood for cutting and assembly.
Sander or Sanding Block: Smooths surfaces, preparing them for finishing and ensuring a polished look.
2. Measure and Cut the Wood
Accurate measurements and precise cuts are crucial for a well-fitting door.
Measure the Opening:
Begin by measuring the cabinet opening where the door will be installed, adding a 1/2 inch overhang on each side for a seamless look. Accurate measurements are crucial to ensure the door fits perfectly, avoiding gaps or misalignment and achieving a polished appearance.
Cut the Stiles and Rails:
Use a table saw to cut the stiles (vertical pieces) and rails (horizontal pieces) to the desired lengths based on your measurements. Ensure all pieces are the same width for consistency. Precise cuts are essential for tight joints and a stable structure, so double-check measurements and make clean, straight cuts for a professional finish.
Cut the Panel:
Cut the panel to fit inside the frame created by the stiles and rails, leaving a small 1/8 inch gap around the edges for wood expansion and contraction. This gap prevents warping or cracking over time, ensuring the panel fits snugly while allowing slight movement, maintaining the door's stability and visual appeal.

3. Create the Groove and Panel Recess
Next, we'll create the groove in the stiles and rails to hold the panel.
Set Up the Router or Dado Blade:
Set up your router or table saw with a dado blade to cut 1/4 inch wide and 1/2 inch deep grooves in the stiles and rails. This standard groove size securely holds the panel without compromising strength. Ensuring the correct blade setup is crucial for making clean, precise grooves, allowing the panel to sit flush within the frame.
Cut the Groove:
Run the stiles and rails through the router or table saw to cut the grooves along their inside edges. Maintaining a steady hand and consistent speed is essential for achieving even groove depth and width. Properly cut grooves ensure the panel fits securely, resulting in a smooth assembly and professional finish.
4. Assemble the Door Frame
Now it's time to assemble the frame and insert the panel.
Dry Fit the Pieces:
Before applying glue, perform a dry fit of the stiles, rails, and panel to ensure all components fit together properly. This step identifies any size or alignment discrepancies, allowing for adjustments. Carefully align the stiles and rails, and insert the panel into the grooves to check for a snug, even fit. A successful dry fit ensures a seamless assembly process and prevents issues during gluing.
Apply Wood Glue:
Once satisfied with the dry fit, disassemble the pieces and apply an even layer of wood glue to the grooves in the stiles and rails. Carefully reassemble the frame, inserting the panel into the grooves. Wipe away any excess glue to ensure a clean finish. High-quality wood glue ensures the door's durability and stability.
Clamp and Secure:
After applying the glue and reassembling the door, use clamps to hold the frame securely while the glue dries. Ensure the frame is square by checking that the diagonals are equal. Allow the door to remain clamped until the glue fully cures, ensuring a strong and stable structure.
5. Sand and Finish the Door
With the door assembled, the next step is to sand and finish it.
Sand the Door:
Begin by sanding the entire door with coarse-grit sandpaper to remove rough edges and imperfections. Gradually switch to finer grits, finishing with fine-grit sandpaper for a smooth surface. Focus on corners and edges to ensure they are smooth and splinter-free. Proper sanding enhances the wood’s appearance and helps paint or stain adhere better.
Fill Any Gaps:
Inspect the door for gaps, cracks, or imperfections. Use wood filler to fill these areas, applying it with a putty knife and smoothing it out. Once dry, sand the filled areas with fine-grit sandpaper to blend them seamlessly with the surrounding wood. This step ensures a uniform, flawless surface.
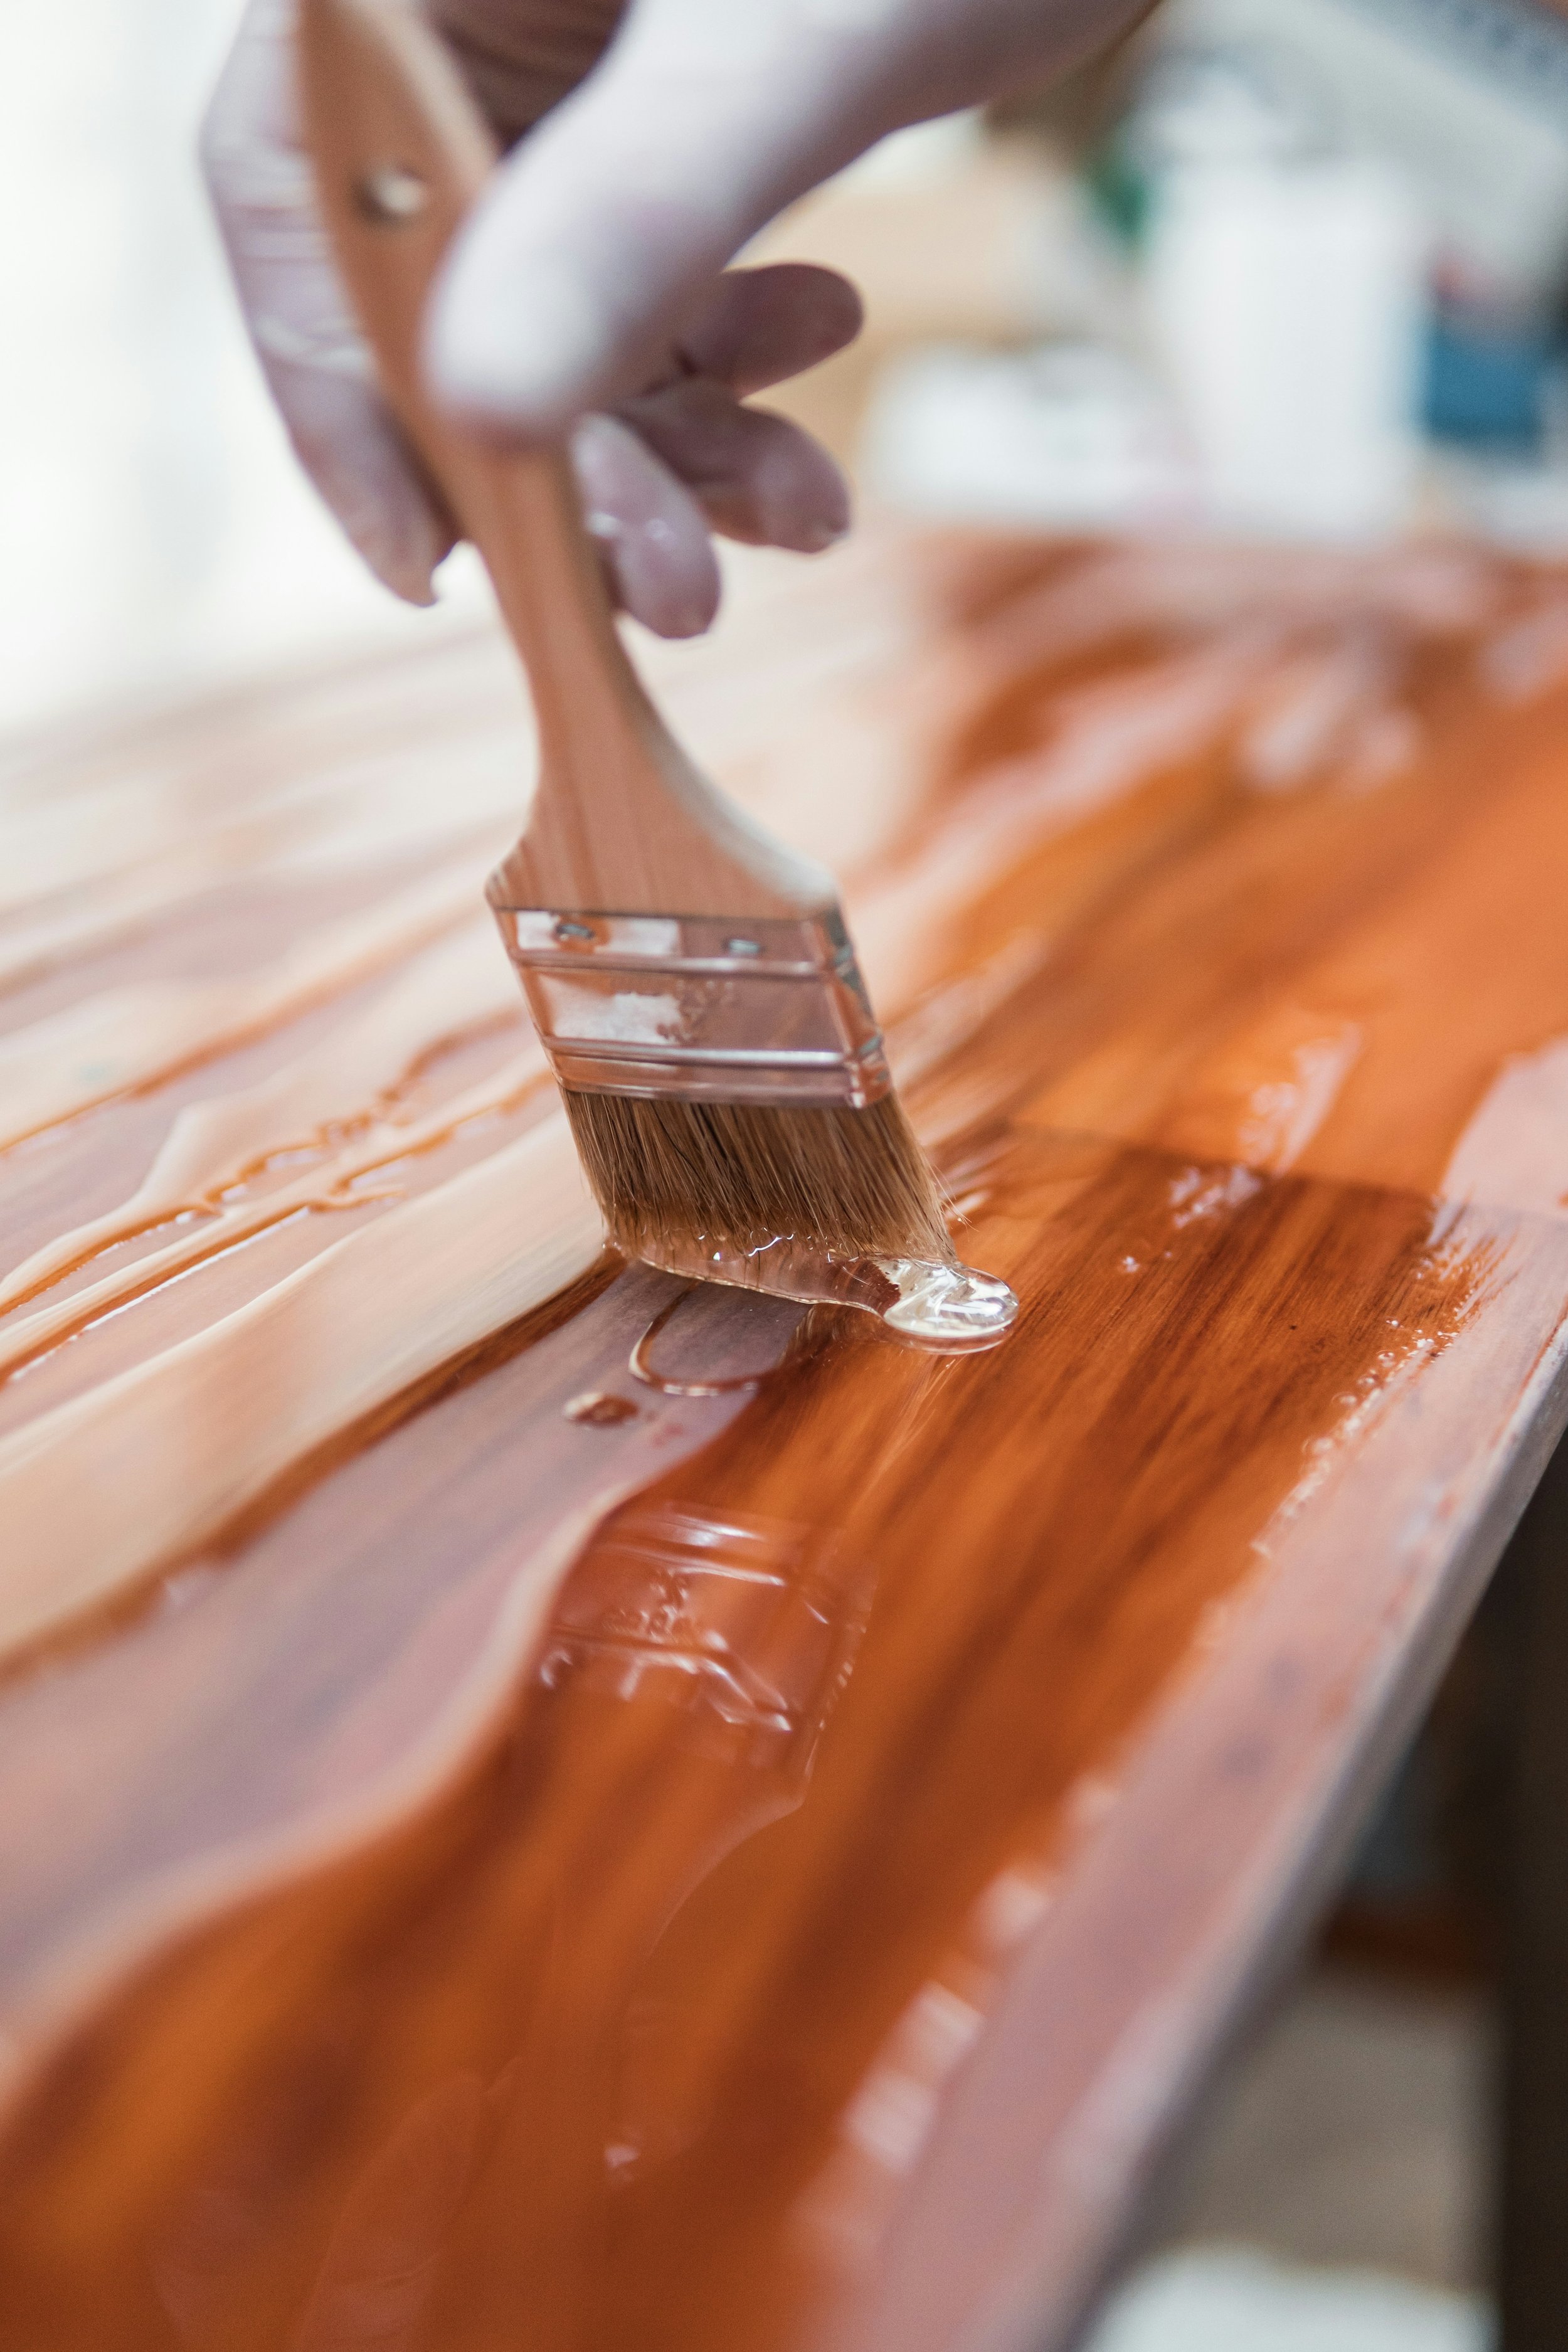
Apply Finish:
Choose a paint or stain that complements your decor and enhances the wood's natural beauty. Apply the finish evenly, following the wood grain, using a suitable brush or roller. Allow the first coat to dry completely before applying additional coats as needed. This process enhances the door's appearance and protects it from wear.
6. Install the Hinges and Hardware
The final step in How to Make Shaker Cabinet Door: Step-by-Step Guide is installing the door.
Attach the Hinges:
Begin by marking hinge positions 2-3 inches from the top and bottom edges of both the door and cabinet frame. Attach the hinges to the door using screws, then secure them to the cabinet frame. Ensure the hinges are level and properly aligned, and tighten the screws securely without over-tightening to avoid wood damage.
Install the Door:
With the hinges attached, lift and hang the door on the cabinet frame. Ensure proper alignment and smooth operation, adjusting the hinges if needed. The door should open and close easily without sticking or rubbing. Proper alignment is crucial for functionality and preventing wear on the hinges and frame.
Add Hardware:
The final step is to install handles or knobs that complement the door's style. Measure and mark the positions, ensuring even spacing and level placement. Drill pilot holes to prevent wood splitting, then attach the hardware with screws. This adds functionality and enhances the door's aesthetic, completing the Shaker-style look.

Tips for a Successful DIY Shaker Cabinet Door
Choose the Right Wood
Wood Selection: Select a high-quality wood that complements your existing cabinets or achieves your desired aesthetic. Popular options include maple for its durability and fine grain, oak for its classic appeal and strength, and cherry for its rich color and elegant look. These woods not only offer excellent quality but also enhance the overall appearance of your cabinetry, ensuring a cohesive and attractive finish.
Precision is Key
Accurate Measurements: Double-check all measurements and cuts to ensure a precise fit. Even a small discrepancy can impact the final result, potentially causing misalignment or gaps. Taking the time to verify each measurement and cut will help achieve a professional and seamless finish, ensuring that all components fit together perfectly and enhance the overall quality of the project.
Take Your Time
Patience Pays Off: Avoid rushing through the process, as this can lead to mistakes and affect the quality of your work. Take your time with each step, particularly when cutting and assembling, to ensure accuracy and precision. Carefully following each step will help you achieve the best results, resulting in a high-quality finish and a durable, professional-looking project.
Conclusion
Creating your own Shaker cabinet doors is a rewarding DIY project that adds a touch of classic elegance to any space. With this How to Make Shaker Cabinet Door: Step-by-Step Guide, you've got all the information you need to get started, from gathering materials and cutting the wood to assembling and finishing the doors. Remember, the key to success lies in careful measurements, precise cuts, and taking your time to ensure everything fits perfectly. So, roll up your sleeves and enjoy the process of crafting beautiful, custom cabinet doors that will elevate your home's style.
Happy crafting!
Frequently Asked Questions
Can I use MDF for the panel?
Yes, MDF (Medium-Density Fiberboard) can be used for the panel. It's a cost-effective option that provides a smooth surface for painting.
Do I need special tools to make Shaker cabinet doors?
While specialized tools like a table saw and router make the process easier, it's possible to make Shaker cabinet doors with basic tools like a circular saw and hand router.
How do I ensure the door is square?
To check if the door is square, measure the diagonals. They should be equal. If not, adjust the clamps until the measurements are the same.
Can I make Shaker cabinet doors without a dado blade?
Yes, you can use a router with a straight bit to create the groove for the panel. This method is a good alternative if you don't have a dado blade.
How do I choose the right finish?
Consider the overall style of your kitchen or room. For a natural look, choose a clear varnish or light stain. For a more modern look, consider painting the doors in a bold color.
Stay up to date with our latest ideas!