A Complete Guide on How to Clean Faucet Heads
Learn how to clean faucet heads effortlessly with our comprehensive guide. Say goodbye to limescale, mineral deposits, and stubborn grime with these easy-to-follow steps.

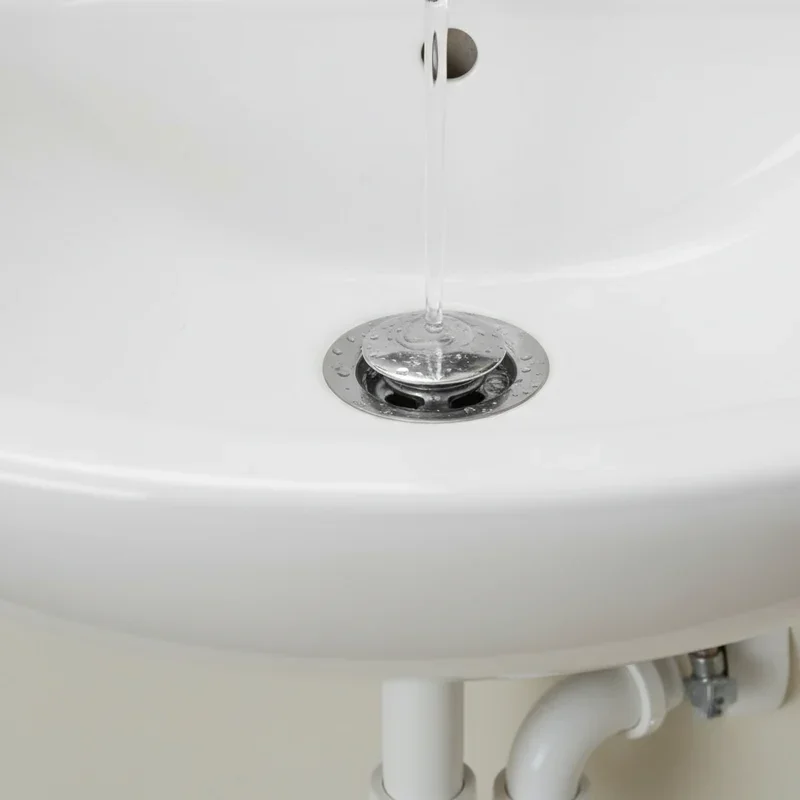
Ever turned on the faucet expecting a smooth flow of water, only to be greeted by a sputtering mess? Or perhaps you've noticed that your water pressure just isn't what it used to be. Before you call a plumber, it might be worth taking a closer look at your faucet head. Over time, faucet heads can become clogged with mineral deposits, limescale, and general grime, leading to poor water flow and an overall lackluster performance. The good news? Learning how to clean a faucet head is a straightforward process that you can easily do yourself with just a few household items.
In this guide, we’ll walk you through the steps to get your faucet head sparkling clean and running like new. Whether you’ve got a modern kitchen faucet, a bathroom sink, or an outdoor spigot, the process is more or less the same. Ready to bring back that pristine water flow? Let’s get started!
Why Faucet Heads Get Dirty
Before diving into the cleaning process, let’s take a moment to understand why faucet heads get dirty in the first place. It’s not just about aesthetics—there’s actually a lot going on beneath the surface.
Common Causes of Dirty Faucet Heads
Mineral Deposits: If you live in an area with hard water, your faucet head is likely to accumulate calcium, magnesium, and other mineral deposits over time. These deposits can clog the tiny holes in the aerator, reducing water flow.
Limescale: Similar to mineral deposits, limescale is a hard, chalky buildup that forms in areas with hard water. It’s particularly stubborn and can cause your faucet head to look dull and feel rough to the touch.
General Grime: Let’s face it—faucets get a lot of use. Over time, dirt, soap scum, and even bacteria can build up, leading to unsightly grime and potentially affecting the quality of your water.
Tools You’ll Need
Cleaning a faucet head doesn’t require any fancy tools or expensive cleaners. In fact, you probably have everything you need right at home. Here’s a list of what you’ll need:
White Vinegar: The ultimate natural cleaner, white vinegar is perfect for breaking down mineral deposits and limescale.
Plastic Bag: A small sandwich bag or a freezer bag will work just fine.
Rubber Band or Twist Tie: To secure the plastic bag around the faucet head.
Toothbrush: An old toothbrush is great for scrubbing away stubborn grime.
Needle or Pin: For clearing out any remaining debris from the aerator holes.
Microfiber Cloth: For polishing the faucet head and giving it a nice shine.

Step-by-Step Guide: How to Clean Faucet Heads
Now that you’ve got your tools ready, let’s get down to business. Follow these simple steps to clean your faucet head and restore it to its former glory.
1. Inspect the Faucet Head
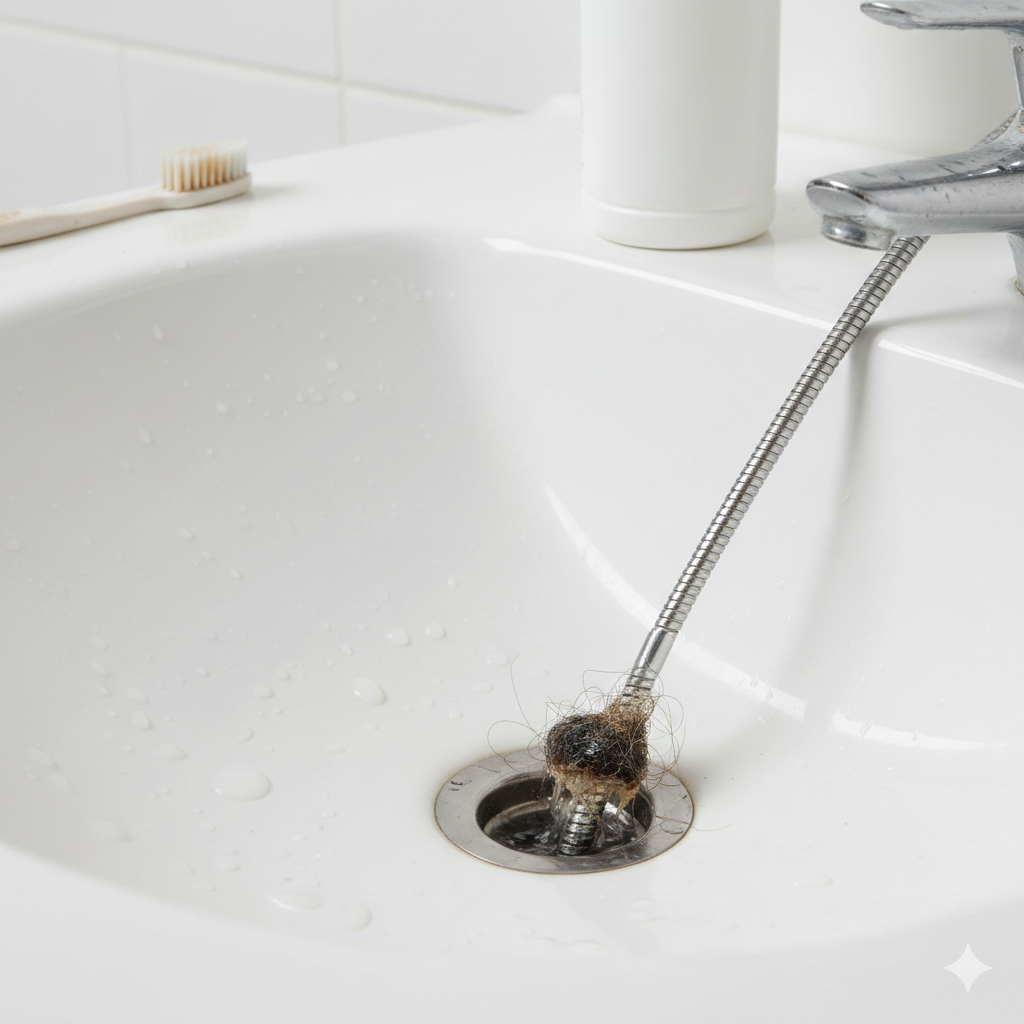
Before starting your cleaning, closely inspect the faucet head for visible limescale or mineral deposits, as these are the areas where you should focus your efforts. Also, check the water flow; if it's uneven or weak, the aerator holes are likely clogged. Identifying these issues early will help you target the problem areas effectively, ensuring a thorough cleaning. Addressing both visible buildup and clogged aerator holes will restore your faucet’s appearance and improve water flow.
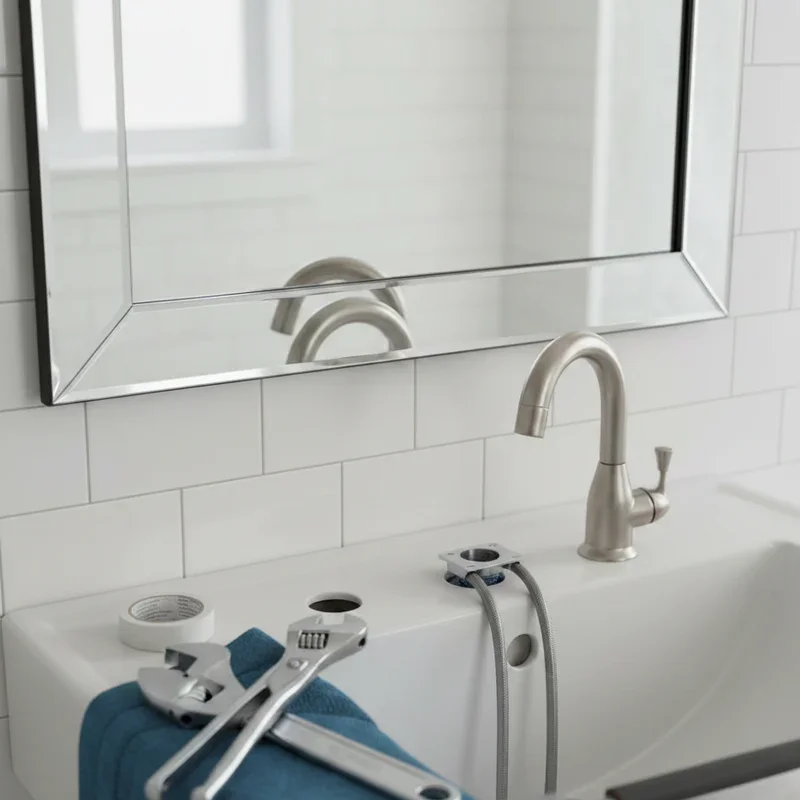
2. Remove the Faucet Head (If Possible)
If your faucet head can be unscrewed, removing it allows for a more thorough cleaning. Simply turn the faucet head counterclockwise to unscrew it. If it’s stuck, wrap a cloth around the base to protect the finish, then use a pair of pliers to gently twist it off. This extra step makes it easier to clean out mineral deposits and limescale from hard-to-reach areas, ensuring that your faucet is free of buildup and functions smoothly.
3. Soak the Faucet Head in Vinegar
Fill a small bowl with white vinegar and submerge the faucet head completely. Allow it to soak for at least 30 minutes, but if the buildup is especially stubborn, consider leaving it overnight. The vinegar's acidity will break down the mineral deposits and limescale, loosening them for easier removal. This natural cleaning method effectively dissolves buildup, restoring the faucet head's functionality and improving water flow without the need for harsh chemicals. After soaking, rinse and scrub gently to remove any remaining residue.
4. Scrub Away the Grime
After soaking the faucet head, use an old toothbrush to scrub it thoroughly, focusing on the aerator holes. The vinegar should have loosened the buildup, making it easier to remove with minimal effort. If stubborn grime remains, dip the toothbrush in vinegar for an extra boost in cleaning power. This detailed scrubbing ensures that all mineral deposits and limescale are effectively removed, restoring the faucet head's performance and ensuring a smooth, even water flow.
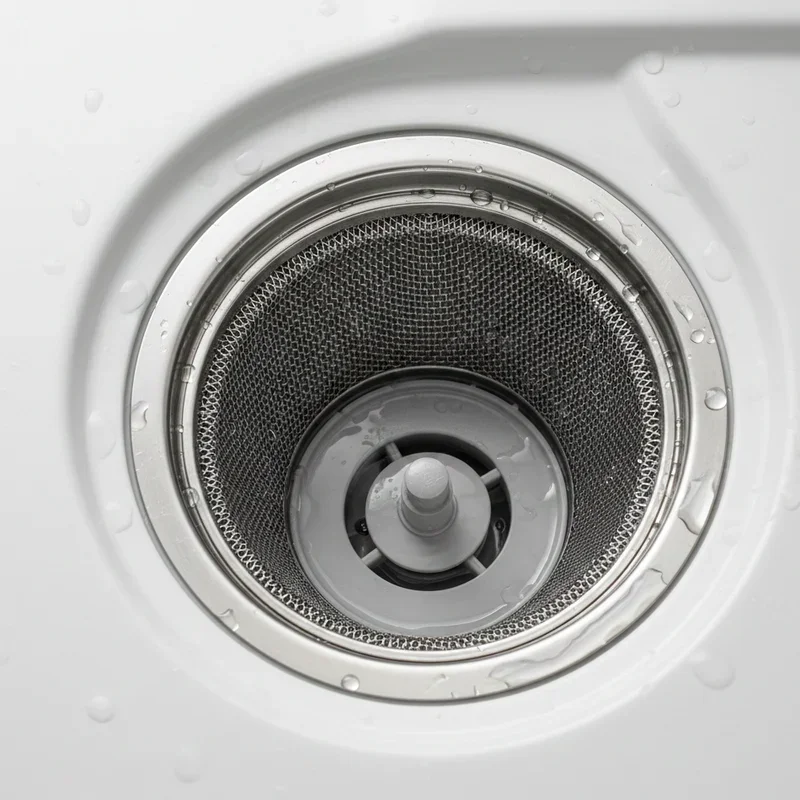
5. Clear the Aerator Holes
Even after soaking and scrubbing, some debris might still be lodged in the aerator holes. Use a needle or pin to carefully clear out any remaining gunk. Work gently to avoid damaging the small holes, ensuring you don’t scratch or enlarge them. This final step is crucial for thoroughly cleaning the aerator, allowing for optimal water flow. By meticulously removing all debris, you help restore the faucet's full functionality, ensuring smooth and even water pressure.
6. Reattach the Faucet Head
Once the faucet head is clean and free of debris, it's time to reattach it. Screw it back onto the faucet by turning it clockwise until it’s snug. Be careful not to overtighten, as this can damage the threads or make future removal difficult. A snug fit ensures a secure attachment without risking harm to the faucet. After reattaching, test the water flow to confirm that the cleaning was successful and that the faucet functions smoothly.
7. Flush the Faucet
Before using the faucet, run the water for a few minutes to flush out any remaining vinegar or debris. This step helps clear out any tiny particles that might still be lodged in the aerator holes, ensuring a clean and unobstructed water flow. Letting the water run also helps remove any lingering vinegar scent. By thoroughly flushing the faucet, you ensure that your cleaning efforts have left the fixture in optimal condition, ready for regular use.
8. Polish the Faucet Head
Finally, give the faucet head a thorough polish using a microfiber cloth. This step removes any water spots and fingerprints, leaving the faucet head looking shiny and new. The soft texture of the microfiber cloth ensures a streak-free finish without scratching the surface. Polishing not only enhances the appearance of the faucet but also adds a protective layer, helping to maintain its cleanliness and shine longer. A quick polish is the perfect finishing touch to your faucet cleaning process.
Tips for Keeping Your Faucet Head Clean
Now that you know how to clean a faucet head, here are some tips to keep it in tip-top shape:
Regular Maintenance: To prevent buildup, clean your faucet head every few months, especially if you live in an area with hard water.
Use a Water Softener: If hard water is a persistent problem, consider installing a water softener to reduce mineral deposits.
Wipe Down After Use: After using the faucet, take a moment to wipe it down with a cloth. This will prevent water spots and reduce the chances of limescale buildup.
Conclusion
Keeping your faucet head clean is one of those small maintenance tasks that can make a big difference in your day-to-day life. By following this guide on how to clean a faucet head, you’ll ensure a strong, steady flow of water every time you turn on the tap. Plus, a clean faucet head just looks better—no more unsightly limescale or grime to spoil the appearance of your sink. With regular cleaning and a little care, your faucet head will stay in great shape for years to come. So go ahead, give it a try, and enjoy the satisfaction of a job well done!
Frequently Asked Questions
1. Can I use other cleaning agents besides vinegar?
Yes, you can use lemon juice, baking soda, or a commercial descaler if you prefer. However, vinegar is a natural, eco-friendly option that works effectively on mineral deposits and limescale.
2. What if my faucet head is still clogged after cleaning?
If the water flow is still weak after cleaning, there may be a deeper issue with your plumbing. You might need to check the water pressure or call a plumber for further assistance.
3. How often should I clean my faucet head?
It’s a good idea to clean your faucet head every three to six months, depending on the hardness of your water and how often you use the faucet.
4. Is it safe to use vinegar on all types of faucet finishes?
Vinegar is generally safe for most faucet finishes, but if you have a special coating or delicate material, it’s best to check the manufacturer’s instructions or test a small area first.
5. Can I clean my showerhead the same way?
Absolutely! The process for cleaning a showerhead is very similar to cleaning a faucet head. Just follow the same steps, and you’ll have a sparkling clean showerhead in no time.
Stay up to date with our latest ideas!