How to Fix Basement Leaks Where Wall Meets Floor
Discover our step-by-step guide on How to Fix Basement Leaks Where Wall Meets Floor. Learn practical tips, expert tricks, and troubleshooting FAQs to keep your basement dry and damage-free!
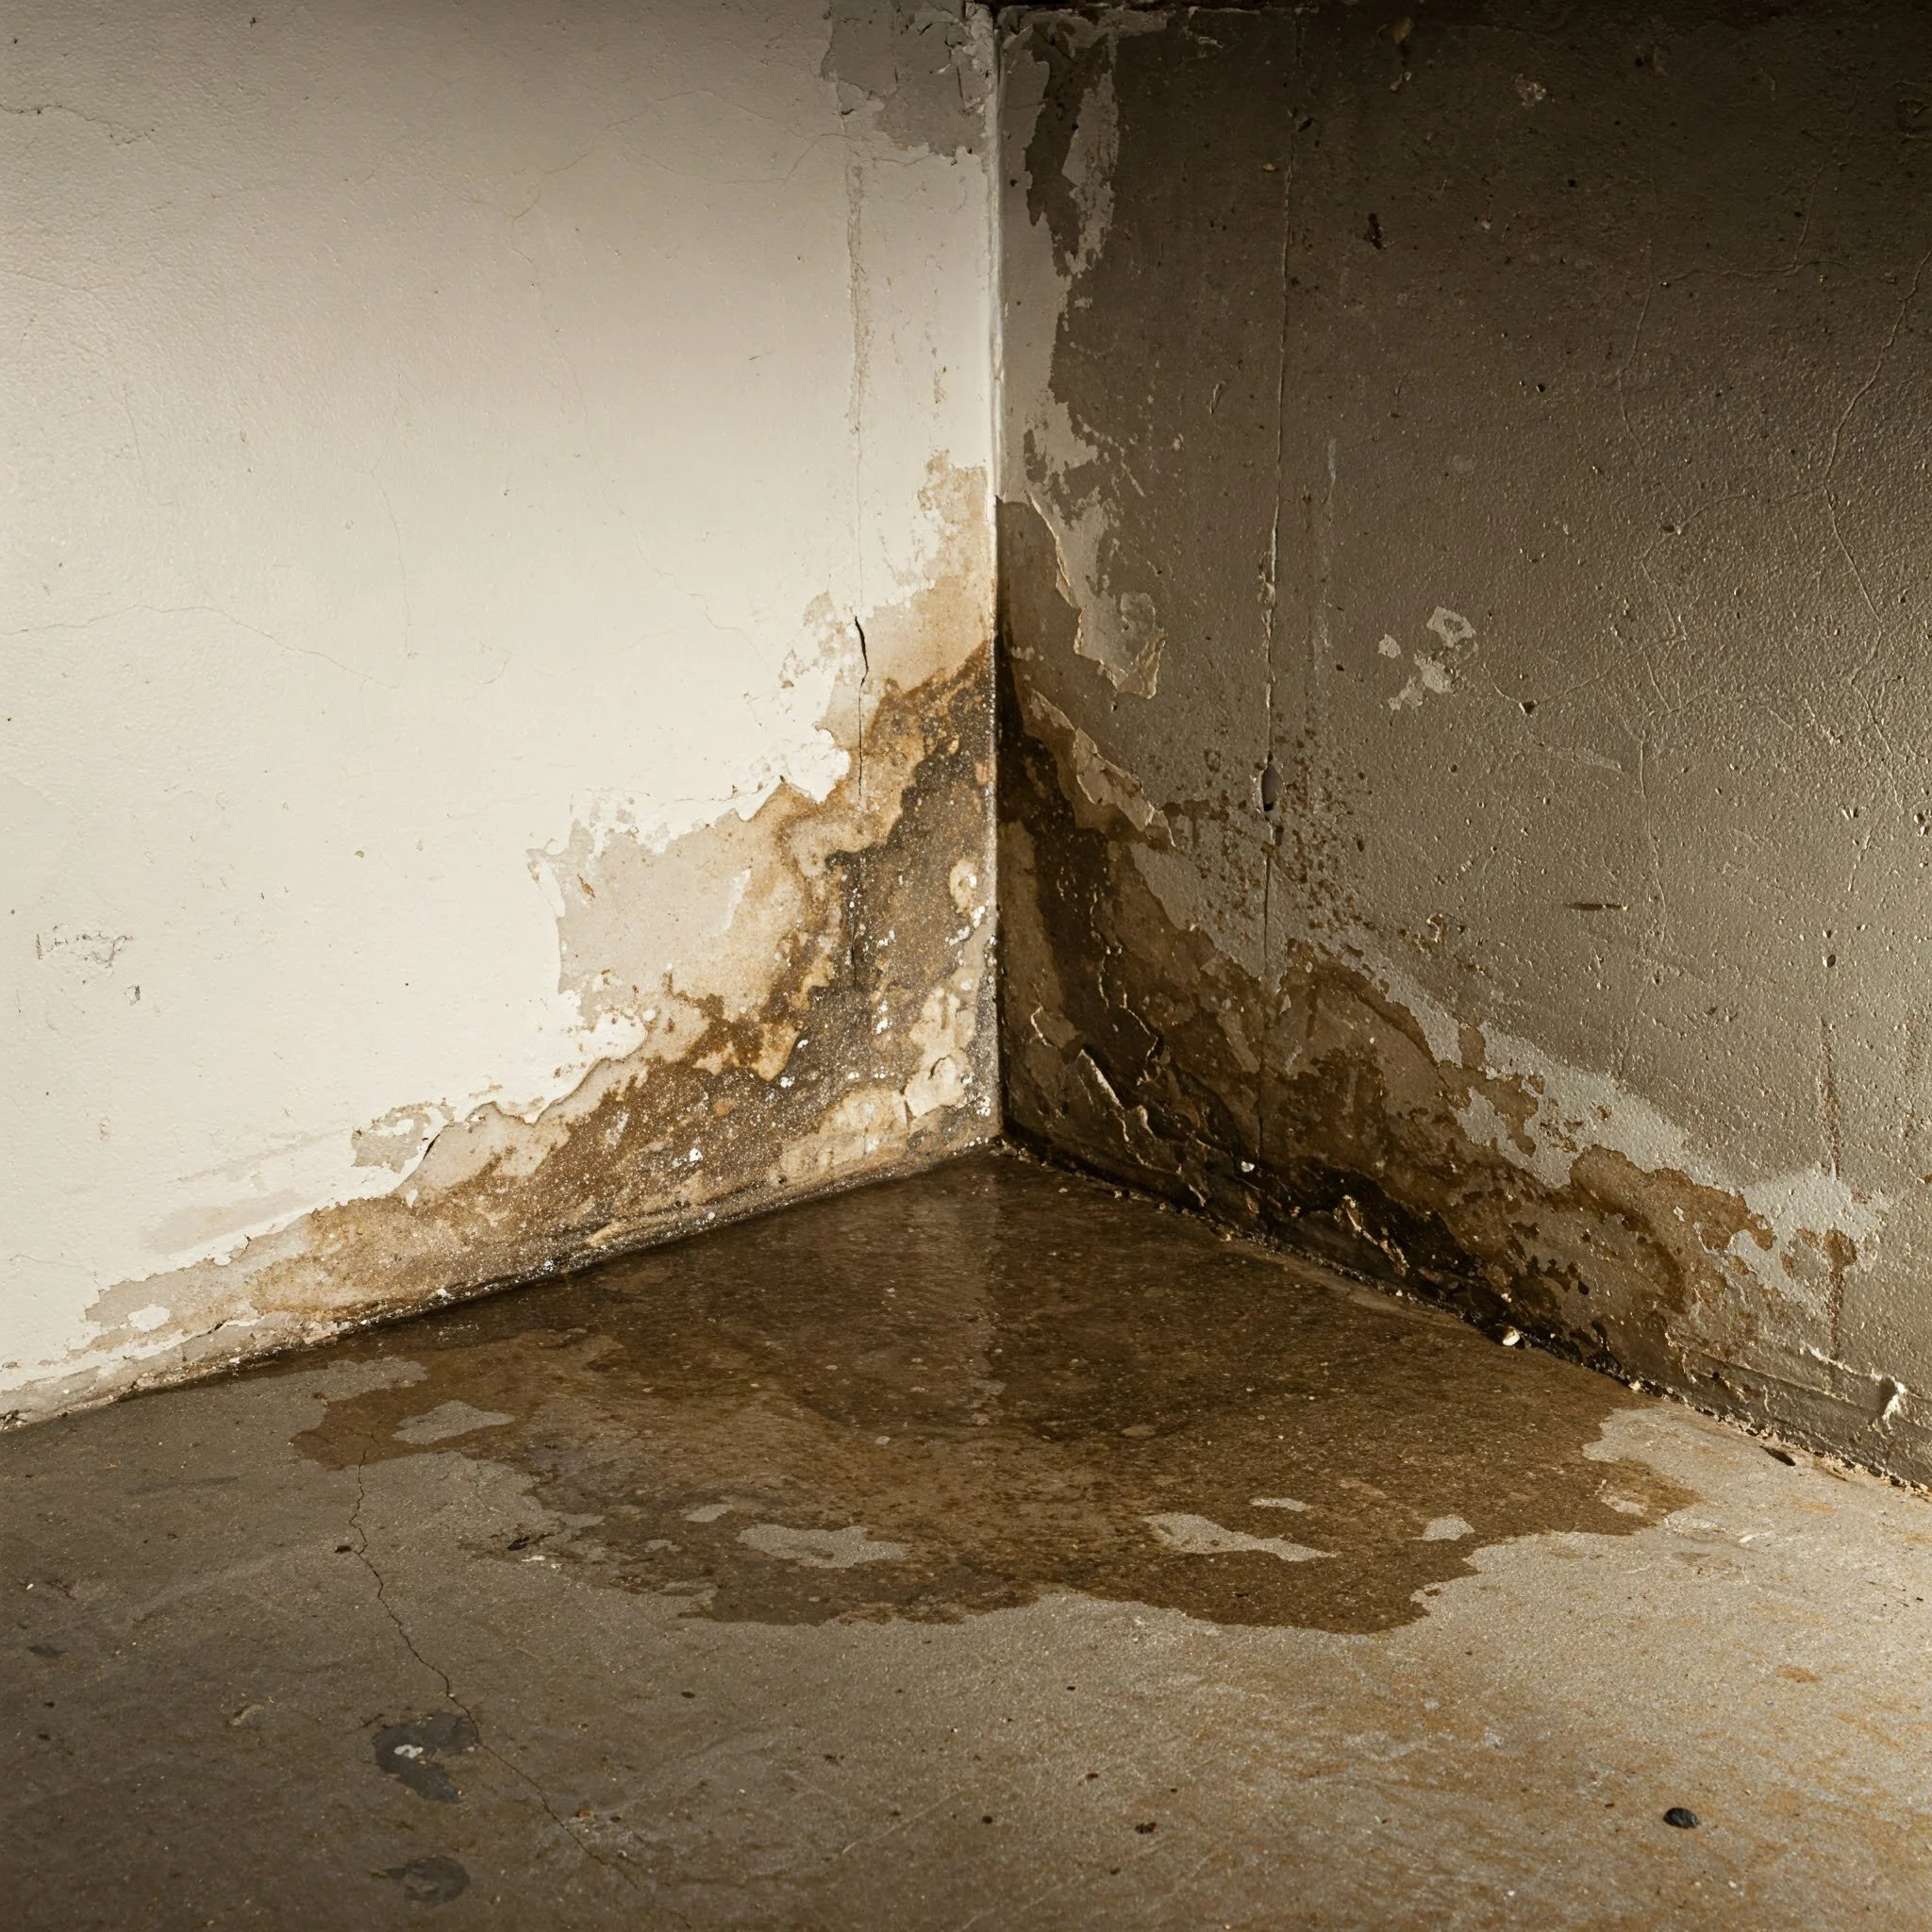
Ever had one of those days when everything just seems to be going haywire? Imagine coming home after a long day only to find your basement showing signs of water intrusion where the wall meets the floor—talk about a nightmare! Basement leaks are more than just a damp inconvenience; they can be a precursor to structural damage and mold problems if left unchecked. In this comprehensive guide, we're diving headfirst into the world of DIY repairs with a focus on How to Fix Basement Leaks Where Wall Meets Floor.
Whether you're a DIY novice or a seasoned home improvement buff, you'll find plenty of useful tips, practical steps, and even a few witty insights along the way. We'll walk you through everything from understanding the root causes of these pesky leaks to sealing them up for good. So, grab your tool belt and a cup of your favorite brew, because we're about to turn that soggy basement blues into a story of triumph and dry bliss!
Understanding the Problem
Before you start grabbing your tools and diving in, it's important to grasp what you're really up against. Basement leaks, especially those occurring where the wall meets the floor, can be caused by a variety of factors. Sometimes, it's as simple as a crack in the concrete, while other times it might be the result of poor drainage or even high water pressure from heavy rains.
Common Causes of Basement Leaks
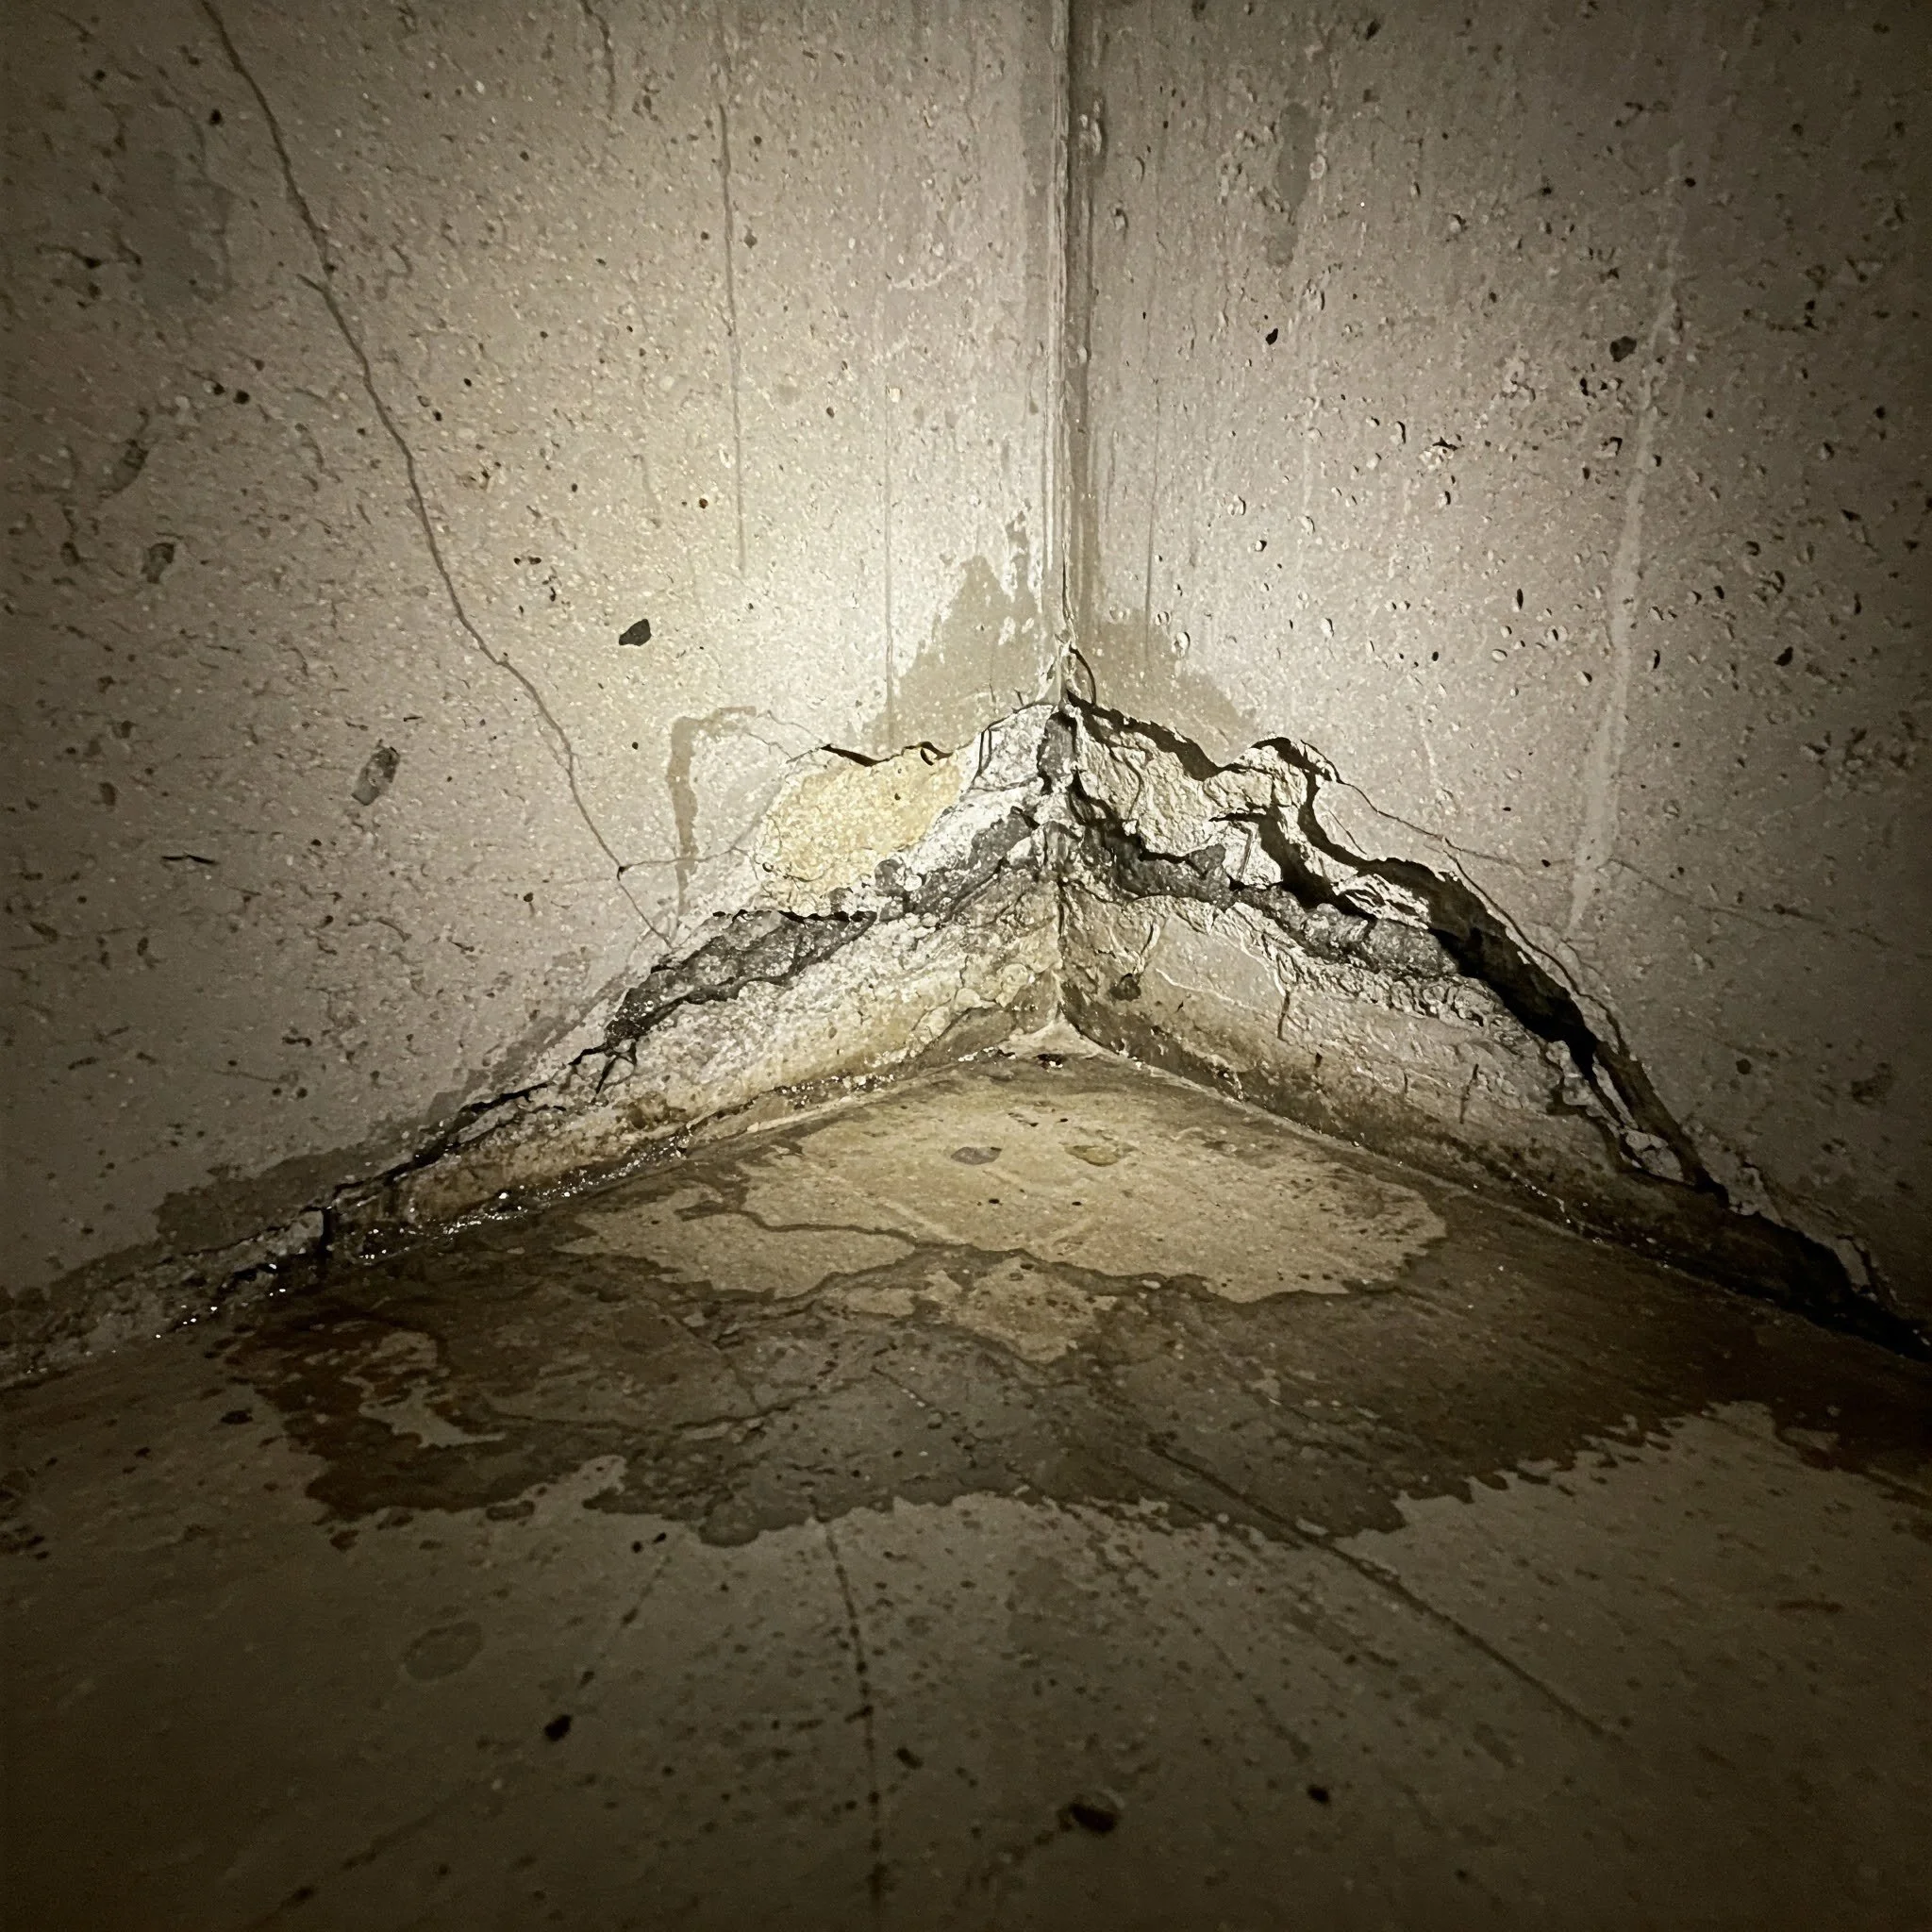
Cracks in the Concrete: Even the sturdiest basements can develop tiny cracks over time due to settling, temperature fluctuations, or water pressure.
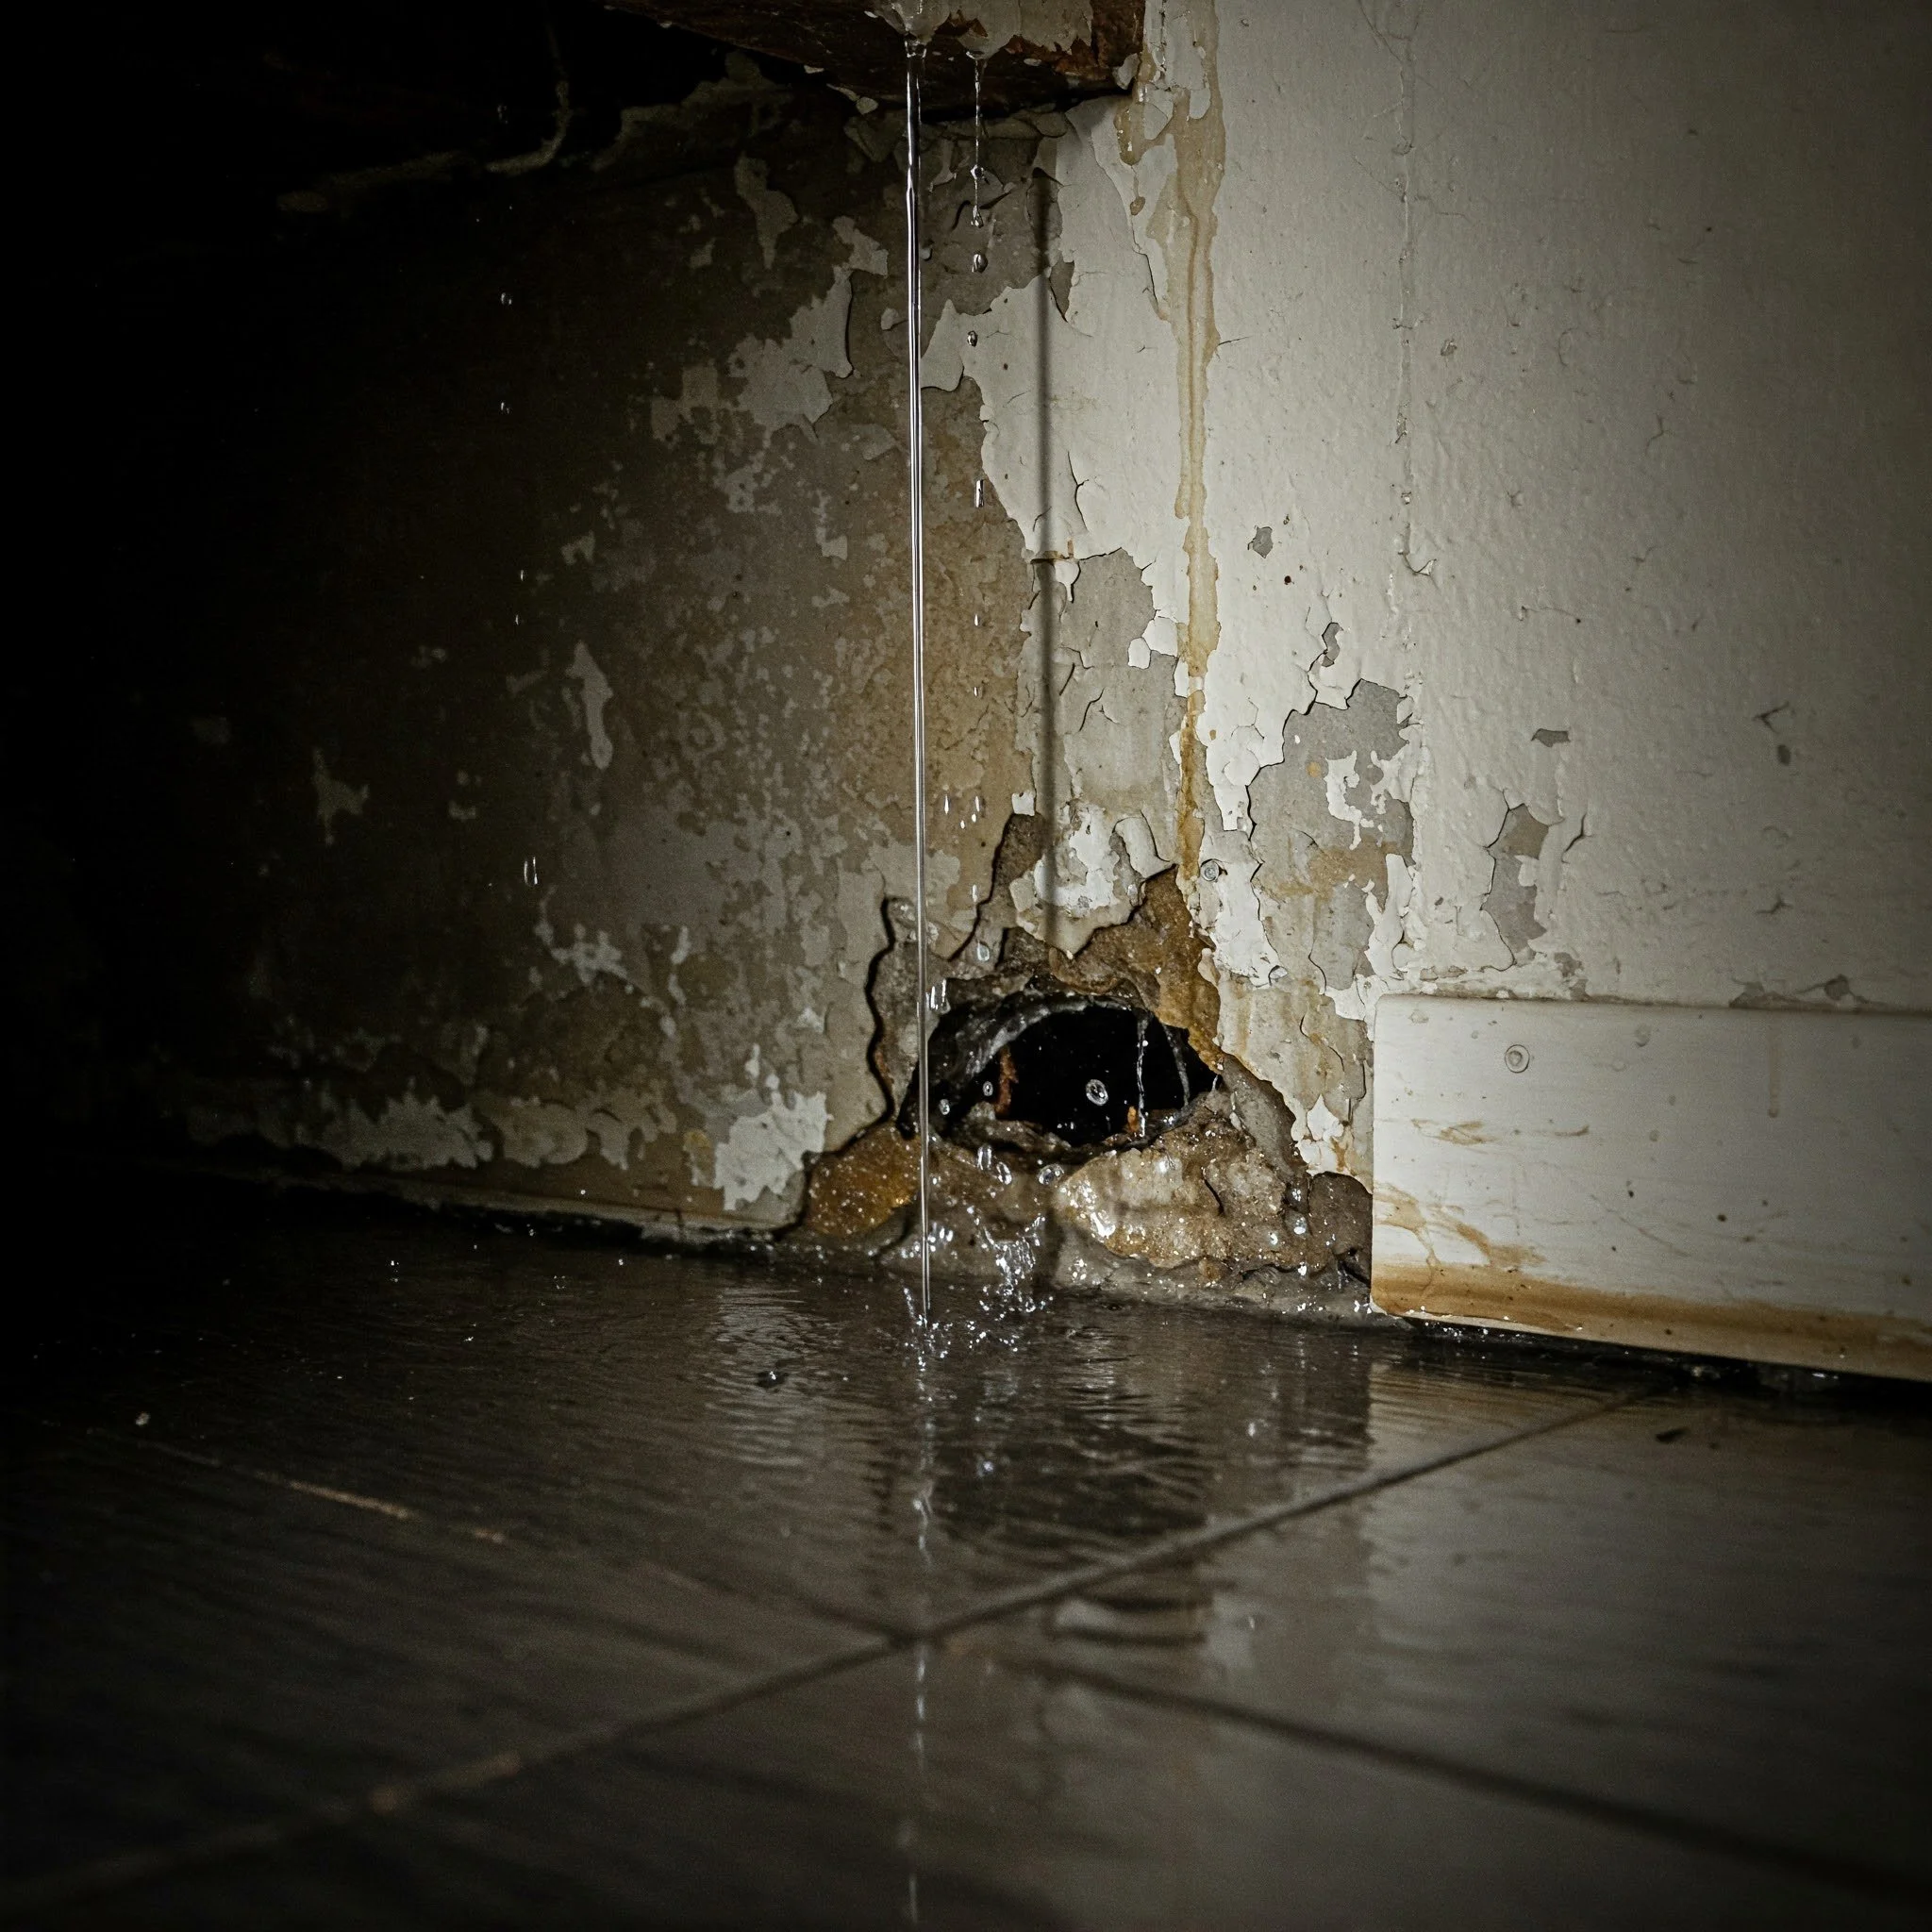
Faulty Waterproofing: If the original waterproofing wasn't up to snuff, water can easily seep in at the seams where walls meet floors.
Poor Drainage: Improper grading or blocked gutters can lead to water pooling around your home's foundation.
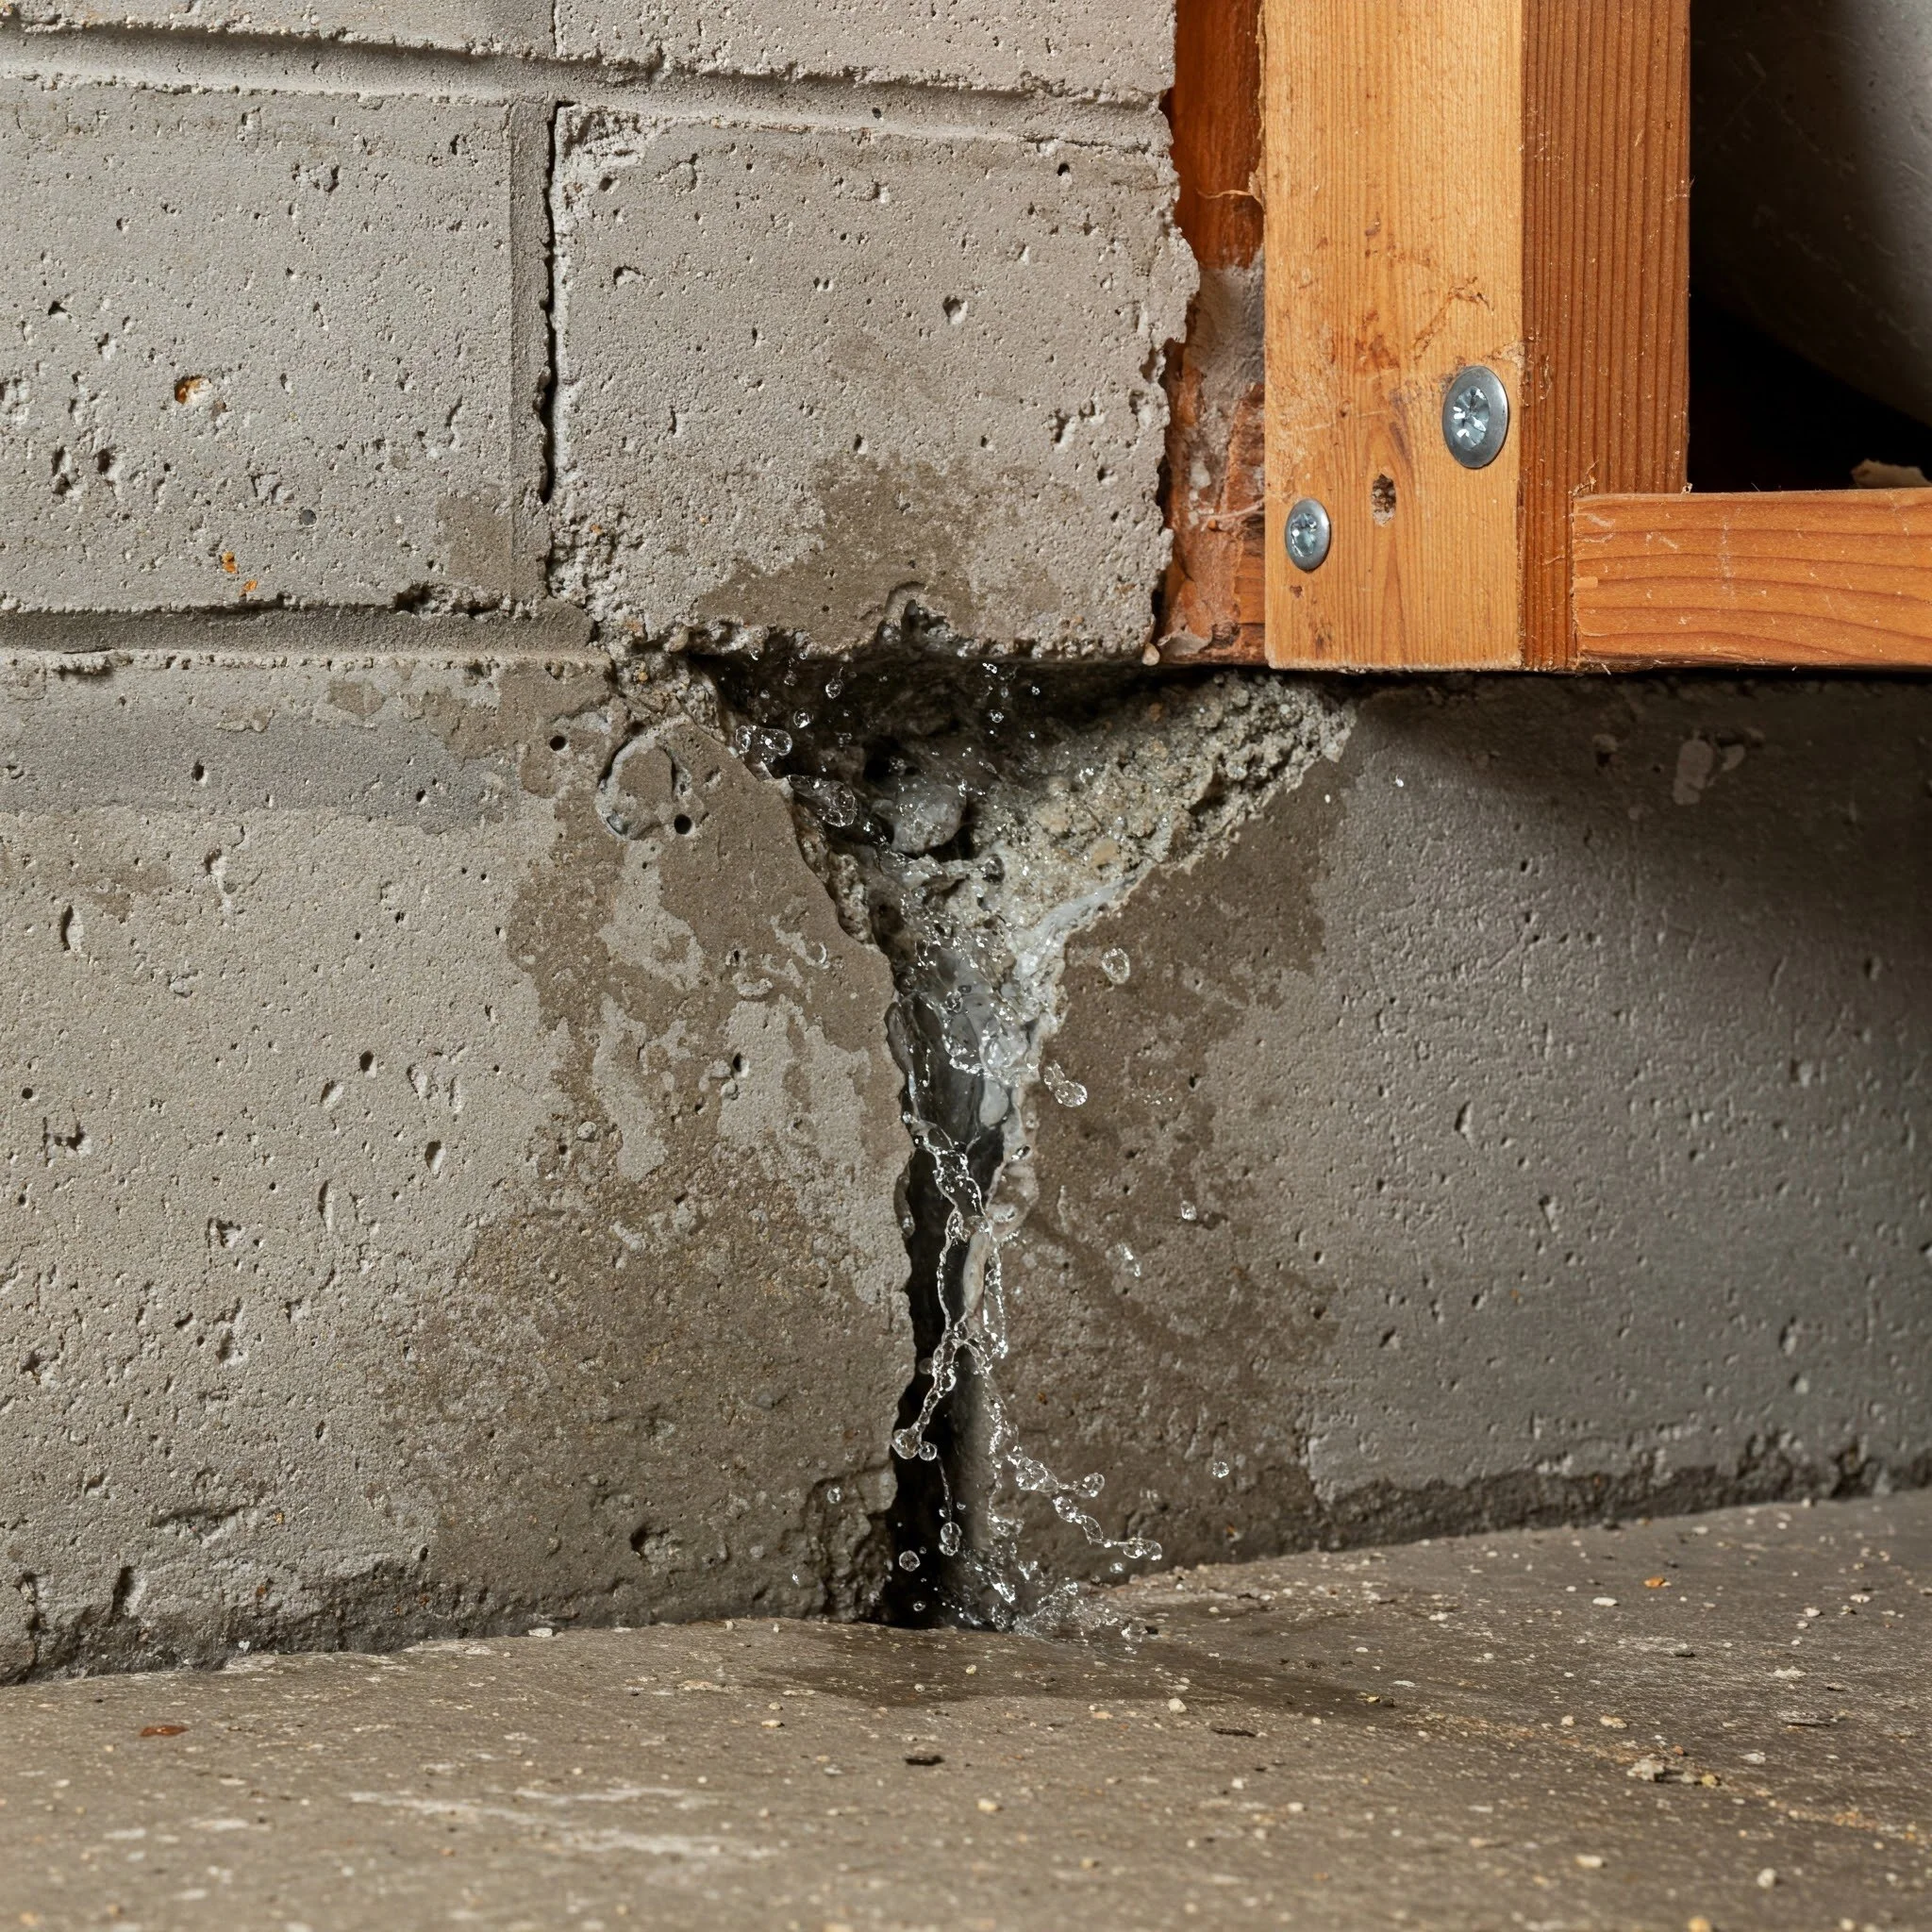
Hydrostatic Pressure: When water accumulates outside the foundation, the increased pressure can force water through any available gap.
Understanding these culprits is the first step in mastering How to Fix Basement Leaks Where Wall Meets Floor. Once you know what's causing the dampness, you can choose the right approach to keep your basement dry.
Essential Tools and Materials
Now, let's talk turkey. The great thing about tackling a project like this is that it doesn't require a high-tech gadget or a master's degree in engineering—just some common sense and a few everyday tools. Here's what you'll need to get started:
Protective Gear: Gloves, goggles, and a dust mask are a must for safety.
Concrete Sealer or Epoxy: Specifically designed for basement leaks.
Hydraulic Cement: Ideal for filling cracks that are actively leaking.
Wire Brush or Scraper: For cleaning up the area before application.
Caulking Gun: If you're using a sealant that requires it.
Trowel or Putty Knife: For smoothing out the cement or epoxy.
Bucket and Water: For mixing the cement if needed.
Vacuum or Broom: To clear away dust and debris.
Flashlight: To help you inspect every nook and cranny in low-light conditions.
With these tools in your arsenal, you'll be more than ready to tackle the challenge head-on and learn How to Fix Basement Leaks Where Wall Meets Floor like a pro.
Step-by-Step Guide: How to Fix Basement Leaks Where Wall Meets Floor
Ready to get those hands dirty? Follow these detailed steps to ensure your basement stays as dry as a bone.
Step 1: Assess and Prepare the Area
Before you even think about applying any sealant, you need to take a good, hard look at the area.
Inspect for Cracks and Gaps:
Use a flashlight to identify every crack where the wall meets the floor.
Mark the problem areas with a pencil for easy reference.
Clean the Surface Thoroughly:
Sweep away any dirt, dust, or debris using a vacuum or broom.
Use a wire brush or scraper to remove any loose material.
If the area is damp, let it dry out completely before moving on. Remember, moisture can ruin the adhesion of your repair material!
Ensure Adequate Ventilation:
Open windows or use fans to circulate air and reduce humidity.
By prepping properly, you're setting yourself up for success—because, as they say, a job half done is a job poorly done.
Step 2: Choose the Right Repair Material
The next step is all about materials. Your choice here can make or break the repair job.
Hydraulic Cement:
Perfect for cracks that are actively leaking. It hardens quickly and is water-resistant, making it ideal for stop-gap fixes.Concrete Sealers/Epoxies:
These are great for sealing minor cracks and creating a waterproof barrier over a larger area.
Tip: For severe leaks, consider using a combination of hydraulic cement to fill the crack, followed by an epoxy or sealer for added protection.
Step 3: Apply the Repair Material
Now comes the fun part—applying the fix! Follow these steps carefully to ensure a durable, long-lasting repair.
Using Hydraulic Cement:
Mix the Cement:
Follow the manufacturer's instructions carefully. Mix it in a bucket with water until you get a thick, workable paste.
Apply the Cement:
Using a trowel or putty knife, push the cement into the crack with firm pressure.
Smooth out the surface to make sure there are no air pockets.
Allow to Cure:
Give the cement the time it needs to set. This could range from a few minutes to a few hours depending on the product.
Using Concrete Sealers/Epoxies:
Prep the Surface:
Make sure the area is completely dry and free from loose debris.
Apply the Sealer:
Use a caulking gun or brush to apply an even layer over the crack.
Ensure the entire gap is covered for a seamless, water-resistant finish.
Multiple Coats:
For extra protection, apply a second coat once the first has dried according to the product instructions.
Step 4: Inspect and Reinforce
Once your repair material has cured, it's time to give everything a once-over.
Check for Gaps:
Run your finger over the surface to ensure there are no remaining gaps or rough patches.
Reapply if Necessary:
If you notice any deficiencies, apply another layer of sealer or cement.
Optional Reinforcement:
For added peace of mind, you might consider installing a waterproof membrane over the repaired area, especially if your basement is prone to heavy moisture.
Step 5: Prevent Future Leaks
Fixing the current leak is just half the battle. To keep your basement dry in the long run, preventive measures are essential.
Prevention Tips:
Improve Drainage:
Make sure gutters and downspouts are directing water away from your foundation.
Grade Your Yard:
The soil around your home should slope away from the foundation to prevent water pooling.
Install a Sump Pump:
If your basement is particularly prone to flooding, a sump pump can be a lifesaver.
Regular Maintenance:
Inspect your basement periodically to catch any new cracks or leaks early.
By taking these steps, you're not just fixing one leak—you're building a barrier against future water woes.
Troubleshooting: When Things Don't Go as Planned
Even the best-laid plans can hit a snag. Here are a few common issues and what to do if you run into trouble:
Common Problems and Their Fixes
Repair Material Not Adhering?
Make sure the surface was completely clean and dry before application.
Sometimes, using a primer recommended by the sealer manufacturer can help with adhesion.
Persistent Moisture:
If water still manages to seep through, you might have to reapply your sealant or consider adding a waterproof membrane.
Check for any additional cracks or areas of weakness that may have been missed.
Cracks Reappearing:
This could indicate underlying structural issues. In such cases, it's wise to consult a professional before attempting further DIY fixes.
Air Pockets in the Cement:
If you notice any voids, carefully reapply the cement, pressing firmly to eliminate trapped air.
Taking a moment to troubleshoot can save you time and frustration, ensuring that your repair holds strong for the long haul.
Expert Tips: Mastering How to Fix Basement Leaks Where Wall Meets Floor
Here are some extra nuggets of wisdom to help you not just fix the leak, but to do it like a seasoned DIY expert:
Patience is a Virtue:
Rushing through any step can lead to subpar results. Let the materials cure properly.
Test in a Small Area First:
If you're using a new product, try it on a small, inconspicuous area to ensure it works as expected.
Keep the Area Clean:
A clean surface is your best friend when it comes to repairs. Dirt and dust are the enemy of adhesion.
Document Your Progress:
Snap some pictures along the way. Not only will this help you track your work, but it might also be handy if you ever need to consult a professional.
Stay Safe:
Always wear your protective gear. A few minutes spent on safety are worth the extra peace of mind.
By embracing these tips, you'll soon be a whiz at How to Fix Basement Leaks Where Wall Meets Floor, turning a potentially daunting task into a manageable—and dare we say, even enjoyable—DIY project.
Final Takeaways
Preparation is Key: A clean, dry surface and the right tools set the stage for a successful repair.
Follow the Steps: From assessing the problem to applying the fix and taking preventive measures, every step is crucial.
Troubleshoot Diligently: Don’t be discouraged by setbacks—each hiccup is a learning opportunity.
Maintain Regularly: Prevention is just as important as repair; keep an eye on your basement to catch issues early.
So, next time you spot that unwelcome water trickling in where the wall meets the floor, you’ll know exactly what to do. Armed with this guide, you can confidently face the challenge head-on and say goodbye to basement blues once and for all. After all, isn’t it time you enjoyed a basement that’s as dry as your favorite pun? Happy fixing!
Conclusion
In wrapping up our deep dive into How to Fix Basement Leaks Where Wall Meets Floor, it's clear that while basement leaks can be a real headache, they're far from insurmountable. With the right tools, a bit of patience, and the steps outlined in this guide, you can transform your damp, leaky basement into a dry, secure space that not only protects your home’s structure but also boosts its overall value.
Remember, a leak fixed today can save you a mountain of repair costs tomorrow. By carefully inspecting the area, choosing the proper materials, and following each step with care, you’re not just patching up a crack—you’re taking charge of your home’s future. Whether you’re a DIY beginner or a seasoned fixer-upper enthusiast, mastering How to Fix Basement Leaks Where Wall Meets Floor is a skill that will serve you well for years to come.
Frequently Asked Questions
Q1: How can I tell if the leak is serious enough to require professional help?
A: If you've tried DIY fixes and the leak persists, or if you notice significant water damage, mold growth, or structural issues, it might be time to call in a pro. Are you noticing any red flags that worry you?
Q2: Is hydraulic cement the best choice for all types of basement leaks?
A: Not necessarily. Hydraulic cement is excellent for active leaks and larger cracks, but for minor gaps, a high-quality concrete sealer or epoxy might be sufficient. Have you considered which option best suits your situation?
Q3: How long should I wait before applying a second coat of sealant or cement?
A: Generally, it's a good idea to wait at least 24 hours before applying a second coat, but always follow the manufacturer's instructions for curing times. Would you like to double-check those guidelines before proceeding?
Q4: Can I prevent basement leaks permanently?
A: While no solution is 100% foolproof, proper maintenance, improved drainage, and occasional professional inspections can significantly reduce the risk of future leaks. Do you think routine maintenance is manageable for your schedule?
Q5: What safety precautions should I take during this repair?
A: Always wear gloves, goggles, and a dust mask. Ensure the area is well-ventilated and that you’re working on a dry, clean surface. Are you fully geared up before starting your repair project?
Stay up to date with our latest ideas!