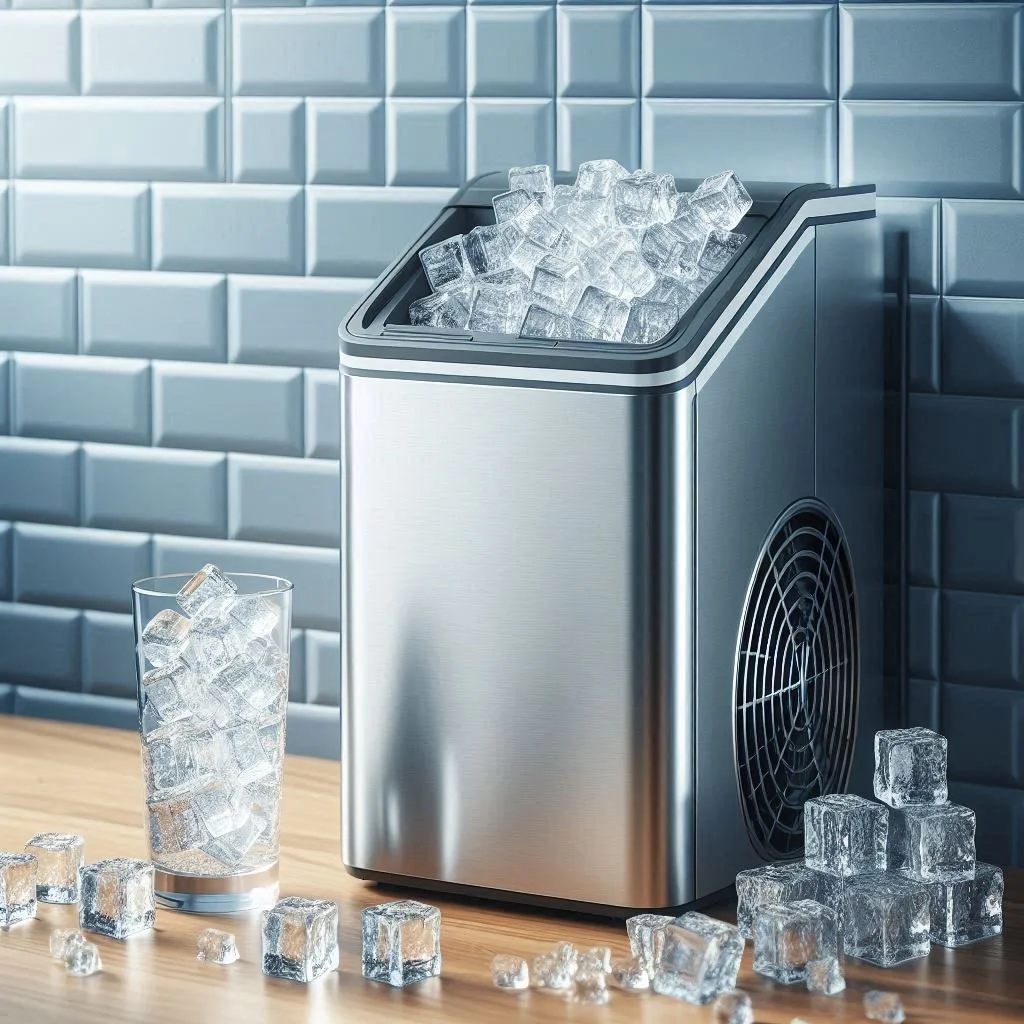
Step-by-Step Guide: How to Clean Countertop Ice Maker
Keep your countertop ice maker in top-notch condition with this comprehensive, step-by-step guide. Learn how to clean and maintain your ice maker for fresh, crystal-clear ice every time.
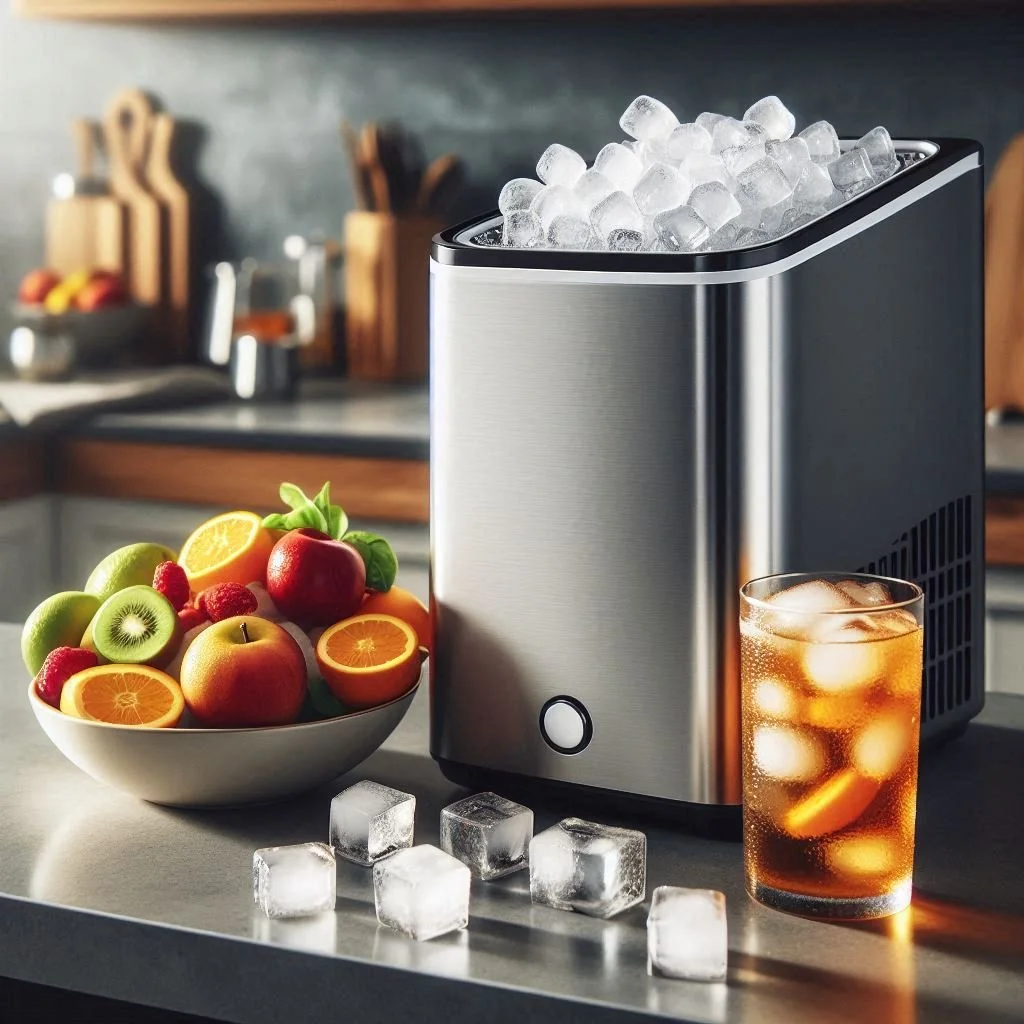
There’s nothing quite like a cool drink on a hot day, and having a countertop ice maker can be a game-changer. But, like any appliance, it needs a little TLC to keep running smoothly. If you’re wondering how to ensure your ice maker stays in tip-top shape, you’ve come to the right place. This step-by-step guide will show you how to clean a countertop ice maker, so you can enjoy fresh, clean ice whenever you need it. Let's dive in!
Why Clean Your Countertop Ice Maker?
Cleaning your countertop ice maker isn’t just about making it look nice; it’s crucial for several reasons:
Health and Safety: Mold, bacteria, and mineral build-up can contaminate your ice, making it unsafe to consume.
Efficiency: A clean machine runs more efficiently, producing ice faster and extending the appliance's lifespan.
Taste: Clean ice makers produce better-tasting ice, free from off-flavors caused by contaminants.
What You'll Need
Before you get started, gather the necessary tools and supplies:
Soft cloth or sponge: For wiping down surfaces.
Warm, soapy water: Gentle dish soap works well.
White vinegar or lemon juice: For descaling and deodorizing.
Toothbrush or small scrub brush: To reach nooks and crannies.
Clean, dry towel: For drying parts after cleaning.
Baking soda (optional): For stubborn stains or odors.
Step-by-Step Guide: How to Clean Countertop Ice Maker
Step 1: Turn Off and Unplug the Ice Maker
First things first: safety! Always turn off and unplug your ice maker before you begin cleaning. This crucial step prevents any risk of electrical shock and ensures you don’t accidentally start the machine while you’re cleaning it. Safety should be your top priority, as ice makers involve both water and electricity, which can be a dangerous combination if handled improperly. Unplugging the unit also protects the appliance from any potential damage caused by cleaning solutions or water entering electrical components. Additionally, it gives you peace of mind knowing that the ice maker is completely powered down, allowing you to focus entirely on the cleaning process without any distractions or hazards. So, before you pick up your cleaning tools, make sure the ice maker is safely turned off and unplugged, ensuring a smooth and safe cleaning experience.
Step 2: Empty the Ice Maker
Remove any remaining ice from the ice basket and discard it. This step is crucial to ensure that no leftover ice interferes with the cleaning process. If your ice maker has a water reservoir, make sure to empty that as well. An empty machine is essential for thorough cleaning, as it allows you to access all areas that may harbor bacteria, mold, or other contaminants. By starting with a completely empty ice maker, you can ensure that every nook and cranny is properly sanitized. This also prevents any old ice or water from mixing with the cleaning solutions, which could dilute their effectiveness. Additionally, removing all ice and water helps you avoid any messes or spills during the cleaning process, keeping your workspace tidy. So, before proceeding with cleaning, make sure your ice maker is completely empty to achieve the best results.
Step 3: Disassemble Removable Parts
Carefully remove all detachable parts, such as the ice basket, water reservoir, and any other removable components from your ice maker. These parts are often the most exposed to water and ice, making them prime spots for bacteria, mold, and mineral buildup. To ensure you don't damage any components, refer to your ice maker’s manual if you’re unsure how to safely remove these parts. The manual will provide detailed instructions specific to your model, ensuring you handle each component correctly. Once removed, you can clean each part thoroughly and separately, allowing for a more effective sanitation process. Detachable parts are designed to be removed for cleaning, so taking the time to do this step properly will help maintain the efficiency and hygiene of your ice maker. By addressing each component individually, you can ensure that all areas are free of contaminants and ready for reassembly after cleaning.
Step 4: Clean the Removable Parts
Wash the detachable parts of your ice maker in warm, soapy water, using a soft cloth or sponge to avoid scratching the surfaces. This gentle approach ensures the longevity of your ice maker's components. For stubborn stains or mineral deposits, use a mixture of vinegar or lemon juice, which are natural and effective cleaning agents. Apply the mixture to the affected areas, allowing it to sit for a few minutes to break down the deposits before scrubbing gently. After cleaning, rinse each part thoroughly with clean water to remove any soap or vinegar residue, ensuring no unwanted flavors or chemicals affect your ice. Finally, dry each component with a clean towel to prevent water spots and ensure that they are completely dry before reassembly. This thorough cleaning routine not only maintains the appearance and functionality of your ice maker but also ensures the ice produced is clean and safe for consumption.
Step 5: Wipe Down the Interior
Using a soft cloth or sponge soaked in warm, soapy water, thoroughly wipe down the interior surfaces of the ice maker. Pay extra attention to areas with visible dirt or build-up, as these can harbor bacteria and affect the quality of your ice. For hard-to-reach spots, employ a small brush or toothbrush, which can effectively dislodge grime from crevices and tight corners. Be meticulous in your cleaning to ensure all surfaces are addressed. After scrubbing, use a cloth dampened with plain water to wipe down the interior again, removing any soap residue. This final rinse is crucial as it ensures that no soap is left behind, which could alter the taste of your ice or leave unwanted chemicals. Ensuring a clean and residue-free interior will keep your ice maker in optimal condition, producing fresh, clean ice every time.
Step 6: Descale the Ice Maker
Mineral build-up from hard water can negatively impact your ice maker's performance and ice quality. To effectively descale the machine, fill the water reservoir with a mixture of equal parts water and white vinegar or lemon juice. This natural solution is excellent for dissolving mineral deposits. Next, initiate a cleaning cycle according to the instructions in your ice maker's manual. The acidic properties of vinegar or lemon juice will help break down and remove the accumulated scale, ensuring your ice maker functions efficiently. Once the cleaning cycle is complete, empty the reservoir and run a few cycles with plain water to rinse out any remaining vinegar or lemon juice. This thorough descaling process will not only enhance your ice maker's performance but also extend its lifespan, ensuring you continue to enjoy clean, fresh ice.
Step 7: Rinse Thoroughly
After completing the descaling cycle, it's crucial to thoroughly rinse out any remaining vinegar or lemon juice to prevent any residual taste in your ice. Begin by emptying the water reservoir of the descaling solution. Refill the reservoir with clean, fresh water and run a full ice-making cycle. This initial rinse will help flush out most of the acidic solution. If the smell or taste of vinegar or lemon juice persists, repeat this process one or two more times, each time using fresh water. Ensuring all traces of the descaling agents are removed will help maintain the purity and quality of your ice. This final step is essential for keeping your ice maker in optimal condition, ready to produce ice that is both clean and free of any unwanted flavors.
Step 8: Clean the Exterior
Don’t forget to clean the outside of your ice maker as well! Using a soft cloth and warm, soapy water, gently wipe down the exterior surfaces of the appliance. This simple step helps keep your ice maker looking sharp and free of any dust, fingerprints, or surface grime that can accumulate over time. Pay special attention to handles, buttons, and other frequently touched areas that can harbor bacteria. For stubborn spots or greasy residues, a bit of white vinegar mixed with water can be an effective cleaner. Once you've thoroughly wiped down the exterior, use a clean, damp cloth to remove any soap residue, and then dry the surface with a towel. Regularly maintaining the exterior of your ice maker not only enhances its appearance but also contributes to a cleaner kitchen environment.
Step 9: Dry and Reassemble
Before reassembling your ice maker, ensure that all cleaned parts are thoroughly dry. Excess moisture can lead to mold growth and potentially affect the machine's performance over time. Use a clean, dry cloth to wipe down each component, paying particular attention to crevices and hard-to-reach areas where water may linger. Allow all parts to air dry completely before proceeding with reassembly. Once dry, refer to your ice maker's manual for guidance on how to correctly reassemble each component. Follow the manufacturer's instructions carefully to ensure proper alignment and functionality of the ice maker. Taking the time to thoroughly dry and reassemble your ice maker will help maintain its efficiency and prolong its lifespan, ensuring you have a reliable source of ice for your beverages whenever you need it.
Step 10: Test the Ice Maker
Once you've reassembled your ice maker, plug it back in, turn it on, and run a test batch of ice. It's important to discard the first batch to ensure that any residual cleaning solution or debris from the cleaning process is flushed out completely. This step helps maintain the cleanliness and purity of the ice produced by your machine. After discarding the initial batch, your ice maker is ready to resume normal operation, providing you with fresh, clean ice cubes for your beverages. Regularly cleaning and maintaining your ice maker in this manner not only ensures optimal performance but also extends its lifespan, allowing you to enjoy reliable ice production whenever you need it.
Preventative Maintenance Tips
Keeping your ice maker clean is an ongoing process. Here are some tips to maintain it between deep cleanings:
Regular Cleaning: Aim to clean your ice maker at least once a month.
Use Filtered Water: This can reduce mineral deposits and improve the taste of your ice.
Empty and Dry: When not in use, empty the ice maker and leave the lid open to allow the interior to dry completely.
Conclusion
Keeping your countertop ice maker clean is essential for producing fresh, tasty ice and maintaining the appliance’s efficiency. By following this step-by-step guide, you can easily ensure your ice maker stays in top-notch condition. Regular cleaning, using the right tools and techniques, and a little preventative maintenance go a long way in extending the life of your appliance. So, the next time you’re ready for an ice-cold drink, you’ll know your ice is as clean and refreshing as possible. Cheers to that!
Frequently Asked Questions
How often should I clean my countertop ice maker?
Ideally, you should clean your ice maker at least once a month. However, if you use it frequently, you might need to clean it more often to prevent build-up and ensure the ice remains fresh.
Can I use bleach to clean my ice maker?
It’s not recommended. Bleach can leave a strong odor and taste that’s hard to remove. White vinegar or lemon juice are safer and more effective alternatives for cleaning and descaling.
What should I do if my ice maker starts producing cloudy ice?
Cloudy ice can result from mineral build-up or impurities in the water. Regular cleaning and using filtered water can help produce clearer ice.
Why does my ice taste funny?
Off-flavors in ice can come from residual food particles, mineral build-up, or using unfiltered water. Thorough cleaning and regular maintenance should improve the taste of your ice.
Can I run the cleaning cycle without vinegar or lemon juice?
While plain water can rinse out some debris, vinegar or lemon juice is more effective for removing mineral deposits and odors. It’s best to use these natural cleaners for a thorough clean.
Stay up to date with our latest ideas!