How to Stain Wood Floors: Step-by-Step Guide
Learn how to stain wood floors with this easy-to-follow, step-by-step guide! From preparation to finishing touches, we'll walk you through everything you need to know to achieve a beautiful, professional-looking floor.
If you’re looking to bring new life to your old wood floors or simply change their look, staining your wood floors can do wonders. But how do you go about it? Well, staining wood floors may seem intimidating at first, but with the right tools, technique, and a bit of patience, it’s totally doable—even if you’re a DIY novice. In this guide, we’ll cover everything from preparation to finishing, making sure you get that perfect finish that will make your floor the highlight of your home.
So, are you ready to tackle this project? Let’s dive into the how to stain wood floors step-by-step guide, ensuring you’ll walk away with floor-staining confidence.
How to Stain Wood Floors: Step-by-Step Guide
Staining wood floors isn’t just about slapping on some stain and calling it a day. There’s a little bit of artistry involved, and knowing the right steps can help you avoid common mistakes. This guide will show you each step of the way to get flawless results!
1. Gather Your Materials
Before you even think about grabbing a stain brush, make sure you’ve got everything you need. Here’s what you’ll need for the project:
Wood stain: Choose the right shade for your wood type. Keep in mind that the color of your wood will affect the final result.
Sandpaper or sanding machine: To prep the surface and make sure it’s smooth.
Wood filler (if necessary): To fix any imperfections or holes in the floor.
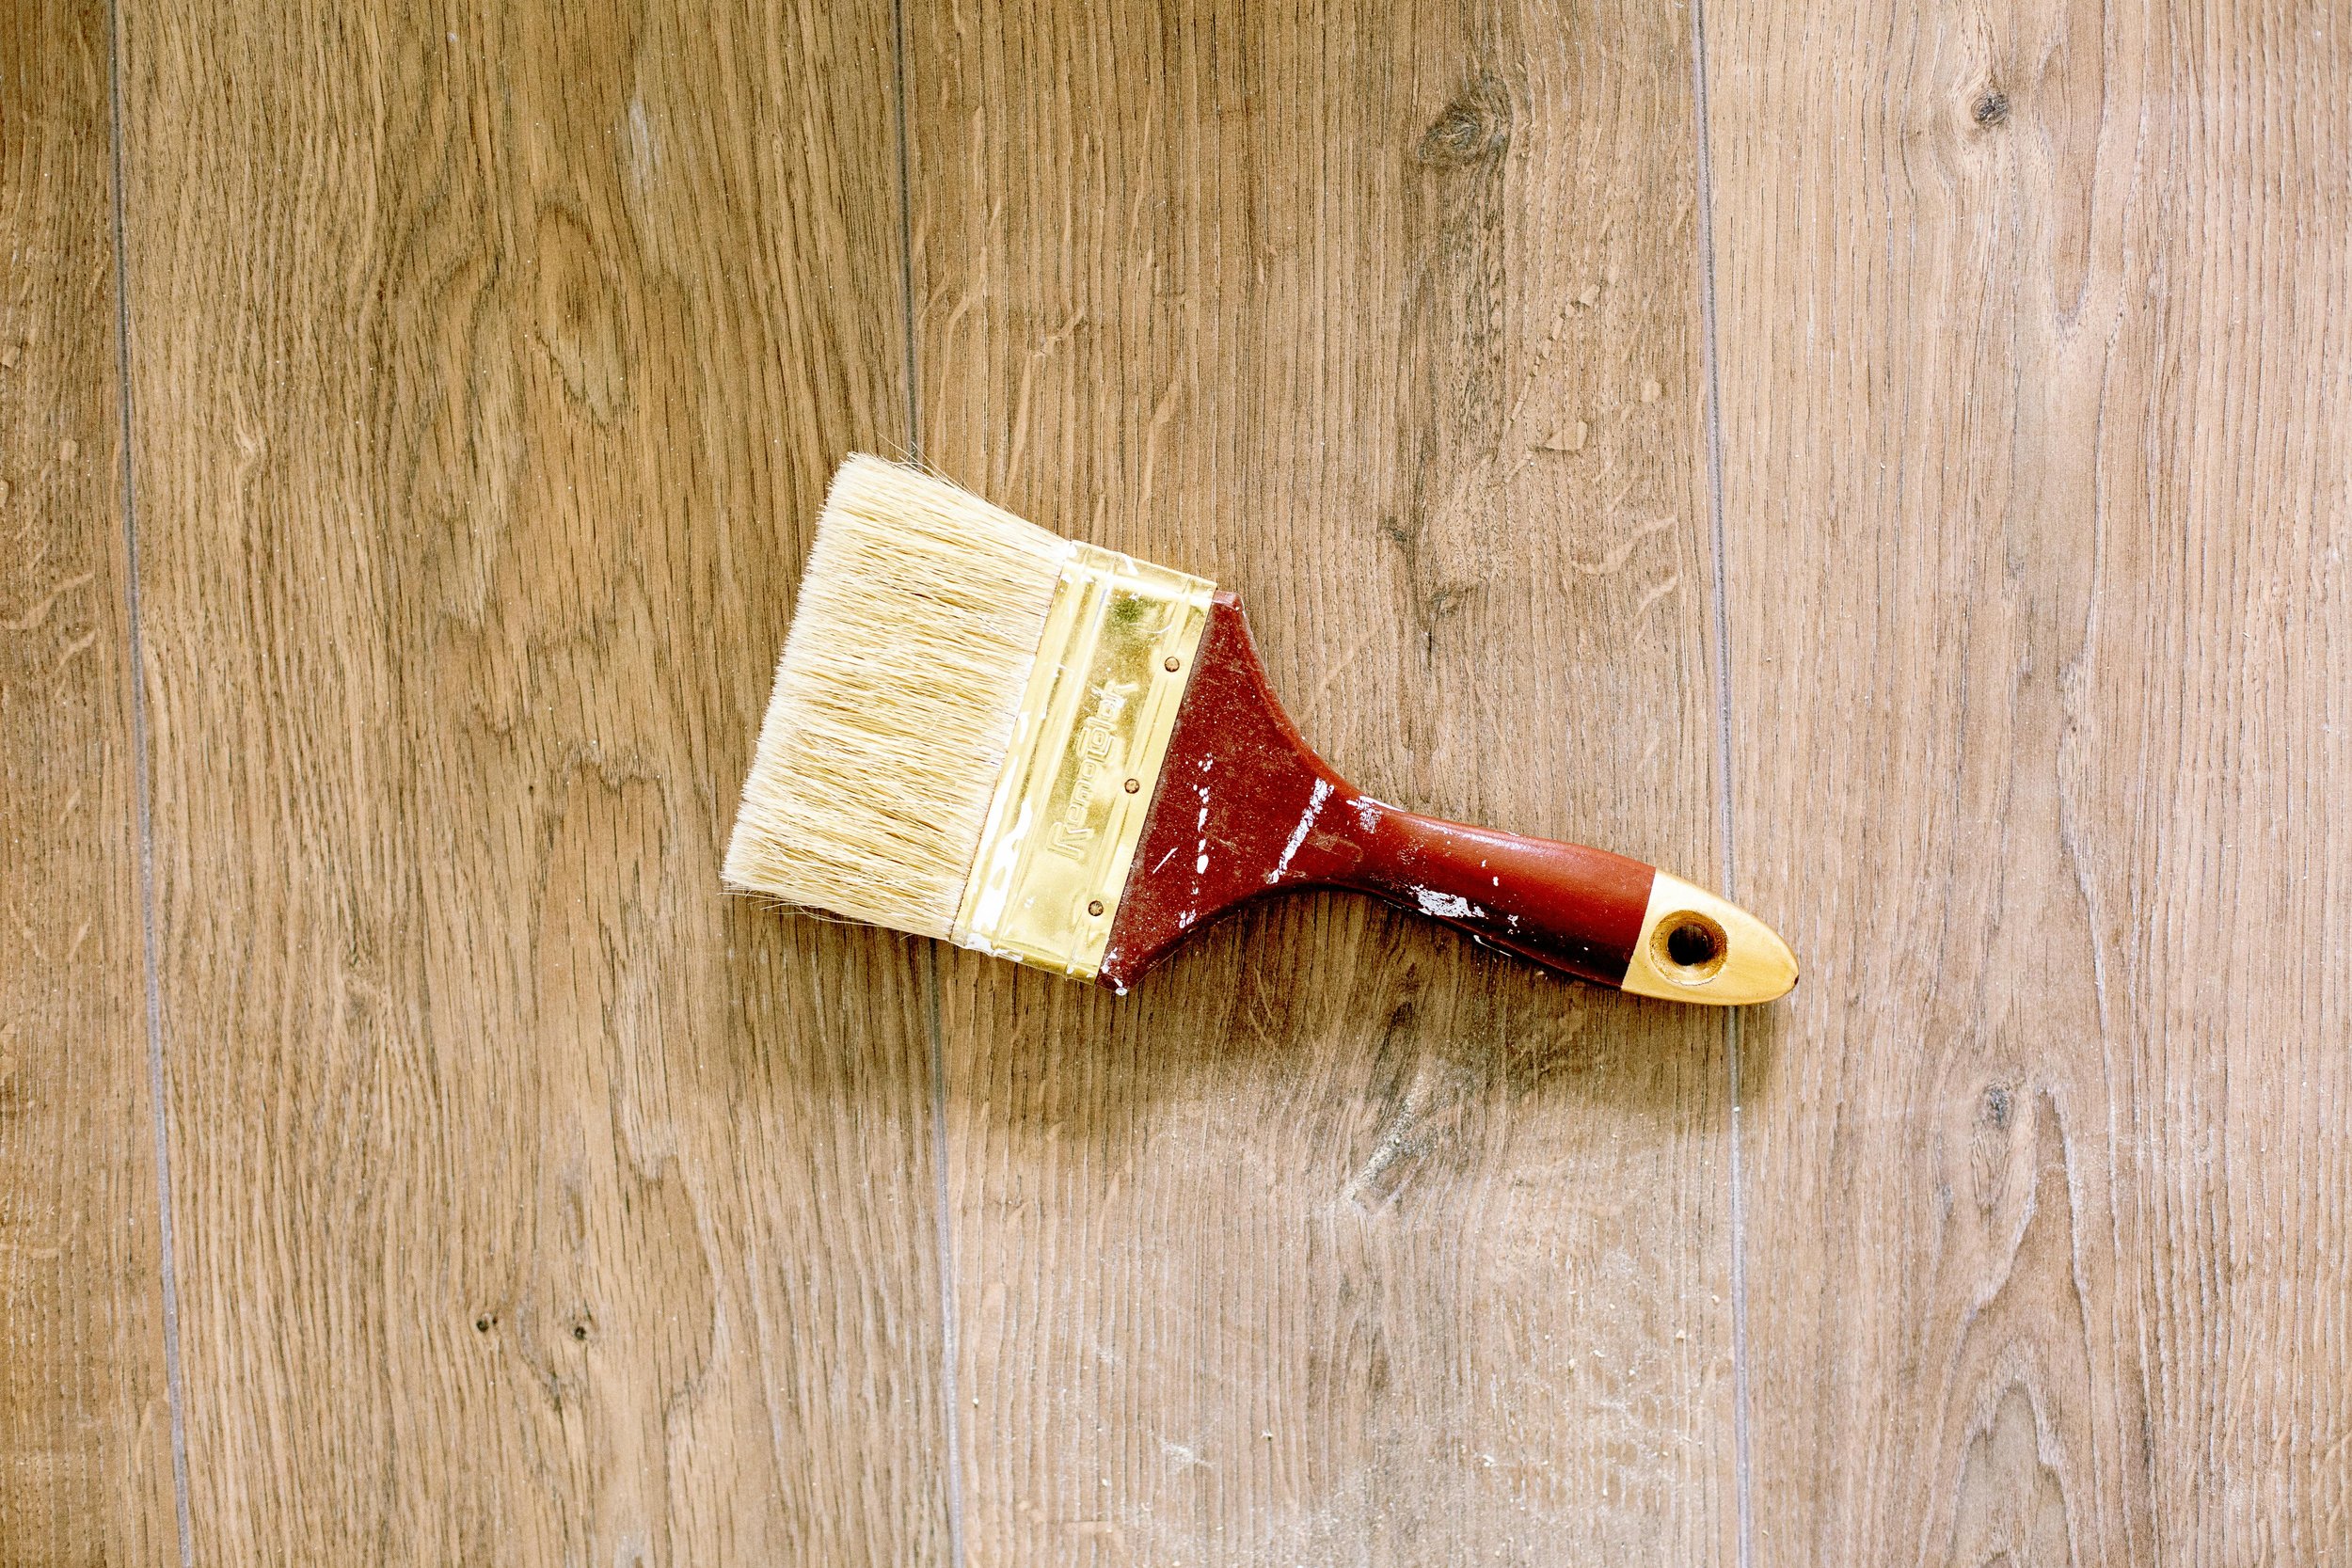
Paintbrush or foam applicator: To apply the stain evenly.
Lint-free rags: To wipe away excess stain and buff out the surface.
Tack cloth: To remove dust after sanding.
Protective gear: Dust mask, gloves, and safety goggles.
Polyurethane or protective finish: For that smooth, durable final layer.
Once you've gathered everything, you’re one step closer to transforming your floors!
2. Prepare the Room and Floor
Before you can start applying the stain, there’s some serious prep work to be done. Here’s how you should start:
Clear the Room
Clear the room completely by removing all furniture, rugs, and obstacles. If possible, take off door trims and baseboards as well to ensure a clean, professional edge when applying the stain. This preparation step makes a significant difference!
Clean the Floor
Dust, dirt, and debris can interfere with how the stain adheres to the wood, so give the floor a good cleaning. Sweep or vacuum thoroughly, and then wipe the floor with a damp cloth to pick up any remaining dirt.
Sand the Floor
Sanding is crucial for getting an even, smooth surface. If your floor has a finish, you’ll need to sand it down. Start with a coarser grit sandpaper (around 60-80 grit) to remove the old finish, and then follow up with a finer grit (120-150) to smooth out the surface.
Tip:
When using a sanding machine, always sand in the direction of the wood grain. This technique prevents unsightly marks and ensures a smooth, even surface, setting the stage for a flawless stain application.
Fill Gaps and Holes
If your floor has any gaps, cracks, or holes, now’s the time to fill them with a wood filler. Apply it to the imperfections, let it dry, and then sand it smooth. This will give you a clean, seamless surface for the stain to adhere to.
Remove Dust
Once sanding is complete, carefully wipe down the surface with a tack cloth to remove all dust and debris. Any remaining particles can interfere with the stain, leading to an uneven finish. Taking this extra step ensures a smooth and professional-looking result.
3. Apply the Stain
Now, the fun part begins: applying the stain! Here’s how to do it properly:
Stir the Stain
Before applying the stain, give it a thorough stir to ensure even consistency. Sediment can settle at the bottom of the can over time, leading to uneven color application if not mixed properly. Stirring ensures a uniform finish across your floors for a flawless look.
Test the Stain
Before applying stain to the entire floor, it’s always a good idea to test it on a small, inconspicuous area. This will help you see how the wood reacts to the stain and whether the color is what you’re expecting.
Apply the Stain
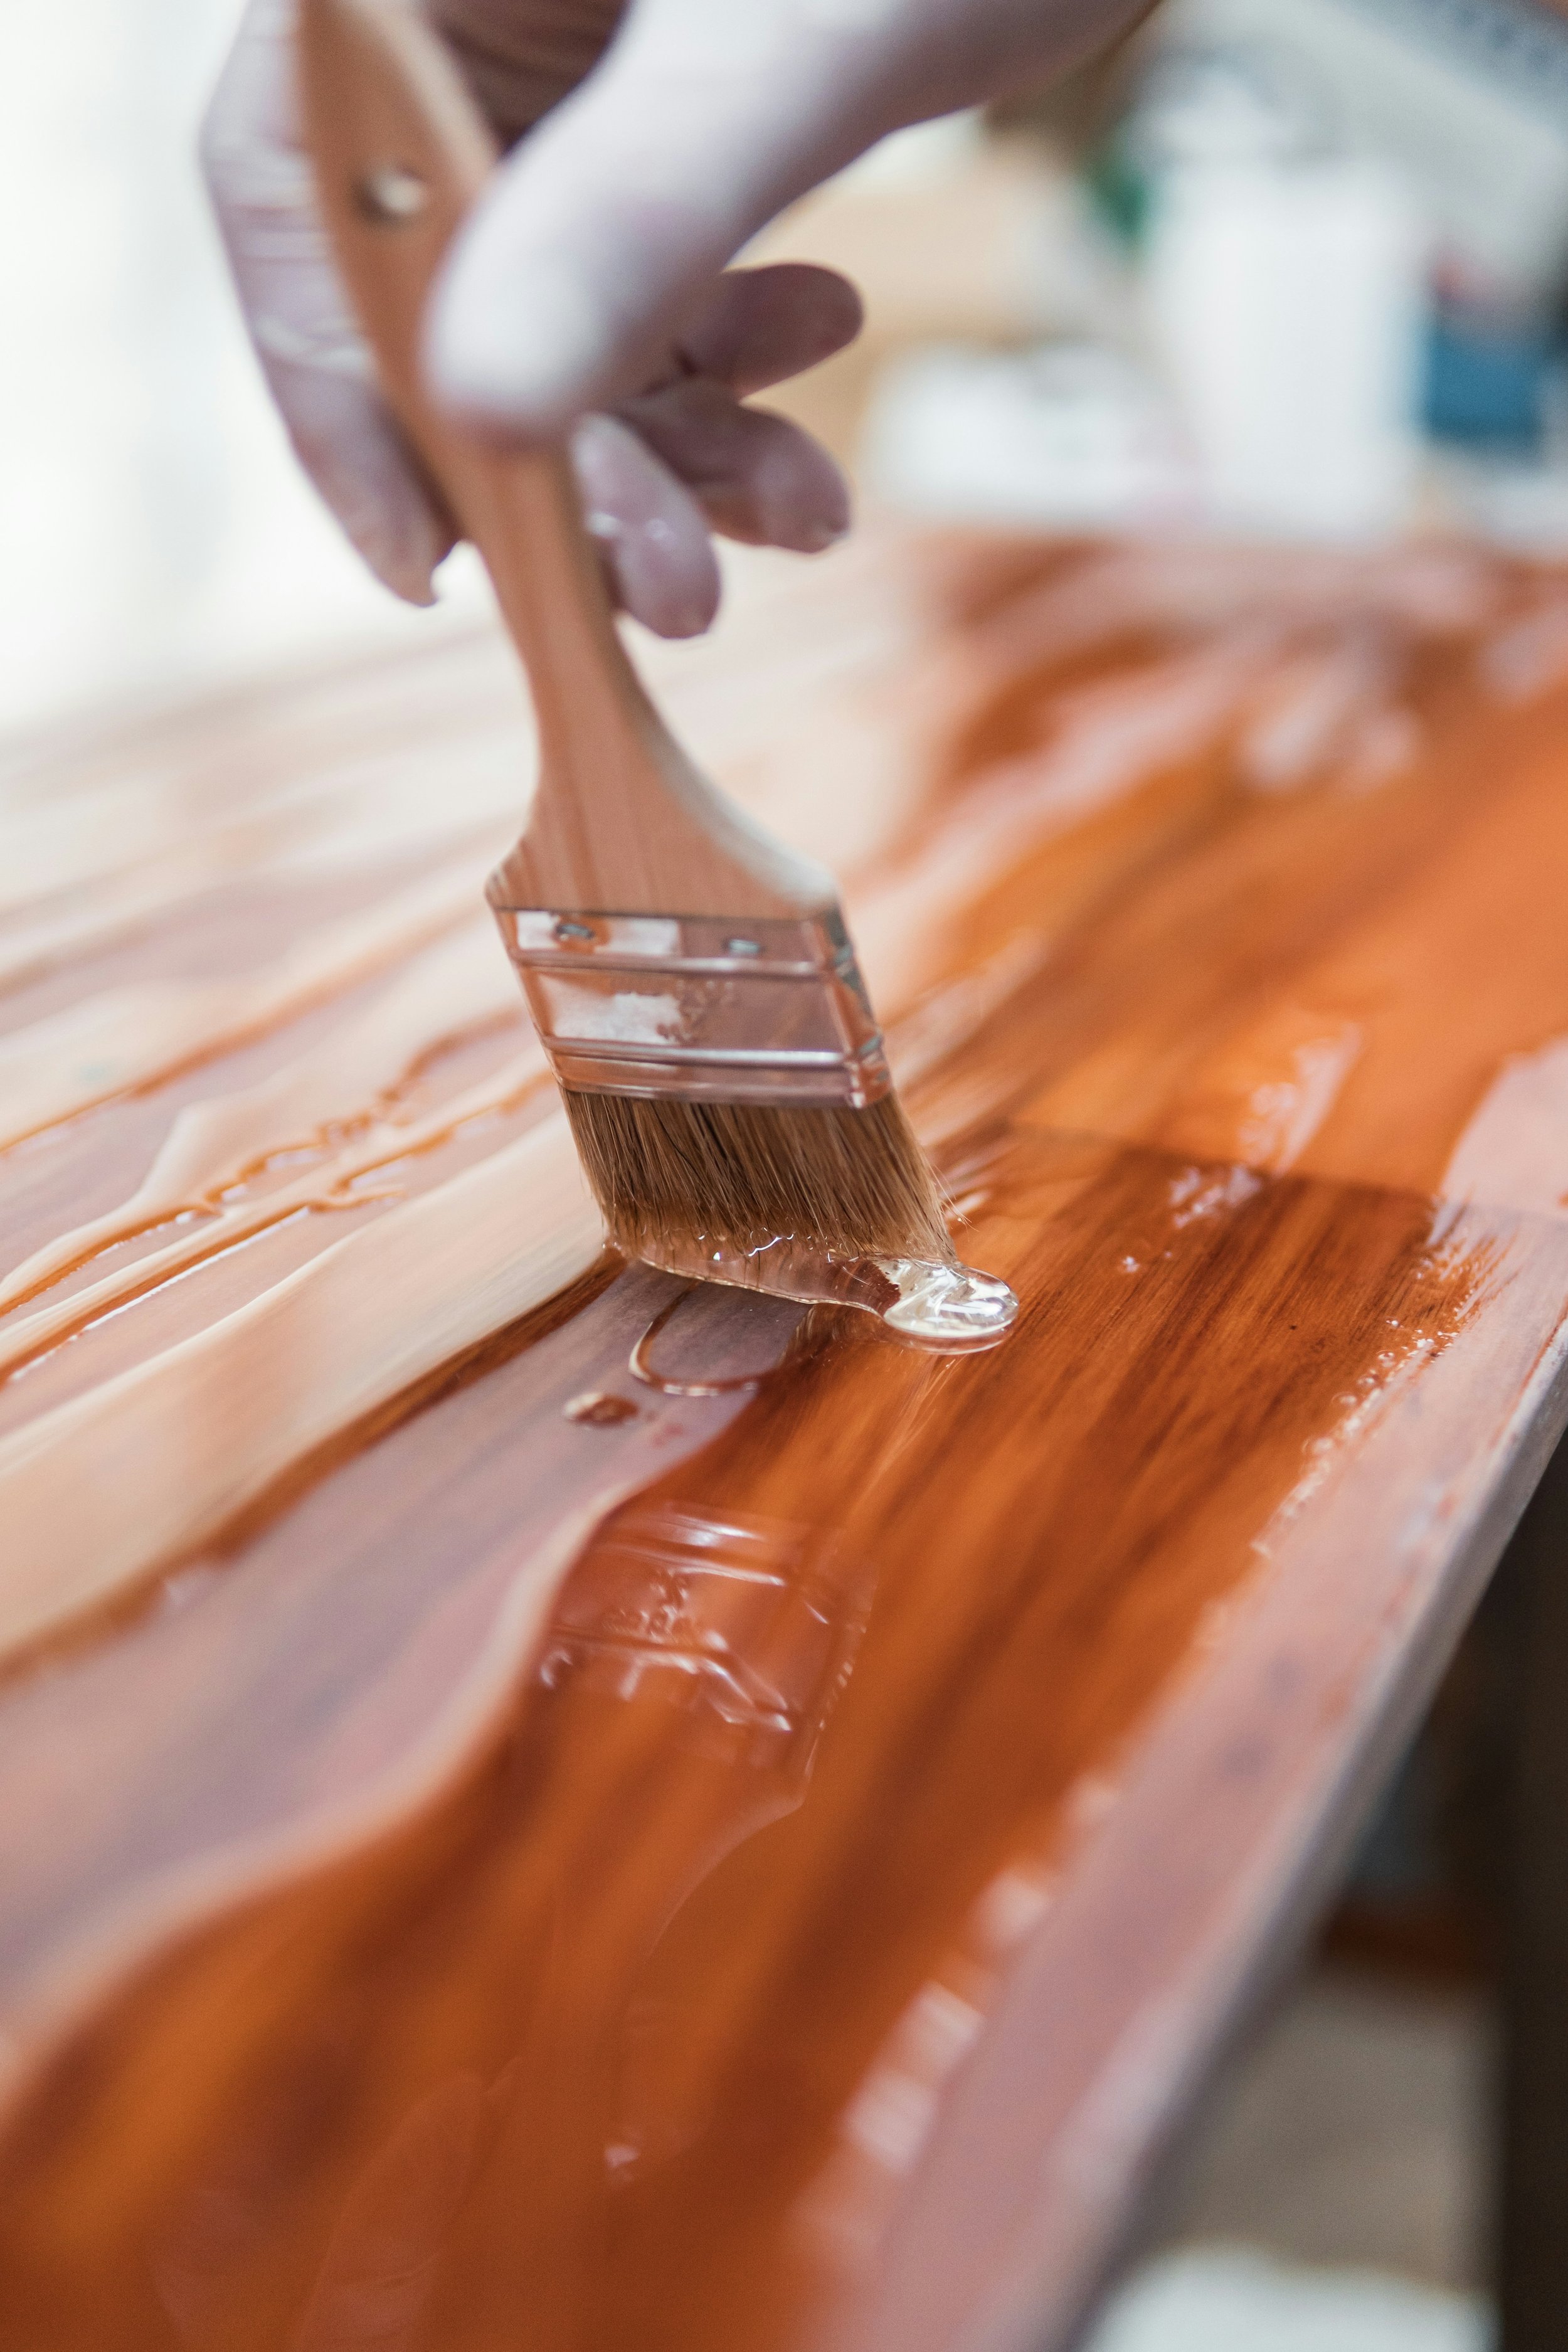
Using a paintbrush or foam applicator, start applying the stain in small sections, working with the grain of the wood. Don’t apply too much at once—keep it light to avoid streaks. You can always go over the area again if you want a darker finish.
Wipe Off Excess Stain
After applying the stain, promptly wipe away any excess using a lint-free rag. This ensures the stain penetrates evenly into the wood and prevents blotchy or streaky spots. Removing the excess also helps achieve a smooth, professional-looking finish that highlights the wood's natural beauty.
Tip:
If you want a deeper color, you can apply a second coat of stain after the first one dries. Just be sure to wait at least 4-6 hours before applying the second coat.
4. Allow Time to Dry
Once the stain is applied and wiped off, it’s time to let it dry. Drying time will depend on the type of stain you used, as well as the humidity and temperature in the room.
Oil-based stains: Typically take around 6-8 hours to dry to the touch and 24 hours to fully cure.
Water-based stains: Dry much quicker—usually within 1-2 hours to the touch and 4-6 hours to cure.
Make sure the room is well-ventilated, and don’t rush this step. If you apply any finish before the stain has fully dried, you could end up with an uneven or tacky surface.
5. Apply a Protective Finish
Once the stain is dry, it’s time to apply a protective finish. This step is essential for sealing the stain and ensuring your floors are durable.
Choose Your Finish
You’ll have a few options when it comes to finishing. The most common choices are polyurethane or varnish. Each offers its own set of benefits:
Polyurethane: Offers a durable, clear finish that’s resistant to scratches and stains.
Varnish: Provides a more glossy finish and is ideal for floors that will be exposed to heavy wear.
Apply the finish using a clean brush or foam applicator. Follow the manufacturer's instructions and let it dry completely before walking on it.
Sand Between Coats
If you’re applying multiple coats of finish (which is highly recommended for durability), sand lightly between coats with fine-grit sandpaper to ensure a smooth surface.
6. Maintain Your Wood Floors
After your stain is dry and your protective finish is in place, you’re all set to enjoy your beautiful floors. To maintain them, make sure to:
Clean regularly: Keep your floors looking their best by sweeping or vacuuming regularly to remove dust and dirt. These particles can scratch the surface and dull the finish over time. Regular cleaning not only preserves the floor’s appearance but also helps maintain its protective layer, ensuring lasting beauty and durability.
Avoid excessive moisture: Protect your wood floors by avoiding excessive moisture, as it can cause warping or damage over time. Skip the wet mopping and opt for a lightly damp cloth or microfiber mop instead. This method keeps your floors clean while maintaining their integrity and preventing unnecessary wear.
Reapply finish as needed: To maintain your wood floors' shine and durability, reapply a fresh coat of polyurethane every few years. This protective layer helps guard against scratches and wear, keeping your floors looking their best and prolonging their lifespan. Regular maintenance ensures they remain beautiful and well-protected over time.
Conclusion
So, there you have it! Staining wood floors is a rewarding process that can completely transform your space, but it requires a little bit of patience and attention to detail. By following the steps outlined in this how to stain wood floors step-by-step guide, you’ll be able to achieve a beautiful, long-lasting finish.
Remember, patience is key—let the stain dry completely before moving on to the next step, and make sure to protect your hard work with a durable finish. With these tips, your floors will shine like new in no time. Good luck with your project!
Frequently Asked Questions
1. How long does it take for wood stain to dry before applying a finish?
It generally takes about 6-8 hours for oil-based stains and 1-2 hours for water-based stains to dry enough to apply a finish. However, it's important to give the stain 24-48 hours to fully cure.
2. Can I use a roller instead of a brush to apply wood stain?
Yes, you can use a roller, but a brush gives you more control and helps you get into the corners and edges more effectively.
3. How many coats of stain should I apply?
Typically, one to two coats of stain are enough for most wood types. However, if you want a deeper color, you can apply additional coats after the first one dries.
4. Can I stain over a previously stained floor?
Yes, you can stain over a previously stained floor, but you should sand it lightly to remove any old finish before applying the new stain.


