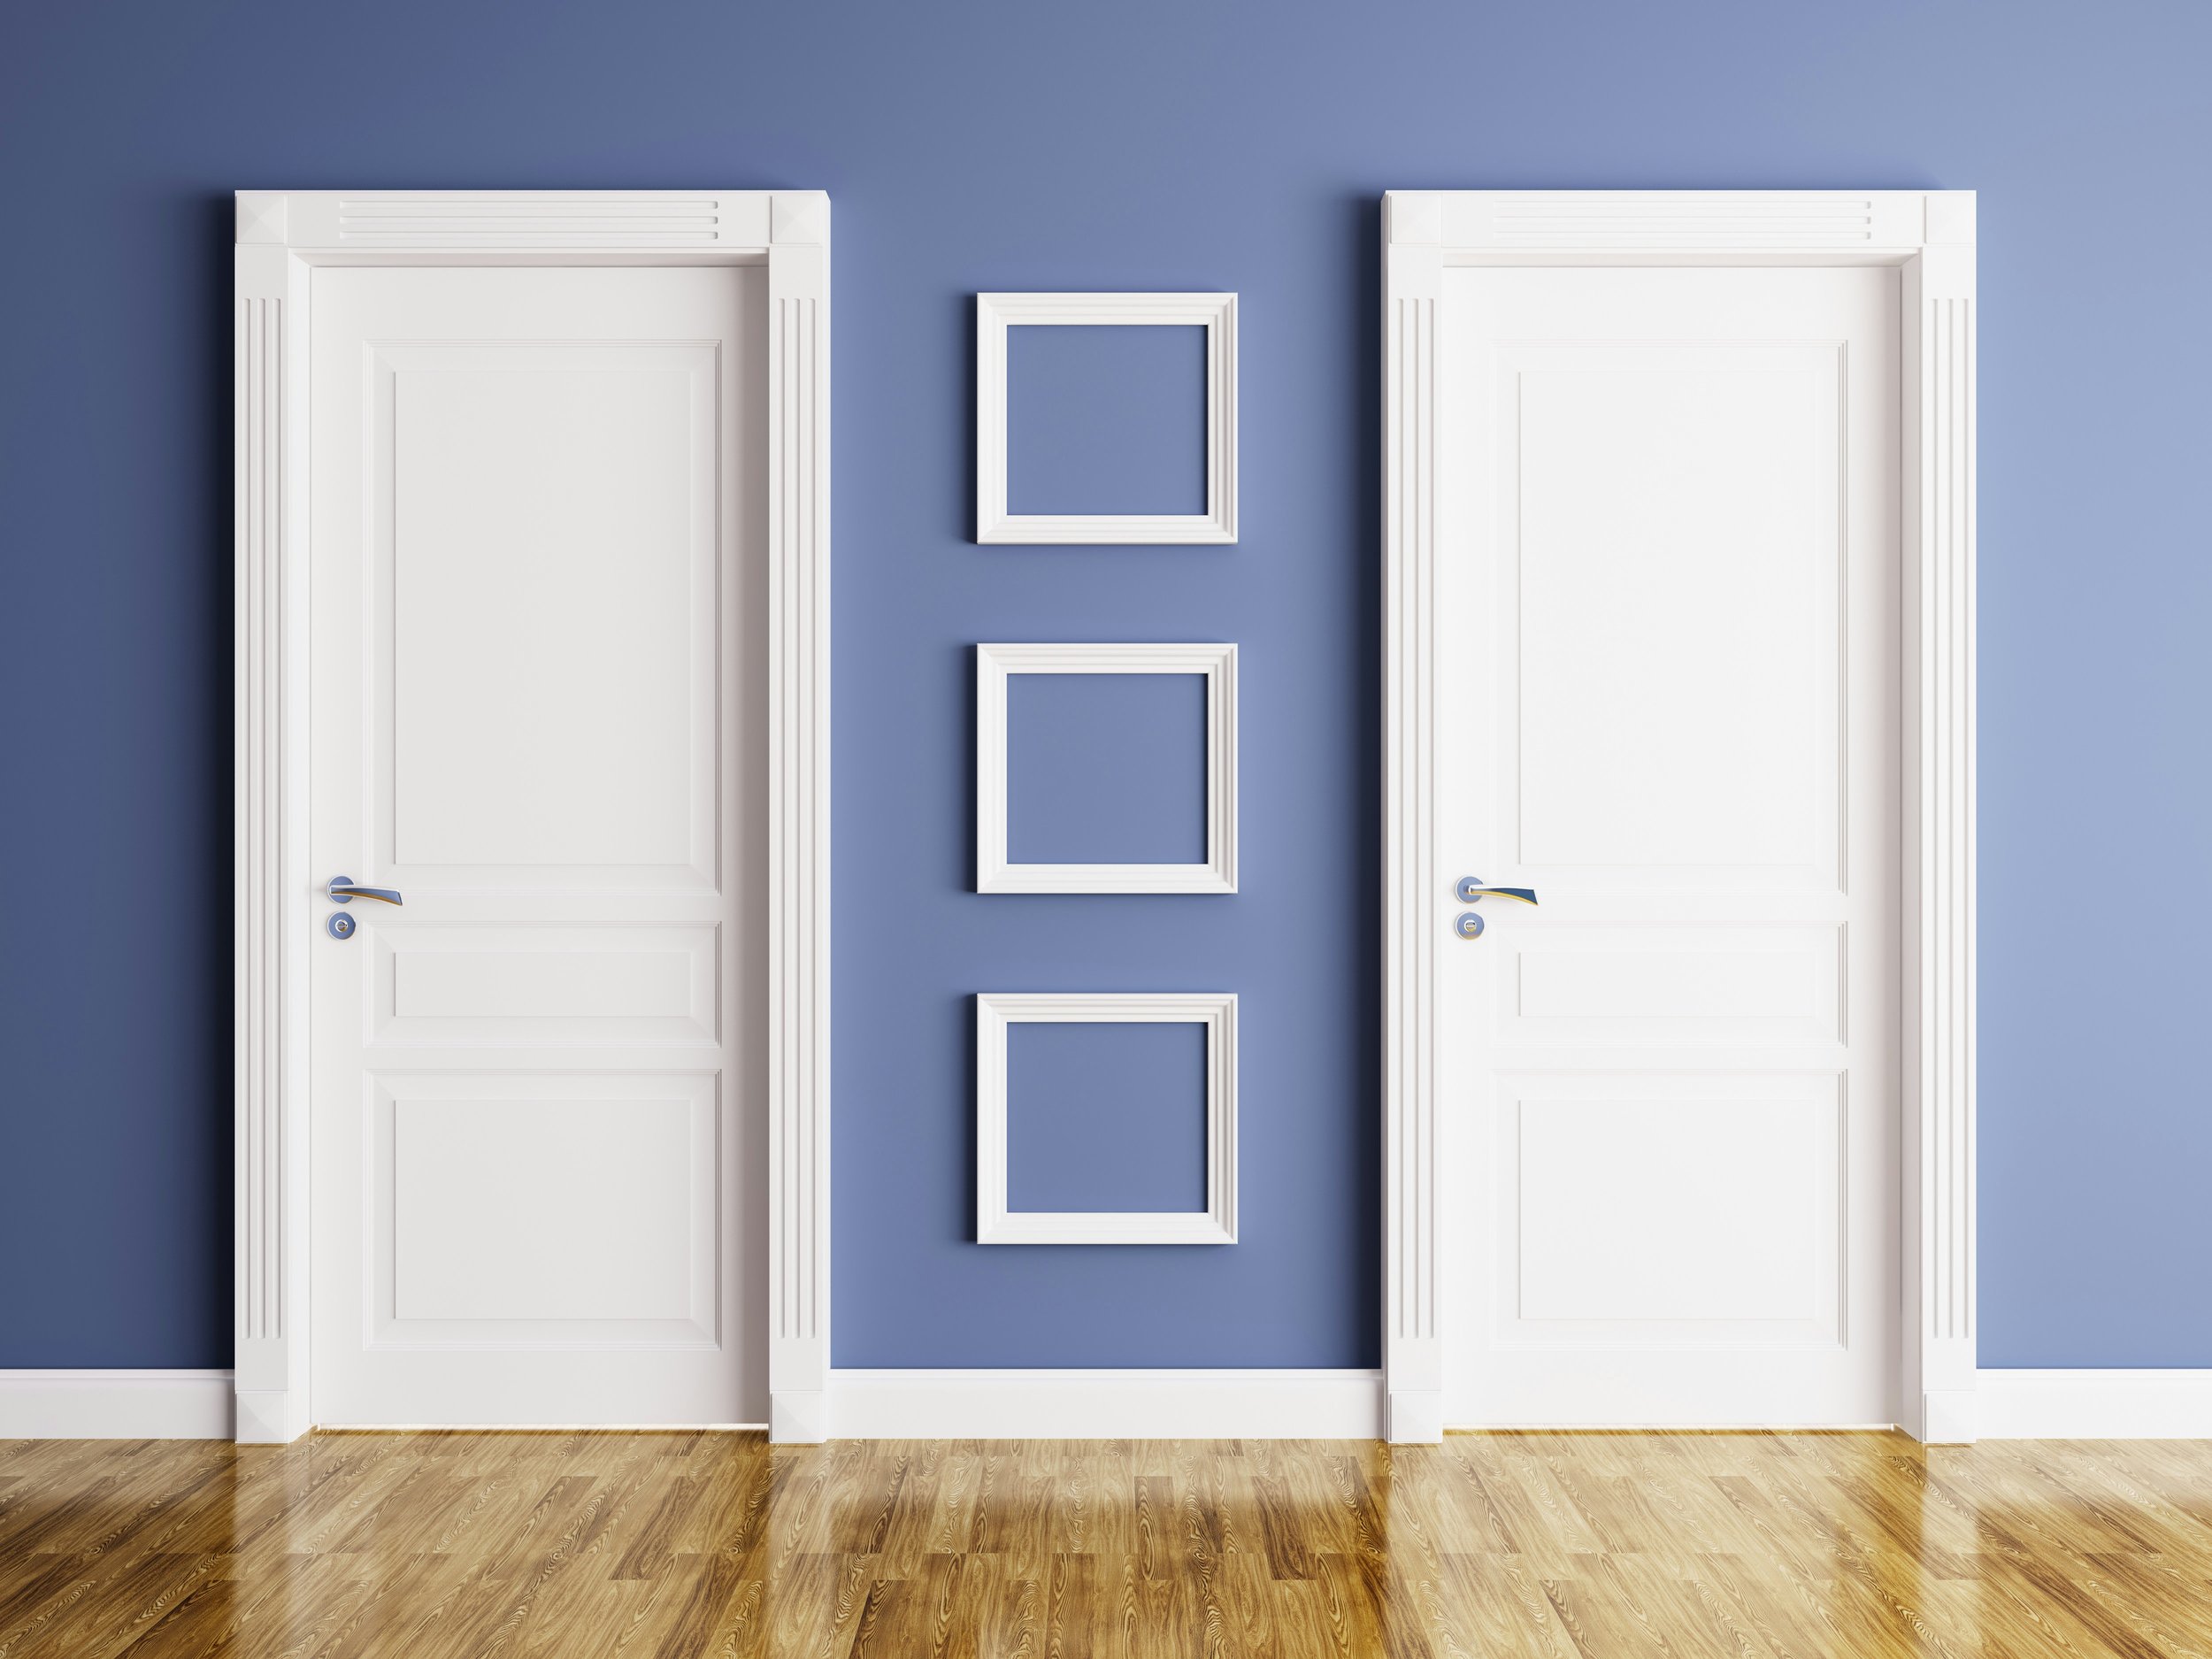
How to Paint a Door: Step-by-Step Guide
Transform your space with a fresh coat of paint! Follow our comprehensive "How to Paint a Door: Step-by-Step Guide" for tips, techniques, and troubleshooting to achieve a professional finish.
Have you ever looked at your door and thought, “Wow, that could use a makeover!”? Whether it’s a bland, worn-out door or one that’s just begging for a splash of color, painting a door can breathe new life into your space. It’s one of those DIY projects that, when done right, can make a dramatic difference without breaking the bank. In this guide, we’ll walk you through everything you need to know about “How to Paint a Door: Step-by-Step Guide,” from preparation to finishing touches. Ready to transform that tired old door into a masterpiece? Let’s get started!
How to Paint a Door: Tools and Materials
Essential Tools
Before you begin your project, it's essential to gather all the necessary supplies to avoid interruptions. Ensure you have everything you might need within reach to maintain a smooth workflow. Start by listing all the materials required for your task, including any tools, components, or additional items like safety gear or cleaning supplies. Double-check each item against your project plans to confirm you have the right quantities and specifications. This preparatory step not only saves time but also helps avoid the frustration of having to pause mid-task to run out for a forgotten item. Being thoroughly prepared allows you to focus entirely on executing your project efficiently and effectively. Here’s a rundown of what you’ll need:
Drop Cloths or Old Sheets: To protect your floors and surrounding areas.
Painter’s Tape: For clean, crisp edges around your door frame.
Sandpaper: Medium and fine grit to prep the surface.
Primer: To ensure your paint adheres well and lasts longer.
Paint: Choose high-quality interior or exterior paint, depending on your door's location.
Paintbrushes and Rollers: A brush for edges and a roller for large surfaces.
Putty Knife: For filling any holes or imperfections.
Caulk: To fill gaps around the door frame.
Screwdriver: To remove hardware like doorknobs or hinges.
Preparation is Key
Just as you wouldn’t begin cooking a large meal without first preparing your ingredients, painting a door requires similar preliminary steps for the best results. Proper preparation is key to ensuring that the painting process goes smoothly and the final product looks professional. Start by cleaning the door thoroughly to remove any dirt or grease, then sand it down to create a smooth surface that will allow the paint to adhere better. Taping off the door frame and any hardware you don’t want painted is also crucial to achieve clean lines. Taking the time to meticulously prep your door not only eases the painting process but also enhances the durability and appearance of your paint job.
Remove the Door: If possible, take the door off its hinges and place it on a pair of sawhorses. This makes it easier to access all sides and reduces drips and splatters.
Clean the Door: Wipe down the door with a damp cloth to remove any dust, dirt, or grease.
Sand the Surface: Lightly sand the door to remove any old paint, smooth out imperfections, and help the new paint adhere. Start with medium-grit sandpaper, then finish with fine-grit.
Fill Holes and Cracks: Use a putty knife to fill any holes or cracks with spackle or wood filler. Let it dry, then sand it smooth.
Tape Off: Use painter’s tape to protect areas you don’t want to paint, like the door frame and hardware.
How to Paint a Door: Step-by-Step Guide
Ready to get those paintbrushes moving? Follow this detailed "How to Paint a Door: Step-by-Step Guide" to ensure your project is seamless. Begin by removing the door from its hinges and laying it flat for easier access. Clean and sand the surface to ensure the paint adheres properly. Apply painter's tape to protect the hardware and edges you don't want painted. Start with a primer coat, letting it dry completely before applying your chosen paint color. Use long, smooth brushstrokes or a roller for an even finish, and apply multiple thin coats for the best results. Allow each coat to dry thoroughly before reattaching the door. With this guide, your door painting project will be easy and professional.
Step 1: Apply Primer
Why Primer? Primer helps the paint stick better and ensures an even finish. It’s especially important if you’re making a significant color change or painting over a glossy surface.
How to Apply: Use a paintbrush to apply primer to the edges and any detailed areas. Use a roller for the large flat surfaces. Allow the primer to dry according to the manufacturer’s instructions.
Step 2: Choose Your Paint
Selecting Paint: Opt for a high-quality paint suited to the door’s location. For interior doors, a satin or semi-gloss finish is often best. For exterior doors, choose a durable exterior paint that can withstand the elements.
Color Choice: Don’t be afraid to go bold! A bright or dark color can make your door stand out. Just make sure it complements your room’s decor or the exterior of your house.
Step 3: Start Painting
Edges First: Begin by painting the edges and any detailed areas with a brush. This includes the door frame and any panels or trim.
Large Surfaces: Use a roller to cover the large flat areas of the door. Roll in long, even strokes to avoid drips and ensure a smooth finish.
Apply Thin Coats: It’s better to apply several thin coats of paint rather than one thick coat. This helps prevent drips and uneven areas. Allow each coat to dry before applying the next.
Step 4: Reassemble the Door
Remove Tape: Once the final coat of paint is completely dry, carefully remove the painter’s tape. Do this slowly to avoid peeling any paint.
Reattach Hardware: Replace the door hardware, including doorknobs, hinges, and any other fittings. Make sure everything is aligned properly.
Hang the Door: If you removed the door, carefully rehang it on its hinges. Ensure it opens and closes smoothly.

Troubleshooting Common Issues
Even with the best intentions, painting a door can come with a few hiccups along the way. If you notice brush marks, try using a foam roller for a smoother finish or lightly sanding between coats. Drips or uneven coverage can be avoided by applying thin layers of paint and allowing each coat to dry fully before adding another. If your paint starts peeling or bubbling, it’s likely due to poor surface preparation, so make sure to sand and clean the door thoroughly before repainting. Addressing these common issues as they arise will ensure that your door turns out looking polished and professional, no matter what obstacles you face during the process.
1. Drips and Runs
Possible Causes: Applying paint too thickly or not rolling evenly.
Solutions:
Fix It: If you catch drips while the paint is still wet, smooth them out with a brush. For dried drips, lightly sand the area and apply a thin coat of paint to even it out.
2. Uneven Color
Possible Causes: Inconsistent application or insufficient coverage.
Solutions:
Apply Additional Coats: Sometimes, a second or third coat is needed for full coverage. Ensure each coat is completely dry before applying the next.
3. Paint Peeling
Possible Causes: Poor surface preparation or using the wrong type of paint.
Solutions:
Re-sand and Repaint: If paint is peeling, you’ll need to sand down the affected areas, clean the surface, and apply a new coat of primer and paint.
4. Paint Streaks
Possible Causes: Using a brush or roller that’s too dry or applying paint unevenly.
Solutions:
Smooth It Out: Use a dry brush or roller to smooth out streaks while the paint is still wet. Make sure to load your brush or roller evenly for a smoother finish.
5. Drying Issues
Possible Causes: High humidity or inadequate ventilation.
Solutions:
Improve Ventilation: Ensure the room is well-ventilated to help the paint dry properly. If possible, use a fan to circulate air.
Conclusion
And there you have it—the ultimate “How to Paint a Door: Step-by-Step Guide.” With the right tools, a bit of patience, and these expert tips, you’re ready to give your door a fabulous makeover. Whether you’re refreshing an old door or adding a splash of color to a new one, this DIY project is a fantastic way to enhance your space. So, roll up those sleeves, grab your paintbrush, and get ready to transform your door into a statement piece. Happy painting!
Frequently Asked Questions
1. How long does it take for a door to dry after painting?
Typically, a coat of paint takes about 2 to 4 hours to dry to the touch, but it’s best to wait 24 hours before reassembling or using the door. Drying times can vary based on the type of paint and environmental conditions.
2. Can I paint a door without removing it from its hinges?
While it’s possible to paint a door while it’s still on its hinges, removing it allows for a more thorough job and easier access to all sides. If you choose to keep it in place, use painter’s tape to protect the surrounding areas.
3. What type of paint is best for exterior doors?
For exterior doors, choose a high-quality exterior paint with weather-resistant properties. Satin or semi-gloss finishes are ideal as they provide durability and are easier to clean.
4. How can I avoid brush marks on my door?
To minimize brush marks, use a high-quality brush or roller and apply paint in long, even strokes. Avoid over-brushing or over-rolling, and make sure to use thin coats rather than thick ones.
5. Can I use leftover paint for future touch-ups?
Absolutely! Just make sure to store leftover paint in an airtight container to keep it from drying out. Label the container with the date and color for easy reference in the future.
Stay up to date with our latest ideas!