How to Install a Pocket Door: Step-by-Step Guide
Discover how to install a pocket door with this comprehensive step-by-step guide. Learn tips and tricks to ensure a smooth installation process, and transform your space with style!
Pocket doors are like the cool cousins of regular doors—they slide away into the wall, saving space and adding a touch of elegance to any room. Whether you’re looking to enhance your home’s aesthetic or simply create more room to navigate, installing a pocket door can be a fantastic DIY project. But let’s be real: tackling home improvement projects can sometimes feel like you’re wandering through a maze without a map.
Fear not! In this “How to Install a Pocket Door: Step-by-Step Guide,” we’ll break down the process into manageable steps. You’ll learn everything from the tools you need to the nitty-gritty details of installation, ensuring you’re well-prepared to add that stylish pocket door to your home. So grab your tools, roll up your sleeves, and let’s get started!
1. What is a Pocket Door?
Definition and Benefits
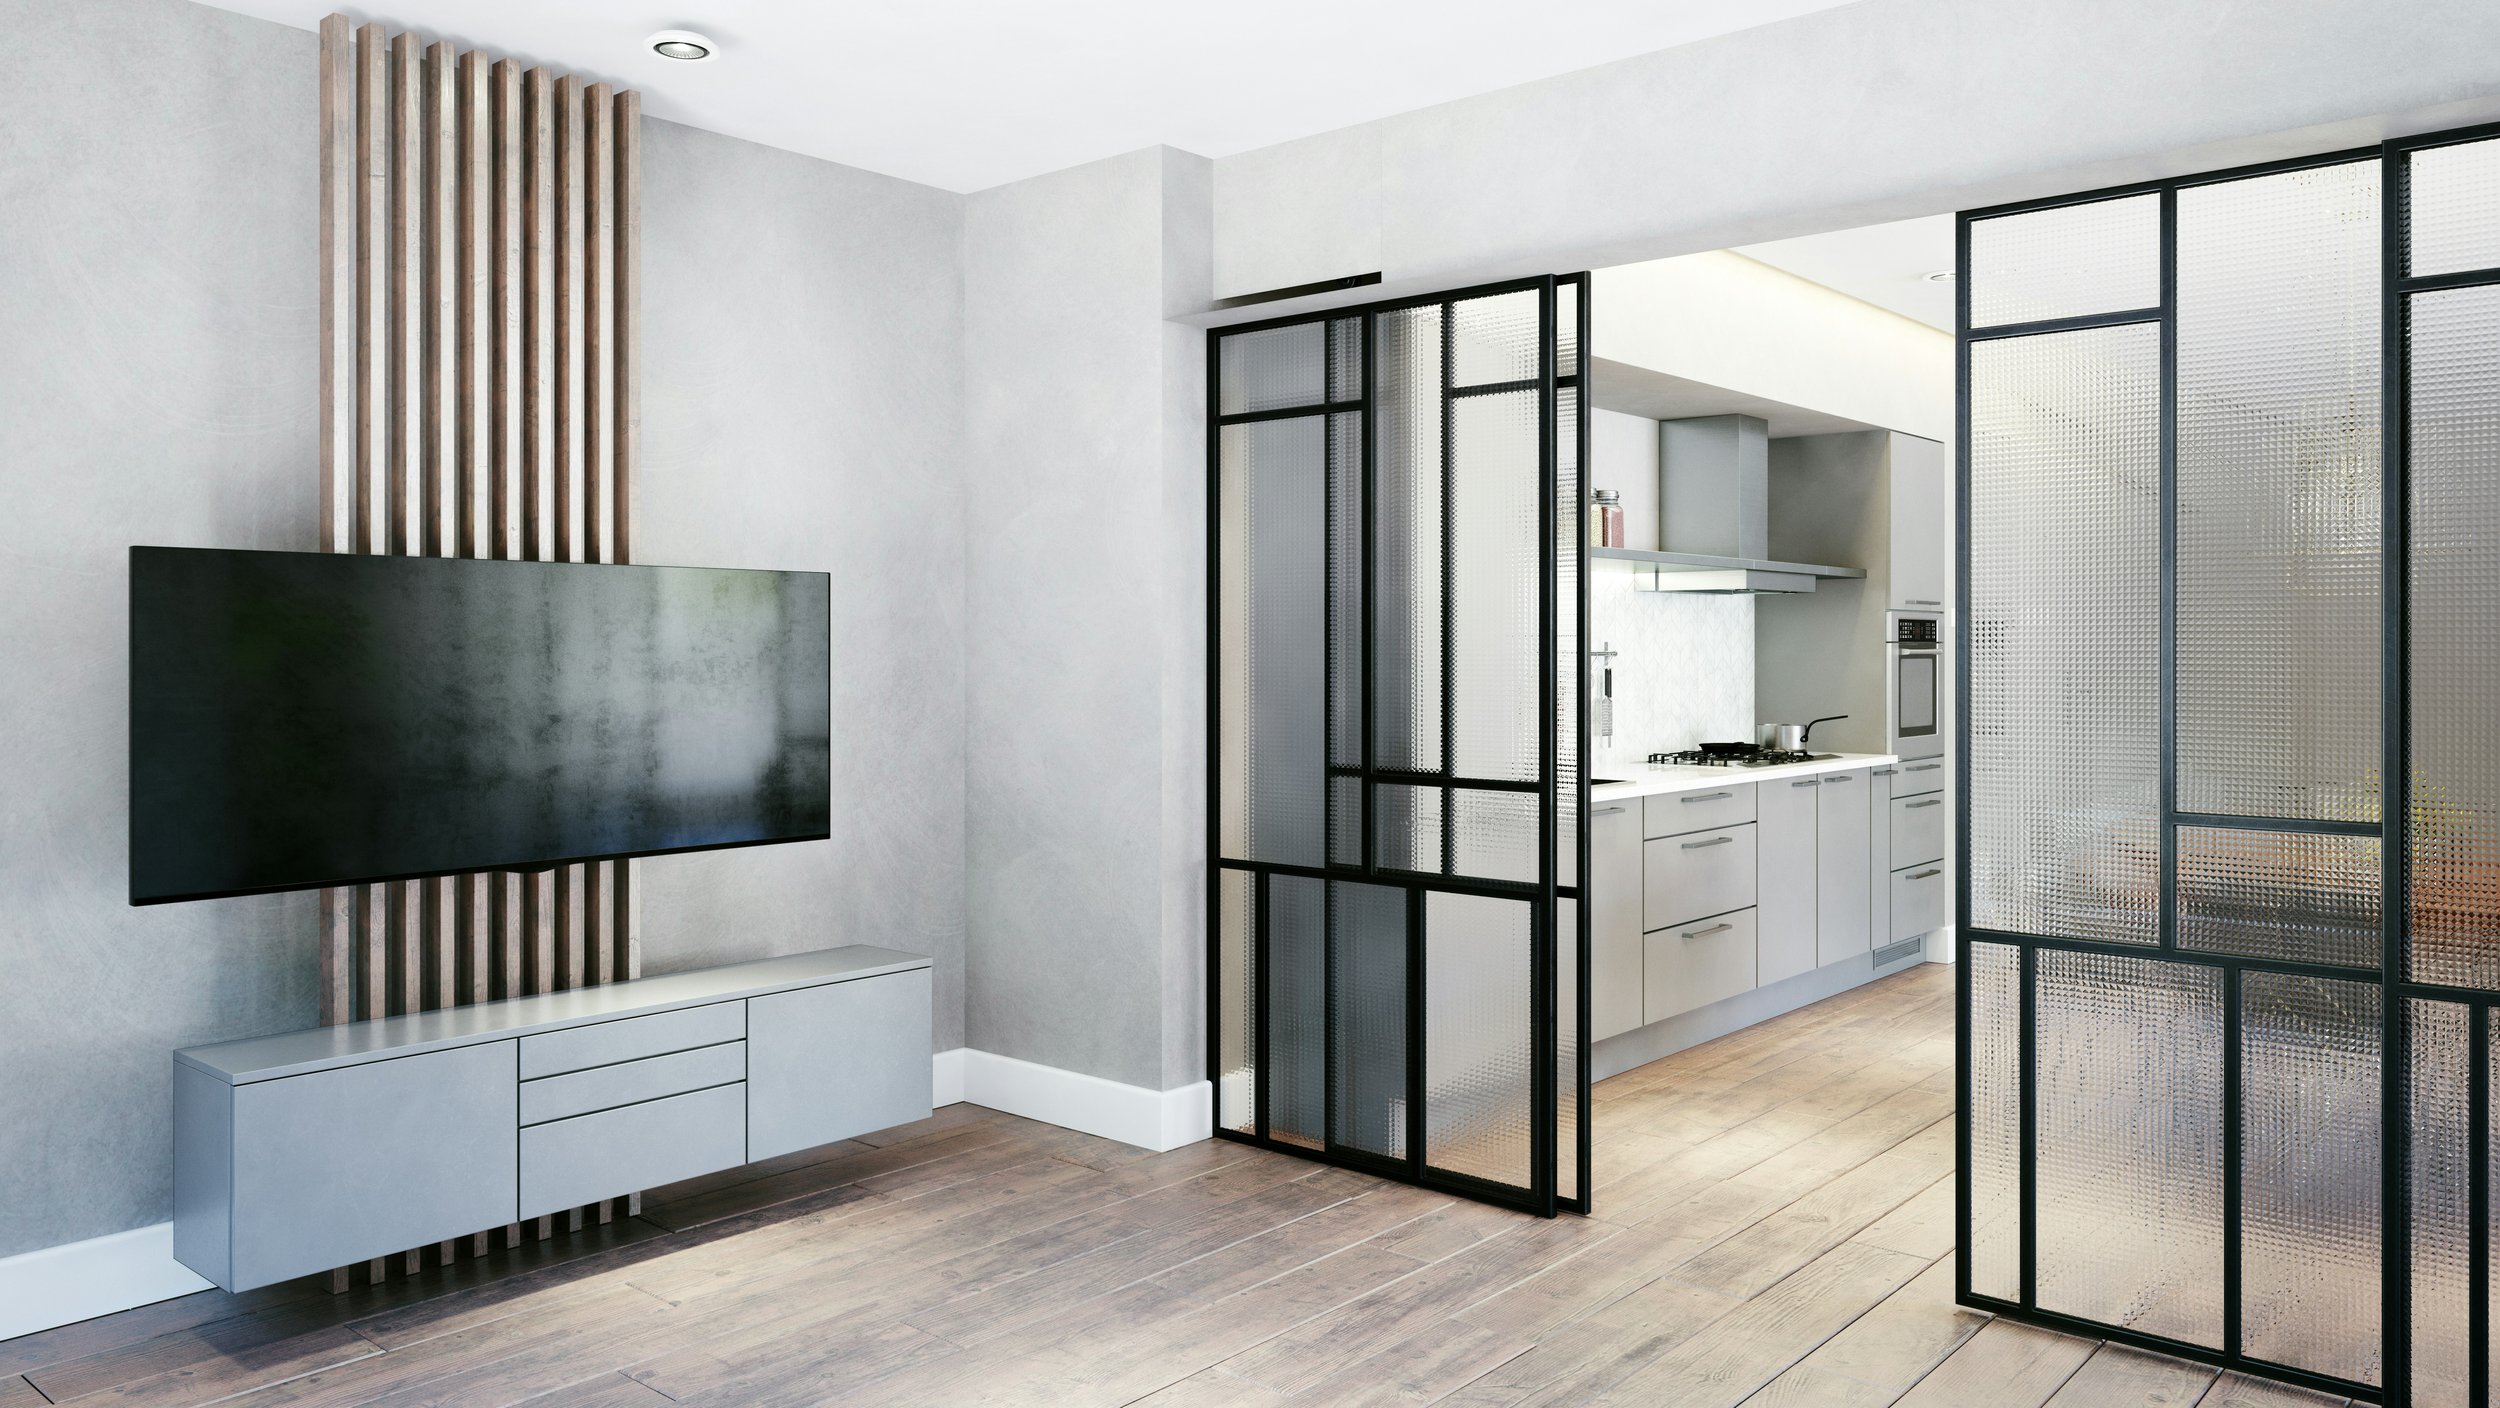
A pocket door is a sliding door that neatly disappears into a pocket within the wall when opened, offering a sleek and space-saving solution. Unlike traditional hinged doors that swing open and require clearance, pocket doors glide smoothly into the wall, freeing up valuable floor space. This makes them an excellent choice for small rooms, such as bathrooms, closets, or home offices, where every inch counts. Pocket doors not only enhance functionality but also create a clean, minimalist look. They’re ideal for spaces where you want uninterrupted flow or need to save room, blending style with practicality.
Benefits of pocket doors include:
Space-saving design: Perfect for small rooms where every inch counts.
Aesthetic appeal: They add a modern touch to any home.
Versatility: Can be used for closets, bathrooms, or as room dividers.
2. Tools and Materials Needed
Essential Tools
Before you dive into the installation, make sure you have the right tools. Here’s a quick list of what you’ll need:
Measuring tape
Level
Screwdriver (Phillips and flathead)
Drill
Circular saw or hand saw
Hammer
Stud finder
Pencil for marking
Safety goggles and gloves
Materials for Installation
Next up, gather the materials required for the installation:
Pocket door frame kit (including header, side jambs, and track)
Pocket door (make sure it’s the right size!)
Trim and molding (to finish the edges)
Wood screws and wall anchors
Wood filler (for finishing touches)
3. Preparing for Installation
Measuring the Space
Before you begin, take some time to measure the space where you plan to install your pocket door. This will ensure that everything fits perfectly. Here’s how to do it:
Measure the width of the opening where the door will be installed.
Check the height from the floor to the top of the doorway.
Make sure there’s enough wall space on either side of the opening to accommodate the door when it slides open.
Choosing the Right Door Size
Pocket doors usually come in standard sizes, but depending on your wall opening, a custom-sized door may be necessary to ensure a perfect fit. When selecting a door, it's important to choose one that is approximately 2 inches shorter than the height of the opening to provide the necessary clearance for smooth sliding. This gap ensures the door moves freely within the wall pocket without scraping against the floor. Additionally, take careful measurements of both the height and width of the space to ensure your door aligns properly within the track system. Planning for these adjustments ensures smooth operation and a polished installation.
4. Removing the Existing Door (if applicable)
If you’re replacing a traditional door, you’ll need to remove it first. Here’s a quick step-by-step:
Take off the hinges: Use a screwdriver to remove the screws from the hinges.
Remove the door: Carefully lift the door off the frame and set it aside.
Clear the area: Remove any trim or molding from around the door frame if you’re going to use the same opening.
5. Installing the Pocket Door Frame
Now, let’s get down to the nitty-gritty of installing your pocket door frame. Follow these steps for a successful installation:
Setting Up the Header
Cut the header: Cut the header to the correct length using a circular saw, ensuring it matches the width of your pocket door frame. Precise measurements are essential for a proper fit, as the header will support the track system. Double-check your dimensions before cutting to avoid installation issues.
Install the header: Install the header by positioning it above the door opening, ensuring it is level and properly aligned. Secure it firmly to the wall studs with screws to provide solid support for the pocket door’s track system, ensuring smooth and stable operation.
Installing the Side Jambs
Measure the height: Cut the side jambs to fit from the header to the floor.
Attach the side jambs: Secure them to the wall on either side of the opening using screws.
Adding the Track
Install the track: Install the track by mounting it onto the header, ensuring it’s aligned properly. Use a level to confirm the track is perfectly straight, as any misalignment could affect the door’s movement. Secure it tightly with screws for smooth and reliable operation.
Secure the track: Secure the track by attaching it to the header with screws, following the manufacturer’s instructions carefully to ensure proper installation. Tighten the screws firmly to prevent any wobbling or misalignment, which could affect the door’s smooth sliding motion.
6. Hanging the Door
Now that the frame is set up, it’s time to hang the door itself.
Installing the Door Hardware
Attach the rollers: Follow the instructions to install the rollers on the top of the pocket door.
Add the bottom guide: This will help keep the door aligned as it slides.
Hanging the Door on the Track
Lift the door into place: With a helper, carefully lift the door into the track and guide it into the pocket.
Check the alignment: Make sure the door hangs straight and adjusts as needed.
7. Finishing Touches
Once your door is hung, it’s time to add those finishing touches that will give your pocket door a polished look.
Installing Trim and Molding
Cut and fit trim: Measure and cut your trim to fit around the door frame. Attach it with finishing nails.
Fill gaps: Use wood filler to cover any holes or gaps and sand it smooth once it’s dry.
Adjusting the Door for Proper Function
Test the door: Slide it open and closed to ensure it operates smoothly. Adjust the rollers if necessary to achieve the perfect fit.
8. Troubleshooting Common Issues
Even with the best preparation, sometimes things don’t go as planned. Here are a few common issues you might encounter with pocket doors and how to fix them:
Door Sticking or Misalignment: If the pocket door sticks or becomes misaligned, inspect the rollers and track to identify any issues. Ensure the rollers are seated properly on the track and adjust their position if needed. Tighten any loose screws to restore smooth, seamless movement.
Squeaky Track: If your door squeaks, try applying a silicone spray lubricant to the track.
Conclusion
And there you have it—your ultimate “How to Install a Pocket Door: Step-by-Step Guide.” With a little preparation and the right tools, you can transform your space with this stylish and functional door option. So, roll up those sleeves, follow the steps outlined here, and enjoy your new pocket door that not only looks great but also maximizes your space.
If you run into any hiccups along the way, don’t hesitate to refer back to this guide or reach out to a professional for assistance. Happy installing!
Read next: What Is a Prehung Door? A Quick Guide to Installation
Frequently Asked Questions
1. Can I install a pocket door in any wall?
Yes, but make sure you have enough wall space to accommodate the door when it’s open.
2. How much space do I need for a pocket door?
You’ll need at least 2 inches of space in the wall for the door to slide into comfortably.
3. What materials are best for a pocket door?
Solid wood or a hollow-core door works well, but you can also find pre-made pocket doors designed specifically for this purpose.
4. Can I use a pocket door for a bathroom?
Absolutely! Just ensure proper ventilation and consider moisture-resistant materials.
5. How do I maintain my pocket door?
Regularly check the track for debris and lubricate the rollers as needed to keep everything running smoothly.
