How to Hang a Mirror on a Door: Step-by-Step Guide
Learn the best techniques for securely hanging a mirror on a door with our "How to Hang a Mirror on a Door: Step-by-Step Guide." Perfect for adding style and functionality to any room.
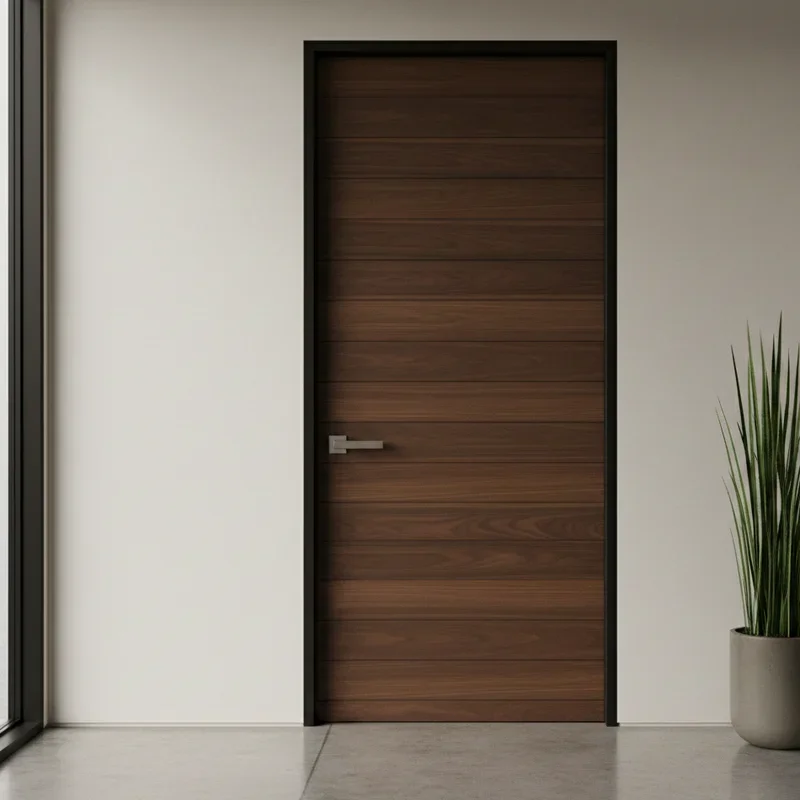
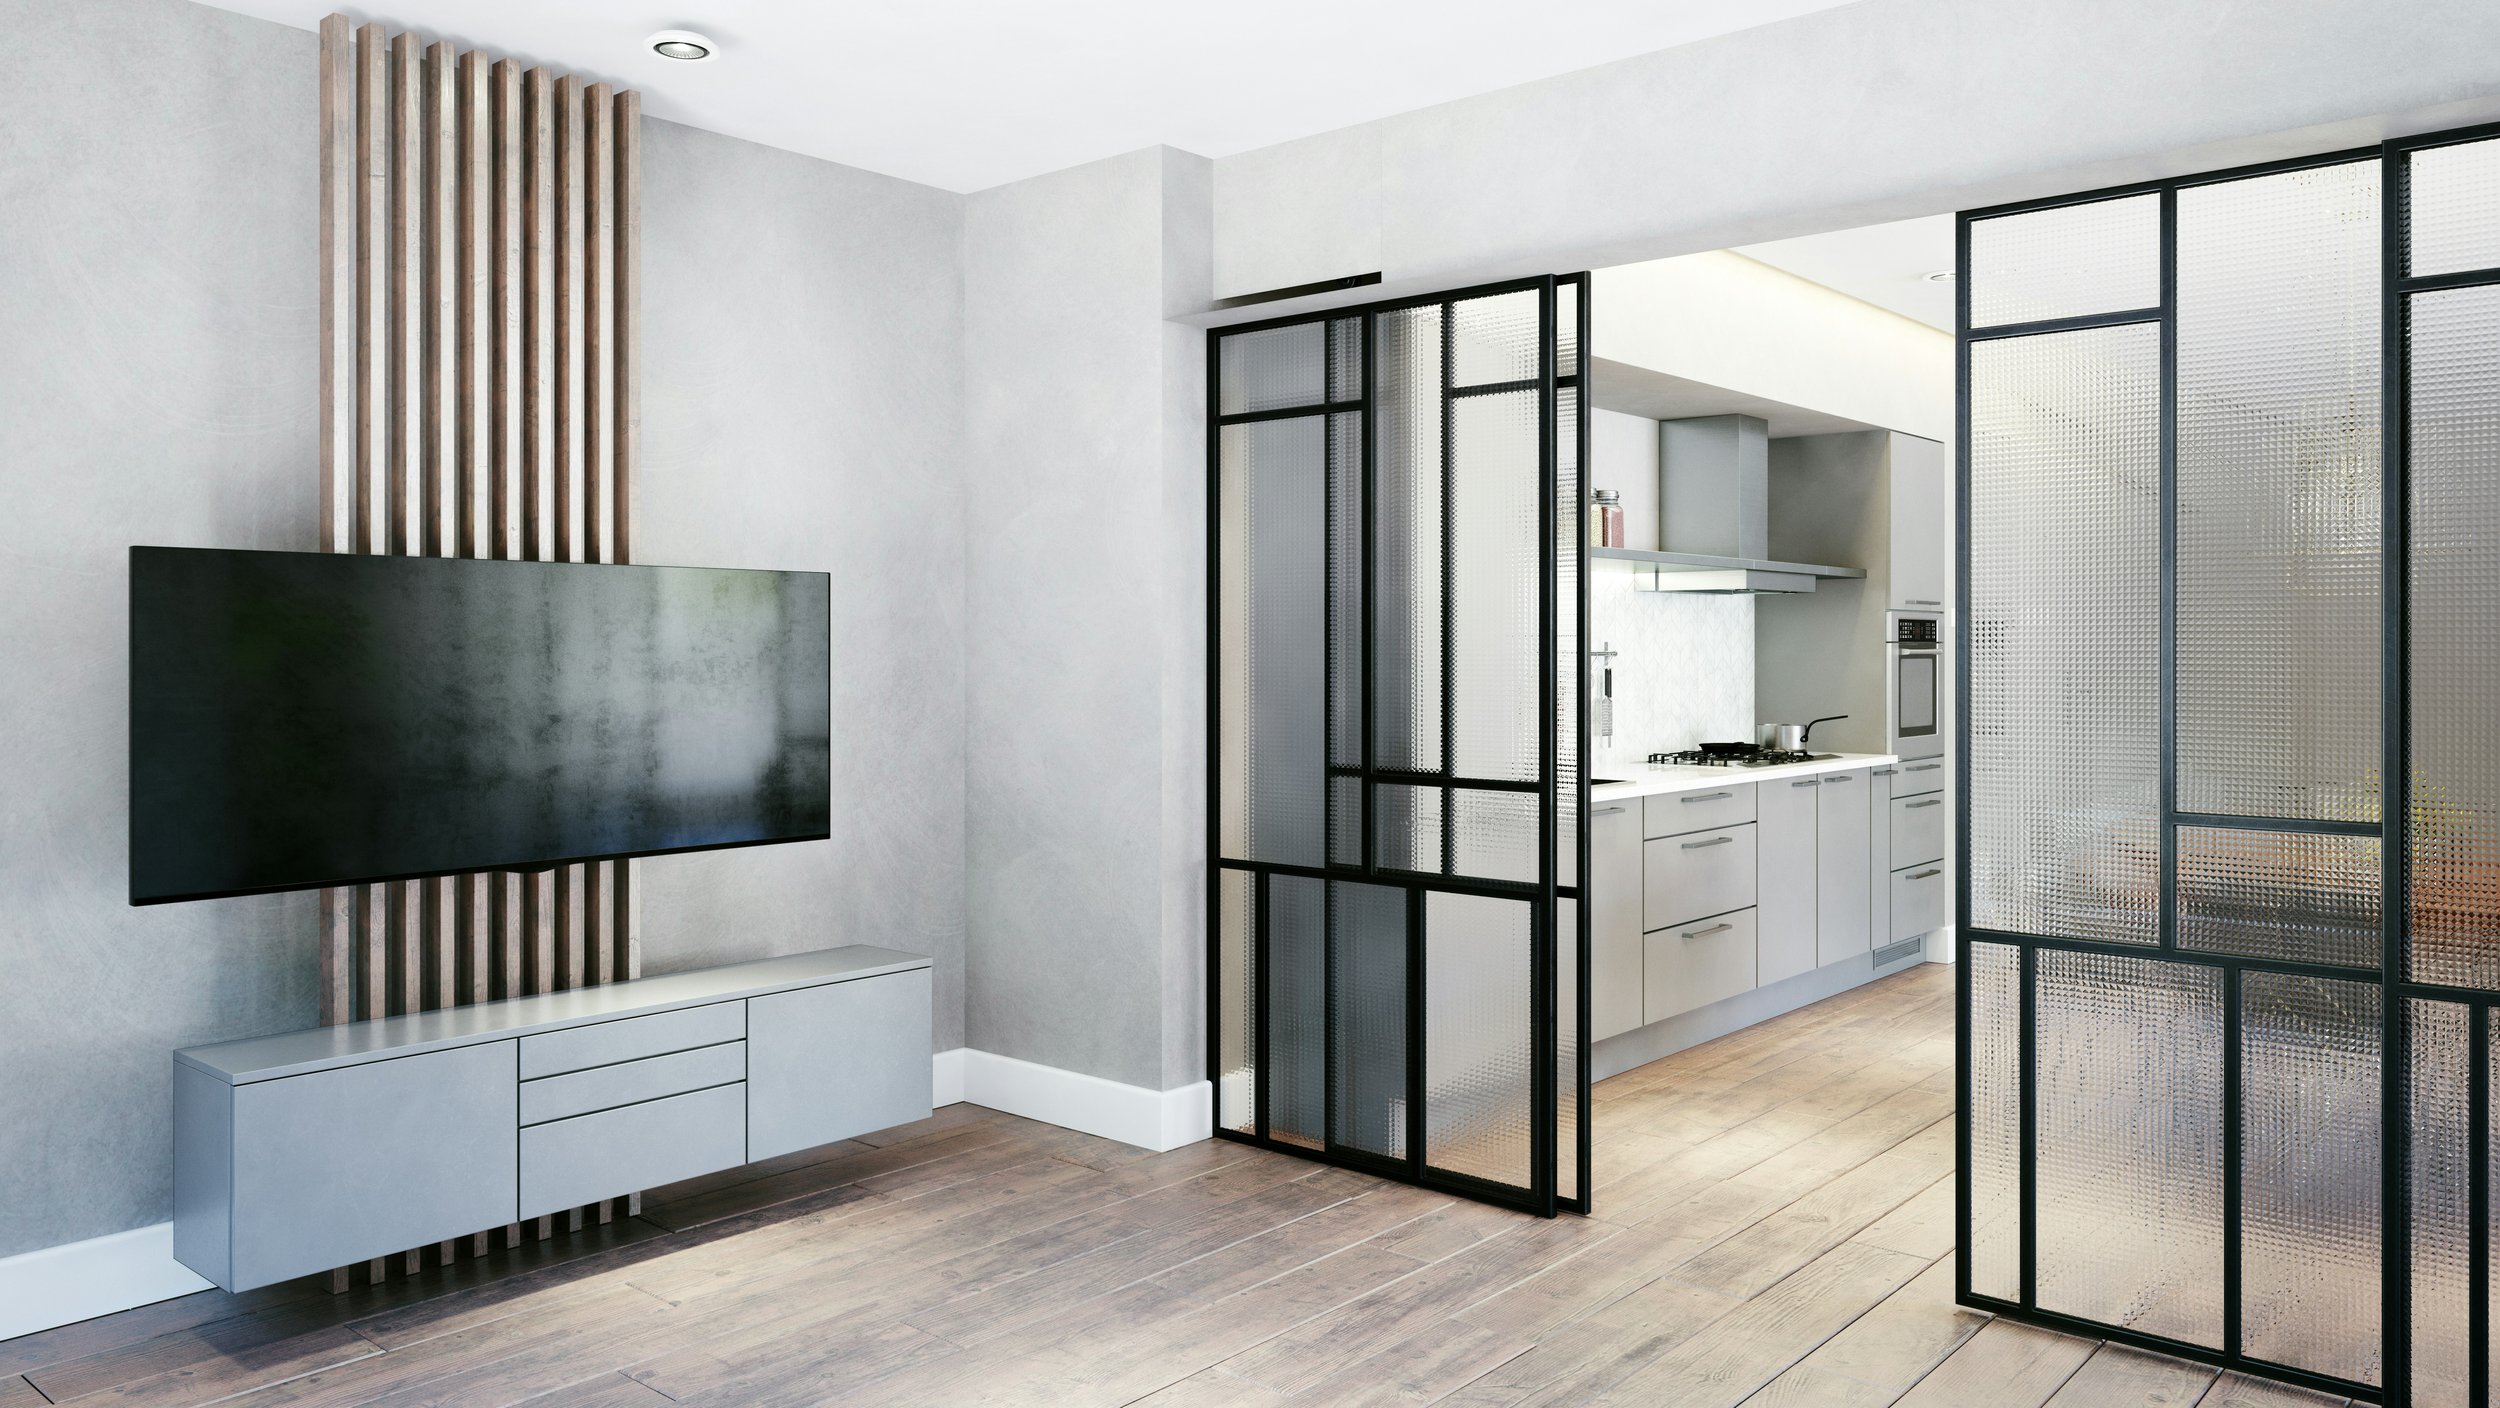
Mirrors are a fantastic way to enhance the look of any room, adding both style and functionality. Hanging a mirror on a door can be a clever space-saving solution, especially in smaller rooms where wall space is limited. Whether you want to check your outfit one last time before heading out or create the illusion of a larger space, a well-placed mirror can do the trick. But, you might be wondering, how do you securely hang a mirror on a door without causing damage? Don’t fret! In this article, we’ll walk you through How to Hang a Mirror on a Door: Step-by-Step Guide, ensuring a smooth and hassle-free installation. Let’s dive in!
Why Hang a Mirror on a Door?
Benefits of Door-Mounted Mirrors
Before we get into the nitty-gritty, let’s chat about why you might want to hang a mirror on a door in the first place.
Space-Saving:
Maximizes Floor and Wall Space: Door-mounted mirrors are an excellent solution for small spaces, as they utilize the back of a door rather than taking up valuable wall space. This is particularly beneficial in compact areas like bedrooms, bathrooms, or hallways where wall space is limited.
Efficient Design: By mounting a mirror on a door, you free up floor and wall space for other furniture, decorations, or storage solutions, making it an efficient design choice for maximizing the functionality of a room.
Practicality:
Convenient Location: Having a mirror on the back of a door provides a convenient spot for a quick look before leaving the house. Whether you're checking your outfit, fixing your hair, or applying makeup, a door-mounted mirror is perfectly positioned for last-minute touch-ups.
Multi-Purpose Use: These mirrors can serve multiple purposes, from helping with grooming to serving as a decorative piece, making them a versatile addition to any room.
Room Enhancement:
Light Reflection: Mirrors naturally reflect light, which can significantly brighten a room. By placing a mirror on a door, especially opposite a window or light source, you can enhance the natural light in the space, making it feel more open and inviting.
Illusion of Space: Door-mounted mirrors can create the illusion of a larger room. The reflection can visually expand the space, making it appear more spacious than it actually is, which is a great trick for small or narrow rooms.
Decorative Element:
Stylish and Personal: Beyond their functional benefits, door-mounted mirrors can also serve as a decorative element. They come in various styles, frames, and finishes, allowing you to choose a design that complements your room’s decor and personal taste.
Enhances Aesthetic Appeal: A well-chosen mirror can add a touch of elegance, sophistication, or personality to a room. Whether you prefer a minimalist, ornate, or modern look, a door-mounted mirror can enhance the aesthetic appeal of your space.
Now that we know the perks, let's get started with How to Hang a Mirror on a Door: Step-by-Step Guide.
How to Hang a Mirror on a Door: Step-by-Step Guide
1. Gather Your Materials
Before you begin, make sure you have all the necessary materials and tools.
Mirror:
Size and Design: Select a mirror that fits the size of your door and complements your room's decor. Consider the height and width of the door, and ensure the mirror doesn't overwhelm the space. Mirrors come in various styles, from frameless to ornate framed designs, allowing you to match the mirror with your existing interior style.
Mounting Hardware:
Mirror Clips: Ideal for frameless mirrors, clips securely hold the mirror in place without visible supports.
Adhesive Strips: Suitable for lighter mirrors, adhesive strips offer a no-drill installation option. Be sure to choose heavy-duty strips that can support the mirror's weight.
Hooks: For mirrors with a built-in frame or backing, hooks provide a simple hanging solution. Ensure the hooks can support the mirror's weight and are spaced evenly for balance.
Screwdriver or Drill:
Installation Tools: Depending on the type of mounting hardware you choose, you'll need a screwdriver or drill to attach the hardware to the door. A drill is particularly useful for making pilot holes and securing screws, especially in hardwood doors.
Measuring Tape:
Accurate Placement: Use a measuring tape to determine the exact position for your mirror on the door. Measure both the height from the floor and the centerline to ensure the mirror is placed at an optimal viewing height and centered properly.
Pencil:
Marking Positions: A pencil is essential for marking the positions where the mounting hardware will go. Light pencil marks can guide where to drill holes or place adhesive strips, ensuring the mirror is hung exactly where you want it.
Level:
Ensuring Straightness: A level is crucial for making sure your mirror is hung straight. Use it after marking your positions and during the installation to check that the mirror is perfectly aligned, avoiding a crooked appearance.
Stud Finder (Optional):
Secure Attachment: If your door is thick enough or made of solid wood, using a stud finder can help you locate the most secure spots for attaching mounting hardware. This is especially useful for heavier mirrors, ensuring they are anchored securely and reducing the risk of falling.
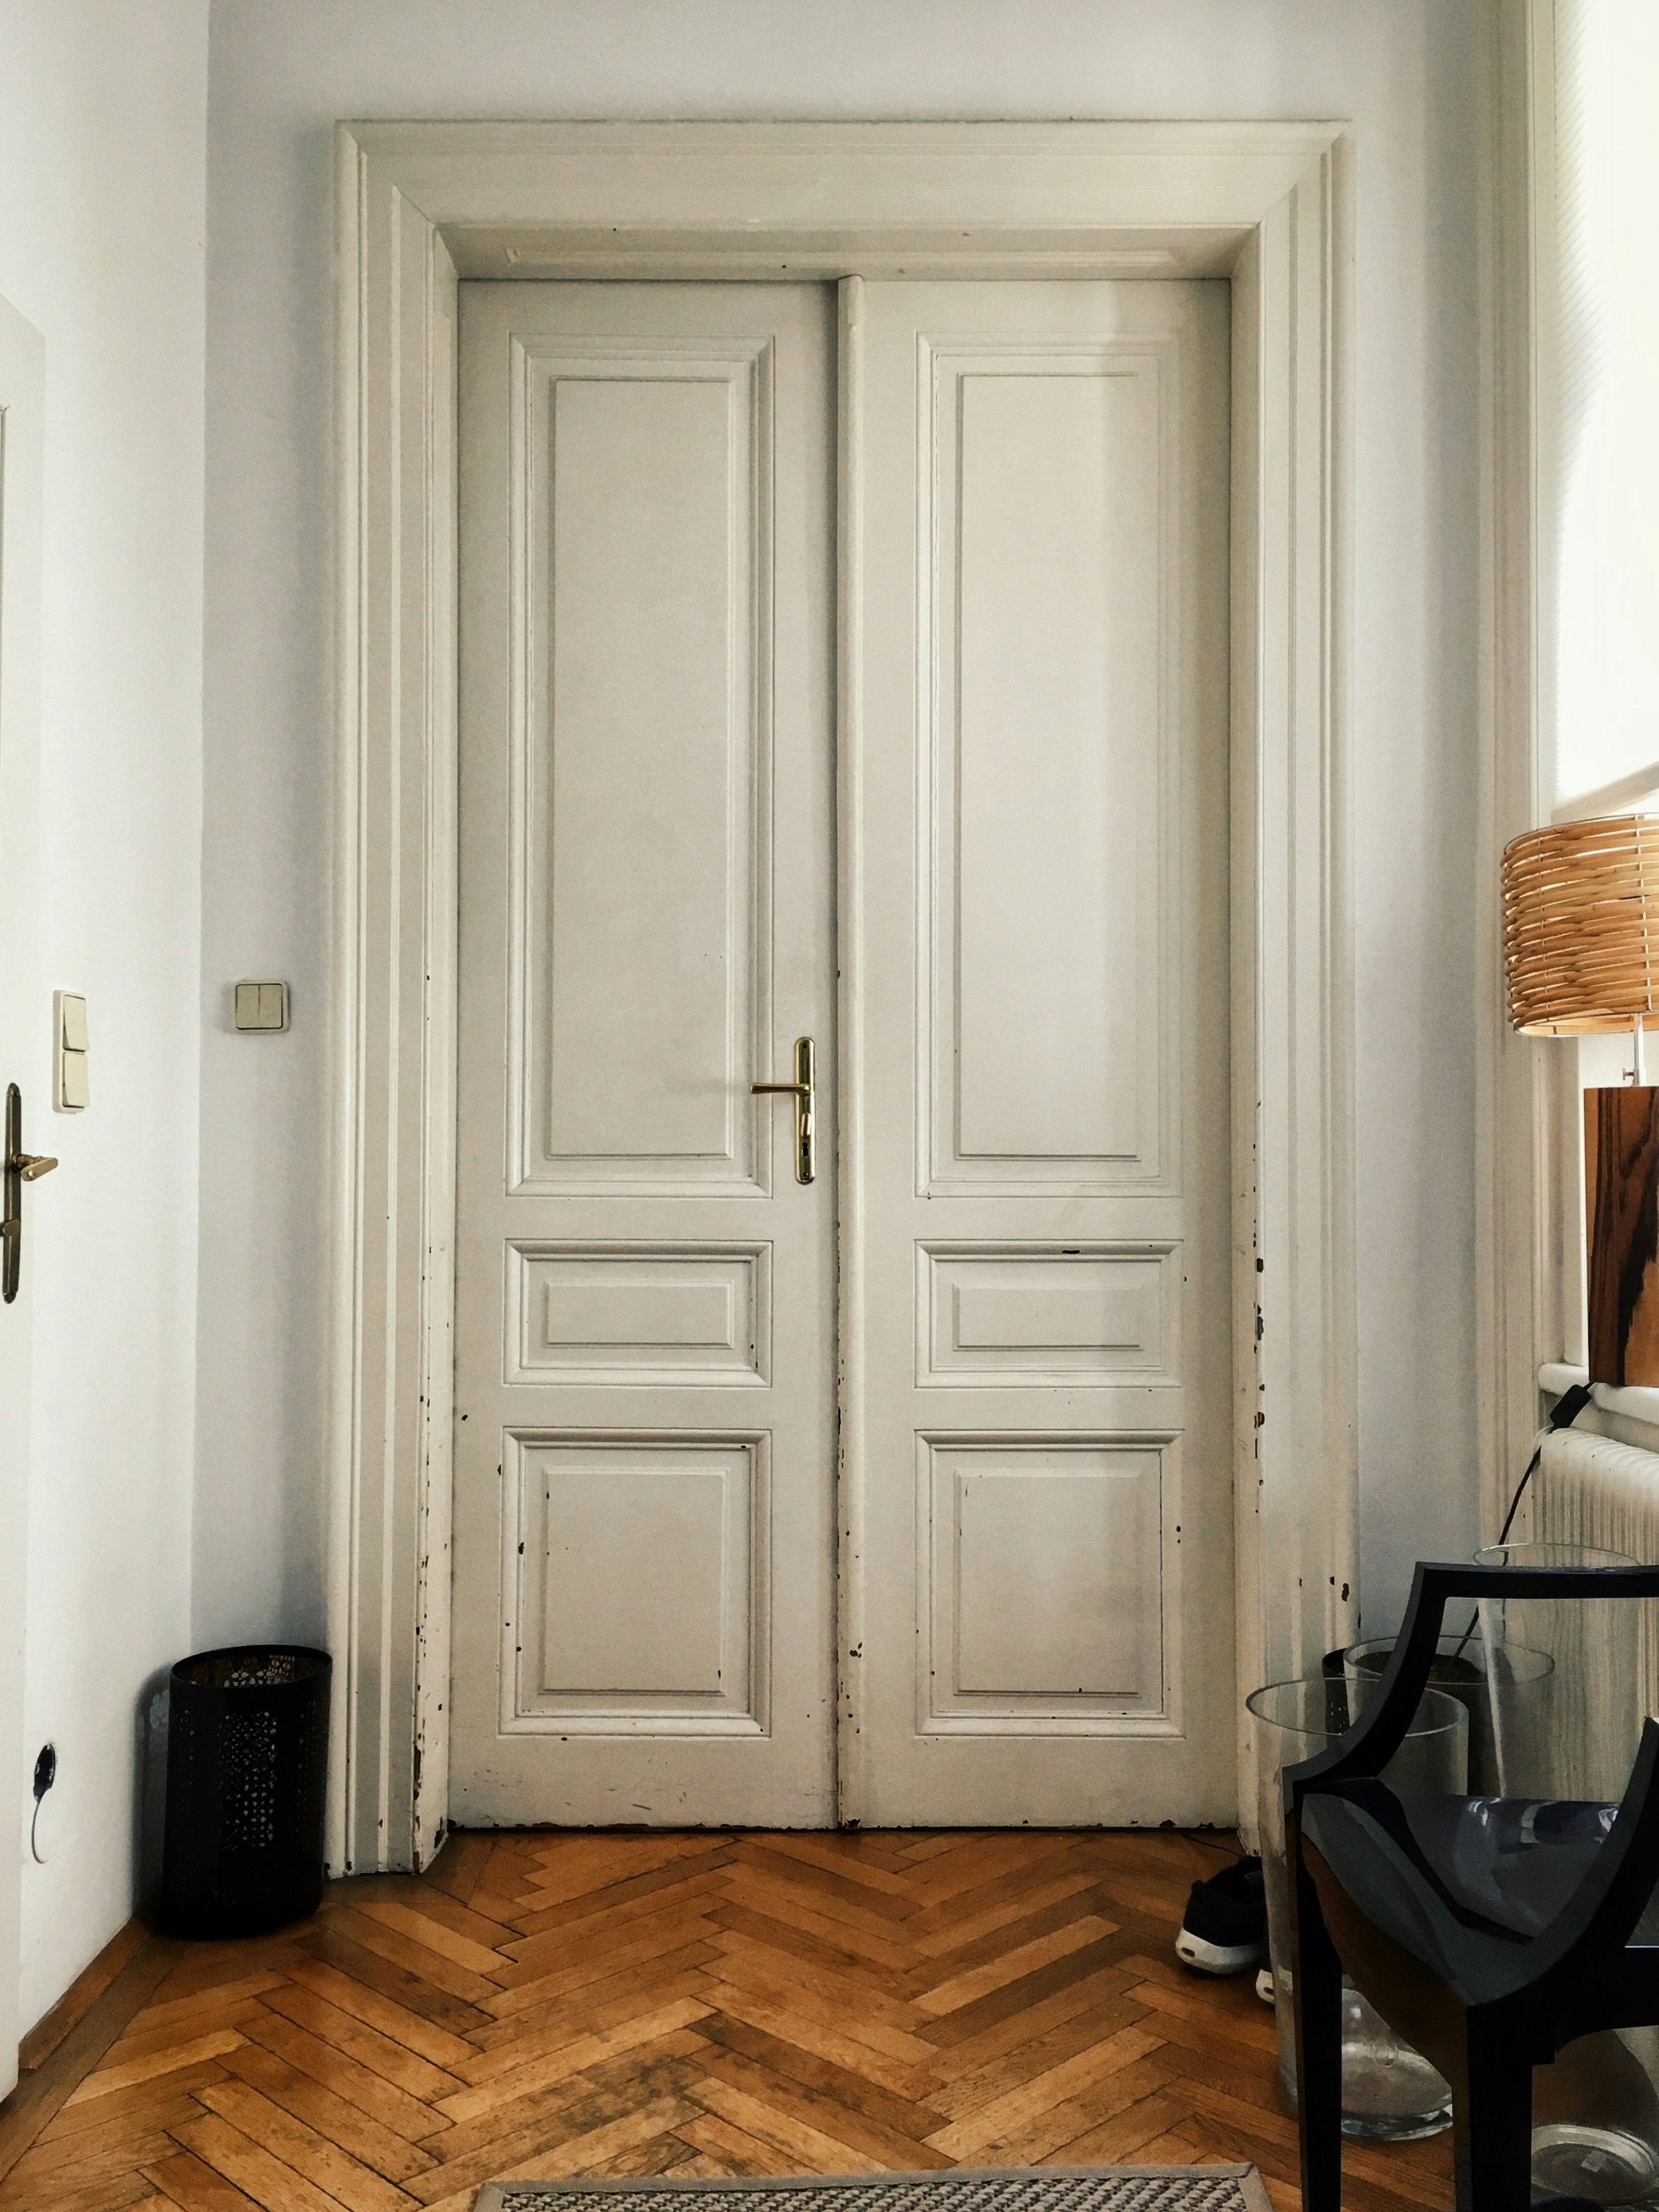
2. Choose the Right Location
The first step in How to Hang a Mirror on a Door: Step-by-Step Guide is to decide where to place the mirror.
Height
Optimal Viewing: The primary goal when positioning a mirror is to ensure that it allows for easy and comfortable viewing. A common guideline is to place the center of the mirror at eye level. This typically means positioning the center of the mirror around 57 to 60 inches from the floor, depending on the average height of the individuals using the mirror.
Adjust for Height Variation: If multiple people of varying heights will be using the mirror, you might want to adjust the placement slightly. For instance, if the mirror is primarily used by children or shorter adults, consider lowering it a few inches. Conversely, for taller individuals, raise the mirror slightly to ensure it is functional for everyone.
Placement
Door Usage Considerations: It's crucial to consider how the door is used when placing the mirror. Avoid placing the mirror where it might be easily bumped or damaged during the door's regular use. For example, if the door swings open against a wall, make sure the mirror isn't positioned in a way that it will be impacted.
Avoiding Obstructions: Ensure that the mirror doesn't interfere with door handles, locks, or any other hardware. It's important to have clear access to these functional elements without the mirror obstructing or getting in the way. This consideration helps in maintaining both the functionality of the door and the longevity of the mirror.
Safety and Accessibility: If the mirror is being installed on a bathroom or bedroom door, make sure it is easily accessible and safe to use. This includes ensuring the mirror does not pose a hazard, such as being placed too low where it could be easily kicked or damaged.
3. Mark the Placement
Once you’ve chosen the perfect spot, it’s time to mark where the mirror will go.
Measure and Mark
Determine Placement: Start by deciding the optimal height for your mirror. Measure from the floor to where you want the top and bottom of the mirror to sit. This is typically done by determining the center of the mirror at eye level, around 57 to 60 inches from the floor, or adjusted according to the users' height.
Mark the Positions: Once you have determined the placement, use a pencil to mark the top and bottom edges of the mirror on the door. Make small, light pencil marks that are easy to see but not too noticeable, as you'll need to erase them after installation. These marks will guide where you place your mounting hardware and ensure the mirror is positioned correctly.
Check for Level
Place the Level: After marking the top and bottom positions, use a level to ensure your marks are perfectly horizontal. Place the level along your pencil marks to check for straightness. This is crucial to avoid a crooked mirror, which can be distracting and reduce the aesthetic appeal.
Adjust as Needed: If the level indicates that your marks are not perfectly straight, adjust them accordingly. Reposition the marks and recheck with the level until they are aligned properly. This step might require some fine-tuning, but it’s important to take the time to get it right for a professional-looking installation.
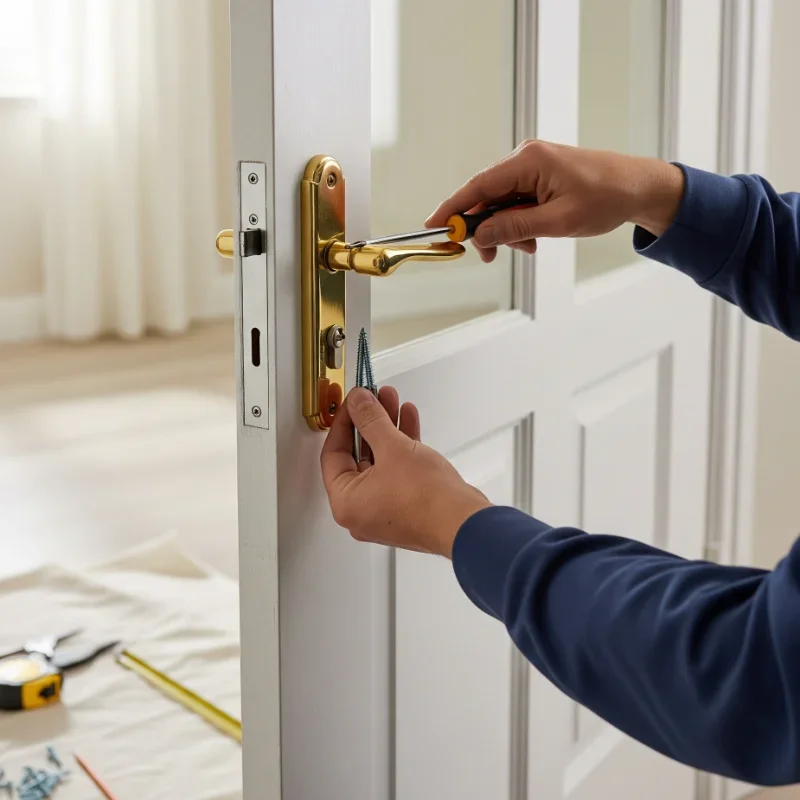
4. Install the Mounting Hardware
The type of mounting hardware you use depends on your mirror and the door material.
Mirror Clips
Ideal for Heavier Mirrors: Mirror clips are a secure option for mounting heavier mirrors. They provide sturdy support and ensure the mirror stays in place.
Installation Process:
Bottom Clips First: Start by installing the bottom clips. Screw them into the door at the pre-marked points, ensuring they are level and aligned.
Placing the Mirror: Carefully lift the mirror and place it into the bottom clips. Make sure the mirror is centered and aligned with your markings.
Securing with Top Clips: Once the mirror is in place, install the top clips to secure the mirror. Tighten the clips snugly but avoid over-tightening, which could damage the mirror.
Adhesive Strips
Best for Lighter Mirrors: Adhesive strips are a convenient option for lighter mirrors, providing a clean and drill-free installation.
Application Steps:
Preparation: Clean the back of the mirror and the door surface where the strips will be applied. This ensures good adhesion and prevents dust or dirt from compromising the bond.
Applying the Strips: Follow the manufacturer’s instructions to apply the adhesive strips. Typically, you'll need to press them firmly to the mirror or door for a few seconds to activate the adhesive.
Mounting the Mirror: Once the strips are applied, position the mirror on the door and press firmly into place. Hold for a minute or so to ensure a secure bond. Check the mirror periodically to ensure it remains adhered.
Over-the-Door Hooks
Quick and Easy Installation: Over-the-door hooks are a hassle-free option, perfect for renters or those who prefer not to drill into doors.
Usage Instructions:
Positioning the Hooks: Place the hooks over the top of the door, making sure they are securely positioned and won’t slip.
Hanging the Mirror: Hang the mirror onto the hooks. This type of installation allows for easy adjustment and removal, making it versatile and convenient.
5. Secure the Mirror
After installing the mounting hardware, it’s time to hang the mirror.
Lift and Position
Careful Lifting: Begin by carefully lifting the mirror. This step is crucial, especially for heavier mirrors, to avoid any accidents or damage. Ensure you have a firm grip and, if necessary, enlist help to handle larger or heavier mirrors.
Aligning with Mounting Hardware:
For Mirror Clips: If using mirror clips, first slide the mirror into the bottom clips, ensuring it sits securely. Then, gently tilt the top of the mirror back and fit it into the top clips. Tighten the clips just enough to hold the mirror in place without putting excessive pressure on the glass.
For Adhesive Strips: If you're using adhesive strips, carefully align the mirror with the pre-marked positions on the door. Once aligned, press the mirror firmly against the door, applying consistent pressure across the entire surface to ensure a strong bond. Follow the manufacturer's guidelines for the necessary duration of pressing.
Double-Check Alignment
Use a Level: After the mirror is in place, use a level to check the alignment. Place the level along the top edge of the mirror to ensure it is perfectly horizontal. If necessary, adjust the mirror slightly to achieve a straight line.
Adjustments: If you notice that the mirror is not perfectly straight, make the necessary adjustments before fully securing it. For clip installations, this might involve loosening and repositioning the clips slightly. For adhesive strips, you may need to reapply pressure to ensure the mirror is securely and evenly attached.
Final Check: Once you're satisfied with the positioning, give the mirror one last check for stability and alignment. Ensure all clips are securely fastened and that the adhesive strips are holding firm. It's also a good time to check that the door opens and closes smoothly without the mirror shifting.
6. Final Checks and Adjustments
With the mirror in place, there are a few final steps to ensure everything is perfect.
Check Stability
Gently Test: Once your mirror is installed, gently push on different parts of the mirror to test its stability. This ensures that the mirror is securely attached to the door and won't move or fall during regular use.
Look for Wobbling: Pay close attention to any signs of wobbling or movement. If the mirror shifts, you may need to tighten the mounting hardware further or adjust the adhesive strips to ensure a more secure fit.
Double-Check Hardware: For mirrors mounted with clips or hooks, ensure all screws are properly tightened. If using adhesive strips, confirm they are fully adhered and not showing signs of detachment.
Clean the Mirror
Glass Cleaner: After ensuring the mirror is securely in place, use a glass cleaner to wipe down the surface. This removes any fingerprints, smudges, or dust that may have accumulated during the installation process.
Soft Cloth: Use a soft, lint-free cloth or microfiber cloth to avoid scratching the mirror surface. Start from the top and work your way down in a circular motion for an even clean.
Final Inspection: Once cleaned, inspect the mirror for any remaining streaks or spots. If necessary, repeat the cleaning process to achieve a crystal-clear finish.
Tips for Hanging a Mirror on a Door
Consider the Weight
Weight Limits: Make sure the door can support the weight of the mirror, especially if it’s a hollow-core door. Choose appropriate hardware that can handle the mirror’s weight.
Protect the Door Surface
Padding: If using over-the-door hooks, consider adding felt pads to prevent scratches or damage to the door.
Adhesive Safety: When using adhesive strips, choose a product that won’t damage the door surface upon removal.
Safety First
Secure Fastening: Ensure all hardware is securely fastened to prevent the mirror from falling.
Avoid Heavy Mirrors: For doors that are frequently opened and closed, avoid hanging excessively heavy mirrors, as they can strain the door and hinges.
Conclusion
Hanging a mirror on a door is a practical and stylish way to enhance your space. With this How to Hang a Mirror on a Door: Step-by-Step Guide, you’ve got all the tips and tricks you need to ensure a smooth and secure installation. From choosing the right location and hardware to ensuring the mirror is level and stable, each step is crucial for a successful outcome. So, grab your tools and get ready to add a touch of elegance and functionality to your room with a beautifully hung mirror. Happy decorating!
Frequently Asked Questions
Can I hang a mirror on a hollow-core door?
Yes, you can hang a mirror on a hollow-core door, but be mindful of the mirror's weight. Use adhesive strips or lightweight hooks, and avoid heavy mirrors that could damage the door.
What type of mirror should I use for a door?
Choose a mirror that’s lightweight and appropriately sized for the door. Frameless mirrors are often a good choice as they’re lighter and easier to hang.
How do I prevent a mirror from moving on the door?
Ensure the mirror is securely attached using appropriate hardware. For extra stability, you can add non-slip pads or bumpers behind the mirror.
Can I use nails to hang a mirror on a door?
It's generally not recommended to use nails, especially on hollow-core doors, as they can damage the door and may not provide sufficient support.
Is it safe to hang a mirror on a bathroom door?
Yes, it’s safe as long as you use moisture-resistant materials and secure the mirror properly to prevent it from falling due to steam or humidity.
Stay up to date with our latest ideas!