What Is Backer Board and How Does It Work
Curious about "What Is Backer Board and How Does It Work"? Dive into our ultimate DIY guide that explains backer board's functions, benefits, and installation tips with practical insights and FAQs.
Ever wandered through a home improvement store and found yourself scratching your head over a mysterious building material? Well, you're not alone! Backer board might sound like just another fancy term tossed around in DIY circles, but trust me, it’s a real game changer. In this article, we're diving headfirst into the intriguing world of backer board. We'll unravel what it is, how it works, and why it’s become a must-have for projects like tile installations and more. So, buckle up, grab your favorite drink, and get ready to learn all about What Is Backer Board and How Does It Work!
What Is Backer Board and How Does It Work?
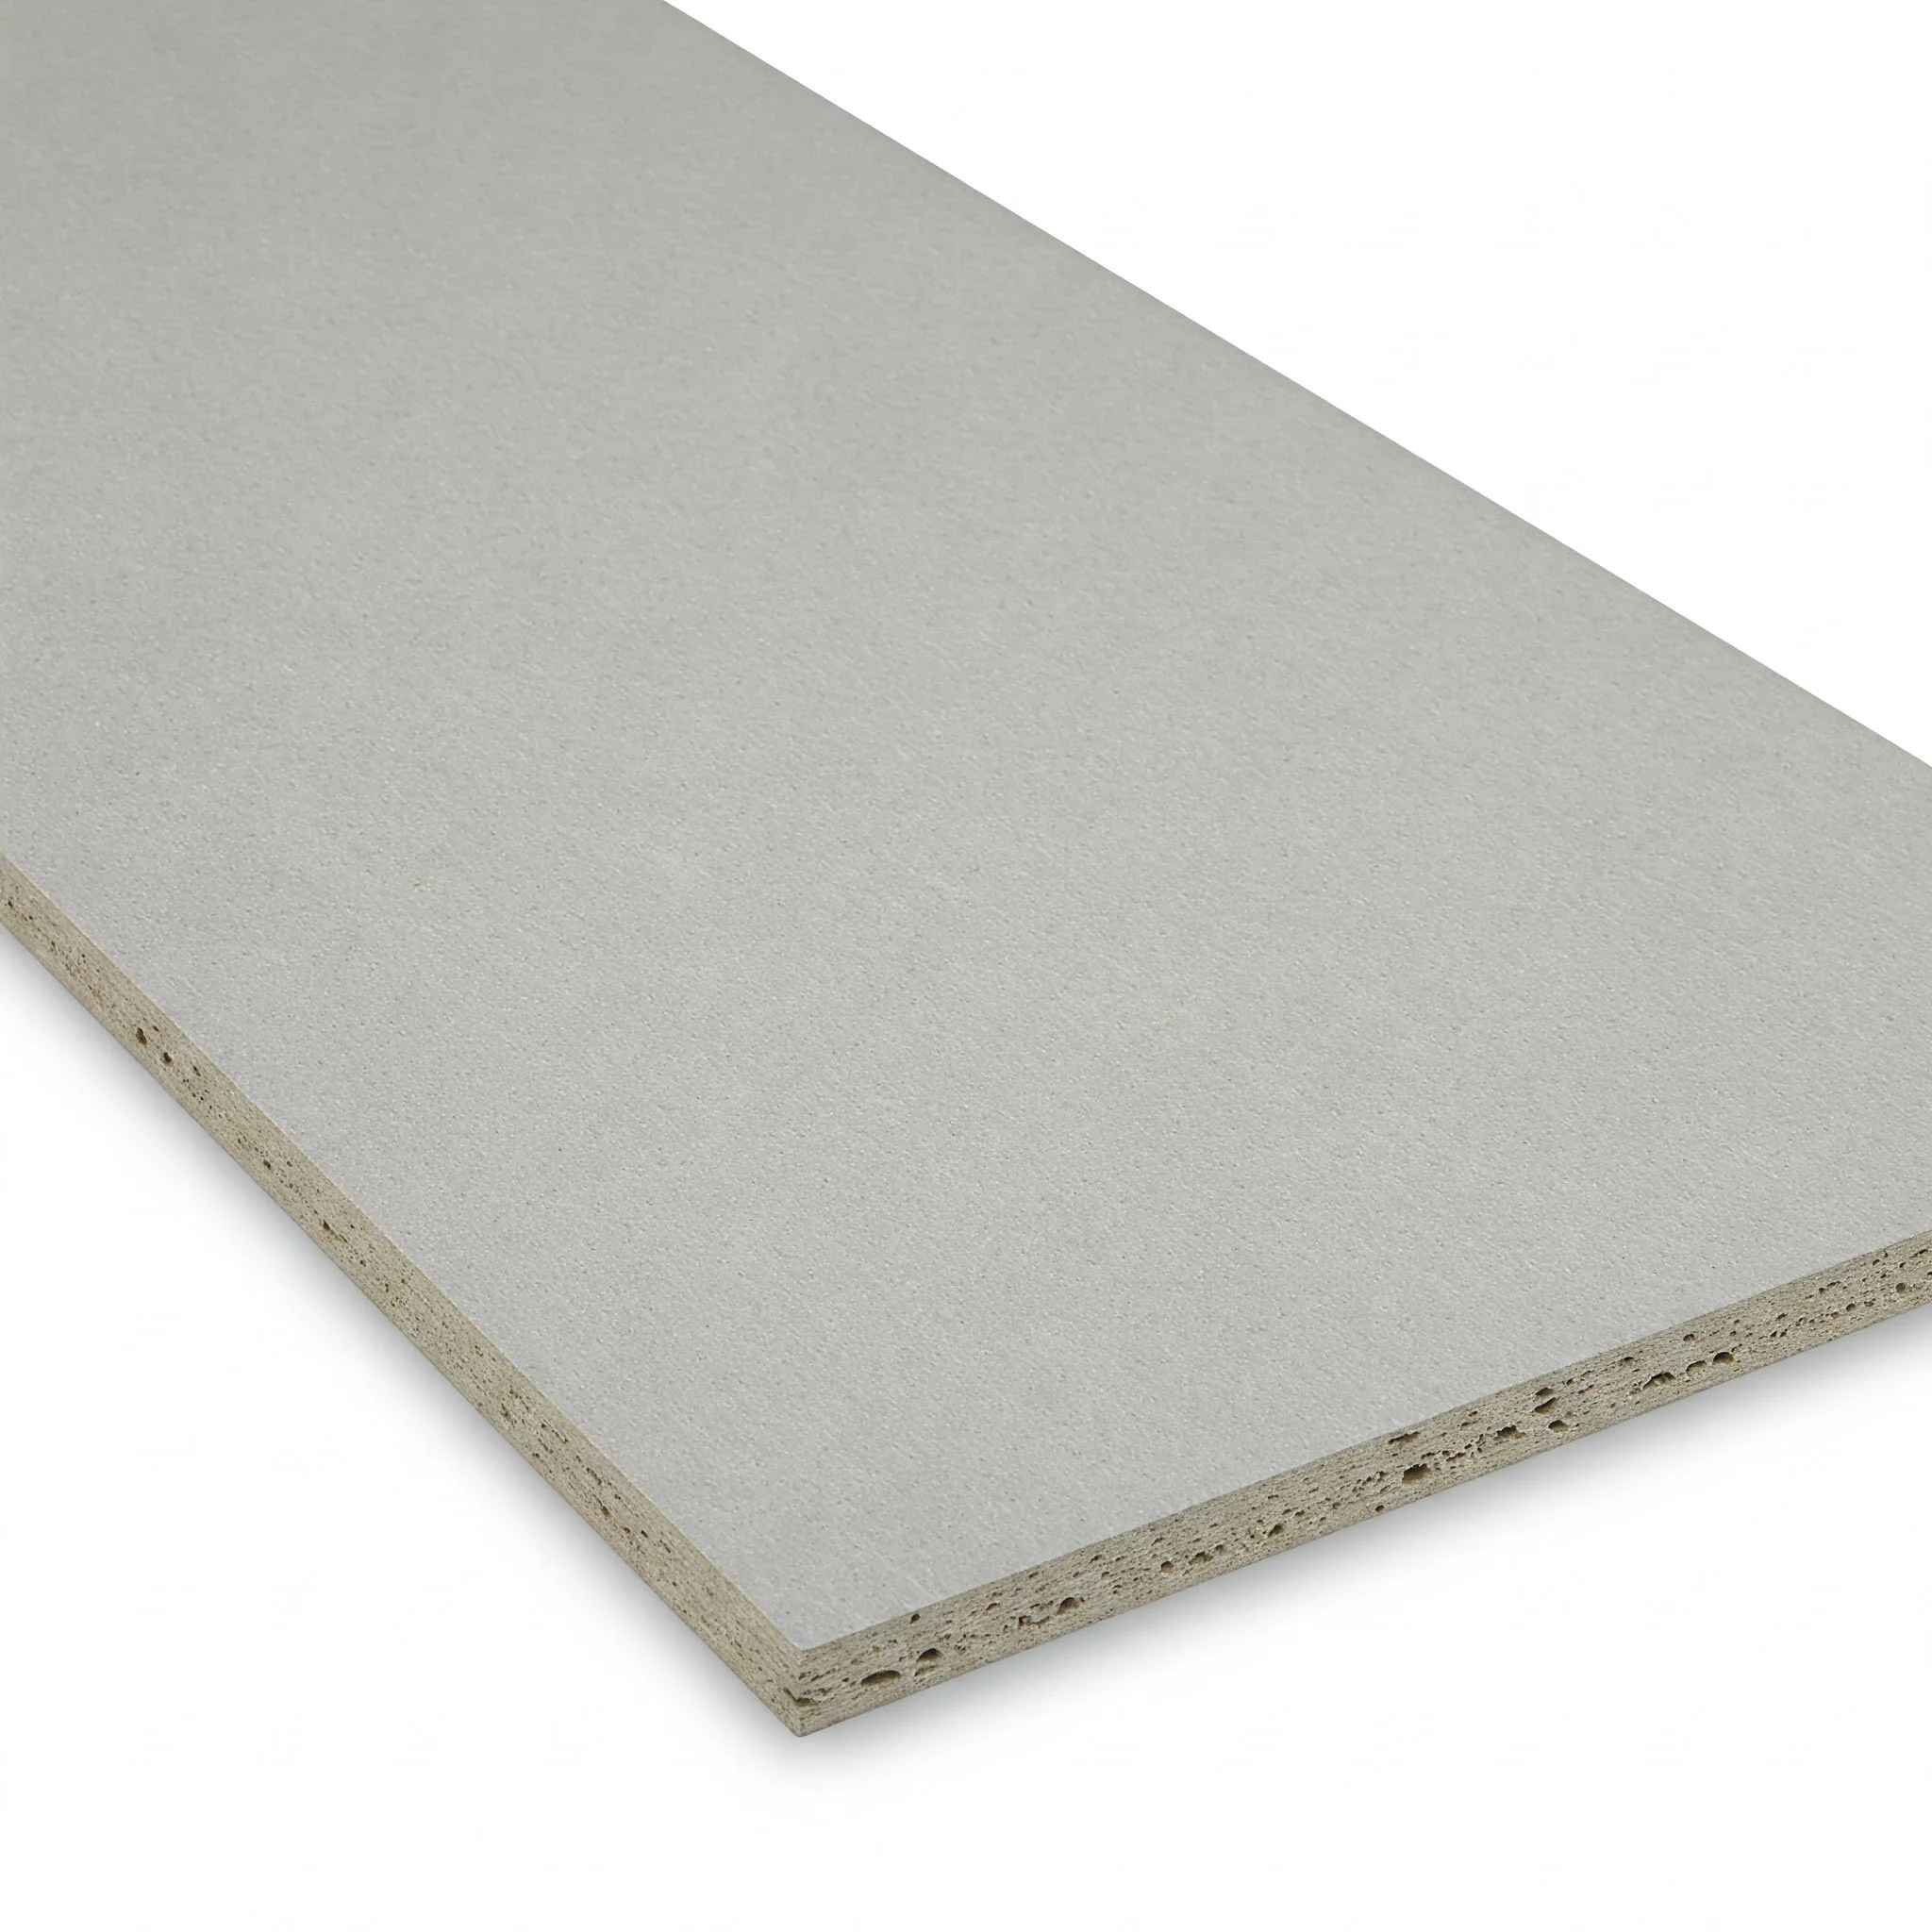
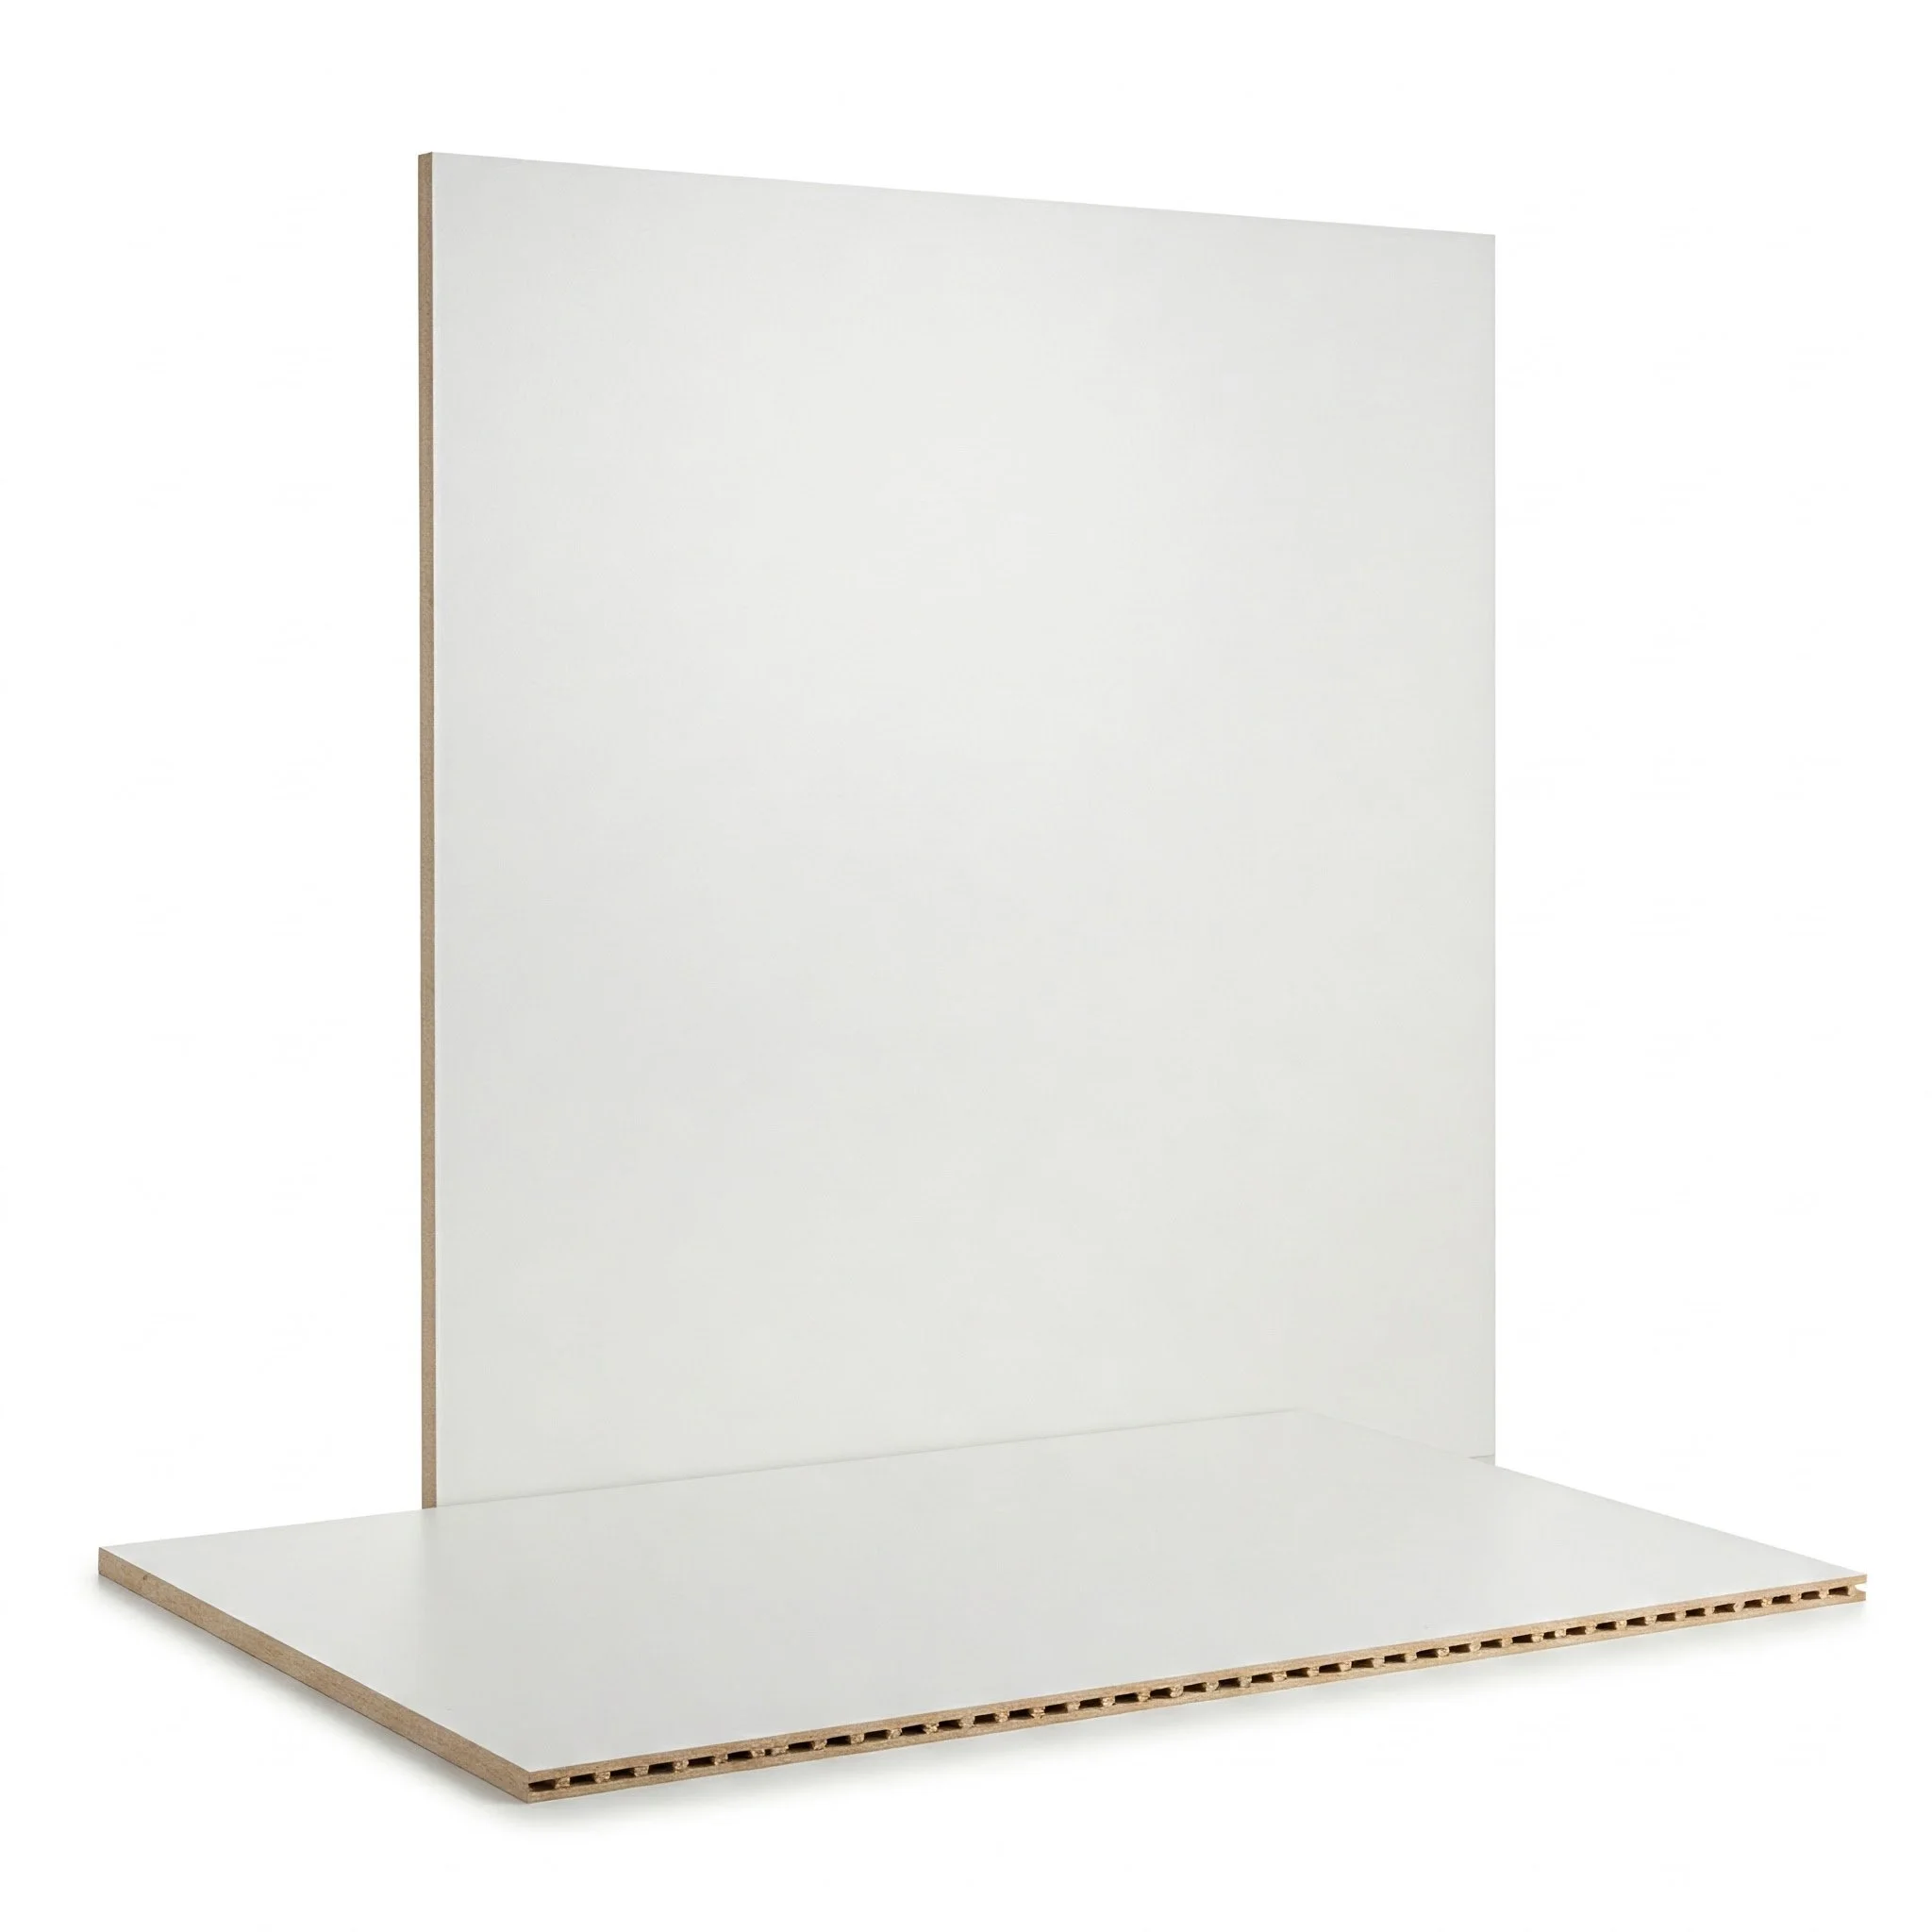
When it comes to creating a solid, moisture-resistant surface for tiling or other wall applications, backer board is the unsung hero. Simply put, backer board is a cementitious or fiber cement panel that acts as a stable, water-resistant base before you lay your finishing materials. Unlike standard drywall, which can be prone to water damage and mold, backer board stands tough against moisture and provides a smooth, reliable surface for tiles, stone, or other decorative elements.
The Nuts and Bolts of Backer Board
Composition: Typically made from cement, fiberglass mesh, and various additives, backer board is designed to be durable and resistant to moisture.
Functionality: It serves as a substrate that not only supports your tiles but also helps prevent water from seeping through, keeping your surfaces safe and sound.
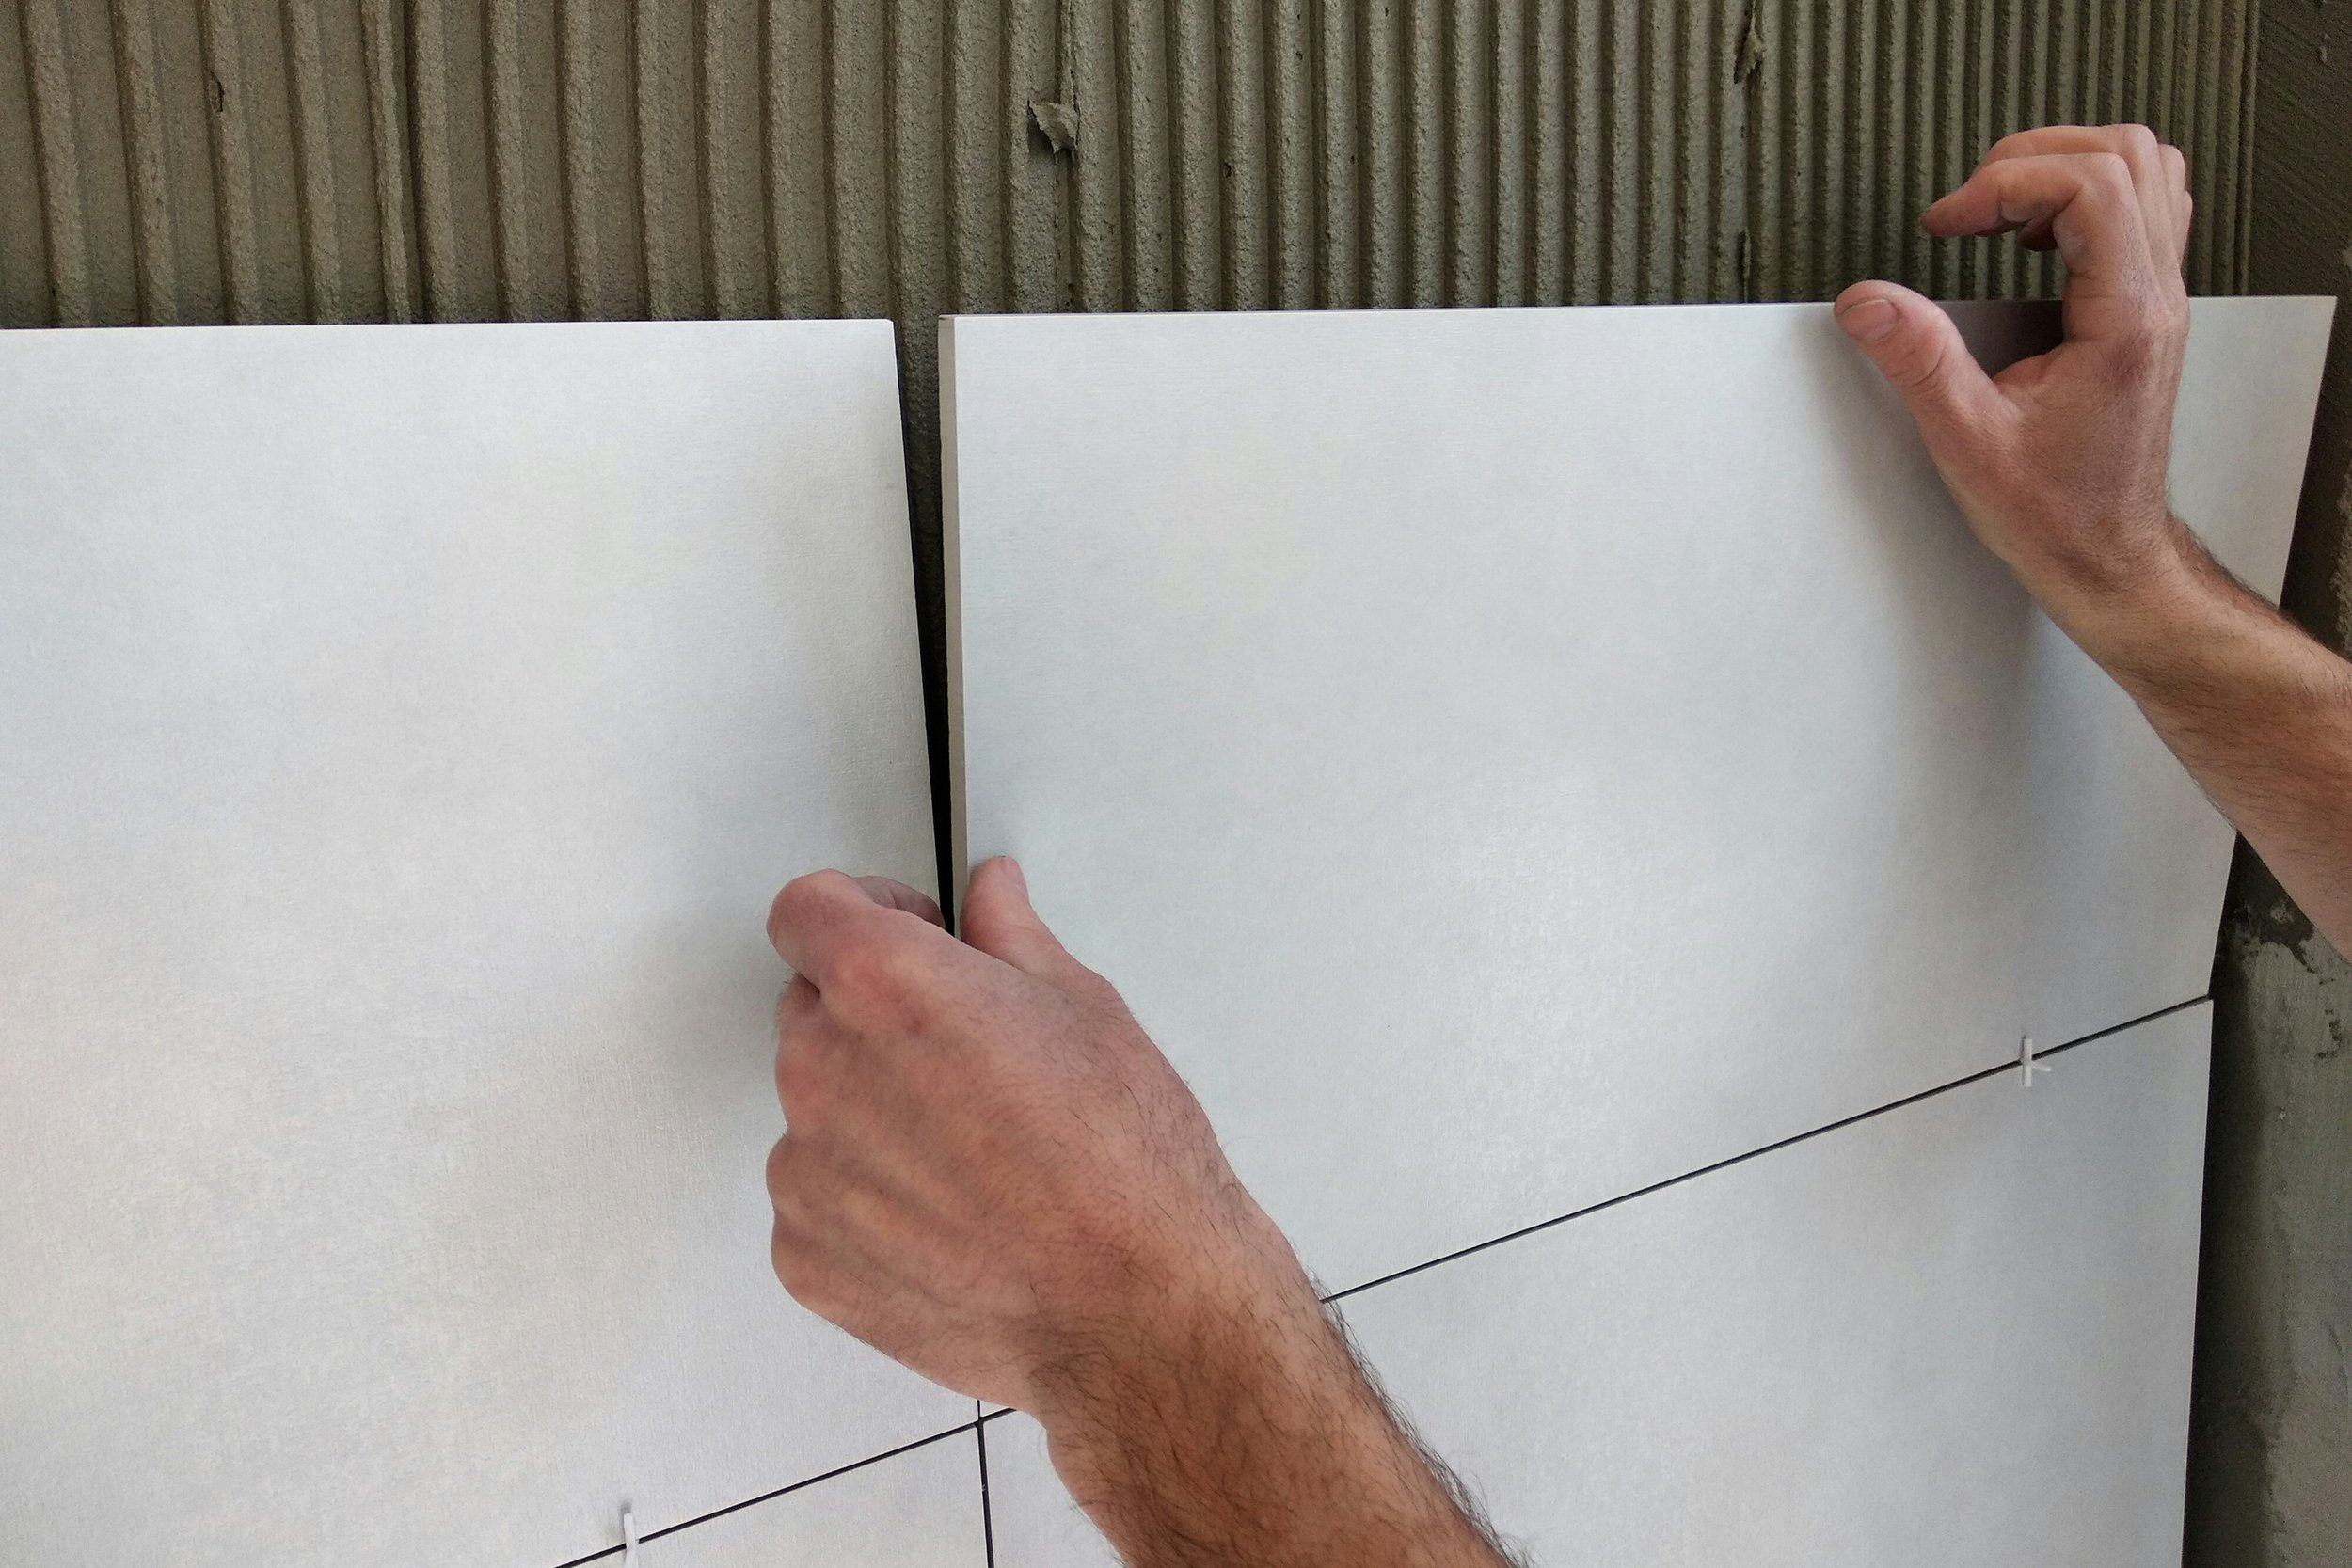
Installation: Backer board is usually installed over a framework with thin-set mortar, then sealed with a waterproofing membrane before tiling begins.
Now that you’ve got the lowdown on what backer board is, let’s explore its inner workings and why it’s a favorite among DIYers and professionals alike.
The Benefits of Using Backer Board
When you're knee-deep in a home renovation project, you want materials that are reliable, easy to work with, and built to last. Here’s why backer board fits the bill:
Durability and Moisture Resistance
Built to Last: Backer board's cementitious composition means it’s incredibly sturdy. It can withstand the bumps and bruises of everyday use without crumbling.
Moisture-Resistant: Unlike traditional drywall, backer board won’t warp or degrade when exposed to water. This makes it perfect for bathrooms, kitchens, and any areas where moisture is a concern.
Enhanced Support for Finishes
Stable Base: The rigidity of backer board offers a dependable foundation for tile, stone, or other decorative surfaces. No more fretting about cracked tiles or uneven surfaces!
Smooth Surface: Its smooth, uniform texture means your finished work will look professional, with fewer imperfections to worry about.
Easy to Install and Maintain
DIY-Friendly: Backer board is designed with the DIYer in mind. With a few basic tools and a bit of elbow grease, you can install it yourself.
Low Maintenance: Once installed and sealed, backer board requires little to no upkeep, making it a long-term solution for your home improvement needs.
By now, you're probably wondering, "What Is Backer Board and How Does It Work?" Well, in a nutshell, it works by acting as a robust, water-resistant layer that supports your tiles while preventing moisture damage—a win-win for anyone aiming for a durable, attractive finish.
Types of Backer Board
Not all backer boards are created equal. There are several types available on the market, each suited to different applications and installation environments. Let’s break them down:
Cement Backer Board
Most Common: Cement backer board is widely used for its excellent water resistance and durability.
Ideal for Wet Areas: It’s the go-to choice for bathrooms, showers, and kitchens where moisture is a major concern.
Installation Tip: Always use the recommended thin-set mortar and waterproofing membrane for best results.
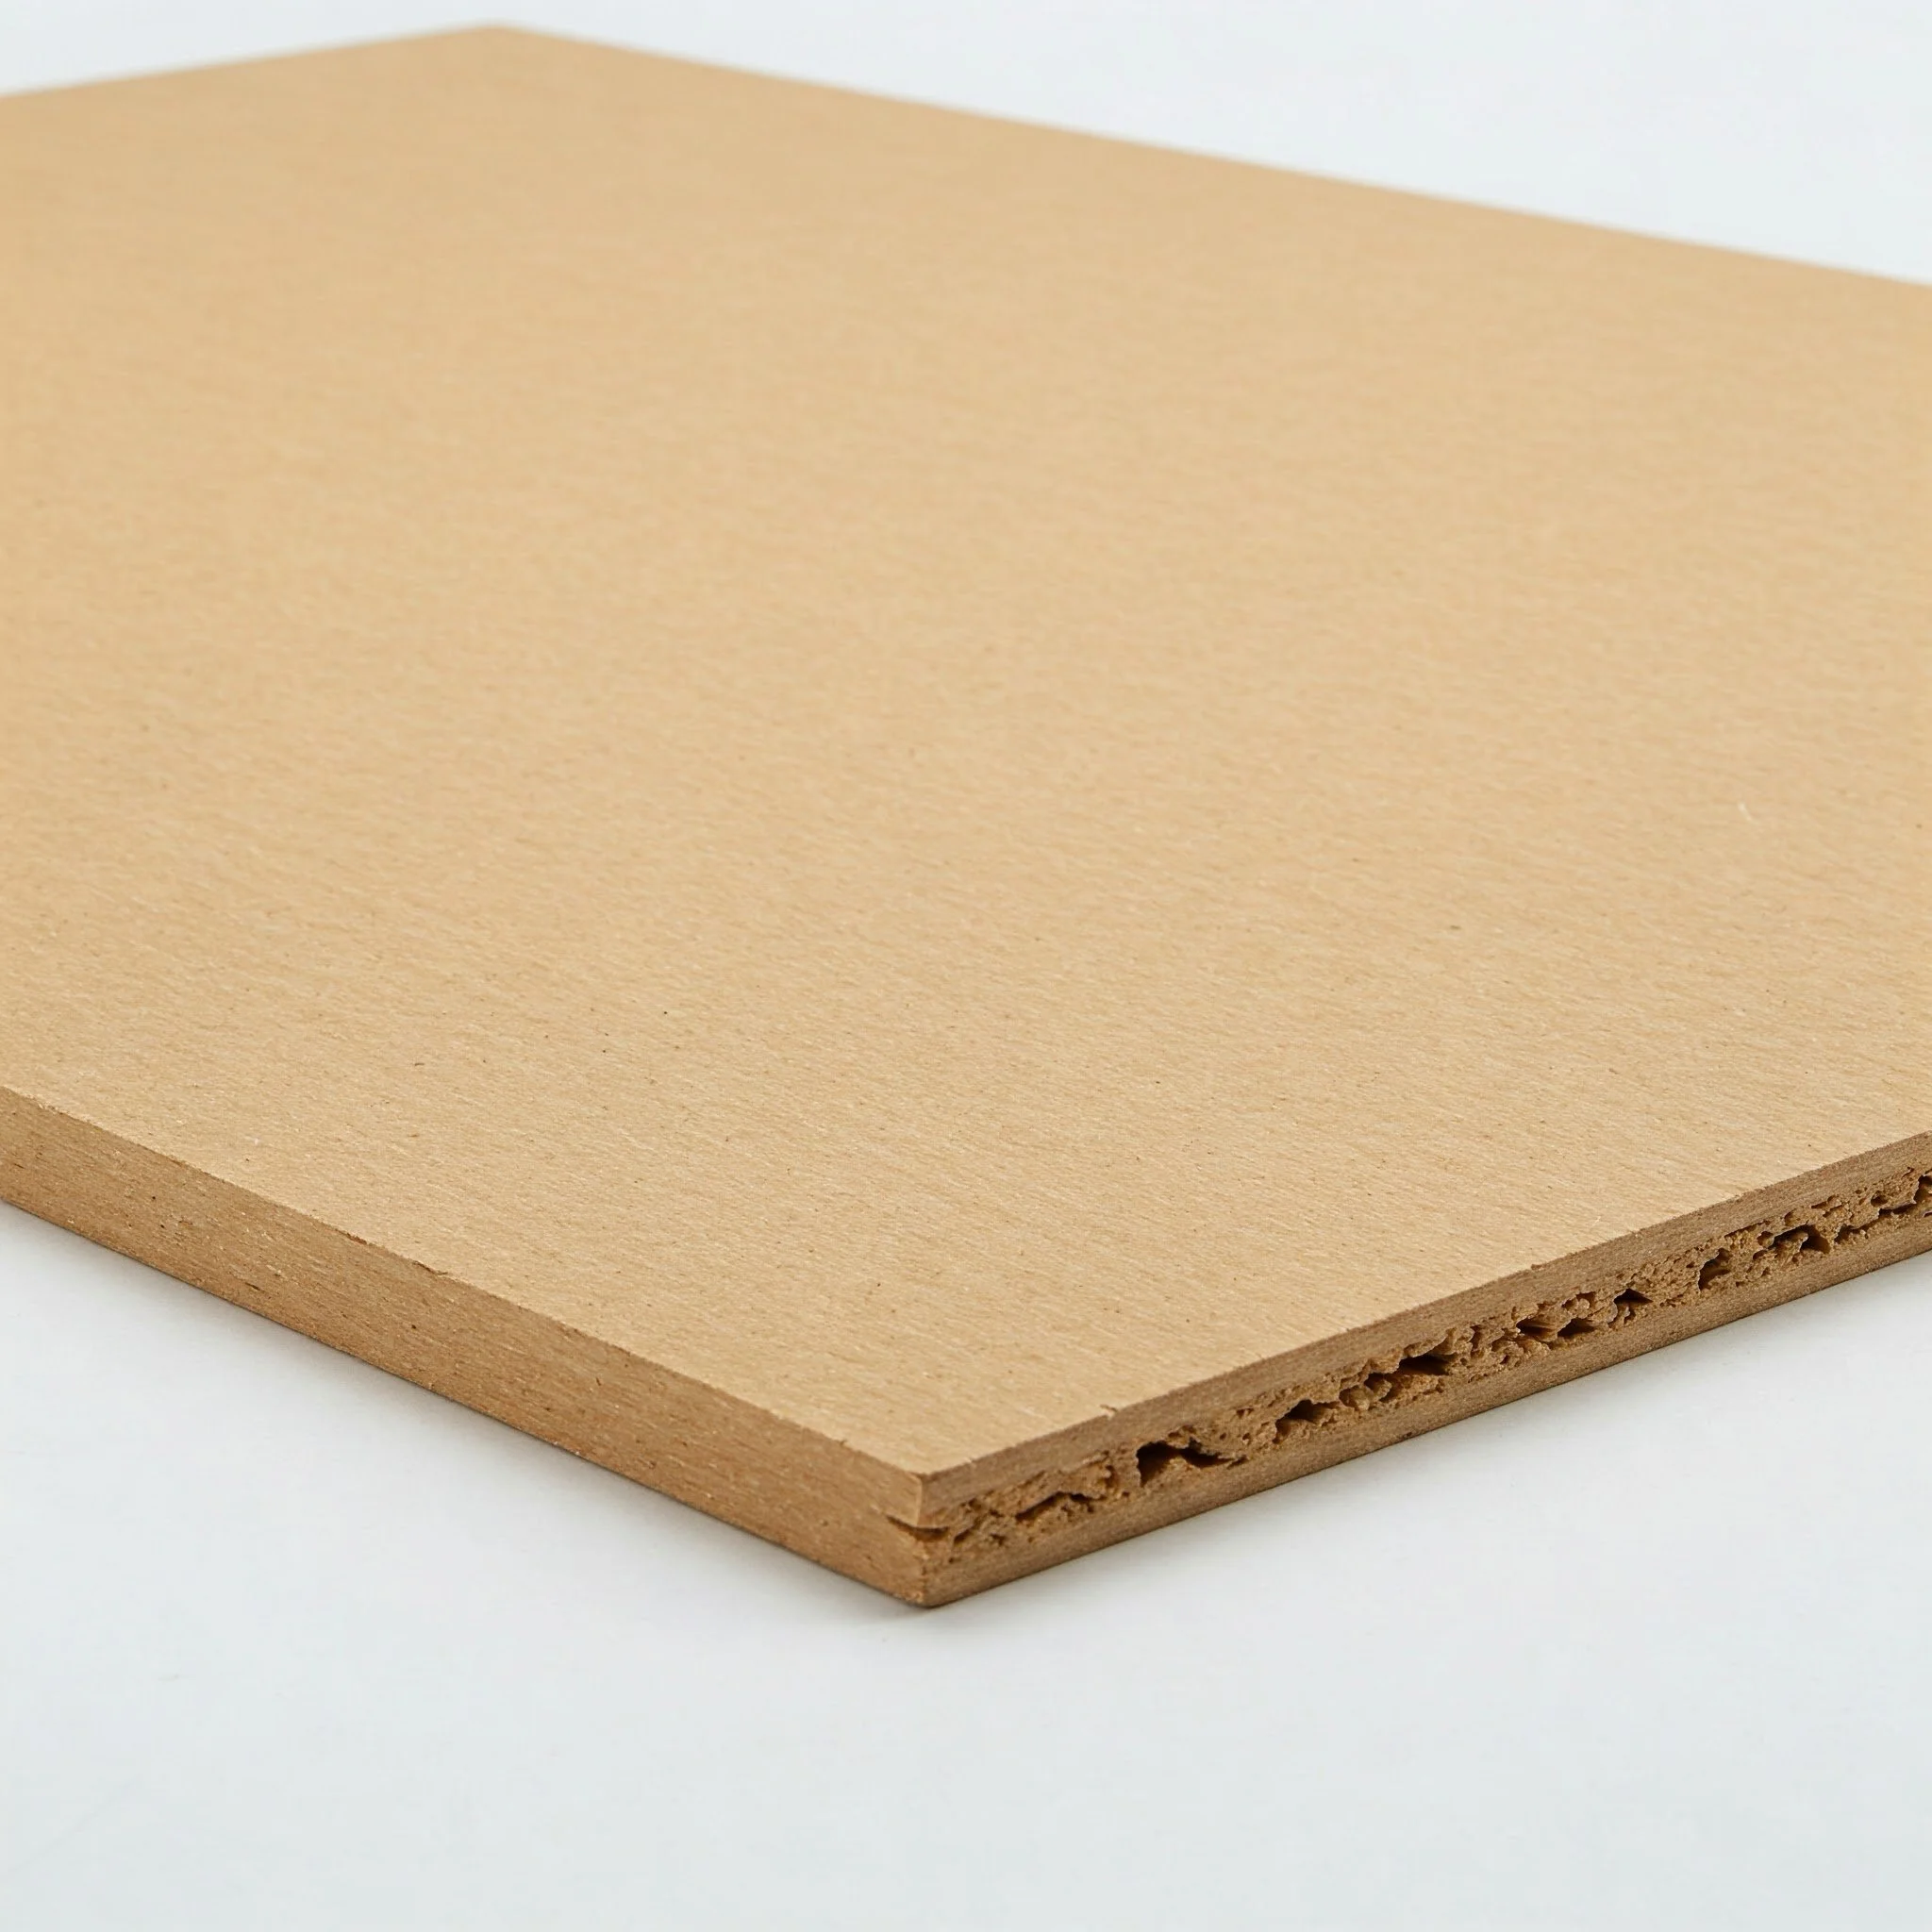
Fiber Cement Backer Board
Lightweight and Strong: Made with a blend of cement and fibers, this type is easier to handle and cut than traditional cement backer board.
Versatile Applications: Perfect for both wall and floor installations, it offers a smooth surface ideal for tiling.
Pro Tip: Use a carbide-tipped scoring tool to make cutting easier and cleaner.
Foil-Backed Backer Board
Extra Protection: These boards come with a foil backing that provides additional moisture resistance.
Dual Function: They can act as both a substrate and a vapor barrier, saving you time and effort.
Usage Note: Great for areas with high humidity, but ensure proper installation to avoid any gaps in the vapor barrier.
Each type of backer board has its own set of perks, so choose one that best matches your project’s specific needs. Remember, understanding What Is Backer Board and How Does It Work in different scenarios can save you a lot of hassle down the line.
How to Install Backer Board: Step-by-Step Guide
Installing backer board might seem like a tall order at first, but once you break it down into manageable steps, it's as straightforward as pie. Here’s how you can get the job done right:
Step 1: Gather Your Tools and Materials
Before you start, make sure you have everything on hand. You don’t want to be halfway through the project and realize you’re missing a crucial tool!
Backer Board: Choose the type that suits your project.
Thin-Set Mortar: For adhering the board to the substrate.
Waterproofing Membrane: Essential for wet areas.
Screws or Nails: To secure the board in place.
Drill or Screwdriver: Depending on your fastener choice.
Measuring Tape and Pencil: For accurate markings.
Utility Knife: For trimming the board.
Notched Trowel: For applying thin-set mortar.
Level: To ensure everything is even.
Step 2: Prepare the Surface
A smooth, clean surface is the key to a successful installation.
Clean the Area: Remove any dust, debris, or old adhesive.
Inspect for Damage: Check the existing wall or floor for any cracks or uneven spots.
Repair if Necessary: Fix any imperfections to create a stable foundation.
Step 3: Measure and Cut the Board
Accuracy is crucial here. Measure the area where the backer board will be installed and mark your cuts carefully.
Mark the Board: Use a pencil and measuring tape to outline the dimensions.
Cut with Precision: A utility knife or scoring tool will help you make clean, straight cuts.
Dry Fit: Place the board in the area to ensure a proper fit before applying any adhesive.
Step 4: Apply Thin-Set Mortar
Time to get sticky! Using a notched trowel, spread a generous layer of thin-set mortar over the prepared surface.
Even Application: Make sure the mortar is spread evenly to avoid any gaps.
Work in Sections: This ensures the mortar doesn’t dry out before you place the board.
Step 5: Set the Backer Board
Place the backer board onto the mortar, pressing firmly to create a strong bond.
Align Carefully: Ensure the board is aligned correctly with your markings.
Press Down: Apply firm pressure to eliminate any air pockets.
Secure the Board: Use screws or nails to fasten the board in place. Space them evenly to provide uniform support.
Step 6: Seal the Joints
Sealing is crucial to prevent moisture from sneaking in through the seams.
Use a Mesh Tape: Apply a mesh tape over the joints between the boards.
Apply More Thin-Set: Cover the taped joints with another layer of thin-set mortar.
Smooth it Out: Use a trowel to smooth the surface for a clean finish.
Step 7: Waterproof the Surface
For extra protection, especially in wet areas, apply a waterproofing membrane over the backer board.
Follow Manufacturer Instructions: Different membranes have different application methods.
Ensure Full Coverage: Make sure the entire surface, including the seams, is covered.
Let it Cure: Allow the membrane to dry completely before proceeding with tile installation or other finishing work.
Following these steps not only ensures that your backer board is properly installed but also helps you understand What Is Backer Board and How Does It Work from the ground up.
Maintenance and Care for Backer Board
Once your backer board is installed, it’s not exactly a “set it and forget it” situation. Here are some handy maintenance tips to keep your installation in tip-top shape:
Regular Inspections: Check periodically for any signs of cracks or damage.
Clean Gently: Use a soft cloth and mild detergent to clean the surface without damaging the waterproofing.
Address Issues Promptly: If you notice any wear or damage, fix it immediately to prevent further issues.
Reapply Waterproofing: In high-moisture areas, consider reapplying a waterproofing sealant every few years.
Taking care of your backer board will ensure that it continues to do its job—providing a stable, moisture-resistant surface for years to come.
Final Takeaways
Know Your Material: Understanding what backer board is and how it works can save you from costly mistakes later on.
Preparation is Everything: Proper surface preparation and using the right tools make installation a breeze.
Seal and Waterproof: Don’t skimp on sealing joints and applying a waterproofing membrane to keep moisture at bay.
Regular Maintenance: A little upkeep goes a long way in preserving the integrity of your installation.
DIY or Professional Help: Gauge your comfort level with DIY projects, and don’t hesitate to seek professional advice if needed.
So, next time you find yourself pondering, "What Is Backer Board and How Does It Work?" remember this guide. With a dash of patience, a sprinkle of know-how, and the right materials at hand, you can transform your space into a beautifully finished area that stands the test of time.
Happy building, and may your projects be smooth and your surfaces flawless!
Conclusion
There you have it—a deep dive into the world of backer board! Now that you know What Is Backer Board and How Does It Work, you’re well-equipped to tackle your next DIY project with confidence. From its robust, moisture-resistant properties to its easy installation and maintenance, backer board proves to be an indispensable tool in any home improvement arsenal.
By understanding the benefits, exploring the different types, and mastering the installation process step by step, you're not only ensuring a durable, reliable surface for tiling and other finishes but also safeguarding your home against water damage. Whether you're renovating a bathroom, updating your kitchen, or embarking on a custom tile project, backer board is your trusty sidekick, ready to lend a hand.
Read next: Tile Backer Board Types: Choosing the Right One
Frequently Asked Questions
Q1: What Is Backer Board and How Does It Work in wet environments?
A: Backer board acts as a sturdy, water-resistant base that prevents moisture from damaging your finished surfaces. It’s particularly useful in bathrooms, kitchens, and other high-moisture areas where traditional drywall would simply fall short.
Q2: Can I install backer board myself, or should I hire a professional?
A: Many DIY enthusiasts successfully install backer board with the right tools and a bit of patience. However, if you’re not comfortable working with thin-set mortar or cutting precise pieces, it might be wise to consult a professional. Do you feel confident tackling the job on your own?
Q3: How does backer board differ from drywall?
A: Unlike drywall, backer board is specifically designed to be moisture-resistant and durable. While drywall is perfect for standard wall surfaces, backer board provides a stable base for tile and other materials in wet environments. Have you noticed any issues with moisture on your drywall before?
Q4: What tools are essential for installing backer board?
A: At a minimum, you’ll need a measuring tape, utility knife, notched trowel, drill or screwdriver, and a level. The right tools can make all the difference when it comes to a smooth installation. Are all your tools in order before you begin?
Q5: How long does it take for backer board and the waterproofing membrane to cure?
A: Curing times can vary depending on the product and environmental conditions, but generally, you should allow at least 24 hours for the thin-set mortar and waterproofing membrane to cure before proceeding with any additional work. Would you like to double-check the manufacturer’s instructions?
Stay up to date with our latest ideas!