How to Remove Mold from Tile Grout
Discover effective and easy methods for how to remove mold from tile grout, ensuring your bathroom and kitchen stay sparkling clean and healthy.

Ugh, mold. It’s the uninvited guest that makes itself at home in our tile grout, especially in places like bathrooms and kitchens where moisture tends to linger. Not only is it unsightly, but mold can also pose health risks, especially for those with allergies or respiratory issues. So, how do you tackle this persistent problem? Fear not! This article is your ultimate guide on how to remove mold from tile grout. With a mix of natural solutions and powerful cleaners, you’ll have your grout looking as good as new in no time.
Understanding Mold and Its Causes
What is Mold?
Mold is a type of fungus that thrives in damp, warm environments. It reproduces by releasing spores into the air, which can settle and grow on various surfaces, including tile grout. Bathrooms, with their high humidity and frequent moisture, are prime breeding grounds for mold. Once the spores land on a suitable surface, they can quickly multiply, forming unsightly patches and potentially causing health issues. Regular cleaning and proper ventilation are essential to prevent mold growth and keep your bathroom mold-free.
Why Does Mold Grow on Grout?
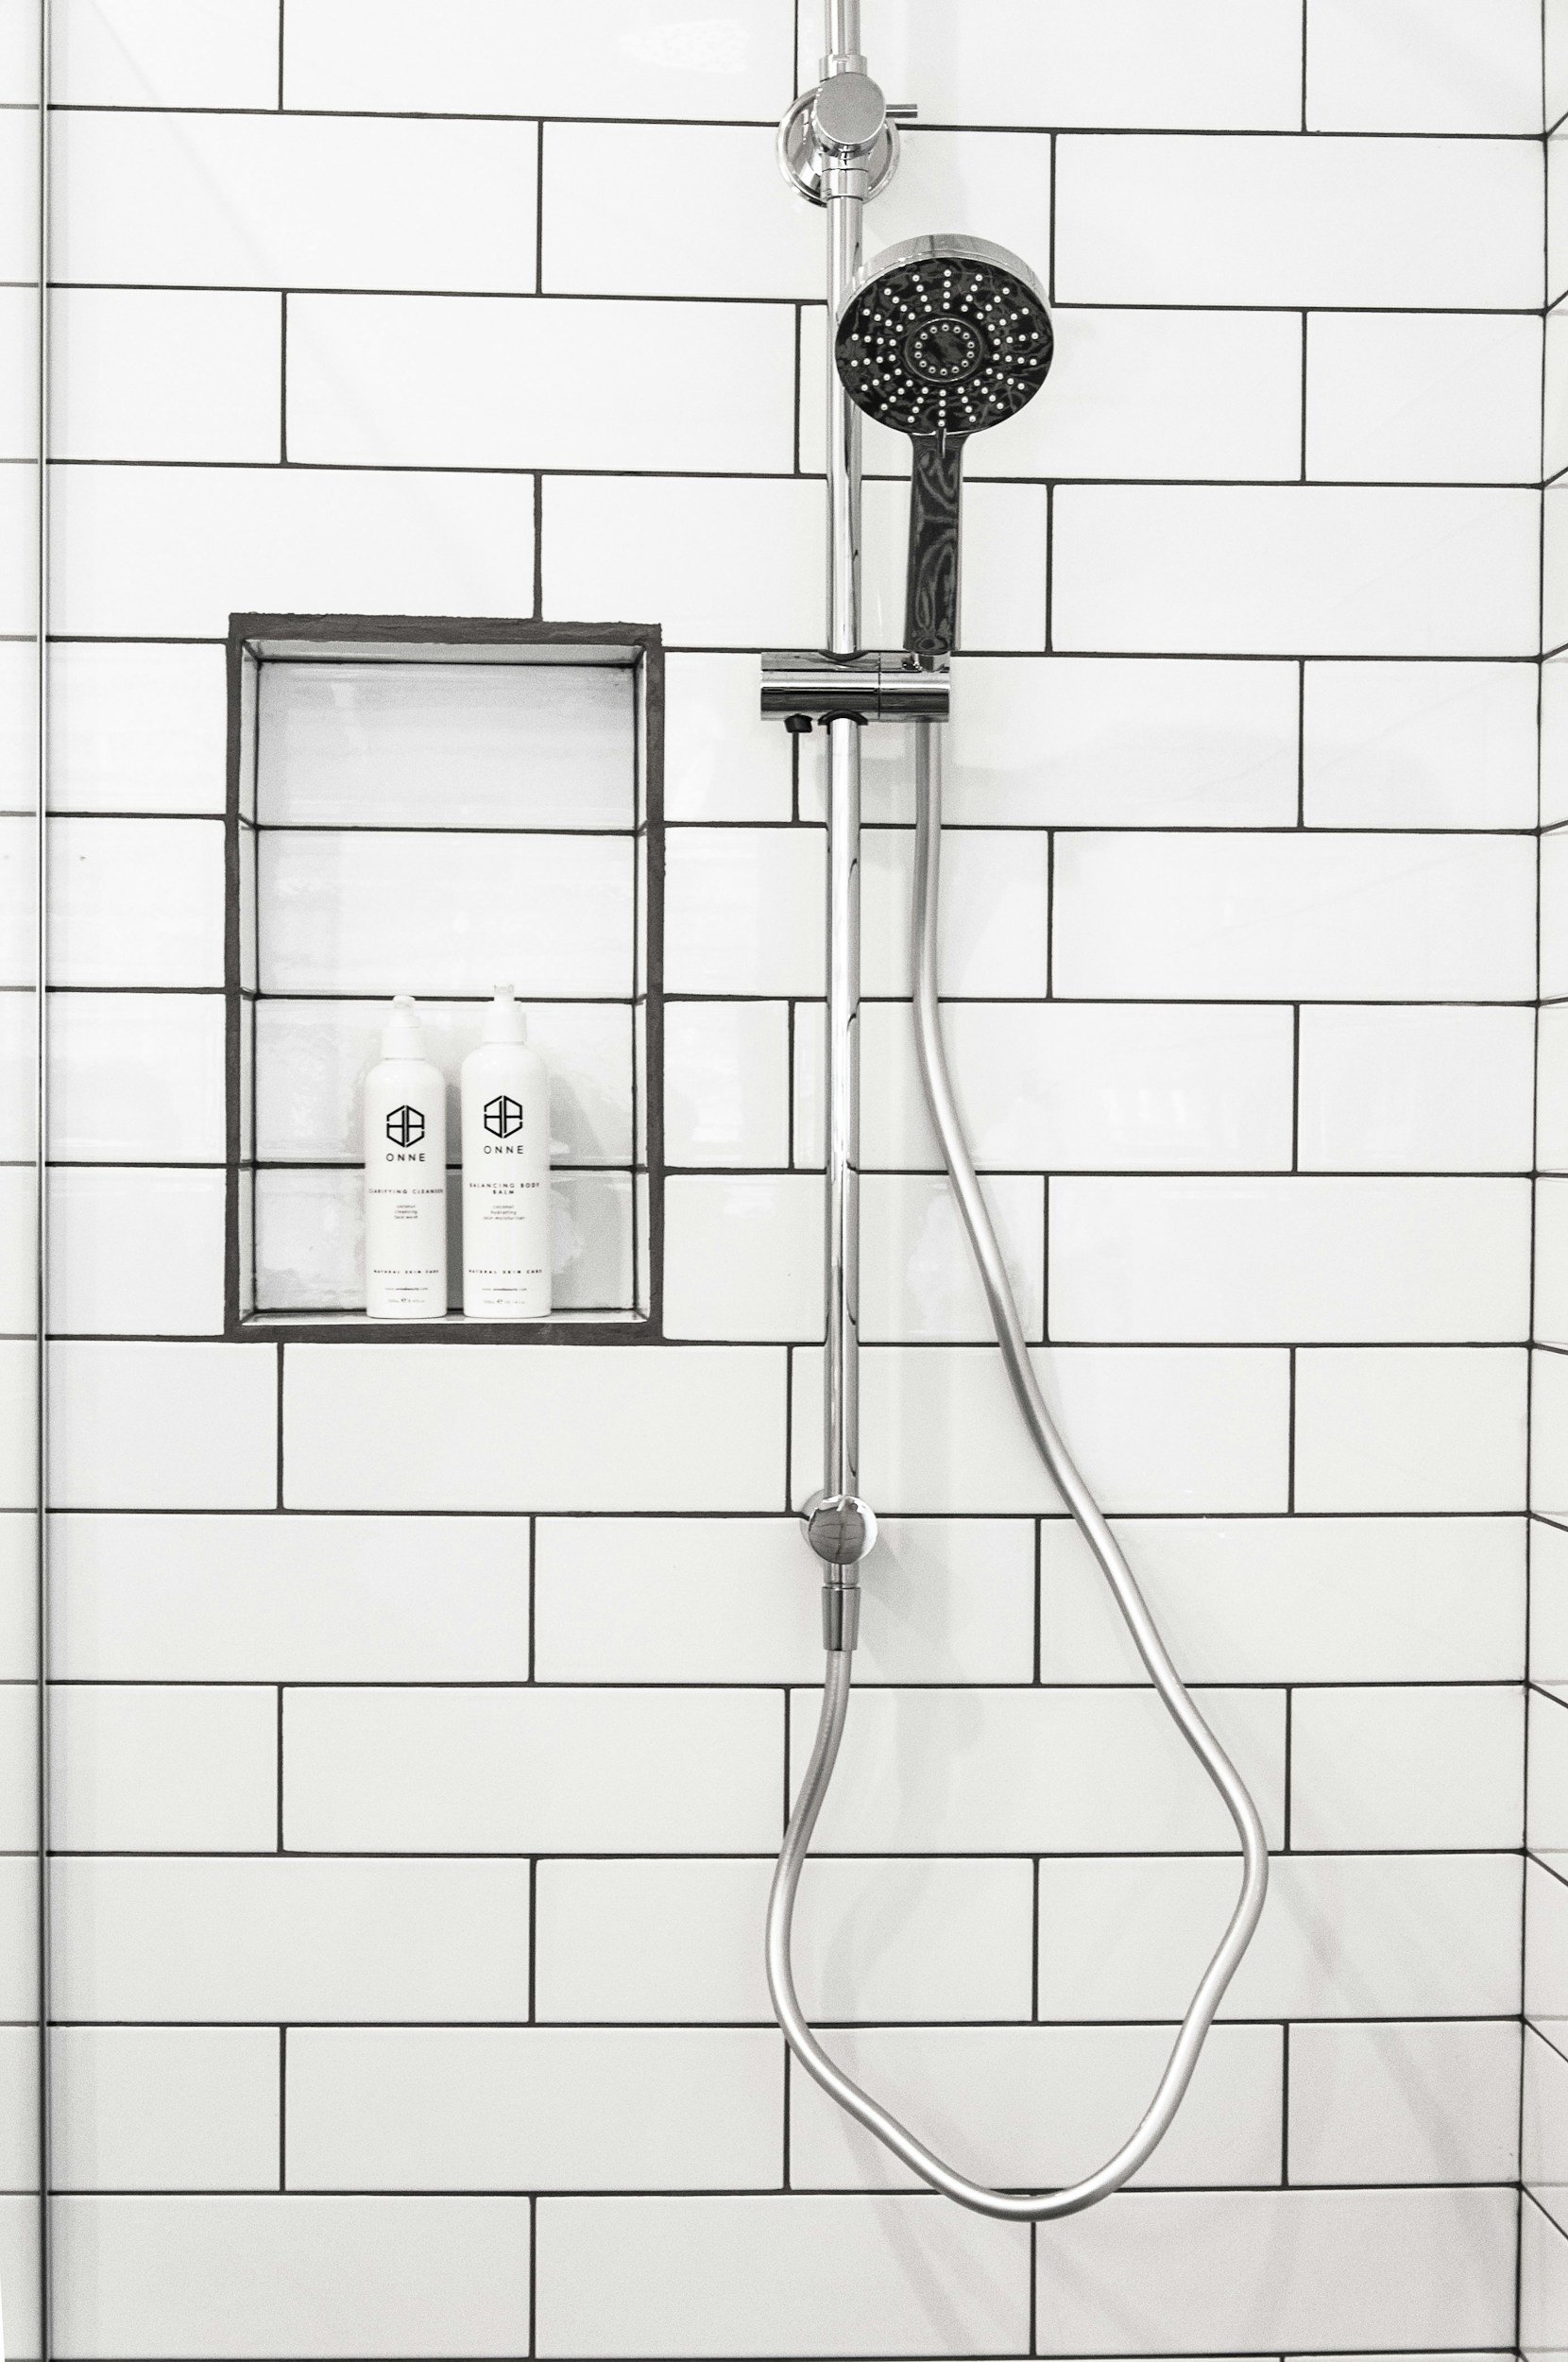
Tile grout is porous and retains moisture, making it an ideal breeding ground for mold. Bathrooms, kitchens, and any areas with high humidity are particularly prone to mold growth. The tiny pores in the grout allow water to seep in, creating a damp environment where mold can thrive. As mold spores land on the grout, they quickly multiply, leading to visible mold patches that can be difficult to remove. Regular cleaning and proper ventilation are crucial to prevent mold from taking hold and spreading in these humid areas.
Health Risks of Mold
Mold isn’t just an aesthetic problem; it can also affect your health. Exposure to mold can cause symptoms like:
Sneezing and runny nose
Coughing and wheezing
Itchy eyes and skin
Respiratory issues
Preparation: Getting Ready to Remove Mold
Before diving into the actual cleaning process, a bit of prep work is needed to ensure safety and effectiveness.
Gather Your Supplies
You’ll need a few items to get started:
Protective gear: Gloves, mask, and goggles
Cleaning solutions: Vinegar, baking soda, hydrogen peroxide, or commercial mold cleaners
Tools: Scrub brush, old toothbrush, sponge, and spray bottle
Ensure Proper Ventilation
Good ventilation is crucial when dealing with mold and cleaning products. Open windows and doors to allow fresh air to circulate, and use a fan if necessary to keep the area well-ventilated. Proper ventilation helps disperse any fumes from cleaning products and reduces the concentration of mold spores in the air. This not only makes the cleaning process safer but also helps prevent mold from re-establishing itself by reducing the humidity levels in the room. Ensuring a well-ventilated environment is an essential step in effective mold management.
Effective Methods to Remove Mold from Tile Grout
Method 1: Vinegar and Baking Soda
This natural method is both effective and safe for most types of grout. Using eco-friendly ingredients ensures a thorough clean without harsh chemicals, maintaining the integrity of the grout while delivering excellent results. It’s an ideal solution for those looking to preserve their surfaces naturally.
Steps:
Create a paste: Mix baking soda with water to form a thick paste.
Apply the paste: Spread the paste onto the moldy grout.
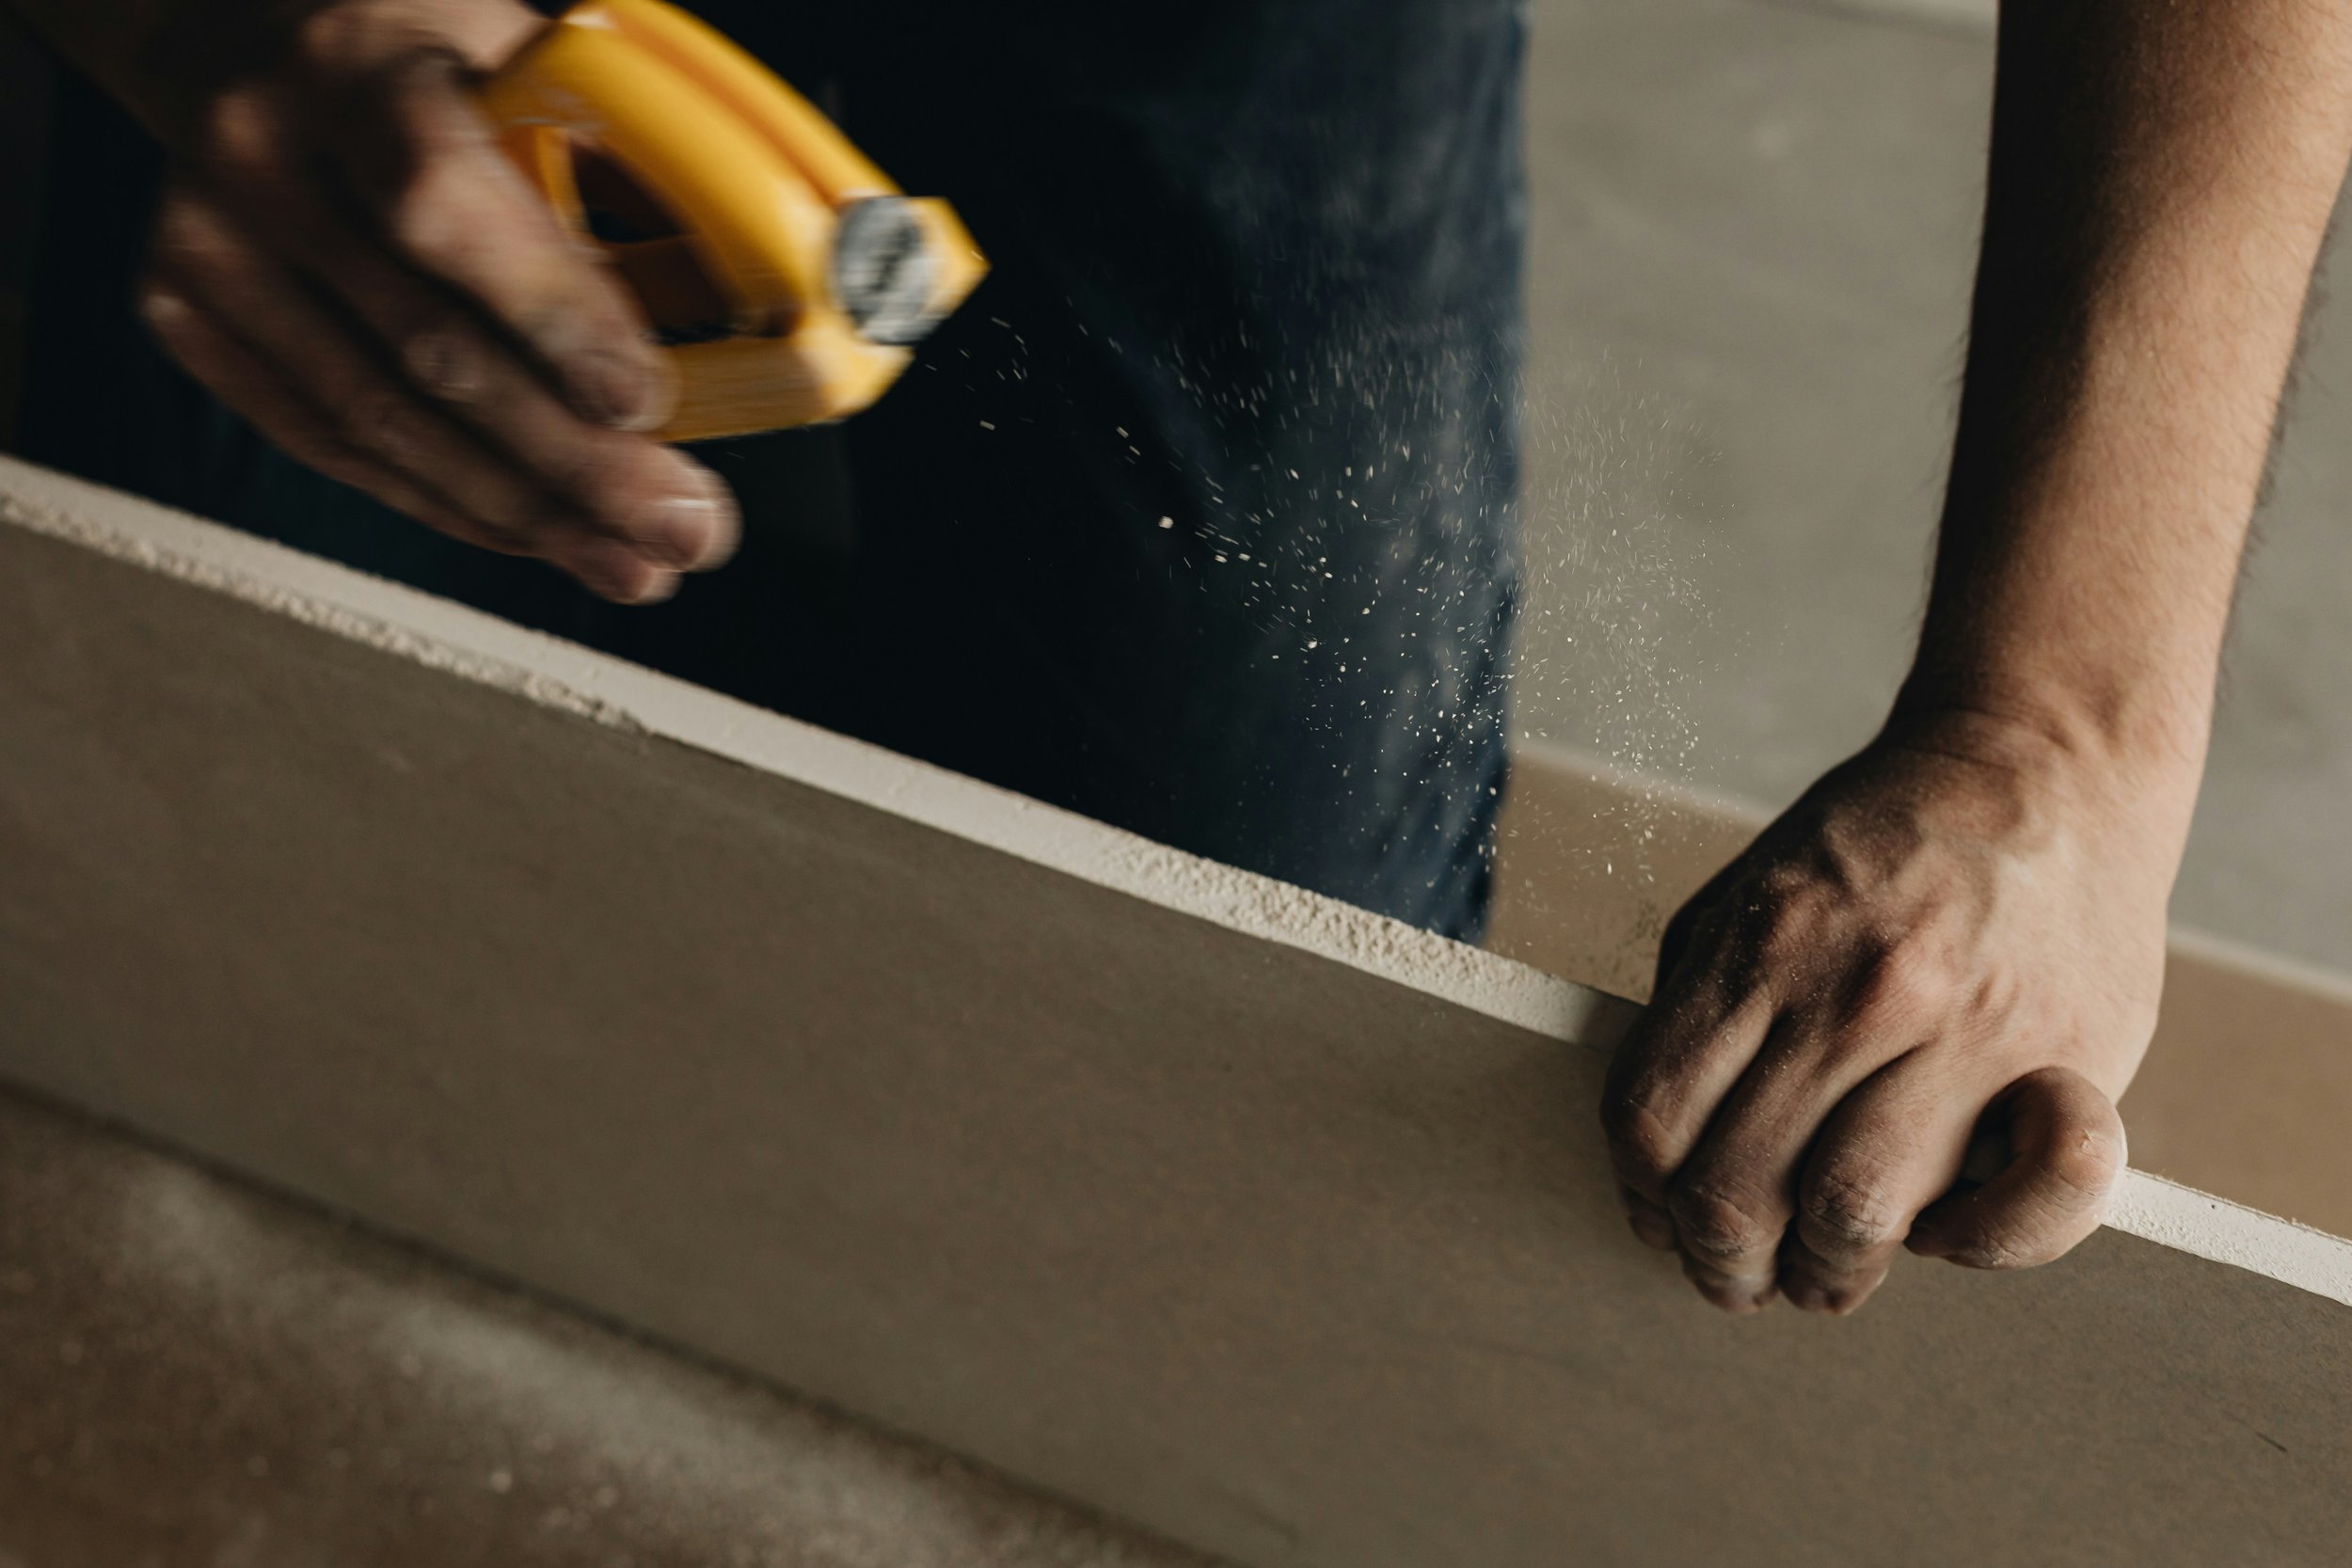
Spray vinegar: Fill a spray bottle with vinegar and spray it over the baking soda paste. The mixture will fizz, helping to break down the mold.
Scrub: Use a scrub brush or an old toothbrush to scrub the grout.
Rinse: Wipe away the residue with a damp sponge and rinse thoroughly.
Method 2: Hydrogen Peroxide
Hydrogen peroxide is a powerful cleaner that effectively kills mold spores and brightens grout. Its strong oxidizing properties make it an ideal solution for deep cleaning, restoring the original color and appearance of your grout while also sanitizing the surface to prevent mold growth.
Steps:
Apply peroxide: Pour hydrogen peroxide directly onto the moldy grout or use a spray bottle.
Let it sit: Allow it to sit for about 10-15 minutes to penetrate the mold.
Scrub: Scrub the grout with a brush to remove the mold.
Rinse: Wipe clean with a damp sponge and rinse well.
Method 3: Commercial Mold Cleaners
For stubborn mold, commercial cleaners specifically designed for mold removal can be highly effective. These products are formulated to target and eliminate mold, ensuring a thorough clean. Using specialized cleaners can help you tackle persistent mold issues efficiently, restoring the cleanliness and safety of your surfaces.
Steps:
Read the instructions: Follow the manufacturer’s instructions on the product label.
Apply cleaner: Apply the cleaner to the moldy grout.
Wait: Let it sit for the recommended time.
Scrub and rinse: Scrub the grout and rinse thoroughly.
Method 4: Bleach Solution
While bleach is a potent cleaner, it should be used cautiously as it can damage certain types of grout and tiles. Its harsh properties may cause discoloration or deterioration, especially on delicate surfaces. Always test a small area first and consider alternative cleaning methods for safer results.
Steps:
Mix solution: Mix one part bleach with four parts water.
Apply solution: Apply the bleach solution to the moldy grout.
Wait: Let it sit for about 10 minutes.
Scrub and rinse: Scrub with a brush and rinse thoroughly.

Preventing Mold from Returning
Keep the Area Dry
Moisture is mold’s best friend, so it’s essential to dry the area thoroughly after use, especially in bathrooms and kitchens. Mold thrives in damp conditions, so wiping down surfaces and ensuring no water is left standing can significantly reduce the risk of mold growth. Use a towel or squeegee to remove excess water from tiles, countertops, and grout lines. Additionally, keeping the room well-ventilated helps to speed up the drying process. By consistently eliminating moisture, you create an environment that is less conducive to mold development.
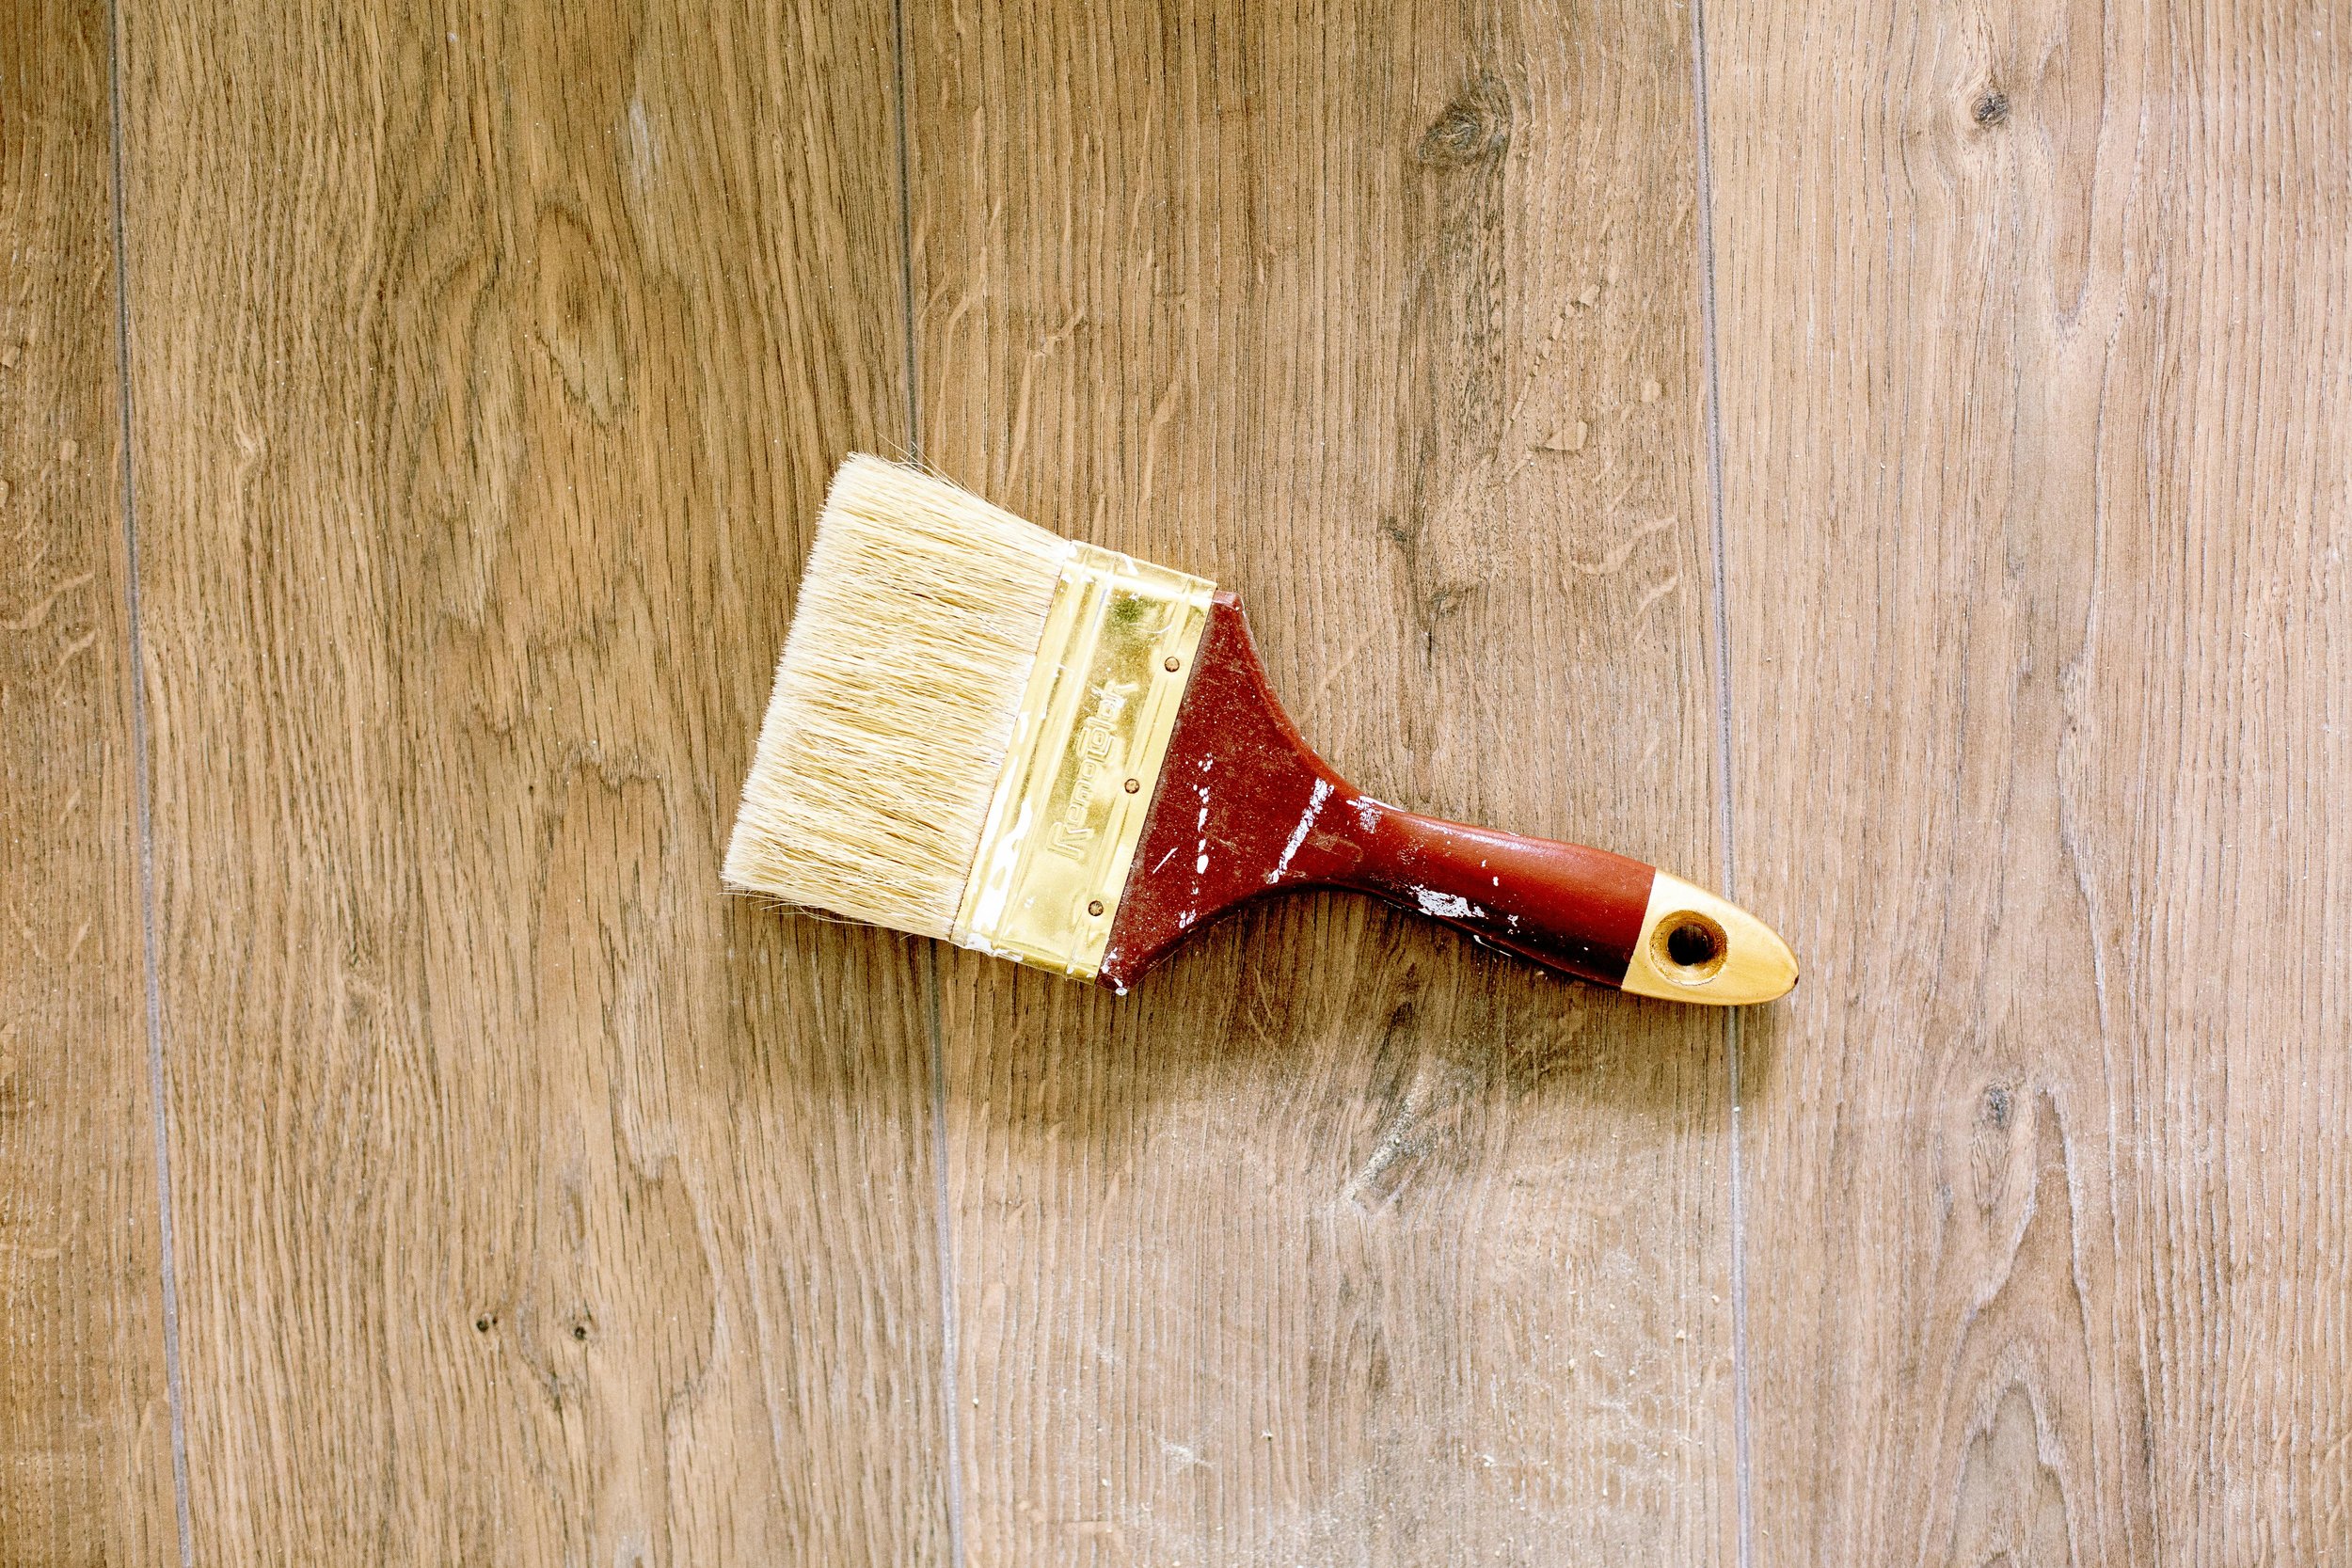
Use a Mold-Resistant Sealant
Apply a mold-resistant sealant to your grout to create a barrier against moisture and mold growth. This type of sealant helps to prevent water from seeping into the porous grout, reducing the likelihood of mold establishing a foothold. Before applying the sealant, ensure the grout is clean and dry. Use a small brush or applicator to carefully cover all grout lines, and allow the sealant to dry thoroughly. Regularly reapplying the sealant as per the manufacturer’s instructions will maintain this protective barrier, keeping your tiled surfaces cleaner and healthier.
Regular Cleaning
Incorporate regular cleaning into your routine to prevent mold from taking hold in your grout. Using a mild cleaner specifically designed for grout, scrub the tiled surfaces periodically to remove dirt, soap scum, and any mold spores that may have started to develop. Focus on areas prone to moisture buildup, such as showers and kitchen backsplashes. After cleaning, ensure thorough rinsing to remove residue, and dry the grout completely to discourage mold growth. Consistent maintenance not only keeps your grout looking clean but also helps to maintain a healthier environment by minimizing the conditions that mold thrives in.
Improve Ventilation
Good ventilation plays a crucial role in controlling moisture levels and preventing mold growth in your home. In areas prone to humidity, such as bathrooms and kitchens, utilize exhaust fans to expel moist air outside. These fans help reduce condensation on surfaces where mold can develop, like walls and ceilings. Additionally, consider using a dehumidifier to further control indoor humidity levels, especially in spaces that lack proper ventilation. By managing moisture effectively, you create an environment less conducive to mold growth, contributing to a healthier and more comfortable living space for you and your family.
Conclusion
Mold in tile grout can be a pesky problem, but with the right methods and a bit of elbow grease, you can banish it for good. Whether you prefer natural remedies or powerful commercial cleaners, there’s a solution for everyone. By following these effective tips on how to remove mold from tile grout, you’ll not only restore your grout to its former glory but also create a healthier environment in your home. So, roll up your sleeves and get scrubbing—your spotless, mold-free grout awaits!
Frequently Asked Questions
Can I use natural remedies to remove mold from grout?
Yes, natural remedies like vinegar, baking soda, and hydrogen peroxide are effective and safe for most grout types.
How often should I clean my grout to prevent mold?
Regular cleaning once a week can help prevent mold buildup. For high-moisture areas, more frequent cleaning might be necessary.
Is it safe to use bleach on grout?
Bleach is effective but can be harsh on grout and tiles. Use it sparingly and always rinse thoroughly.
What should I do if the mold keeps returning?
Persistent mold issues might indicate a deeper moisture problem. Ensure proper ventilation, fix any leaks, and consider using a mold-resistant sealant.
Stay up to date with our latest ideas!