How to Clean Your Air Ducts: A Step-by-Step Guide
Discover "How to Clean Your Air Ducts: A Step-by-Step Guide" and improve your home's air quality with this easy, DIY-friendly approach. Learn tips, tools, and tricks to ensure cleaner, fresher air in your living space.
Ever wondered why your home feels dusty no matter how much you clean? Well, your air ducts might be the culprit! These unseen pathways circulate air throughout your home, but when neglected, they collect dust, allergens, and even mold. That’s where our handy "How to Clean Your Air Ducts: A Step-by-Step Guide" comes in. This guide will walk you through the process, ensuring your air is clean and your HVAC system runs smoothly. Let’s dive in!
Why Cleaning Your Air Ducts Matters
Improve Air Quality
Your air ducts work around the clock, circulating air to keep your home comfortable, but they also become a magnet for dust, pet dander, and allergens over time. When left unchecked, this buildup can negatively impact the air you breathe, leading to a stuffy home and potential health issues. Regularly cleaning your air ducts is essential for improving indoor air quality and creating a fresher, healthier environment. It not only reduces allergens but also helps eliminate odors and prevent dust from constantly settling on your surfaces. Plus, clean air ducts can boost the efficiency of your HVAC system, saving you money on energy bills. Don’t underestimate the importance of maintaining these unseen but vital components of your home!
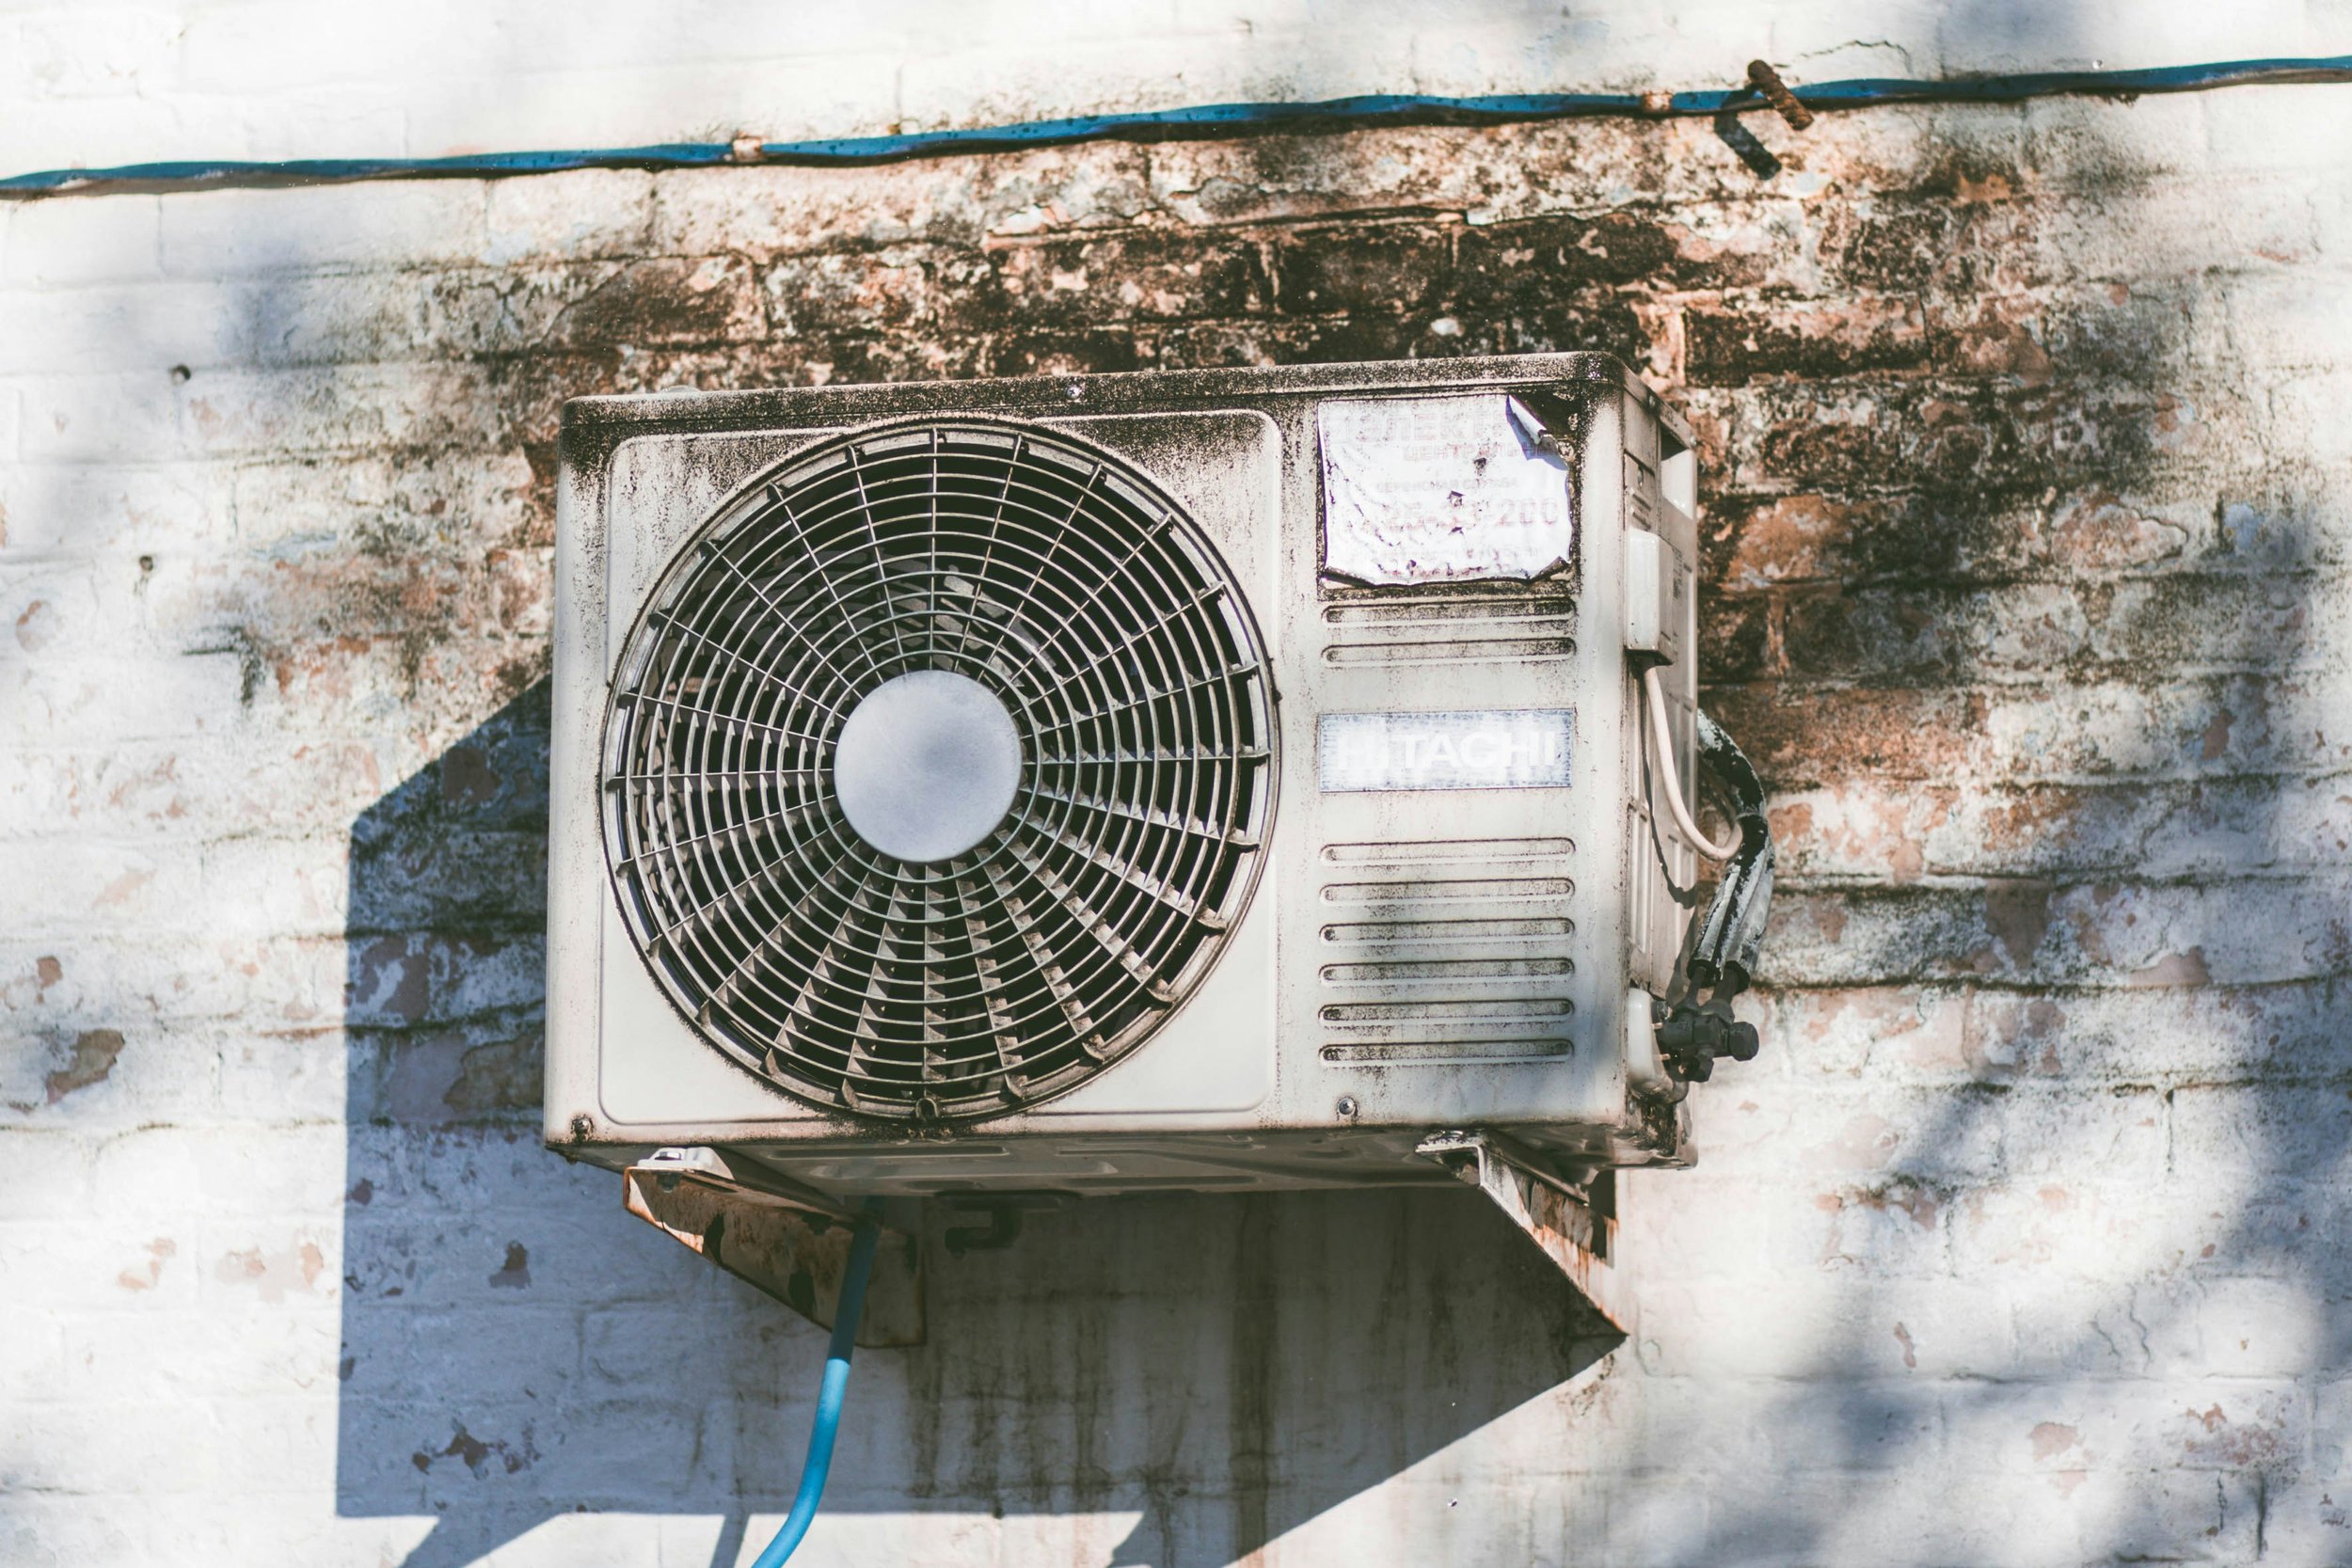
Boost HVAC Efficiency
When your air ducts are clogged with dust, dirt, and debris, your HVAC system has to work overtime to push air through the blockages. This added strain not only reduces its efficiency but also causes your energy bills to skyrocket. Imagine your system fighting an uphill battle every day—it's exhausting and costly! Regularly cleaning your air ducts can alleviate this burden, allowing air to flow freely and your system to operate at peak performance. By reducing the workload on your HVAC, you’re not just cutting down energy costs but also extending the lifespan of the equipment. It’s a simple, cost-effective solution that pays off in both comfort and savings, making regular maintenance a no-brainer for any homeowner.
Reduce Allergies and Irritation
Have you noticed yourself sneezing more or battling a persistent stuffy nose at home? Your dirty air ducts could be the hidden culprit. Over time, they collect dust, pollen, pet dander, and other allergens that get circulated through your living space, affecting the air you breathe. This can trigger allergies, worsen respiratory issues, and leave you feeling uncomfortable in your own home. Cleaning your air ducts can dramatically reduce these allergens, creating a healthier environment and providing relief for sensitive noses and lungs. A clean duct system ensures that the air circulating in your home is fresher and purer, helping you breathe easier and feel more comfortable every day. It’s a simple step with big benefits!
Tools and Supplies You'll Need
Before rolling up your sleeves, gather these items:
A vacuum with a hose attachment
Screwdriver or drill
Microfiber cloths
Brush (preferably with stiff bristles)
Furnace filter replacement
Protective gloves and a dust mask

How to Clean Your Air Ducts: A Step-by-Step Guide
Step 1: Turn Off the HVAC System
Before diving into cleaning your air ducts, it’s crucial to ensure your heating or cooling system is turned off. You don’t want air circulating while you’re working, as it can spread dust and debris throughout your home. For safety and efficiency, switch off the system at the thermostat and, to be extra cautious, turn it off at the breaker as well. This step not only protects your HVAC system but also prevents any accidents while you’re handling tools or cleaning materials. By cutting the power, you’ll create a safer and more controlled environment for the task at hand, allowing you to focus on getting your ducts spotless without worrying about unexpected airflow or electrical mishaps.
Step 2: Remove Vent Covers
Start by grabbing a screwdriver or a drill to carefully remove the vent covers from your air ducts. These covers tend to accumulate dust and grime over time, so it’s essential to clean them along with the ducts. Gently unscrew or detach each cover, ensuring you don’t damage the surrounding area. Once removed, set them aside in a safe spot where they won’t get scratched or misplaced. Remember, these covers are an integral part of your air circulation system, and cleaning them will help maintain overall air quality. Later, you’ll want to give them a thorough scrub to remove built-up dirt before reinstalling. It’s a small but important step in achieving cleaner, healthier air in your home.
Step 3: Clean Vent Covers
Once you’ve removed the vent covers, it’s time to give them a good scrub to eliminate dust, grease, and grime that may have built up over time. Fill a sink or bucket with warm, soapy water—mild dish soap works perfectly—and soak the covers for a few minutes to loosen any stubborn dirt. Using a soft brush or cloth, gently scrub each cover, paying close attention to the nooks and crannies where dust tends to hide. Rinse thoroughly with clean water to remove all soap residue. After washing, place the covers on a towel or drying rack and allow them to air dry completely before reinstalling. Reinstalling damp covers can promote mold growth, so this step is key to maintaining a clean system!
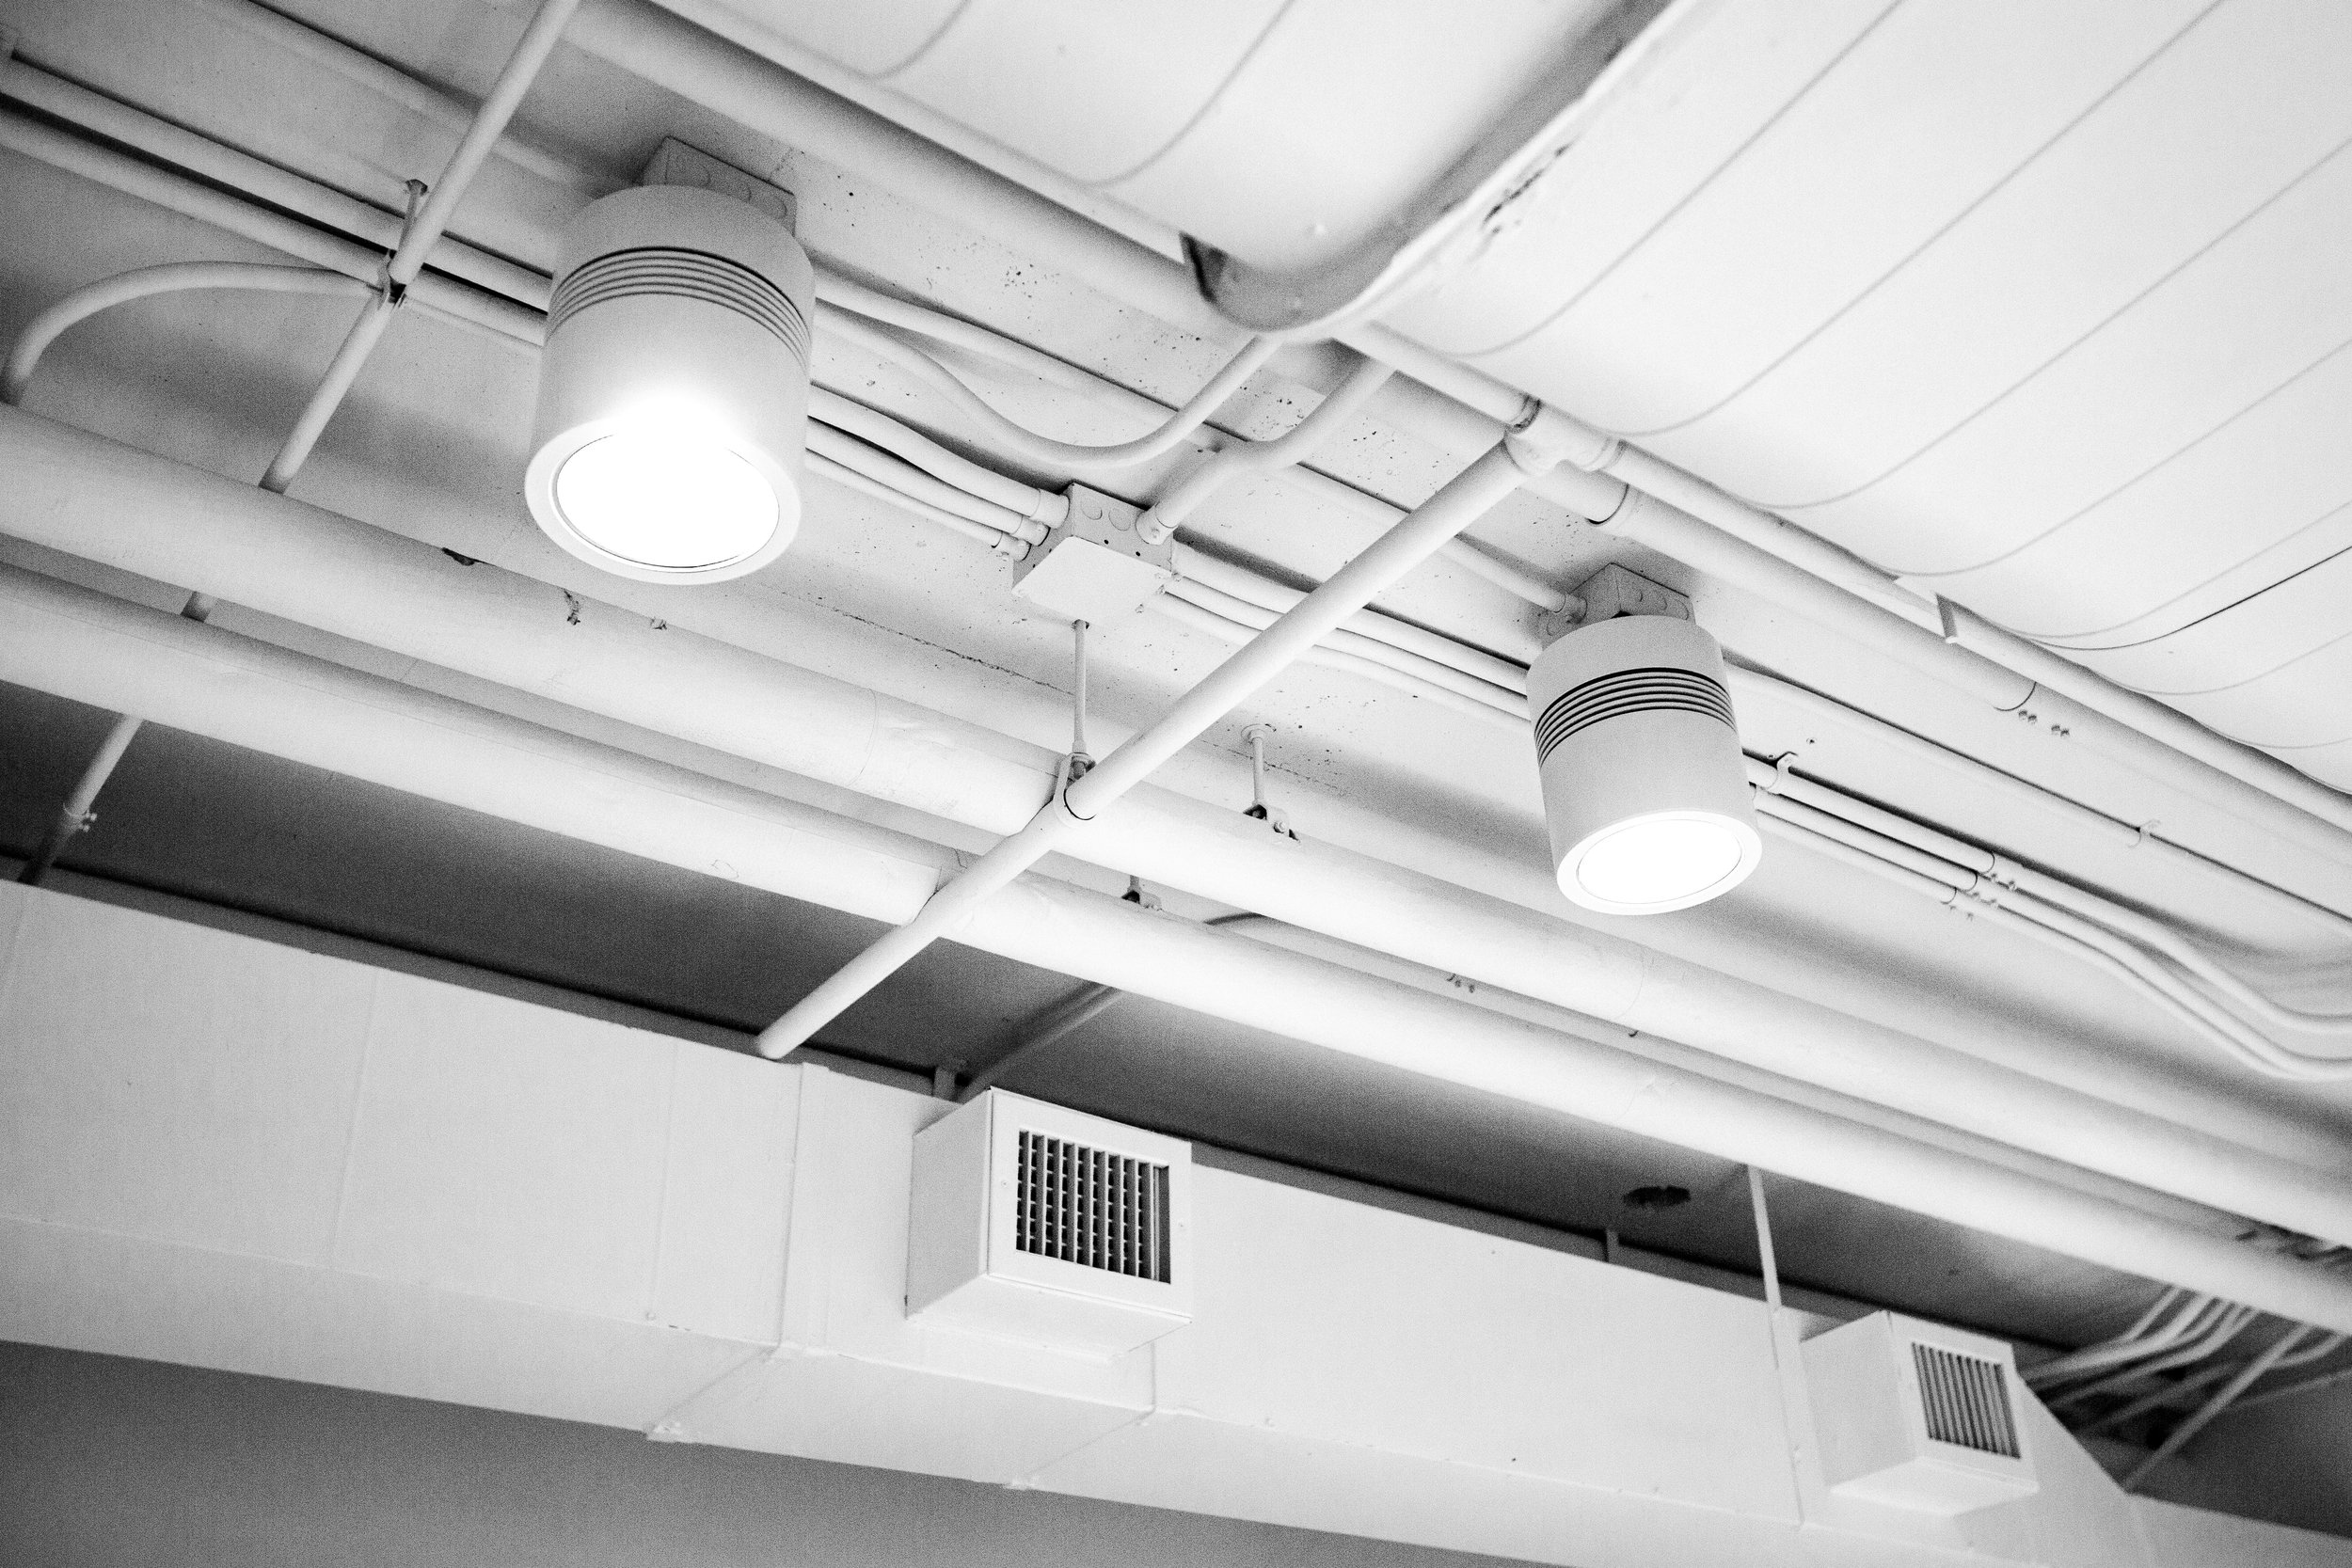
Step 4: Vacuum Inside the Ducts
With your vacuum ready, attach the hose and get to work cleaning as far inside the air ducts as you can comfortably reach. This step is crucial for removing loose dust, dirt, and debris that’s accumulated over time. Move the hose around methodically, focusing on corners and edges where grime tends to settle. If your vacuum has a brush attachment, use it to loosen stubborn particles while suctioning them away. This part of the process not only helps clear out visible debris but also prevents it from being recirculated throughout your home. While you won’t be able to reach every nook and cranny without professional equipment, this DIY approach significantly improves your duct cleanliness and indoor air quality.
Step 5: Use a Brush for Stubborn Dirt
Dealing with stubborn, caked-on grime in your air ducts? Don’t sweat it! Grab a stiff-bristle brush and get to work loosening up that tough dirt and debris. The brush’s firm bristles are perfect for breaking up hardened buildup that your vacuum might struggle to handle alone. Scrub the walls of the ducts gently but firmly, focusing on areas where dirt is most visible or stubborn. Once you’ve loosened everything, follow up with your vacuum to easily suck up the dislodged particles. This step is essential for achieving a deeper clean and ensuring that your ducts are as free of grime as possible. A little extra elbow grease here can make a big difference in your home’s air quality!
Step 6: Wipe Down the Ducts
After vacuuming, grab a damp microfiber cloth and wipe down the inside walls of the air ducts. This step goes beyond just removing loose dust—it tackles sticky residue, grime, and buildup that the vacuum might have missed. Microfiber is ideal because it traps dirt effectively without leaving lint behind. Gently reach as far as you can, wiping the sides, top, and bottom of the duct walls. For areas that are particularly grimy, rinse the cloth and go over them a second time. This extra effort helps ensure your ducts are not only cleaner but also free from substances that could attract more dirt over time. By doing this, you’re giving your air system a deeper clean and improving overall air quality.
Step 7: Replace the Furnace Filter
Don’t overlook the importance of a clean furnace filter when it comes to maintaining your home’s air quality. The filter acts as a barrier, trapping dust, pollen, and other airborne particles before they can circulate through your HVAC system and into your living space. After you’ve cleaned your air ducts, replacing the filter is a crucial step to ensure the system stays clean and efficient. A dirty or clogged filter can undo all your hard work by allowing debris to build up quickly again. Choose the right filter for your system, and if you’re unsure, consult your HVAC manual or a professional. A fresh filter not only keeps the air cleaner but also helps your system run more efficiently, saving you money and ensuring comfort..
Step 8: Reinstall Vent Covers
After ensuring everything is spotless and completely dry, it’s time to reattach the vent covers. Grab your screwdriver or drill and carefully screw each cover back into place. Take your time to align the screws properly to avoid damaging the vents or surrounding walls. Clean and dry vent covers not only improve the overall appearance but also help maintain the cleanliness of the ducts by keeping dust and debris from easily entering. Double-check that each cover is secure but not overly tightened, as this could strip the screws or cause unnecessary wear. With the covers back on, your air duct cleaning process is officially complete, leaving your home with improved airflow, better air quality, and a refreshed atmosphere.
Tips to Keep Your Ducts Cleaner Longer
Change filters regularly: Every 2-3 months is ideal.
Dust and vacuum frequently: Prevent dust buildup in the first place.
Schedule professional cleanings: An annual check-up ensures thorough cleaning.
Seal leaks: Prevent dirt and debris from entering through cracks in the ducts.
Signs Your Ducts Need Cleaning
Excessive Dust in Your Home: Does everything look dusty again just hours after cleaning?
Musty or Moldy Smells: If you notice a lingering odor, mold may be lurking in your ducts.
Spike in Allergies or Respiratory Issues: Dirty air ducts could be the trigger.
High Energy Bills: A struggling HVAC system works harder and costs you more.
Visible Mold or Debris: If you can see it, it’s time to act!
Conclusion
And there you have it—"How to Clean Your Air Ducts: A Step-by-Step Guide" to fresher, cleaner air! Regular maintenance not only improves your home’s air quality but also keeps your HVAC system running smoothly. Whether you’re tackling it solo or calling in the pros, clean air ducts are a win for your health and your wallet. So, what’re you waiting for? Get cleaning and breathe easy!
Frequently Asked Questions
1. How often should I clean my air ducts?
You should clean your air ducts every 3-5 years, or sooner if you notice signs of buildup.
2. Can I clean my air ducts myself?
Absolutely! Follow "How to Clean Your Air Ducts: A Step-by-Step Guide" for a DIY-friendly approach.
3. Is professional duct cleaning worth it?
Yes, especially if you haven’t cleaned them in years or if mold is present. Professionals have specialized tools to go deeper than a DIY job.
4. Will cleaning my air ducts reduce energy costs?
It can! Cleaner ducts improve airflow, reducing the strain on your HVAC system and cutting energy bills.
5. What are the health benefits of cleaning air ducts?
Cleaner air ducts mean fewer allergens, less dust, and improved overall air quality.
Stay up to date with our latest ideas!