How to Adjust Cabinet Doors for Perfect Alignment
Struggling with misaligned cabinet doors? Discover our step-by-step guide on how to adjust cabinet doors for perfect alignment and achieve that polished look in your kitchen or bathroom.
If you’ve ever opened a cabinet door that squeaks, hangs crooked, or just refuses to align properly, you know the frustration that comes with it. Misaligned cabinet doors can be an eyesore and might even make your kitchen or bathroom look a bit shabby. But fret not! Adjusting those pesky doors is easier than you think, and with a little patience and the right tools, you can achieve a flawless finish.
In this guide, we’ll walk you through the ins and outs of how to adjust cabinet doors for perfect alignment. We’ll cover everything from understanding the types of hinges used to the tools you'll need, and even the common issues you might face along the way. So, whether you’re a DIY newbie or a seasoned pro, let’s dive right into the world of cabinet door adjustments!
Understanding Cabinet Doors and Hinges
Types of Cabinet Doors
Before diving into the nitty-gritty of adjustments, it’s essential to understand the types of cabinet doors you might be working with. The two most common styles are:
Overlay Doors: Overlay doors are mounted on the outside of the cabinet frame, creating a sleek, modern look. They provide a clean, contemporary appearance but can be tricky to align properly during installation. Careful attention is needed to ensure the doors fit seamlessly, maintaining both function and style in your kitchen.
Inset Doors: Inset doors fit within the cabinet frame, providing a classic, traditional look. Although they can be more challenging to adjust during installation, they offer a refined, seamless appearance once properly fitted. The precise, clean lines of inset doors create a timeless aesthetic that adds sophistication to any space.
Types of Hinges
The type of hinge plays a significant role in how your cabinet doors function. Here are the most common types:
European Hinges: European hinges are adjustable and commonly used with overlay doors, offering a clean, streamlined look. They are hidden when the door is closed, creating a sleek appearance without visible hardware. These hinges provide smooth, precise operation, making them a popular choice for modern kitchen and cabinet designs.
Self-Closing Hinges: Self-closing hinges, as the name implies, automatically close the door when pushed close enough. These hinges ensure that doors stay securely shut without the need for manual effort. They are ideal for maintaining a neat and tidy appearance in kitchens and cabinetry, offering both convenience and functionality.
Pivot Hinges: Pivot hinges allow doors to swing open and closed, making them ideal for corner cabinets or unique, custom designs. They provide smooth, controlled movement and can be used in spaces where traditional hinges may not work. Pivot hinges offer both functionality and versatility in distinctive cabinetry layouts.
Essential Tools for the Job
Basic Hand Tools
To get started, you’ll need a few basic tools:
Screwdriver: A Phillips head screwdriver is essential for most tasks, but having a flathead screwdriver nearby is also helpful for versatile applications. These basic tools are crucial for various projects, providing flexibility and efficiency in tightening, loosening, and adjusting screws in a wide range of materials and setups.
Level: A level is essential for ensuring your doors are perfectly aligned. It helps guarantee that the doors hang straight, preventing uneven gaps or misalignment. Using a level during installation ensures a professional finish, giving your doors a polished, symmetrical appearance that enhances the overall look of your space.
Measuring Tape: A measuring tape is essential for accurately measuring door gaps and making precise adjustments. It helps ensure consistent spacing, allowing for proper alignment and fit. Whether installing new doors or making adjustments, a measuring tape is an invaluable tool for achieving a balanced, professional finish.
Pencil: For marking any adjustments.
Optional Tools
While the basics will get the job done, consider these additional tools for a more efficient process:
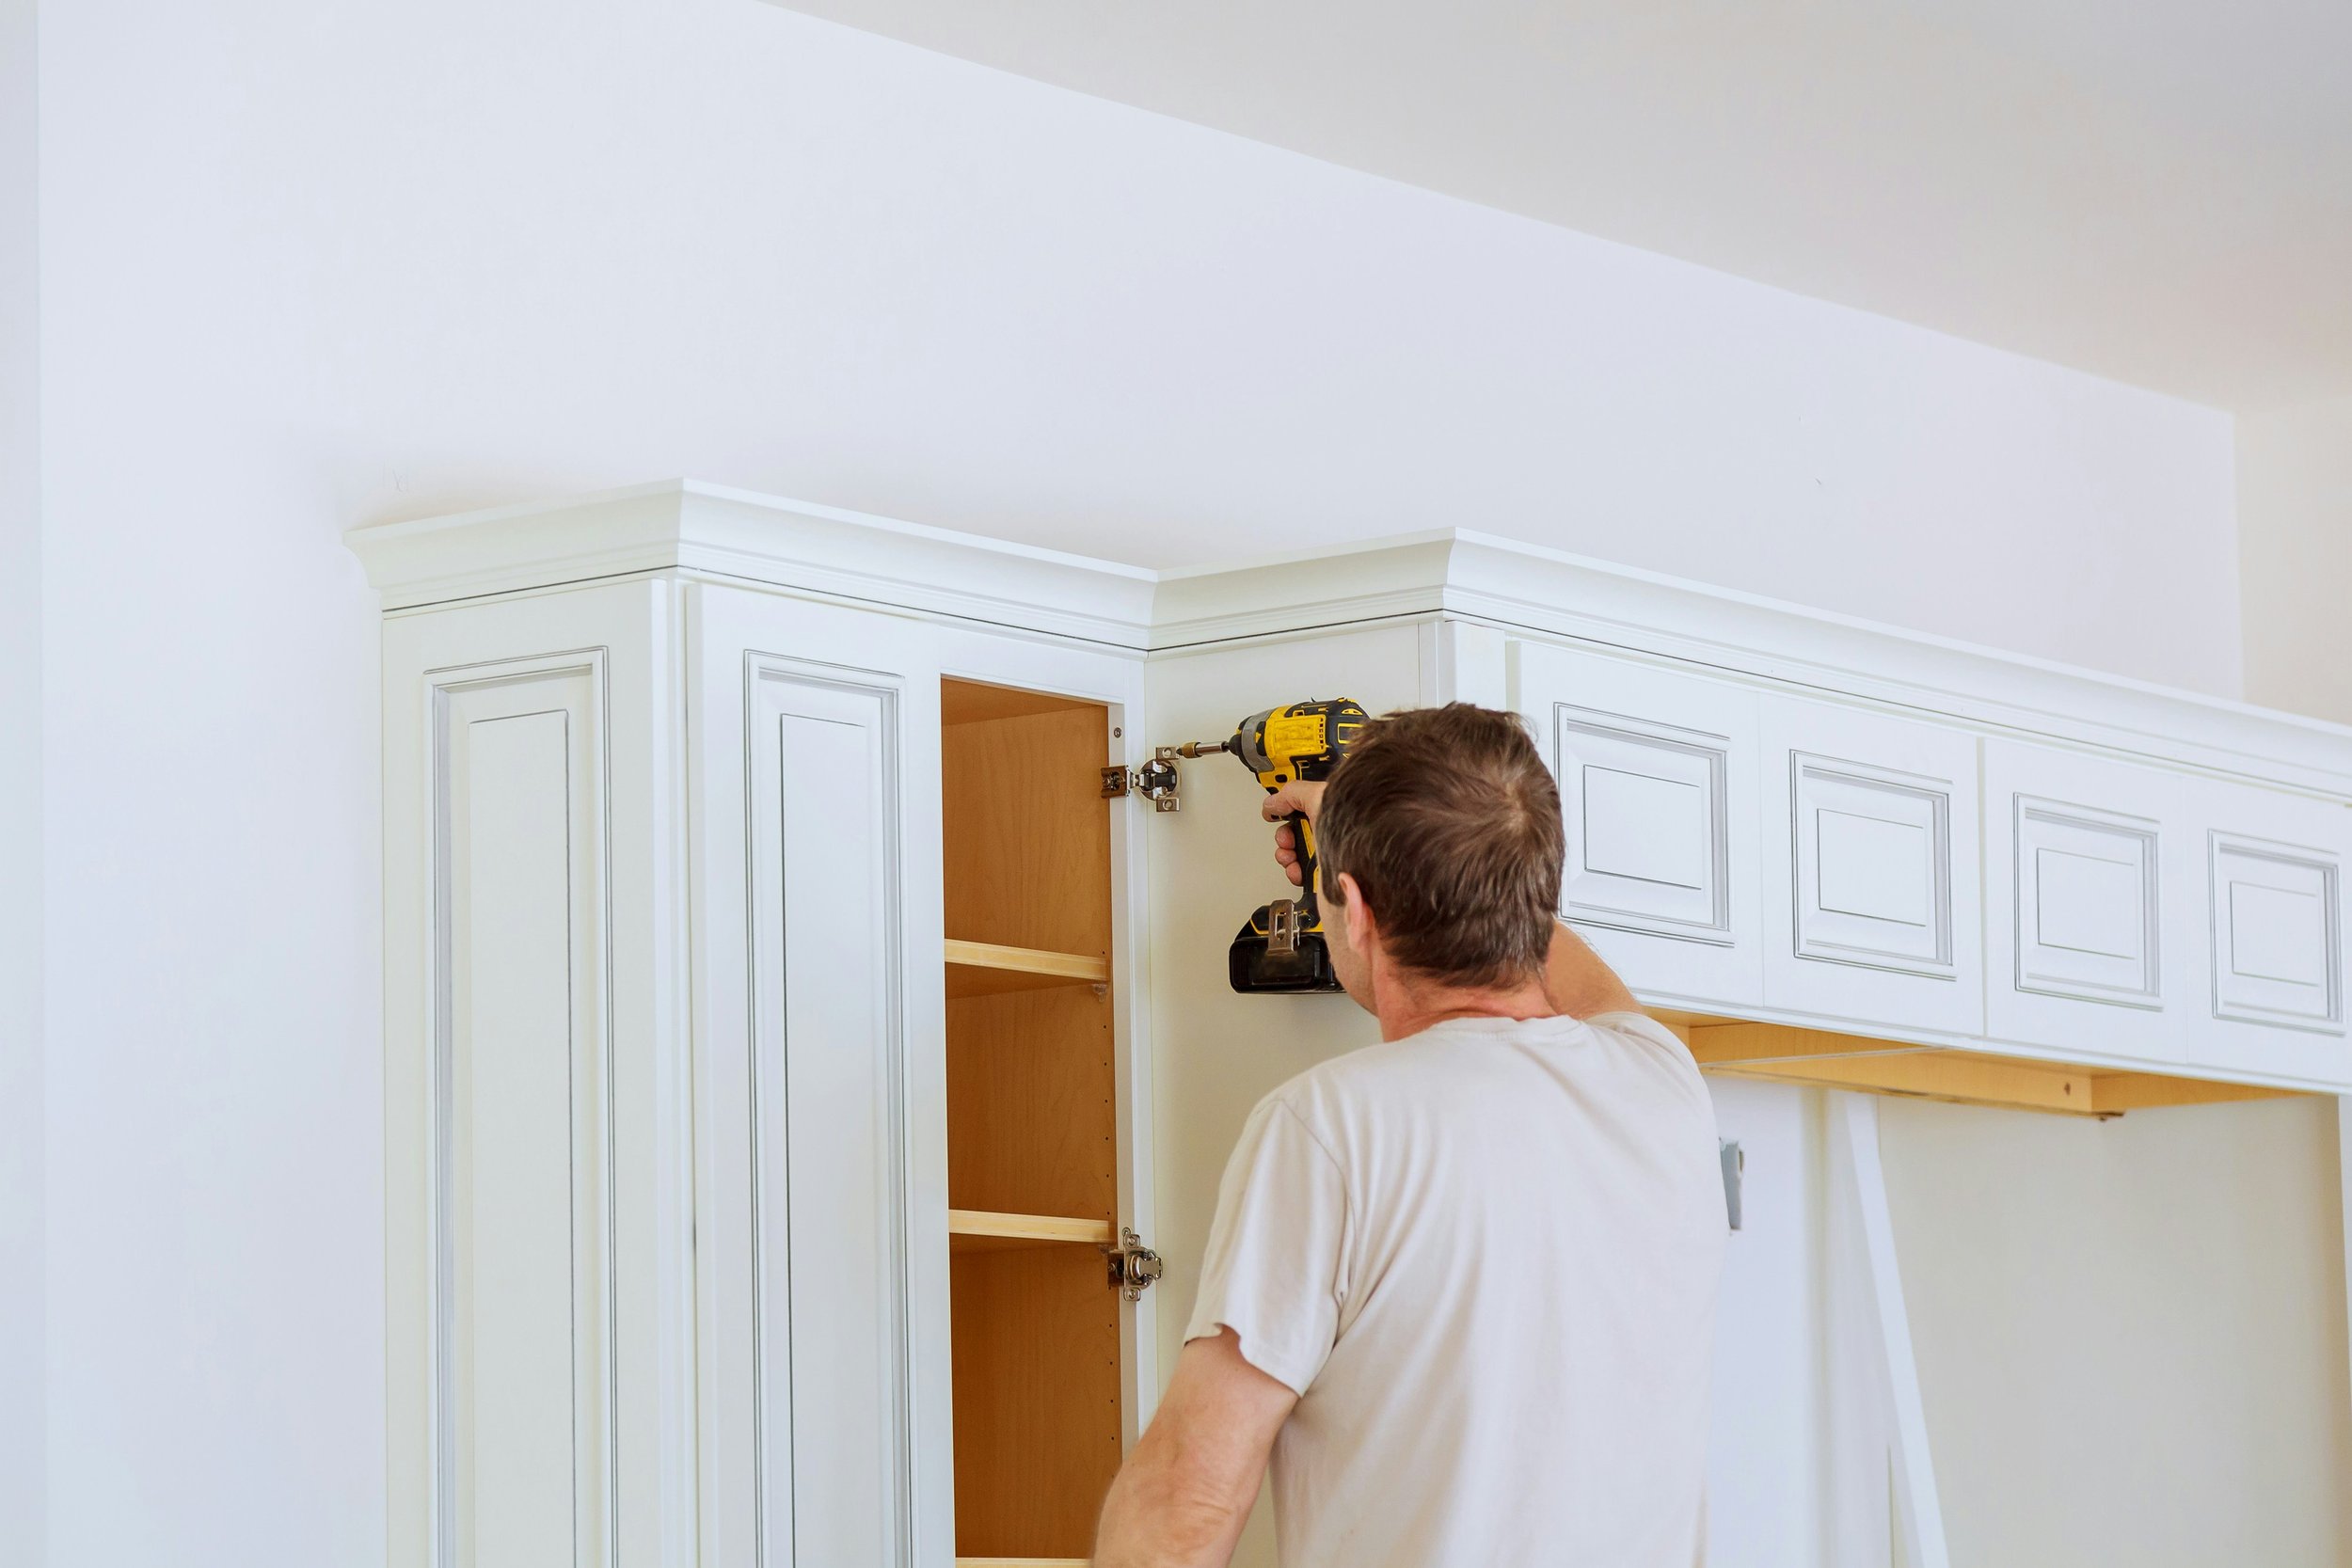
Drill: Great for quickly removing and replacing screws.
Clamps: Helpful for holding the door in place while you make adjustments.
Stud Finder: If you need to adjust the mounting of the cabinet itself.
Assessing the Problem
Identifying Misalignment Issues
Before making any adjustments, take a good look at your cabinet doors. Are they crooked? Do they rub against each other? Are they gapped unevenly? Take note of what you see, as this will guide your adjustments.
Common Signs of Misalignment
Doors not closing properly
Uneven gaps between doors
Doors that scrape against each other or the frame
Common Causes of Misalignment
Understanding the underlying causes can help you prevent future issues:
Improper Installation: If the cabinets weren’t installed correctly, misalignment can occur.
Wear and Tear: Hinges naturally experience wear and tear over time, leading to looseness or damage that may require adjustments or replacements.
Environmental Factors: Changes in humidity and temperature can cause wood to expand or contract.
How to Adjust Cabinet Doors for Perfect Alignment
Now that you’ve assessed the situation, it’s time to get your hands dirty! Here’s a step-by-step guide on how to adjust cabinet doors for perfect alignment.
Step-by-Step Instructions
1. Adjusting Side-to-Side Alignment
Loosen the Hinges: To adjust the door, use a screwdriver to slightly loosen the screws on the hinges. This allows for lateral movement, enabling you to reposition the door for proper alignment. Be careful not to remove the screws entirely—just loosen them enough to make necessary adjustments for a perfect fit.
Position the Door: Push or pull the door until it aligns correctly with the adjacent door or the cabinet frame.
Tighten the Screws: Once aligned, carefully tighten the screws back up without over-tightening.
2. Adjusting Up and Down Alignment
Check the Top and Bottom Gaps: Look at the gaps between the door and the cabinet frame at both the top and bottom.
Loosen the Hinge Screws: As before, loosen the screws slightly to allow for movement.
Adjust the Door Height: Raise or lower the door as needed to achieve even gaps.
Secure the Hinges: Tighten the screws once you’ve got it right.
3. Adjusting the Depth of the Door
Identify Depth Issues: If the door sticks out too far or is too recessed, it’s time to adjust.
Loosen the Depth Adjustment Screws: If your hinges have depth adjustment screws, use a screwdriver to loosen them. This will allow you to adjust the door's depth, ensuring it fits properly within the frame. Make small adjustments to achieve the desired alignment, then retighten the screws once the door is in place.
Reposition the Door: Move the door closer to or further away from the cabinet frame, as needed.
Tighten Everything Up: Once it’s in the right spot, make sure to tighten all screws securely.
Tips for Maintaining Alignment
Regular Checks
Periodically checking your cabinet doors for alignment is a smart practice, especially after seasonal changes or home renovations. Temperature and humidity fluctuations can cause materials to expand or contract, affecting door alignment. Regular inspections help maintain functionality and prevent long-term damage, ensuring your cabinets continue to operate smoothly.
Keeping Hinges Clean
Dust and debris often accumulate in hinges, leading to potential issues like stiffness or squeaking. To maintain smooth operation, regularly wipe down the hinges with a clean cloth to remove buildup. If squeaking occurs, apply a suitable lubricant to keep them functioning properly and extend their lifespan.
Troubleshooting Common Issues
What to Do When Doors Won't Stay Closed
If your cabinet doors won’t stay closed, the issue could stem from a misaligned hinge or a warped door. Inspect the hinges for visible damage or loose screws and tighten or adjust them as needed. If the problem persists, replacing the hinges or addressing the door’s warping may be necessary.
Dealing with Warped Cabinet Doors
Warped wood caused by moisture may require a full door replacement to restore functionality. To prevent future issues, ensure your kitchen or bathroom is well-ventilated by using exhaust fans or opening windows regularly. Proper ventilation helps control humidity, protecting wood surfaces from warping and extending their lifespan.
Conclusion
Aligning cabinet doors doesn’t have to be a daunting task. With a little know-how and some elbow grease, you can transform your cabinets from crooked to flawless. Remember, the key is to take your time, assess the situation, and make the necessary adjustments step by step. Before you know it, your cabinets will be looking as good as new! So, roll up those sleeves and get to work—your cabinets will thank you!
Frequently Asked Questions
1. How do I know if my cabinet doors are misaligned?
If you notice uneven gaps, doors that won’t close properly, or scraping against each other, it’s time to check alignment.
2. Can I adjust cabinet doors without professional help?
Absolutely! With a few simple tools and this guide, you can tackle it yourself.
3. What if my cabinet hinges are damaged?
If hinges are damaged, it’s best to replace them to ensure proper function.
4. How often should I check my cabinet doors for alignment?
Checking at least once a year or whenever you notice issues is a good rule of thumb.
5. Is there a way to prevent cabinet doors from becoming misaligned?
Regular maintenance, proper installation, and keeping humidity levels stable can help prevent misalignment.
Stay up to date with our latest ideas!


