How to Make DIY Shaker Cabinet Doors at Home
Discover how to make DIY Shaker cabinet doors at home with this easy-to-follow guide. Transform your space with custom, budget-friendly cabinet doors that look professional.
Tired of staring at outdated or bland cabinets but don’t want to splurge on replacements? Don’t worry—you’re not alone! Shaker-style cabinet doors, known for their clean lines and timeless appeal, are the perfect upgrade. But here’s the thing: you don’t need to spend a fortune buying new ones. Instead, why not learn how to make DIY Shaker cabinet doors at home?
Yes, it’s totally doable! Whether you’re a DIY novice or an experienced weekend warrior, creating your own Shaker-style doors is a fun and satisfying project. Plus, you’ll save money and have bragging rights every time someone compliments your handiwork. Let’s jump into the details!
Materials and Tools You’ll Need
Materials
Before diving into the project, gather these essentials:
Plywood or MDF: For the center panel.
Wood planks (pine, poplar, or maple): For the frame.
Wood glue: To hold the pieces together.
Wood screws or brad nails: For extra reinforcement.
Sandpaper (80 and 220 grit): To smooth out surfaces.
Primer and paint: For a professional finish.
When building a custom wood project, having the right materials is essential for achieving a sturdy and professional result. For the center panel, plywood or MDF provides a smooth, durable surface that is easy to work with. Wood planks, such as pine, poplar, or maple, are ideal for crafting the frame due to their strength and natural appeal. To assemble the pieces, wood glue holds them together securely, while wood screws or brad nails offer extra reinforcement for added stability. Once the structure is assembled, use sandpaper (both 80 and 220 grit) to smooth out any rough edges and surfaces. Finally, apply primer and paint to achieve a polished, professional finish that enhances the look and durability of your project.
Tools
Here’s your toolkit:
Table saw or circular saw: For cutting wood.
Miter saw: For precise angled cuts.
Router: Optional but handy for creating grooves.
Clamps: To hold pieces in place.
Measuring tape: For accuracy.
Paintbrush or foam roller: For painting.
Having the right tools is essential for any woodworking project to ensure accuracy and quality results. A table saw or circular saw is crucial for making straight cuts in wood, while a miter saw allows for precise angled cuts, perfect for frame or corner work. A router is optional but can be incredibly useful for creating grooves or decorative edges on wood pieces. Clamps are necessary to hold your workpieces firmly in place while assembling, ensuring secure joints and clean lines. Measuring tape ensures accuracy in all your cuts and placements, preventing mistakes. Finally, a paintbrush or foam roller is needed for painting the finished project, providing a smooth and professional-looking finish. With these tools on hand, you'll be well-equipped to complete your woodworking project with ease.
Planning Your DIY Shaker Cabinet Doors
Measure Twice, Cut Once
Measure the cabinet openings where the doors will be installed. Add an extra ½ inch to the width and height for overlay doors.
Write down all measurements to avoid mistakes—it’s always better to double-check!
When installing cabinet doors, precise measurements are crucial to ensure a perfect fit. Start by measuring the cabinet openings where the doors will be installed. For overlay doors, add an extra ½ inch to both the width and height of the opening. This additional space allows the doors to cover the edges of the cabinet frame, creating a clean, professional look. Be sure to write down all measurements to avoid any mistakes during installation. It’s always a good idea to double-check your measurements before cutting or ordering doors, as small errors can lead to ill-fitting doors or the need for costly adjustments. Taking your time with these measurements will ensure a smooth and successful cabinet door installation.
Pick Your Wood
Choose a durable yet easy-to-work-with wood like pine or poplar. If you’re looking for something higher-end, go for maple.
Decide on the Finish
Will you paint them a classic white or stain them to show off the wood grain? Decide upfront so you can prep accordingly.
Cutting and Prepping the Wood
Cut the Frame Pieces
The frame of a Shaker cabinet door consists of two vertical pieces (stiles) and two horizontal pieces (rails).
Cut the stiles to match the height of the door.
Cut the rails to fit the width of the door, factoring in the overlap with the stiles.
Cut the Center Panel
Using your table saw, cut the plywood or MDF for the center panel. Make sure it’s slightly smaller than the frame opening to fit snugly.
Assembling Your Shaker Cabinet Doors
Dry-Fit First
Lay out all the pieces on a flat surface to ensure they fit together perfectly. Adjust as needed before reaching for the glue.
Glue and Clamp
Apply a thin line of wood glue to the edges of the rails and stiles.
Assemble the frame, ensuring everything is square.
Use clamps to hold the frame together while the glue dries.
Insert the Center Panel
If your frame has grooves (created with a router), slide the center panel into place before securing the frame.
For flat frames, glue the panel directly onto the back of the frame.
When assembling cabinet doors, how you attach the center panel depends on the type of frame you’re working with. If your frame has grooves (created with a router), carefully slide the center panel into place within the grooves before securing the frame. This ensures that the panel sits properly and stays securely in place. For flat frames, the process is a bit simpler—glue the panel directly onto the back of the frame, making sure the adhesive is evenly applied for a firm bond. Whether you’re using grooves or a flat frame, it’s important to ensure the panel is aligned correctly before securing everything in place. Proper placement and adhesion will result in a sturdy, professional-looking cabinet door.
Sanding and Prepping for Paint
Smooth It Out
Sand all surfaces, focusing on any rough edges or glue spots. Start with 80-grit sandpaper and finish with 220-grit for a smooth surface.
Clean the Surface
Wipe the doors with a damp cloth to remove dust and debris.
Painting or Staining Your Shaker Doors
Priming
Apply a coat of primer to seal the wood and ensure even paint coverage. Let it dry completely.
Painting
Use a foam roller or brush to apply your chosen paint. Two thin coats work better than one thick coat—trust me on this!
Lightly sand between coats for a flawless finish.
When painting your cabinet doors, achieving a smooth, professional finish requires careful technique. Start by using a foam roller or brush to apply your chosen paint, ensuring even coverage. It’s important to apply two thin coats rather than one thick coat. Thin coats dry more evenly and prevent streaking or drips, giving you a cleaner, more polished result. After the first coat dries, lightly sand the surface with fine-grit sandpaper before applying the second coat. This step helps smooth out any imperfections and ensures a flawless finish. Taking the time to apply multiple thin layers and sanding between coats will give your cabinet doors a sleek, durable finish that looks like it was professionally done.
Staining (Optional)
If staining, use a clean cloth to apply the stain in even strokes. Seal with a clear polyurethane for protection.
Installing Hinges and Hardware
Choose Your Hinges
Decide whether you want concealed hinges for a modern look or decorative hinges for a traditional style.
Drill Holes for Hardware
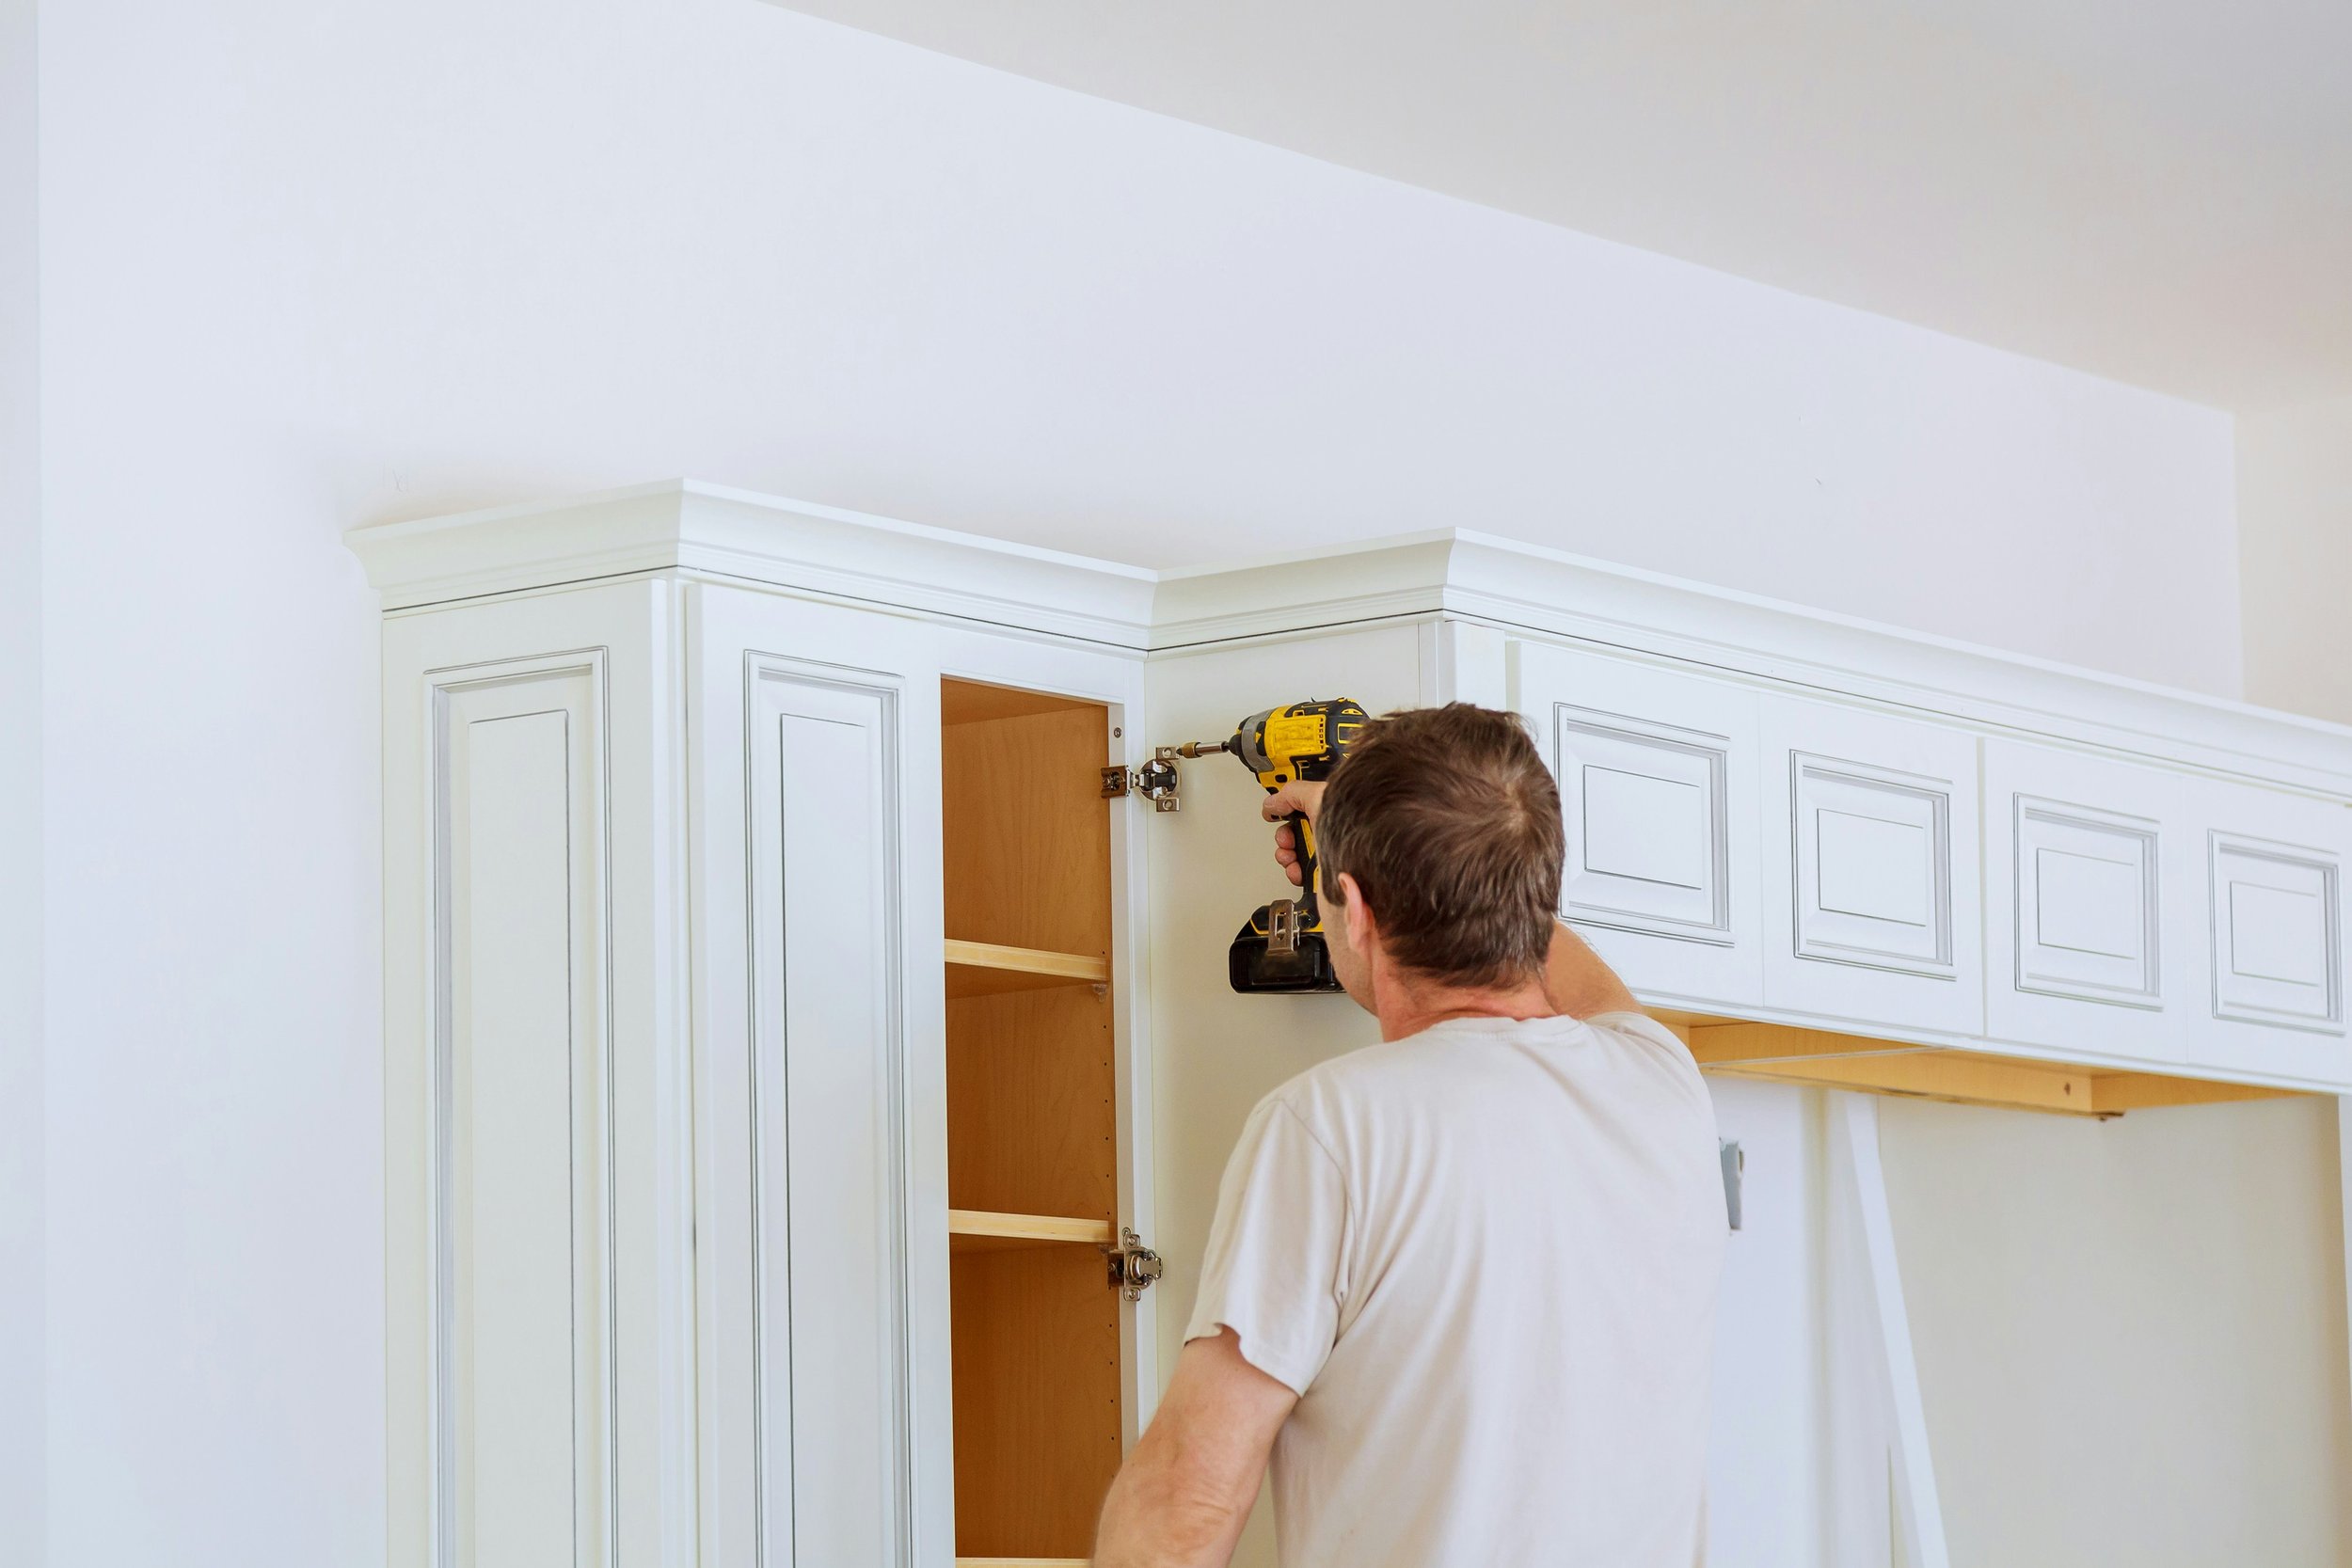
Measure and mark where the knobs or pulls will go. Use a drill to create pilot holes, then attach the hardware.
Hanging Your DIY Shaker Cabinet Doors
Attach Hinges
Secure the hinges to the door first.
Hold the door in position and mark where the hinges will attach to the cabinet frame.
Align and Adjust
Test the doors to ensure they open and close smoothly. Adjust the hinges as needed for a perfect fit.
Tips for Success
Take Your Time: Rushing can lead to mistakes. It’s better to move slowly and get it right the first time.
Label Your Pieces: If you’re making multiple doors, label each piece to avoid confusion.
Use Quality Paint or Stain: A good finish makes all the difference in the final look.
When installing or finishing cabinet doors, taking your time is essential to ensure a successful result. Rushing through the process can lead to costly mistakes, so it’s better to move slowly and carefully to get everything right the first time. If you're working on multiple doors, labeling each piece as you go is a helpful tip to avoid confusion during assembly. This small step saves you time and frustration later. Additionally, don’t cut corners on materials—use quality paint or stain to achieve a beautiful, durable finish. A high-quality finish enhances the overall look and longevity of your project, ensuring that your cabinet doors not only look great but also stand the test of time.
Conclusion
And there you have it! You’ve just learned how to make DIY Shaker cabinet doors at home. From measuring and cutting to painting and installing, this project is not only achievable but also immensely rewarding. Plus, you’ll have a set of beautiful, custom cabinet doors that are sure to impress.
So, grab your tools, roll up your sleeves, and get ready to transform your space. With these step-by-step instructions, you’re well on your way to creating a stunning, timeless look for your home. Happy crafting!
Read next: How to Make Shaker Cabinet Door: Step-by-Step Guide
Frequently Asked Questions
1. Can I make Shaker cabinet doors without a router?
Absolutely! While a router makes it easier to create grooves, you can achieve a similar look with careful measuring and flat panels.
2. How long does it take to make Shaker cabinet doors?
Depending on your skill level, each door can take 1-2 hours to assemble, excluding drying time for glue and paint.
3. What’s the best wood for Shaker cabinet doors?
Poplar and pine are affordable and beginner-friendly. For a more polished look, consider maple or oak.
4. Do I need to seal painted doors?
It’s a good idea to add a clear protective coat, especially for kitchen cabinets that face a lot of wear and tear.
5. Can I retrofit my existing cabinet doors into Shaker style?
Yes, you can add trim pieces to flat doors to mimic the Shaker look, though it may not be as durable as building from scratch.


