How to Make a Lava Lamp at Home: Easy DIY Guide
Learn how to make a lava lamp at home with our easy DIY guide! Discover the materials, step-by-step instructions, and fun tips for creating your very own mesmerizing lava lamp.
Who doesn’t love the mesmerizing dance of colorful blobs in a lava lamp? Those iconic lamps have been captivating people for decades with their groovy, flowing motion. They add a touch of whimsy and nostalgia to any room, making them a perfect decor piece for both kids and adults.
But what if I told you that you could create your very own lava lamp right at home? That’s right! In this How to Make a Lava Lamp at Home: Easy DIY Guide, we’ll walk you through the fun and straightforward process of making your own lava lamp using simple household items. So grab your supplies, and let’s get started on this colorful journey!
Why Make a Lava Lamp?
1. A Fun Science Experiment
Making a lava lamp is not only visually appealing but also serves as a fantastic hands-on activity to explore basic science concepts like density and immiscibility. As the colored water and oil interact, you'll witness how different substances behave when combined, providing a fun and educational experience that demonstrates fundamental principles of chemistry in an engaging way.
2. Customize Your Colors
When you create your own lava lamp, you have the freedom to choose your favorite colors, allowing for a personalized touch that makes it a unique addition to your space. Whether you prefer vibrant hues or calming pastels, the color selection can reflect your style and enhance your decor. This creative project not only adds a custom element to your environment but also serves as a fun conversation starter for guests.
3. Budget-Friendly
Why splurge on a store-bought lava lamp when you can whip one up at a fraction of the cost? This DIY project is not only simple to execute but also budget-friendly, making it accessible for everyone. With just a few household items, you can create a mesmerizing lava lamp that fits your style without breaking the bank. Plus, the satisfaction of crafting your own unique piece adds an extra layer of enjoyment to the experience!
Materials Needed
Before we jump into the step-by-step process, let’s gather our materials. Here’s what you’ll need to make your very own lava lamp:
Clear bottle or jar (with a lid)
Water
Vegetable oil (or mineral oil)
Food coloring (your choice of colors)
Alka-Seltzer tablets (or similar effervescent tablets)
Flashlight (optional, for extra glow)
Funnel (optional, for easier pouring)
How to Make a Lava Lamp at Home: Easy DIY Guide
Now that you’ve gathered all your materials, it’s time to dive into the fun part: creating your lava lamp! Follow these easy steps, and you’ll have a dazzling lamp in no time. This hands-on activity is not only enjoyable but also a great way to see science in action. So, roll up your sleeves, get ready to mix and watch the magic happen as you transform simple ingredients into a captivating visual display!
Step 1: Prepare Your Bottle or Jar
Clean the Container: Before starting, make sure your clear bottle or jar is clean and dry. This step is crucial for ensuring that your lava lamp looks crystal clear and vibrant. Any residue or moisture can affect the appearance of the liquid and the overall effect of the lamp. Take the time to rinse and dry your container thoroughly to create a stunning centerpiece that showcases the mesmerizing movement of the colored liquid inside.
Decide on Size: Choose your container wisely, as the size will dictate how much water and oil you'll need for your lava lamp. Consider whether you want a small, compact lamp for a cozy space or a larger one that makes a bold statement. A taller container can enhance the visual effect of the lava lamp, allowing for more dramatic movement. Make sure it fits comfortably in your intended location and complements your decor for the best results!
Step 2: Add Water
Pour Water into the Container: Using a funnel can greatly minimize spills while you're filling your bottle or jar. Begin by filling the container about one-third full with water. The funnel allows for more precise pouring, ensuring that you don't create a mess during this initial step. Once the water is added, you’ll have a solid base for your lava lamp, making it easier to layer the oil and create that mesmerizing lava effect later on.
Leave Room for Oil: Check your ratio carefully as you fill your container; it's important to leave enough space for the oil and effervescent tablets that you'll add later. Avoid filling the bottle or jar to the brim, as this can lead to overflow and mess during the reaction. By leaving some room at the top, you ensure that the ingredients can interact freely, creating the captivating lava effect without any unwanted spills.
Step 3: Add Oil
Pour in Vegetable Oil: Carefully pour vegetable oil into the bottle until it’s nearly full, taking care not to disturb the water layer underneath. The oil will float on top of the water due to its lower density, creating a clear separation between the two liquids. This distinct layering is essential for achieving the classic lava lamp effect, setting the stage for the mesmerizing movements that will occur once you add the effervescent tablets later on.
Observe the Separation: Take a moment to marvel at the distinct layers of water and oil in your container; it’s already beginning to resemble a lava lamp! The clear separation between the two liquids is not only visually striking but also an exciting precursor to the fun that’s about to unfold. This is the perfect opportunity to appreciate your handiwork before adding the effervescent tablets, which will create the captivating movement you’re eagerly anticipating!
Step 4: Add Food Coloring
Choose Your Color: Pick your hue by selecting the food coloring you want for your lava lamp. This is your chance to get creative and choose a color that resonates with you! Remember that the food coloring will mix with the water, creating a vibrant contrast against the oil. The separation of colors will enhance the visual effect of your lamp, so have fun experimenting with different shades to achieve the look you desire!
Add the Color: Drop in about 10 drops of food coloring into the water, and watch in fascination as it sinks through the oil, creating vibrant streaks of color. This moment is truly magical, as the food coloring disperses in the water while remaining separate from the oil, enhancing the visual appeal of your lava lamp. If you're feeling adventurous, don't hesitate to mix different colors for a stunning and unique effect that personalizes your creation!
Step 5: Make It Lava!
Break Out the Alka-Seltzer: Now comes the fun part! Take one or two Alka-Seltzer tablets and break them into smaller pieces. This step is essential, as the smaller bits will dissolve more quickly in the water, creating those captivating bubbles that characterize a lava lamp. As you drop the pieces into your mixture, watch as they react with the water, producing fizzing bubbles that rise and fall, mimicking the mesmerizing flow of lava!
Drop Them In: Drop a piece into the bottle and step back. You’ll see the magic unfold as the fizzy reaction creates bubbles that carry the colored water up through the oil, just like a lava lamp!
Repeat as Needed: If you want to keep the action going, feel free to add more pieces of Alka-Seltzer as needed. Each additional piece will react with the water, creating more fizzing bubbles and enhancing the lava lamp effect. Enjoy the captivating movement for several minutes, as the colorful blobs rise and fall in a mesmerizing display. When the reaction slows down, simply add more tablets to rejuvenate the show and keep the fun alive!
Step 6: Optional Glow
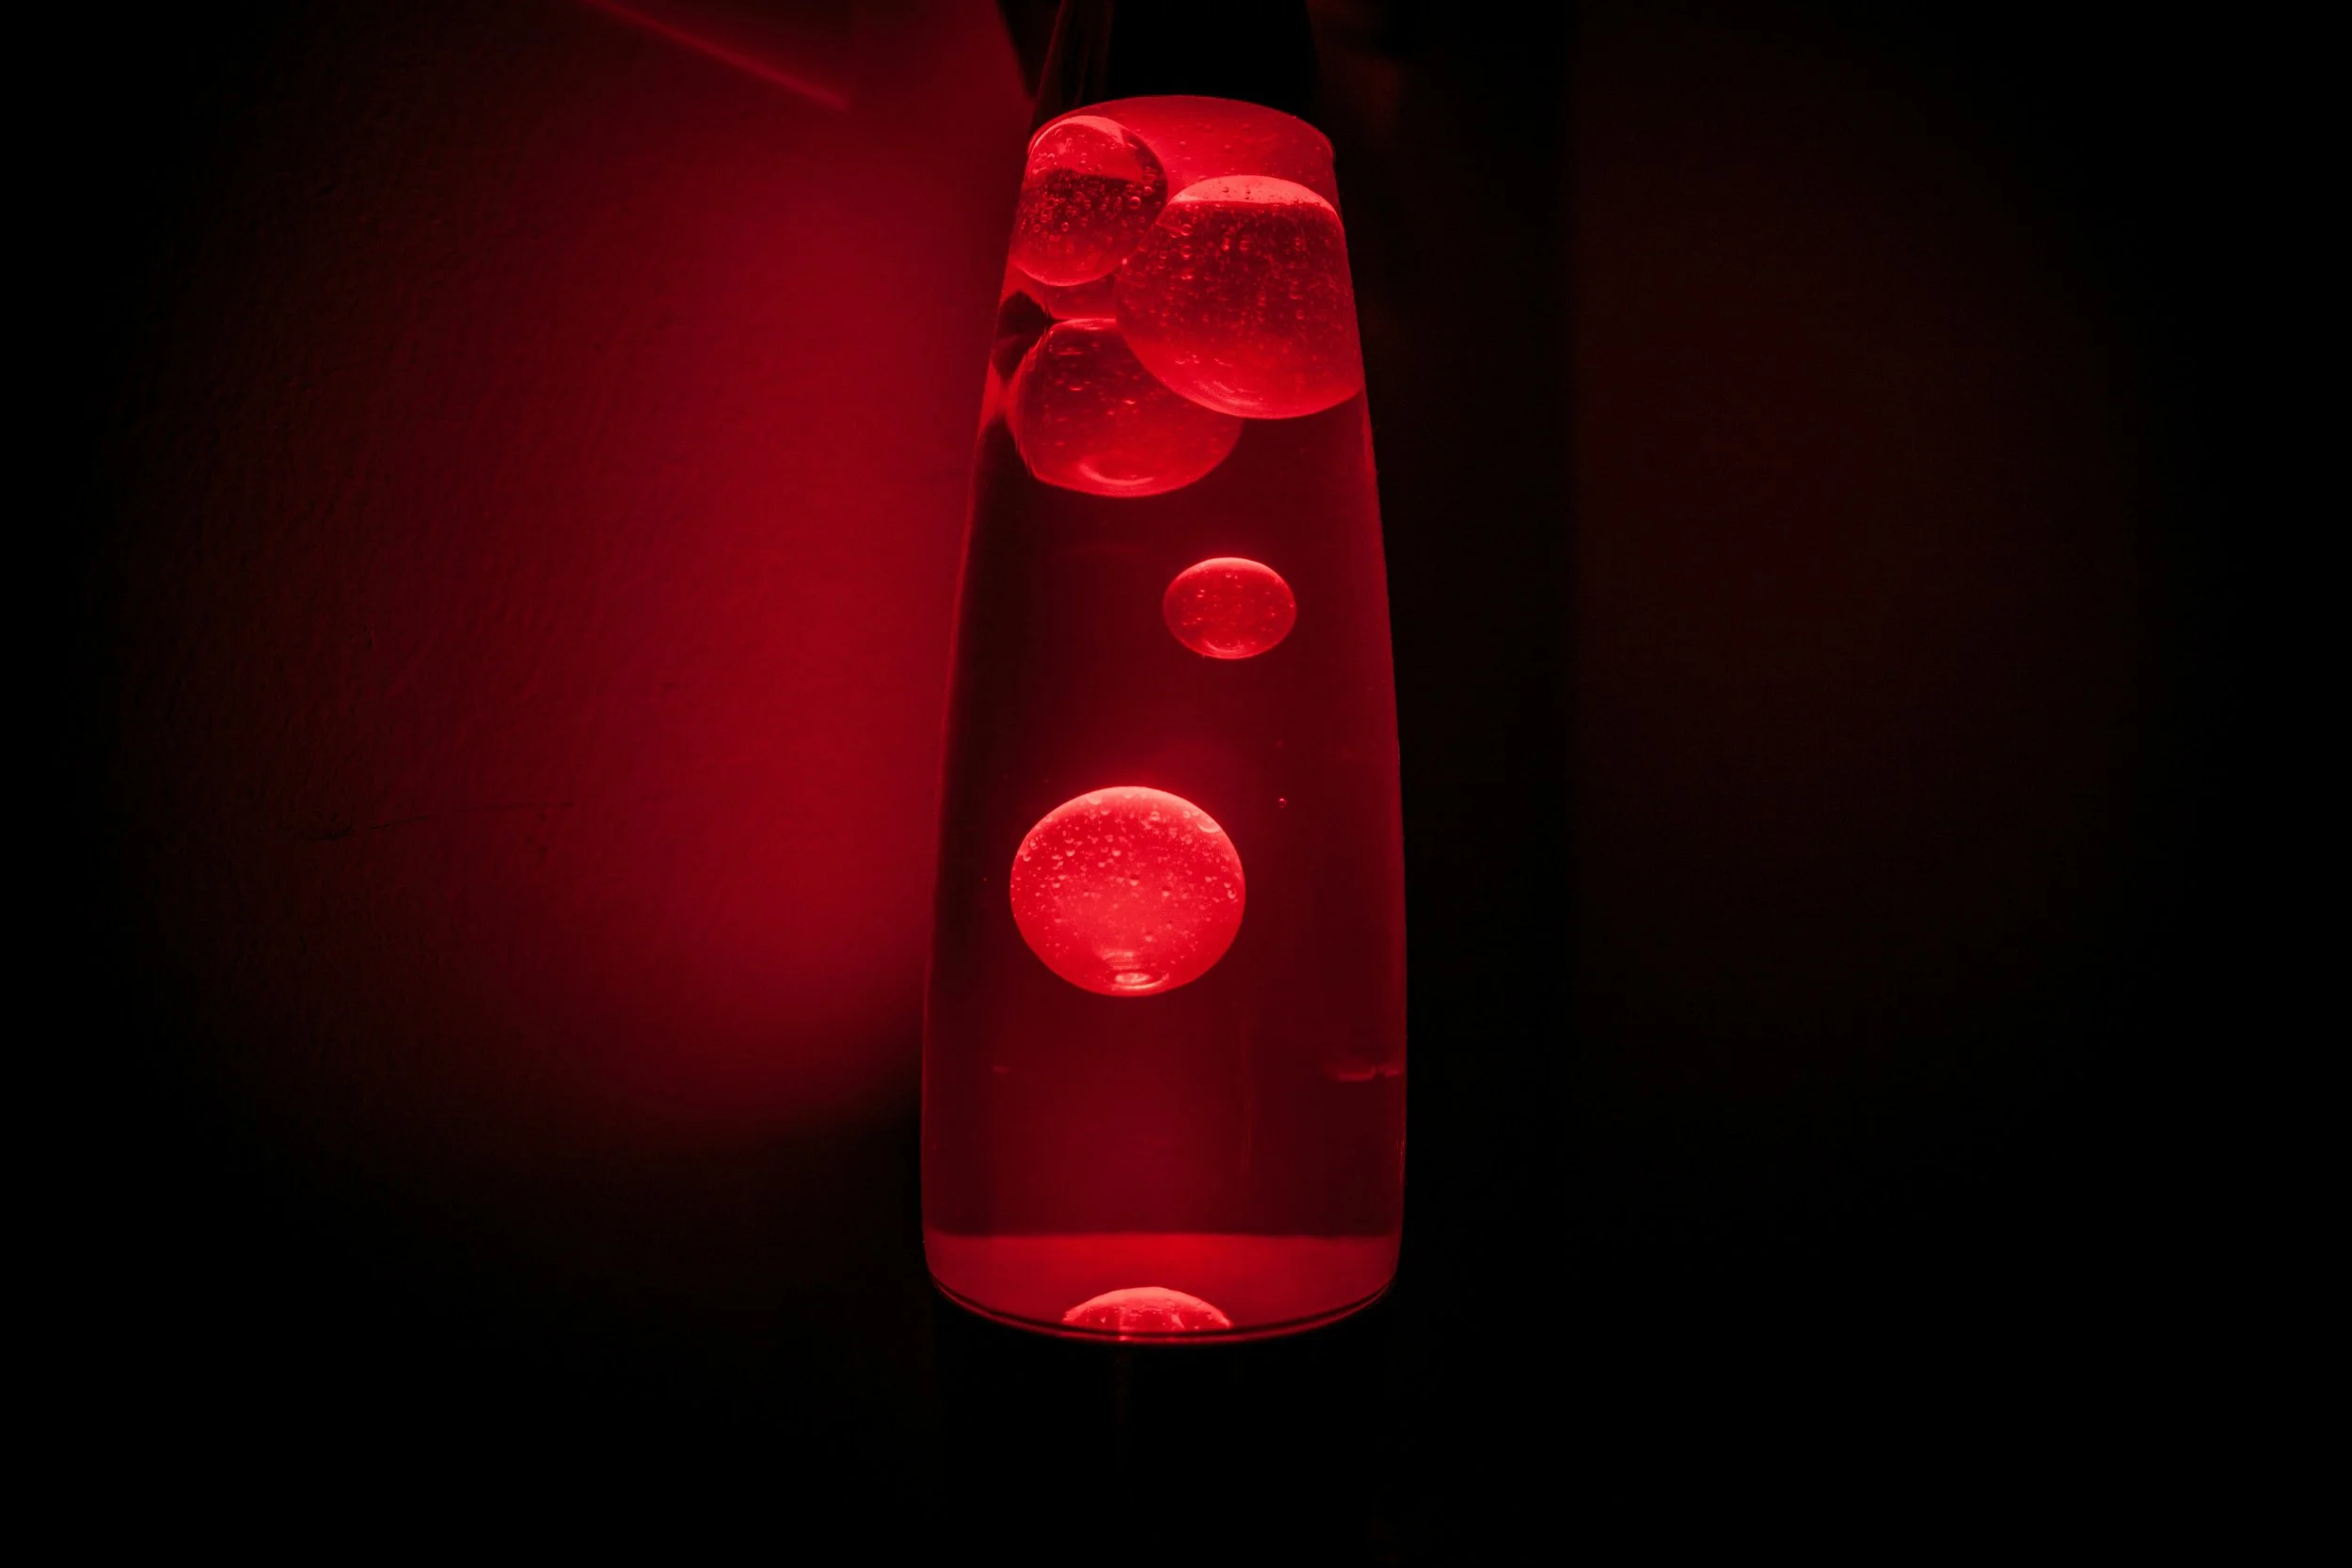
Use a Flashlight: For an extra glow, place your lava lamp on top of a flashlight or shine a flashlight from underneath. This illuminating effect adds a whole new dimension to your colorful creation, making the vibrant colors pop and enhancing the mesmerizing movement of the bubbles. The light will highlight the contrasting layers of oil and water, transforming your DIY lava lamp into a captivating centerpiece that draws attention and adds a unique ambiance to your space!
Step 7: Sealing It Up (Optional)
Secure the Lid: To prevent spills while enjoying your lava lamp or if you plan to store it, consider securing the lid. However, ensure that the lid is not airtight, as pressure can build up from the fizzing action of the Alka-Seltzer tablets. A loosely fitting lid will allow any gas to escape, maintaining the integrity of your creation while still providing a level of protection against spills or leaks during use or storage.
Tips for Maintaining Your Lava Lamp
1. Store It Properly
Keep It Cool: When not in use, it's important to store your lava lamp in a cool, dark place to maintain the integrity of the liquids inside. Avoid exposing it to direct sunlight or heat, as these factors can affect the color and consistency of the water and oil. By keeping your lava lamp in a stable environment, you'll ensure that it remains in optimal condition for your next creative session, ready to delight with its mesmerizing effects.
2. Refresh the Mixture
Change It Up: If the color of your lava lamp fades over time or if you simply want to switch things up, don’t hesitate to refresh the water and oil mixture. It’s easy to do—just follow the same steps you used for the initial setup! Carefully empty the old mixture, clean the container, and then refill it with fresh water and oil. You can also choose new food coloring to create a completely different vibe for your captivating lava lamp.
3. Avoid Overusing Alka-Seltzer
Use Sparingly: Use Alka-Seltzer sparingly, as excessive use can lead to increased pressure inside the container, especially if the lid is sealed tightly. This pressure buildup can be dangerous and may cause leaks or damage to your lava lamp. To enjoy the fizzing effect safely, limit the number of tablets you add at one time, and ensure that the lid is not airtight. By being mindful of your usage, you can maintain a safe and enjoyable experience with your lava lamp.
Conclusion
Now that you’ve read this How to Make a Lava Lamp at Home: Easy DIY Guide, you’re ready to bring a little fun and color into your life! This simple yet mesmerizing project is not only a great way to brighten your space but also a fantastic learning experience, especially for kids.
With just a few household items and a little creativity, you can create a captivating lava lamp that will be the envy of your friends. So go ahead, gather your materials, and enjoy the mesmerizing dance of colors in your very own homemade lava lamp! Happy crafting!
Frequently Asked Questions
1. Can I use other liquids besides water and oil?
While water and oil are the classic combo, you can experiment with different liquids. Just remember that they need to be immiscible (they don’t mix).
2. What happens if I don’t have Alka-Seltzer?
If you can’t find Alka-Seltzer, you can use baking soda and vinegar. Add a tablespoon of baking soda to the water, then pour in vinegar. The reaction will create bubbles, but it may not last as long as the Alka-Seltzer.
3. How long will my lava lamp last?
The effect can last for several minutes, but it may slow down as the reaction fizzles out. You can add more Alka-Seltzer as needed to keep the lava flowing.
4. Is it safe to make a lava lamp with kids?
Absolutely! Just ensure they understand that it’s a science experiment and they shouldn’t drink any of the liquids. Supervise younger kids when using small items like Alka-Seltzer tablets.
5. Can I make a lava lamp without a clear container?
While a clear container is ideal for visibility, you can use any container. Just keep in mind that it may not be as visually striking if the colors aren’t easily seen.
Stay up to date with our latest ideas!


