How to Insulate Attic Roof Rafters: A Step-by-Step Guide
Learn how to insulate attic roof rafters with this easy-to-follow step-by-step guide. Improve energy efficiency, reduce heating costs, and protect your home with the right insulation techniques.
When it comes to making your home energy-efficient, insulating your attic roof rafters is one of the smartest upgrades you can make. Not only does proper insulation keep your home warmer in the winter and cooler in the summer, but it can also significantly reduce your energy bills. But how do you go about insulating those attic roof rafters without turning the job into a headache?
That’s where this guide comes in. In How to Insulate Attic Roof Rafters: A Step-by-Step Guide, we’ll walk you through the process with easy instructions, helpful tips, and a bit of DIY encouragement. So, whether you’re a seasoned weekend warrior or just dipping your toes into home improvement, let’s get started!
Why Insulating Attic Roof Rafters Is Important
Before we jump into the nuts and bolts, let’s take a moment to understand why insulating your attic roof rafters is such a big deal.
Energy Efficiency: Insulating your attic is crucial for maintaining a comfortable home year-round. It reduces heat loss during the winter and keeps the space cooler in the summer, leading to lower energy bills. By minimizing the strain on your heating and cooling systems, proper attic insulation enhances your home's energy efficiency, making it a cost-effective investment for long-term savings and improved comfort.
Cost Savings: Insulating your attic effectively can lead to significant savings on your energy bills. With proper insulation, your HVAC system operates more efficiently, requiring less energy to maintain a comfortable temperature. This reduced workload translates into lower heating and cooling costs, making attic insulation a smart financial investment. Over time, the savings on your energy bills can offset the initial cost of insulation, enhancing your home's overall value and efficiency.
Comfort: :Proper attic insulation enhances home comfort by eliminating drafts and stabilizing room temperatures. Insulation acts as a barrier to prevent heat from escaping in winter and entering in summer, ensuring a consistent and comfortable indoor climate. This even temperature distribution helps maintain a cozy environment throughout your home, allowing you to enjoy greater comfort and reduce the need for constant adjustments to your heating and cooling systems.
Protection Against Moisture: Effective attic insulation helps mitigate the risk of moisture buildup by maintaining a consistent temperature and reducing condensation. This is crucial in preventing mold and mildew growth, which can thrive in damp, poorly insulated spaces. By keeping your attic dry and well-insulated, you protect the structural integrity of your home and maintain a healthier indoor environment. Proper insulation also reduces the likelihood of moisture-related issues that can compromise your home's overall health and safety.
Now that we’ve covered the “why,” let’s move on to the “how.”
Tools and Materials You’ll Need
Before you start insulating your attic roof rafters, you’ll need to gather a few tools and materials. Here's a handy list to make sure you’ve got everything covered:
Insulation material (fiberglass batts, foam boards, or spray foam)
Utility knife (for cutting insulation)
Measuring tape
Staple gun (for securing insulation batts)
Insulation supports or wire (optional)
Vapor barrier (if required)
Safety gear (goggles, gloves, mask)
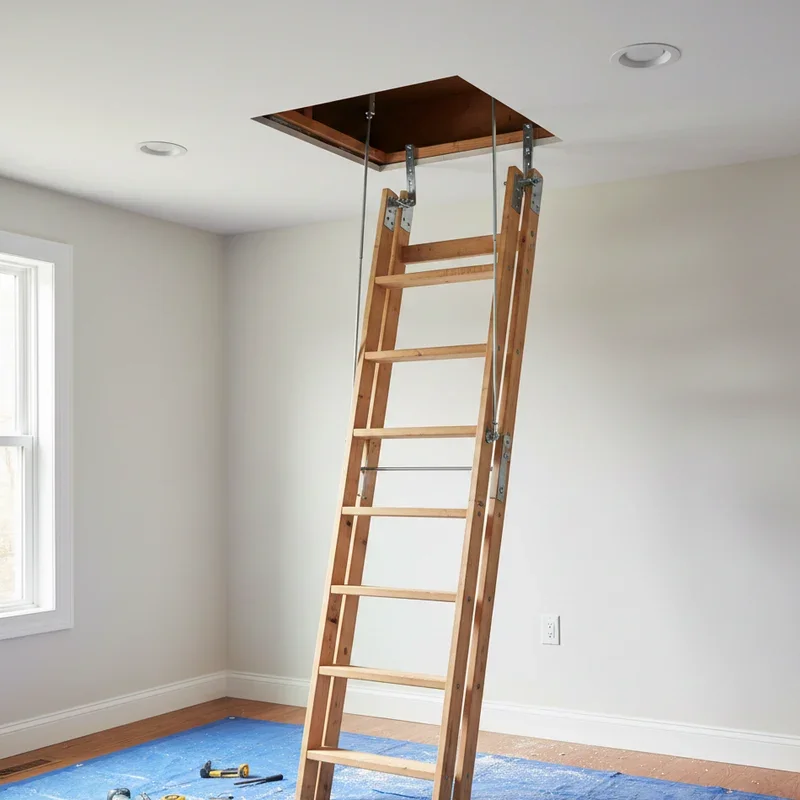
Ladder (if needed)
Caulk or spray foam for sealing gaps

How to Insulate Attic Roof Rafters: A Step-by-Step Guide
Step 1: Choose Your Insulation Material
The first decision you’ll need to make is which insulation material to use. The three main types of insulation for attic rafters are:
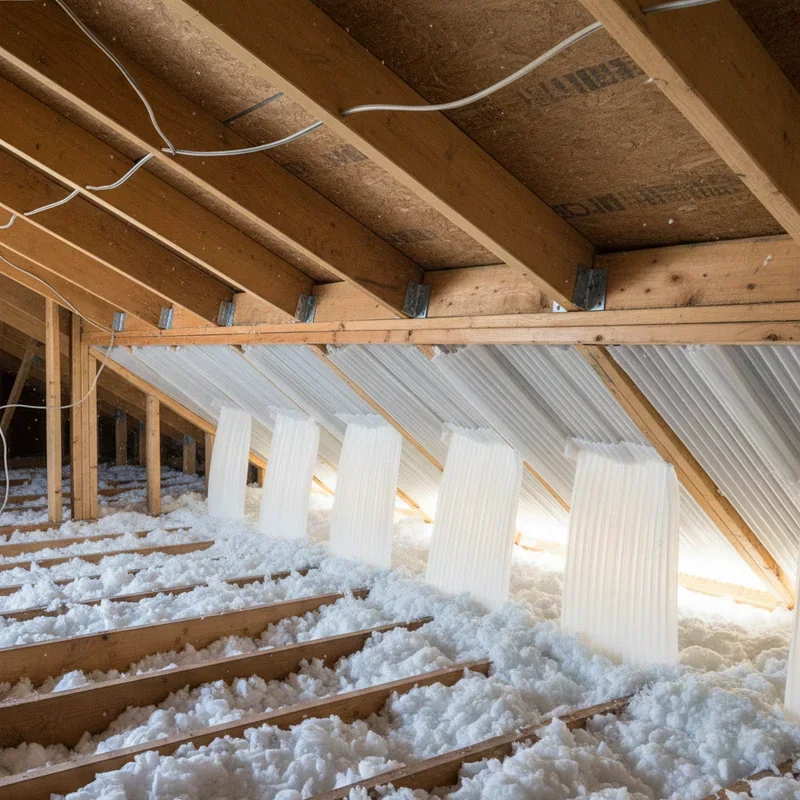
Fiberglass Batts: Energy Efficiency: Insulating your attic is key to enhancing your home's energy efficiency. By reducing heat loss in the winter and keeping the space cooler in the summer, attic insulation minimizes the need for excessive heating and cooling. This not only helps maintain a comfortable indoor temperature year-round but also lowers your energy bills and reduces your overall environmental impact. Investing in attic insulation is a smart move for both comfort and cost savings.
Foam Boards: Foam Boards: Rigid foam boards are a top choice for insulation, especially in colder climates. They offer excellent thermal resistance with high R-values, which measure insulation effectiveness. Though they tend to be more expensive compared to other options, their superior insulating properties make them a worthwhile investment for enhancing energy efficiency and maintaining consistent indoor temperatures. Foam boards are durable and easy to install, providing long-term benefits for your home's comfort and energy savings.
Spray Foam: Spray foam insulation is a top-tier choice for energy efficiency, as it expands to fill gaps and creates an airtight seal. While it’s more expensive and often requires professional installation, its superior insulating properties and ability to prevent air leaks make it a valuable investment. Spray foam offers excellent thermal resistance, reducing energy consumption and improving overall comfort in your home by effectively insulating even the most challenging spaces.
Once you’ve chosen your insulation material, it’s time to measure up and get cutting!
Step 2: Measure the Space Between Rafters
Use a measuring tape to measure the distance between your attic roof rafters. This measurement will help you cut your insulation material to the right size. If you’re using fiberglass batts or foam boards, they’ll need to fit snugly between the rafters without leaving gaps.
Pro Tip: For an accurate fit when insulating unevenly spaced rafters, measure each section individually. This approach ensures that each piece of insulation fits snugly, minimizing gaps and maximizing energy efficiency. Taking precise measurements helps avoid the need for adjustments later, leading to a more effective and seamless insulation installation. This attention to detail is crucial for achieving optimal thermal performance and preventing energy loss in your home.
Step 3: Cut the Insulation to Size
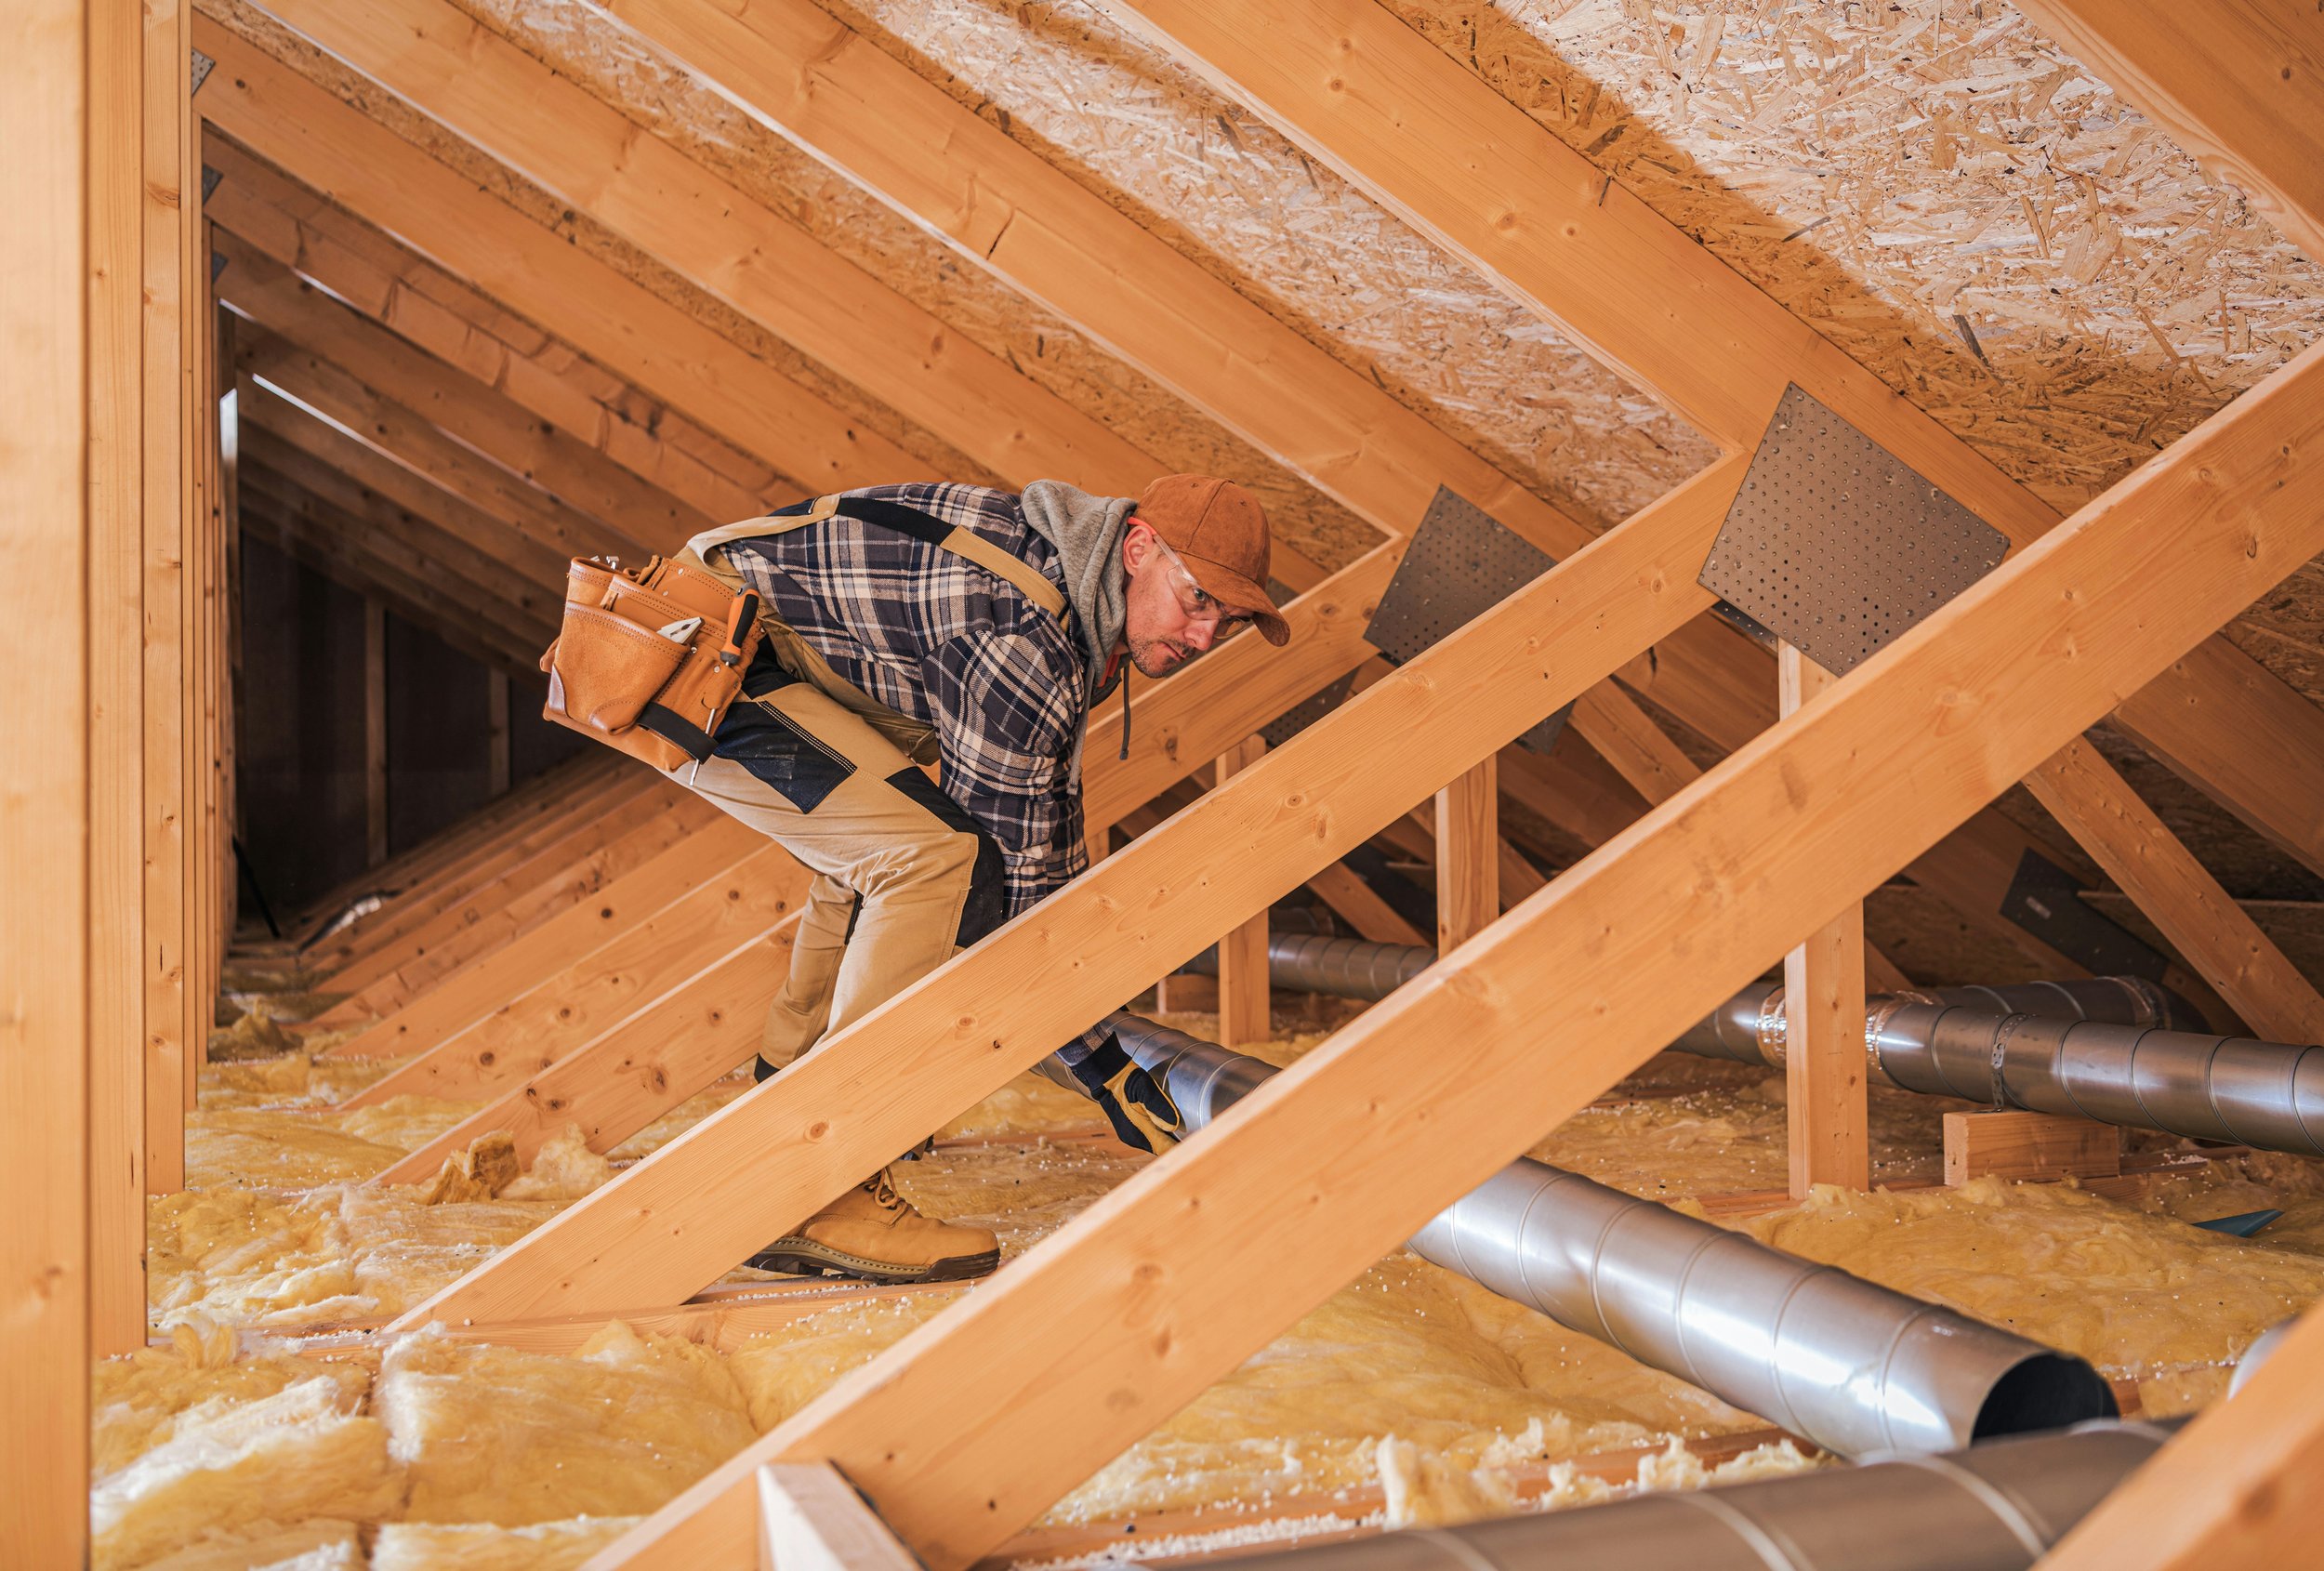
With your measurements in hand, use a utility knife to cut the insulation to the right size. For fiberglass batts, handle them carefully, as fiberglass fibers can irritate the skin. Wearing gloves, long sleeves, and a dust mask is advisable to protect yourself while working. Ensure precise cuts to fit snugly between the rafters, maintaining the insulation’s effectiveness and preventing drafts. Proper handling and safety precautions will make the installation process smoother and more comfortable.
Step 4: Install the Insulation
Now comes the fun part—installing the insulation. Here’s how to insulate attic roof rafters based on the material you’ve chosen:
For Fiberglass Batts: For fiberglass batts, push them between the rafters, ensuring they fit snugly without compressing the material. If the batts tend to sag, use insulation supports or wire to keep them in place. Secure the edges with a staple gun if necessary, making sure there are no gaps or areas where the insulation could shift. Properly installed batts will maximize your attic’s insulation effectiveness and improve overall energy efficiency.
For Foam Boards: For foam boards, place them between the rafters, trimming as needed to ensure a snug fit. Seal any gaps around the edges with caulk or spray foam to create an airtight barrier. Properly installed foam boards will enhance your attic’s insulation by minimizing air leaks and improving overall energy efficiency. This approach helps maintain a stable temperature in your home, reducing the strain on your heating and cooling systems.
For Spray Foam: For spray foam, carefully apply it between the rafters, taking care to control the amount as it expands significantly and can get messy. Ensure you cover all gaps and crevices to achieve a seamless, airtight seal. If you’re unfamiliar with the process or dealing with large areas, hiring a professional might be a good idea to ensure optimal results and avoid potential issues with application. Properly applied spray foam will enhance your attic’s insulation and energy efficiency.
Step 5: Install a Vapor Barrier (If Required)
Depending on your climate and the insulation material you’re using, you may need to install a vapor barrier to prevent moisture from accumulating in your attic. A vapor barrier is typically a sheet of plastic or foil that goes over the insulation to keep warm, moist air from reaching cold surfaces (which can lead to condensation).
Pro Tip: If you're unsure whether a vapor barrier is necessary for your attic insulation, consult your local building codes or seek advice from a professional. Building codes vary by region, and a professional can provide guidance based on your specific climate and insulation type. Ensuring proper use of a vapor barrier, if required, can help prevent moisture issues and enhance the effectiveness of your insulation.
Step 6: Seal Any Gaps or Cracks
Once the insulation is in place, sealing any gaps or cracks is crucial to prevent air leaks. Use caulk or spray foam to fill in around attic vents, pipes, or wiring that penetrate the insulation layer. This helps ensure that your insulation works effectively by creating an airtight barrier, enhancing overall energy efficiency and preventing drafts that can lead to higher heating and cooling costs.
Step 7: Clean Up and Inspect Your Work
After installing the insulation and sealing all gaps, perform a final inspection of the attic. Ensure that the insulation fits snugly and there are no exposed areas. Check for any loose materials or inconsistencies and clean up as needed. A thorough inspection ensures that your insulation will perform effectively, maintaining your home's energy efficiency and comfort. Once everything is in order, your attic will be well-insulated and ready to contribute to a more energy-efficient home.

Conclusion
Insulating your attic roof rafters is one of the most effective ways to improve your home’s energy efficiency and save money on utility bills. With the right materials, tools, and guidance from this How to Insulate Attic Roof Rafters: A Step-by-Step Guide, you can tackle the project yourself or call in the pros if you prefer. Remember, proper insulation not only keeps your home cozy year-round but also protects against moisture, reduces noise, and boosts your home’s resale value.
So what are you waiting for? It’s time to make your attic work for you—efficiently!
Frequently Asked Questions
How much insulation do I need for attic roof rafters?
The amount of insulation you need depends on the size of your attic and the climate in which you live. Generally, colder climates require higher R-values (insulation effectiveness). A common recommendation for attic insulation is between R-38 and R-60.
Should I insulate the attic ceiling or the attic floor?
It depends on how you use your attic. If you plan to convert it into a living space, insulate the roof rafters to keep the entire space warm. However, if your attic is just for storage, insulating the attic floor may be sufficient.
Can I install insulation over existing insulation?
Yes, you can add more insulation over existing material if it’s in good condition and not compacted or damaged. Just be sure not to compress the existing insulation, as this can reduce its effectiveness.
What type of insulation is best for attic roof rafters?
Fiberglass batts are the most DIY-friendly option, but foam boards or spray foam provide higher R-values and better energy efficiency. The best choice depends on your budget, climate, and personal preference.
How do I know if my attic needs more insulation?
If your home is drafty, your heating and cooling bills are high, or you notice uneven temperatures between rooms, your attic may need more insulation. A home energy audit can also help determine whether your insulation is sufficient.
Stay up to date with our latest ideas!