How to Fix a Leaky Bathtub Faucet with Two Handles
Discover step-by-step instructions on how to fix a leaky bathtub faucet with two handles. Learn essential tips and tricks to make your DIY repair a breeze!
There’s nothing quite like the soothing sound of water running in the bathroom, but if that sound is accompanied by an annoying drip-drip-drip from your bathtub faucet, you might be feeling more frustrated than relaxed! A leaky bathtub faucet not only drives you crazy with its constant noise but can also lead to water wastage and higher bills. If you’ve got a two-handle faucet and you’re ready to roll up your sleeves and tackle this DIY project, you’re in the right place. In this guide, we’ll explore “How to Fix a Leaky Bathtub Faucet with Two Handles,” providing you with all the tools and knowledge you need to stop that pesky leak once and for all. Let’s dive in!
Understanding Your Faucet
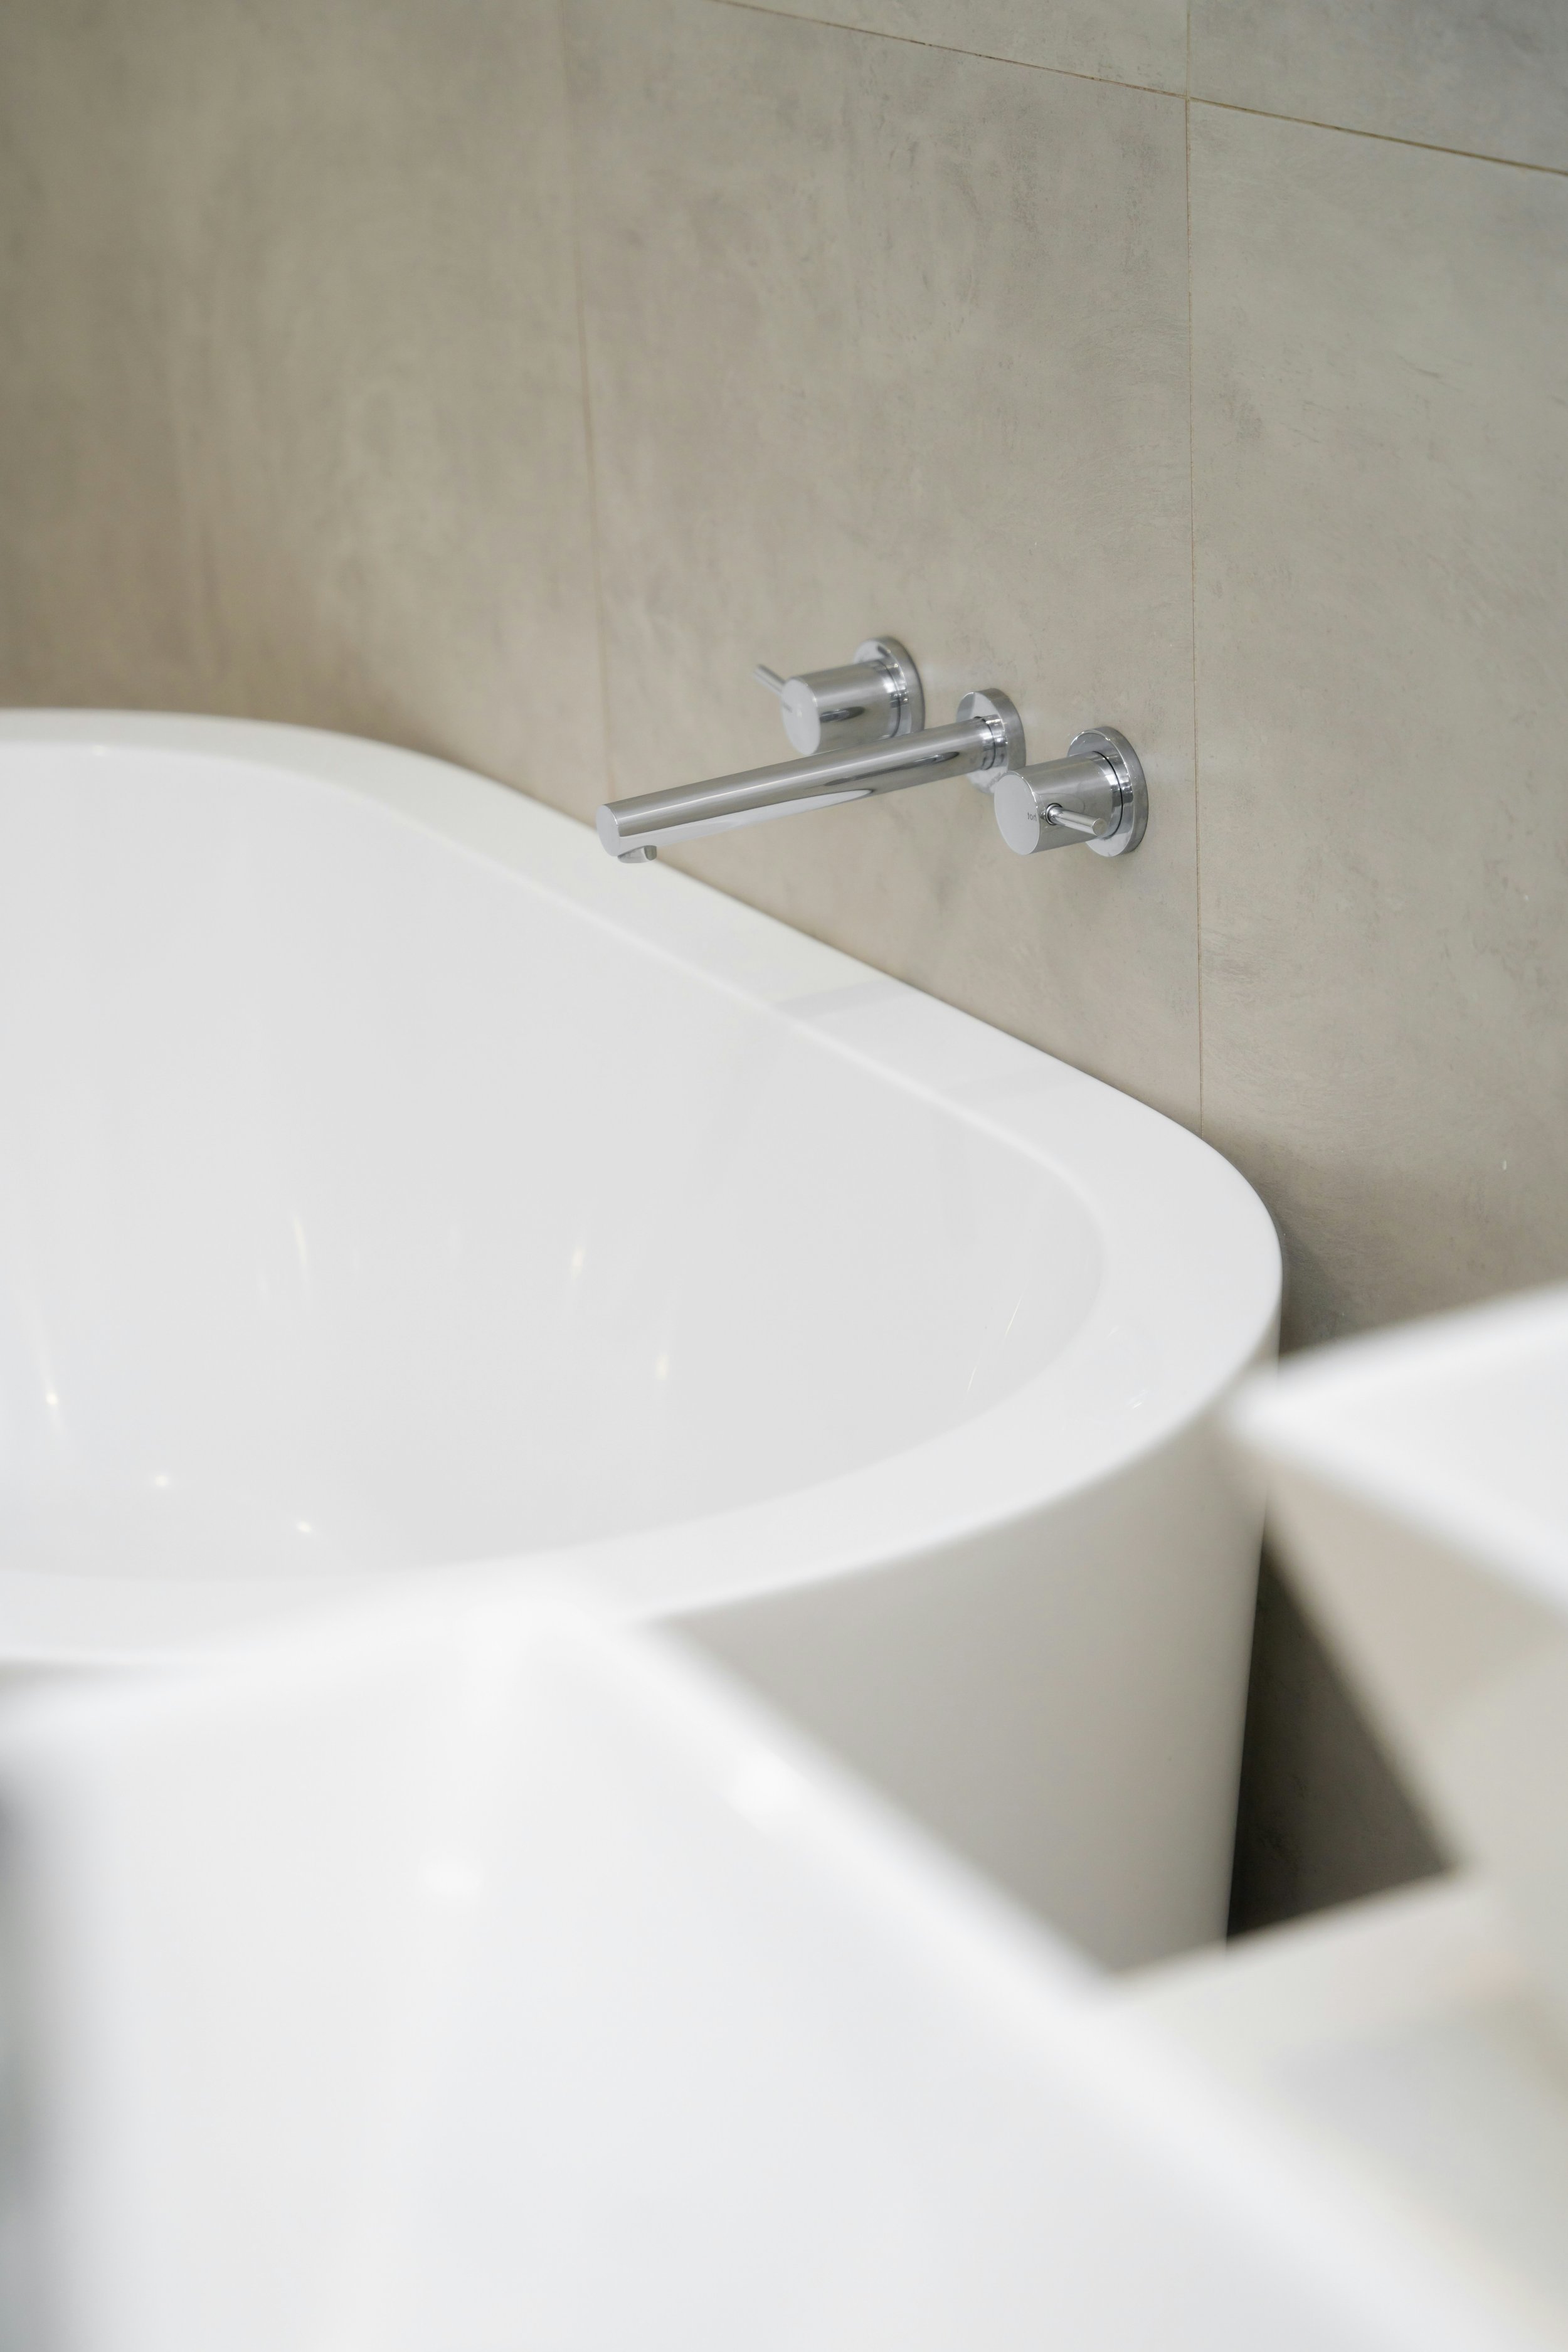
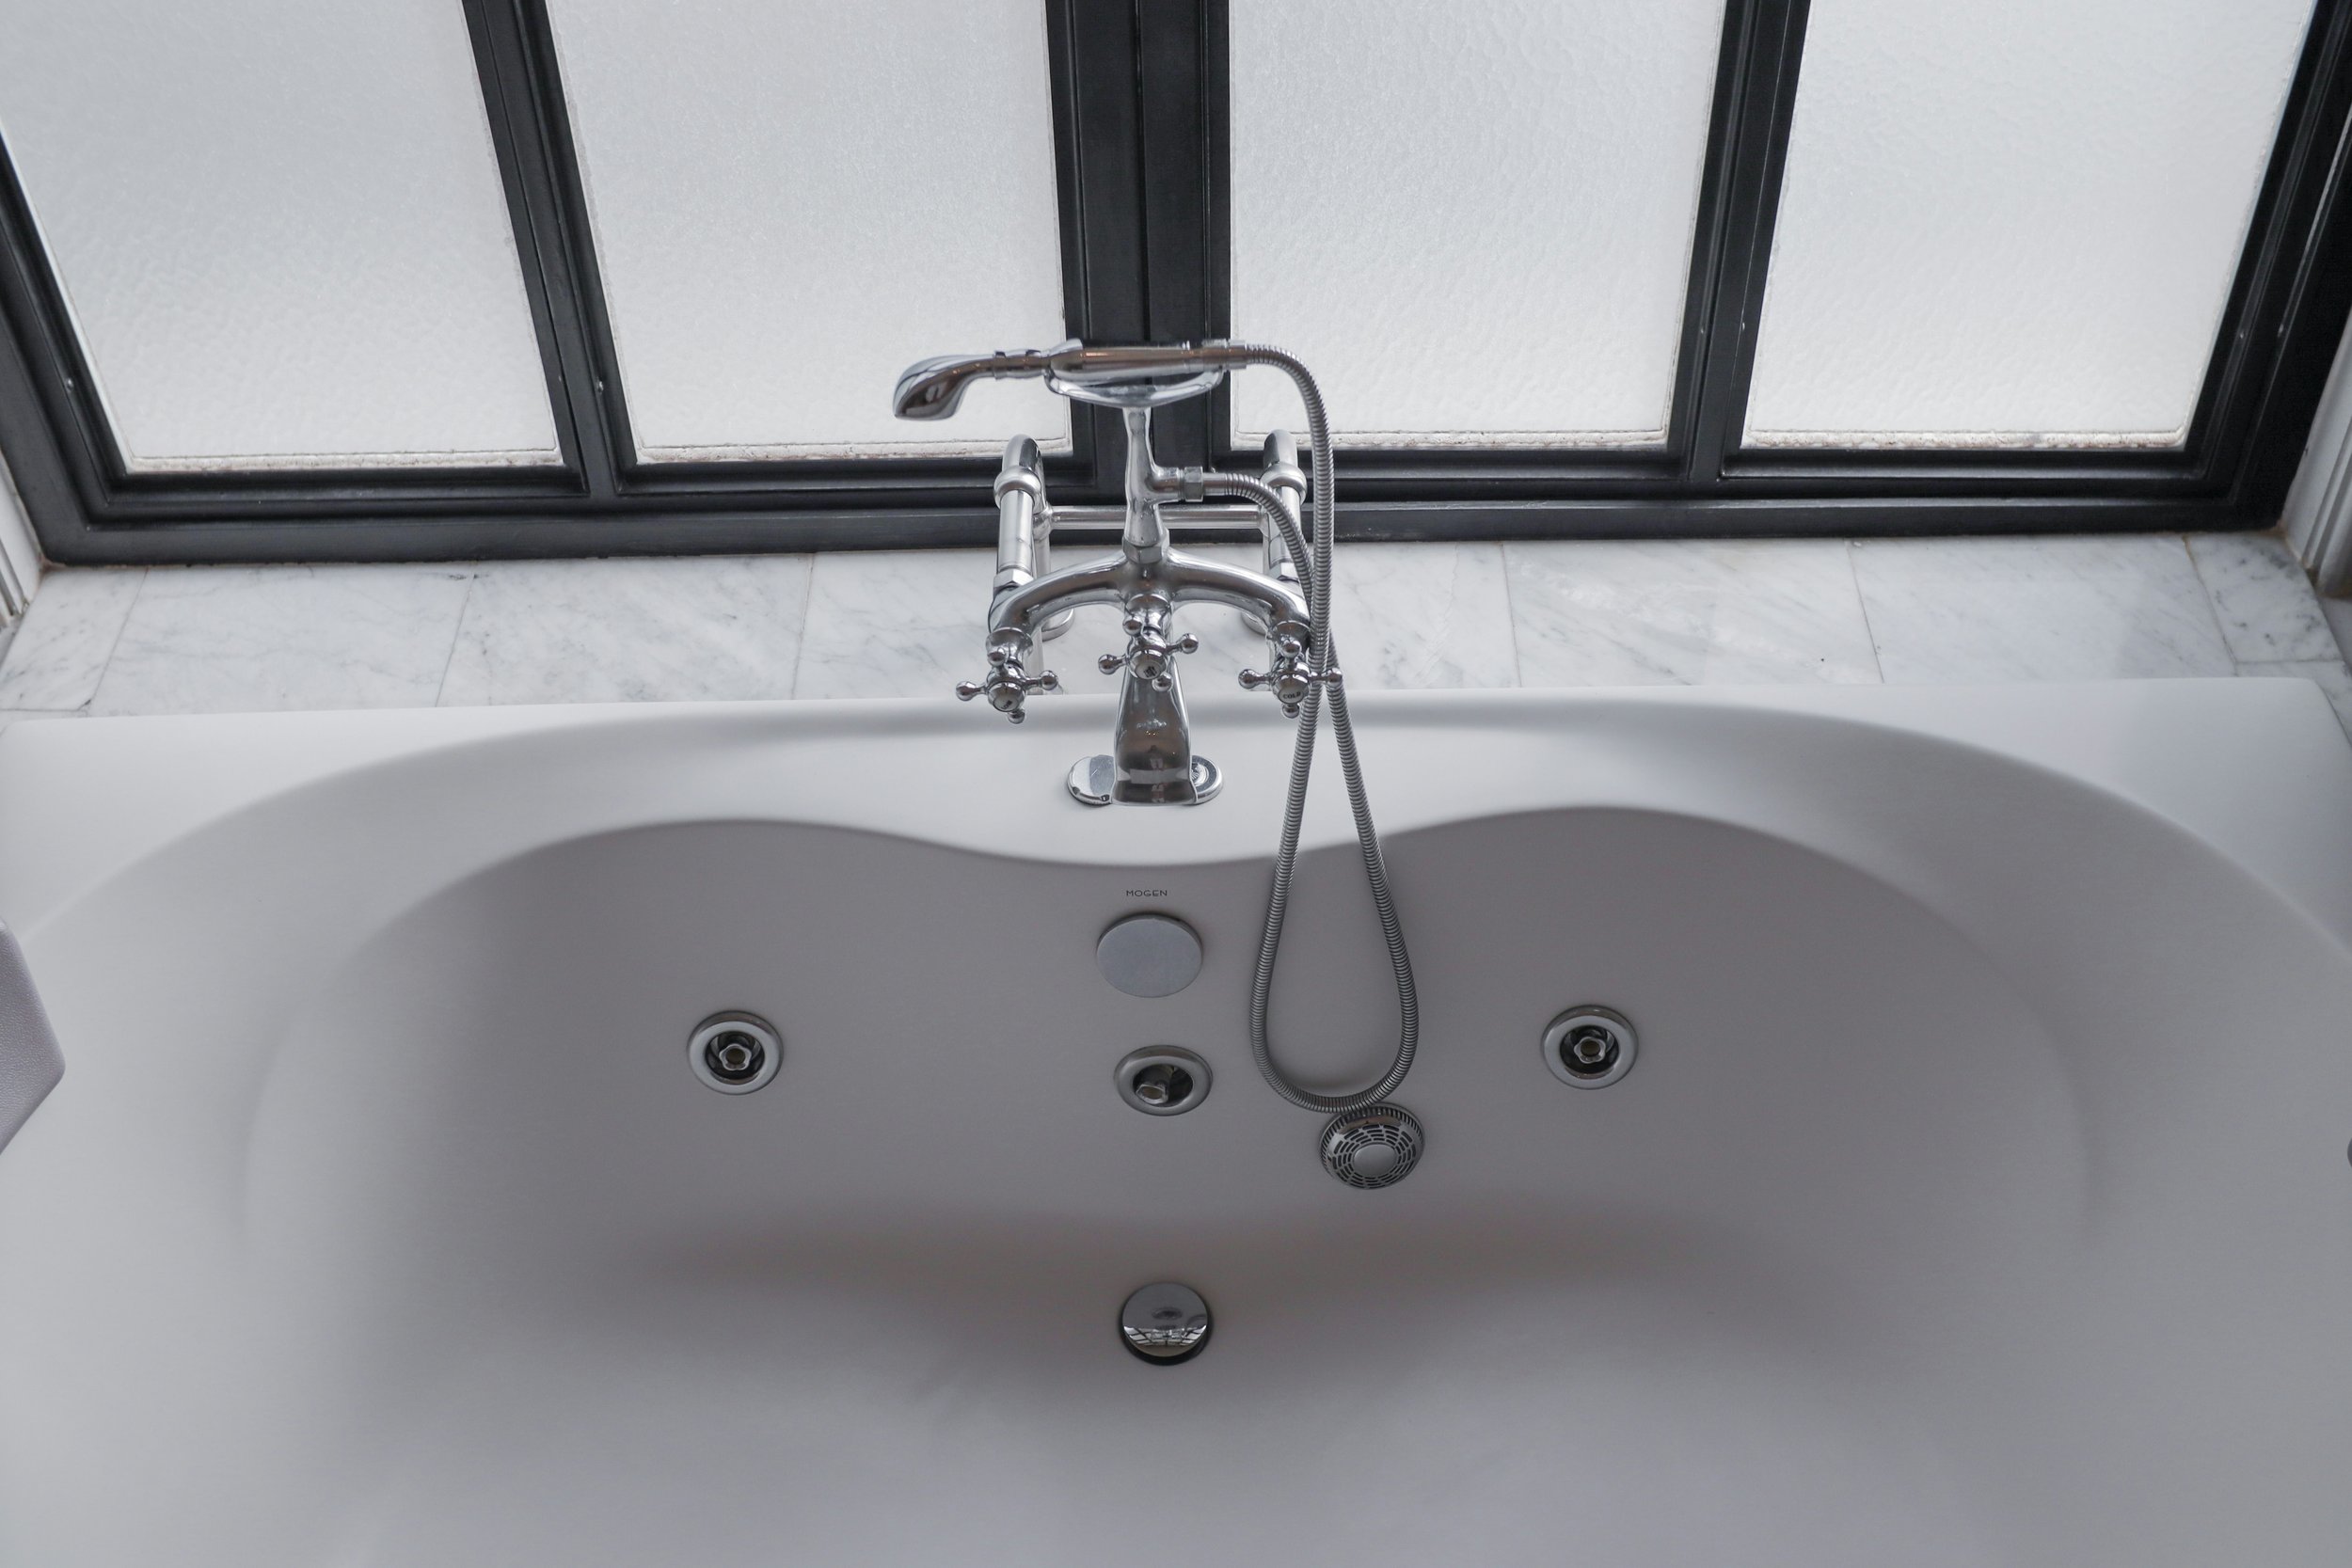
Before diving into the repair process, it's essential to understand the anatomy of a two-handle bathtub faucet. Typically, this type of faucet features two separate handles—one for hot water and one for cold—allowing you to control the water temperature with precision. Each handle is connected to its own valve, which regulates water flow. The spout, where the water exits, is usually mounted on the tub or wall. Additionally, some two-handle faucets may include a diverter that redirects water to a showerhead. Familiarizing yourself with these components will help you identify issues more easily and ensure a smoother repair process. Understanding your faucet's structure is key to effective maintenance and troubleshooting. Typically, these faucets consist of:
Hot Water Handle: Controls the flow of hot water.
Cold Water Handle: Controls the flow of cold water.
Spout: Where the water comes out.
Cartridge or Valve: The internal mechanism that regulates water flow and temperature.
Common Causes of Leaks
Now, let’s explore the common reasons why your two-handle bathtub faucet might be leaking. One of the most frequent culprits is worn or damaged washers, which can fail over time due to regular use. Another possibility is a corroded or faulty valve seat, preventing a tight seal and causing leaks. Additionally, the O-rings, which help seal connections between the handles and the faucet body, may deteriorate, leading to water seepage. Sometimes, improper installation or excessive pressure in the plumbing system can also contribute to leaks. Identifying the specific cause is crucial for effective repair, allowing you to address the issue and prevent further water damage. These are the reasons why your faucet might be leaking in the first place:
Worn Out Washers: Over time, the rubber washers in the faucet can wear out, leading to leaks.
Corroded Valve Seats: If the valve seat is corroded, it can prevent a proper seal and cause leaks.
Loose Handles: Sometimes, a loose handle can allow water to escape.
Damaged O-Rings: These small rings create seals and can deteriorate, leading to leaks.
How to Fix a Leaky Bathtub Faucet with Two Handles: Step-by-Step Guide
Tools and Materials You’ll Need
Before diving into the repair, it’s essential to gather the necessary tools and materials to ensure a smooth process. You’ll need a basin wrench or adjustable wrench for loosening fittings, a screwdriver (flathead and Phillips) for removing handles, and a pair of pliers for grip. Don’t forget replacement washers and O-rings specific to your faucet model, as well as plumber’s grease to ensure a smooth installation. A bucket or towel will come in handy for catching any water that may leak during the repair. Lastly, having a flashlight can help you see clearly under the sink. With everything ready, you’ll be well-equipped to tackle the faucet repair efficiently. The list of tools and materials:
Adjustable Wrench
Screwdrivers (Phillips and Flathead)
Replacement Washers or O-Rings
Plumber’s Grease
Towel or Rag
Bucket (to catch any water)
Having everything handy will make the job go smoother!
Step 1: Turn Off the Water Supply
Before you dive in, safety first! Here’s how to get that water turned off:
Locate the Shutoff Valves: Usually found under the sink or in the basement, these valves control the water supply to your bathtub.
Turn Off the Water: Twist the valves clockwise to shut off the water supply.
First, locate the water shut-off valves under your sink. These are usually positioned directly beneath the faucet, with two knobs—one for hot water and one for cold. Turn both valves clockwise to shut off the water supply completely. If you can't find these valves or if they’re not functioning, you may need to turn off the main water supply for your home. Once the water is off, turn on the faucet to relieve any remaining pressure and drain any water left in the lines. This step ensures that you can work on the faucet without worrying about unexpected leaks or spills.

Step 2: Remove the Faucet Handles
Now that the water is off, it’s time to remove those handles:
Pop Off Decorative Caps: If your handles have decorative caps, use a flathead screwdriver to gently pry them off to reveal the screws underneath.
Unscrew the Handles: Use a Phillips screwdriver to remove the screws holding the handles in place. Once unscrewed, gently pull the handles off. If they’re stuck, a little wiggling may help.
Start by locating the screws that hold the handles in place; these are often found under decorative caps on the top of the handles. Use a flathead screwdriver to gently pry off these caps if they’re present. Once you’ve exposed the screws, use a screwdriver to carefully unscrew them. If the handles seem stuck, you might need to gently wiggle them or use a little penetrating oil to loosen any buildup. After removing the screws, lift the handles straight up to detach them from the faucet assembly. With the handles removed, you’ll have clear access to the inner components for further inspection or repair.
Step 3: Access the Cartridge or Valve
Once the handles are off, you’ll have access to the inner workings of the faucet:
Remove the Escutcheon Plate: If your faucet has a plate covering the cartridge or valve, unscrew it and set it aside.
Take Out the Cartridge: Depending on your faucet design, you may need to pull out the cartridge or valve assembly. Use your adjustable wrench to loosen it, if necessary.
Start by removing the escutcheon plate, which may cover the cartridge or valve; unscrew it and set it aside. This step is crucial for reaching the cartridge. Next, take out the cartridge or valve assembly. Depending on your faucet design, you may need to pull it out carefully. If it’s stuck, use your adjustable wrench to gently loosen it. Be cautious not to apply too much force, as this could damage the surrounding components. Once the cartridge is free, you can inspect it for wear or damage, paving the way for a successful repair.
Step 4: Inspect and Replace Washers
Now, it’s time for the fun part—inspecting and replacing those worn-out washers:
Check for Damage: Look for any signs of wear and tear on the washers and O-rings. If they appear cracked or brittle, it’s time to replace them.
Remove Old Washers: Carefully take out the old washers and O-rings, noting their sizes. You’ll need to replace them with new ones of the same dimensions.
Install New Washers: Place the new washers and O-rings into their respective spots, applying a little plumber’s grease to ensure a good seal.
Check for damage by inspecting the washers and O-rings for any signs of wear, such as cracks or brittleness. If they look worn, it’s time for a replacement. Carefully remove the old washers and O-rings, taking note of their sizes to ensure you get the correct replacements. Once you have the new washers and O-rings, install them in their respective spots. To enhance the seal, apply a small amount of plumber’s grease to the new components before placing them. This extra step helps ensure a tight fit, reducing the risk of future leaks. After everything is securely in place, reassemble the faucet, and you’ll be well on your way to a properly functioning faucet once again.
Step 5: Reassemble the Faucet
You’re almost there! It’s time to put everything back together:
Reinsert the Cartridge or Valve: Carefully slide the cartridge or valve back into the faucet body.
Secure the Escutcheon Plate: Screw the escutcheon plate back into place, ensuring it’s secure.
Replace the Handles: Put the handles back on, securing them with screws. Replace any decorative caps you removed earlier.
Let’s start with reinserting the cartridge or valve by carefully sliding it back into the faucet body, ensuring it’s properly aligned. Once the cartridge is in place, secure the escutcheon plate by screwing it back onto the faucet, making sure it’s tight to prevent any leaks. Next, replace the handles by positioning them back onto the faucet and securing them with the screws you removed earlier. Don’t forget to reattach any decorative caps that may have been removed during the process. Take a moment to double-check that everything is snug and properly fitted. Once you’ve completed these steps, you’re ready to turn the water supply back on and test your faucet to ensure it’s functioning correctly without any leaks.
Step 6: Turn the Water Supply Back On
With everything reassembled, it’s time to turn the water back on:
Open the Shutoff Valves: Turn the shutoff valves counterclockwise to restore the water supply.
Check for Leaks: Turn on the faucet and check for any leaks. If you notice any water escaping, double-check your connections and tighten them as needed.
To restore the water supply, start by opening the shutoff valves. Turn them counterclockwise until they are fully open. Once the water is flowing again, turn on the faucet to check for leaks. Pay close attention to the areas around the handles and the escutcheon plate. If you notice any water escaping, it’s important to double-check your connections. Tighten any loose screws or fittings to ensure a proper seal. It’s normal for a little water to escape during the initial use, but persistent leaks indicate that adjustments are necessary. If everything looks good, you can enjoy your newly repaired faucet, knowing that you’ve taken the right steps to ensure it operates smoothly and efficiently.
Maintenance Tips for Your Bathtub Faucet
Now that you’ve successfully fixed your leaky faucet, here are some tips to keep it in great shape:
1. Regular Inspections
Periodically check your faucet for any signs of wear or leaks. Catching issues early can save you time and money down the line.
2. Use Plumber’s Grease
Applying plumber’s grease to washers and O-rings can extend their lifespan and help prevent leaks.
3. Be Mindful of Water Pressure
Excessive water pressure can lead to premature wear on your faucet components. If you notice water spraying or leaking, consider checking your home’s water pressure.
Conclusion
And there you have it—your complete “How to Fix a Leaky Bathtub Faucet with Two Handles” guide! With a little patience and the right tools, you’ve learned how to tackle that leak like a pro. Remember, regular maintenance and prompt repairs will keep your faucet in tip-top shape and save you from larger headaches down the road. So, the next time you hear that annoying drip, you’ll be ready to jump in and fix it. Happy plumbing!
Frequently Asked Questions
1. How often should I replace the washers in my faucet?
It’s a good practice to inspect the washers annually and replace them if you notice any signs of wear. Regular maintenance can prevent leaks.
2. Can I use any type of washer for my faucet?
No, it’s important to use the correct size and type of washer or O-ring for your specific faucet model. Check your manufacturer’s guidelines for the right parts.
3. What if I still notice a leak after replacing the washers?
If you’ve replaced the washers and the leak persists, there may be an issue with the valve seat or cartridge itself. In that case, it might be best to consult a plumber for further assistance.
4. How can I prevent future leaks?
Regular maintenance, including inspections and prompt repairs, will go a long way in preventing future leaks. Keep an eye on your faucet and take care of any issues as they arise.
5. Is it worth it to fix a leaky faucet?
Absolutely! Fixing a leaky faucet can save you money on your water bill and prevent further damage to your plumbing system. Plus, it’s a satisfying DIY project that can enhance your home’s value.
Stay up to date with our latest ideas!