15 Cool Wood Projects to Try at Home
Discover 15 innovative wood projects you can try at home! From rustic shelves to elegant wine racks, unleash your creativity with these DIY woodworking ideas. Perfect for beginners and seasoned woodworkers alike.
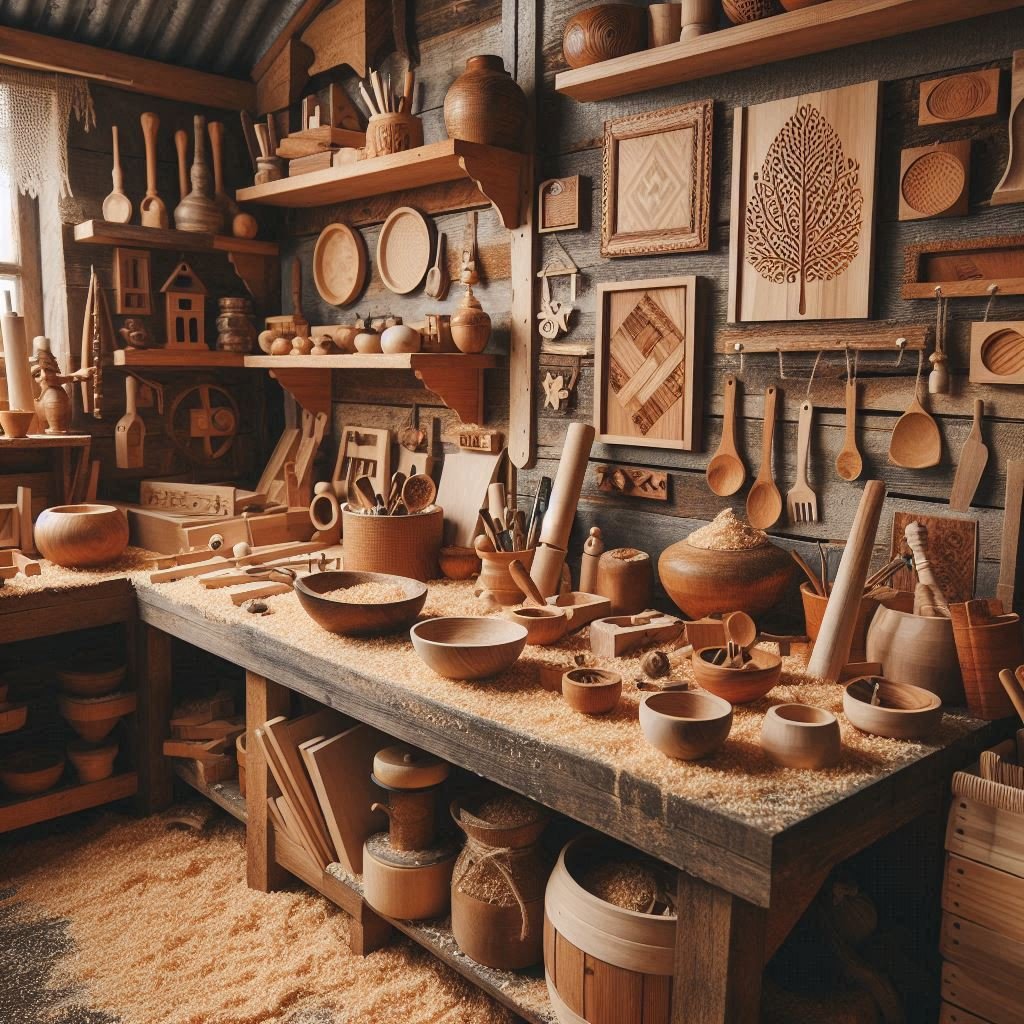
Are you itching to get your hands on some DIY wood projects? Whether you're a seasoned woodworker or a novice looking to explore the world of woodworking, there's something incredibly satisfying about creating something with your own hands. Woodworking isn't just a hobby; it's a fantastic way to express your creativity, improve your skills, and add a personal touch to your home decor. Plus, the smell of freshly cut wood? Absolutely unbeatable. Let's dive into 15 cool wood projects you can try at home that will not only keep you busy but also bring a touch of handcrafted charm to your living space.
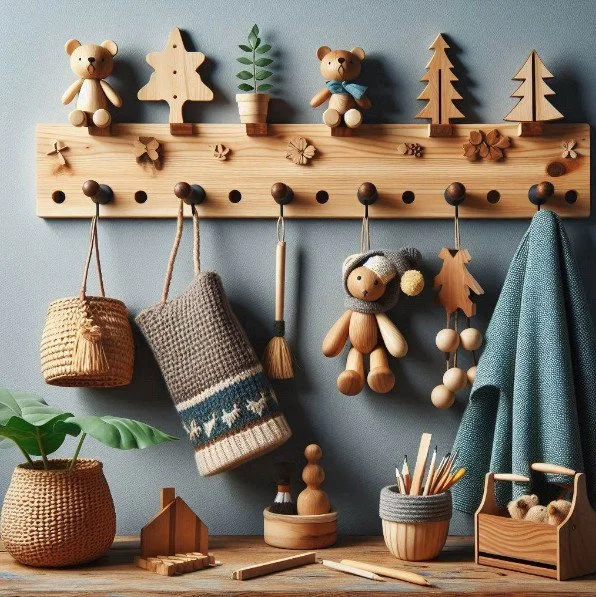
1. Wooden Coat Rack
A stylish coat rack is a must-have for any entryway.
Materials Needed
● Wooden board
● Coat hooks
● Sandpaper
● Wood stain or paint
● Screws
● Drill
Step-by-Step Instructions
Prepare the Wood: Cut and sand the wooden board to your desired length.
Apply Finish: Stain or paint the board and let it dry.
Attach Hooks: Secure coat hooks evenly spaced along the board.
Mount on Wall: Use screws to mount the coat rack on the wall.
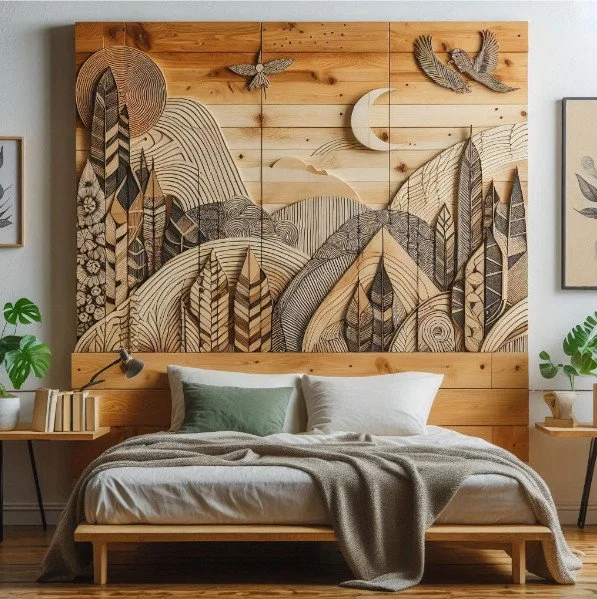
2. DIY Wooden Headboard
Create a cozy and stylish bedroom with a custom wooden headboard.
Materials Needed
● Wooden boards
● Saw
● Sandpaper
● Wood stain or paint
● Screws
● Drill
Step-by-Step Instructions
Measure and Cut: Measure the width of your bed and cut the boards to size.
Assemble the Headboard: Arrange the boards vertically or horizontally and secure with screws.
Sand and Finish: Sand the surface and apply your chosen finish.
Attach to Bed Frame: Use screws or brackets to attach the headboard to your bed frame.
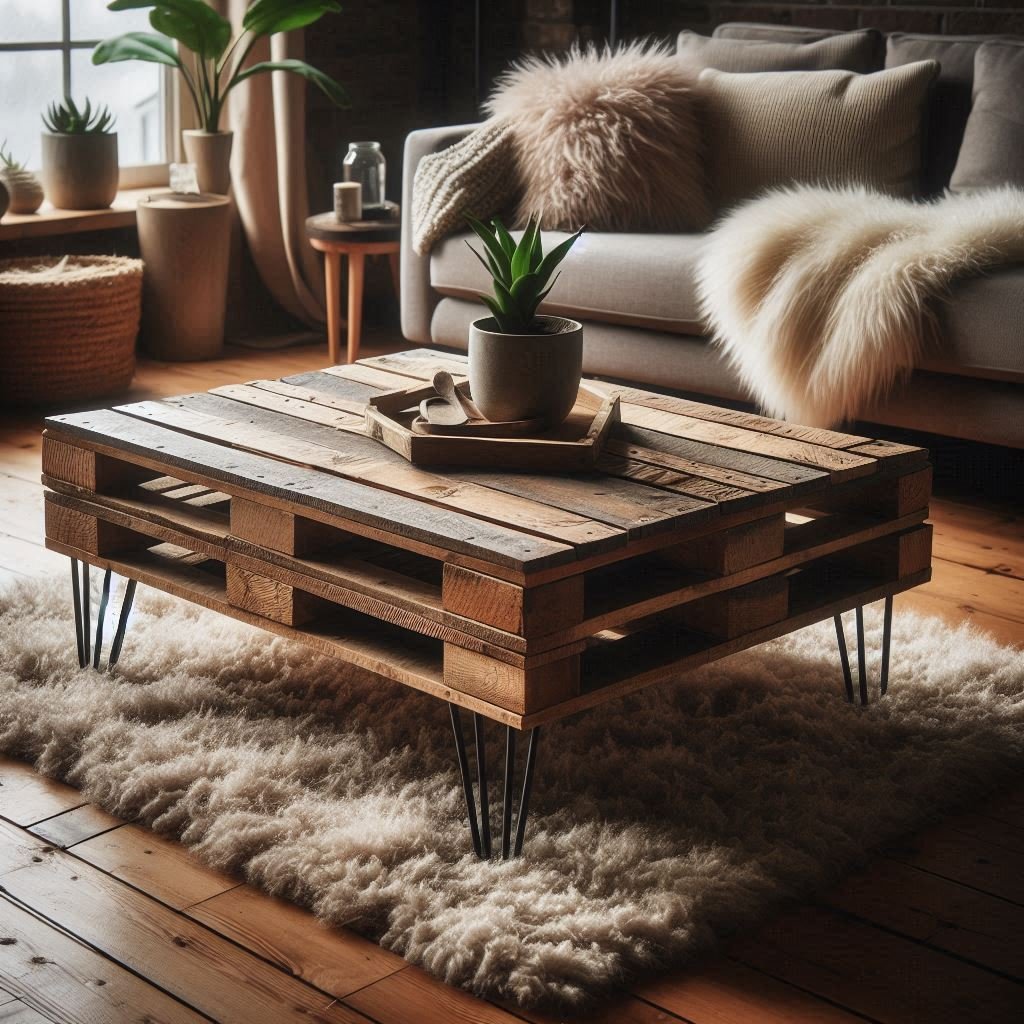
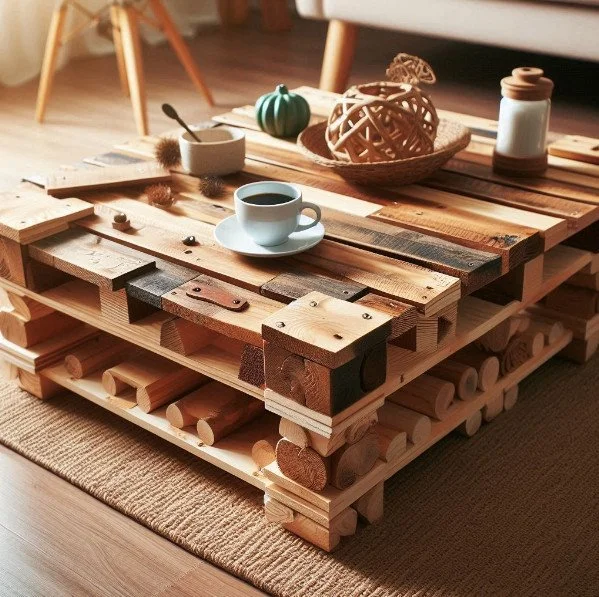
3. Pallet Coffee Table
A pallet coffee table is a stylish and functional addition to your living room.
Materials Needed
● Wooden pallets
● Sandpaper
● Wood stain or paint
● Caster wheels
● Screws
● Drill
Step-by-Step Instructions
Find Pallets: Look for pallets in good condition. Two pallets stacked will create the base.
Sand the Pallets: Sand thoroughly to remove any splinters.
Stain or Paint: Apply your choice of finish and let dry.
Attach Wheels: Secure caster wheels to the bottom corners of the pallets.
Stack and Secure: Place one pallet on top of the other and secure with screws.
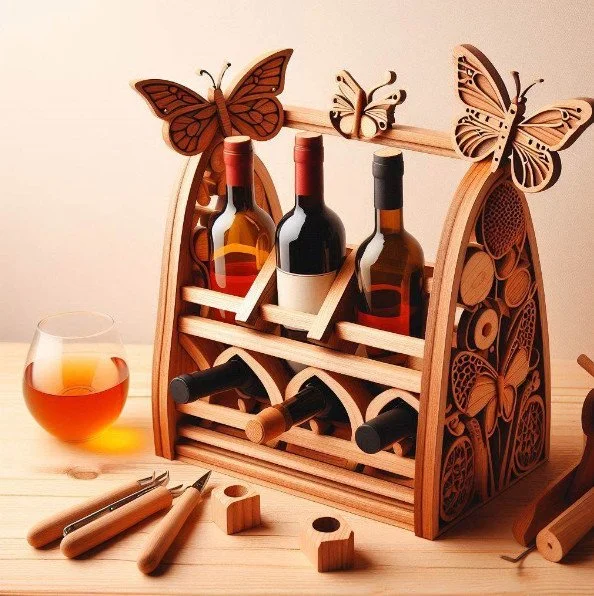
4. Wooden Wine Rack
Display your wine collection with a custom wooden wine rack.
Materials Needed
● Wooden boards
● Saw
● Sandpaper
● Wood stain or paint
● Screws
● Drill
Step-by-Step Instructions
Design Your Rack: Decide how many bottles you want to store and design accordingly.
Cut the Wood: Cut the wood to size for the sides, back, and bottle supports.
Sand and Finish: Sand all pieces and apply your chosen finish.
Assemble the Rack: Use screws to assemble the pieces securely.
5. Garden Planter Boxes
Add some greenery to your outdoor space with DIY planter boxes.
Materials Needed
● Wooden boards
● Saw
● Sandpaper
● Wood stain or paint
● Screws
● Drill
● Landscape fabric
Step-by-Step Instructions
Cut the Wood: Cut the boards to your desired size for the planter.
Assemble the Box: Use screws to assemble the sides and bottom of the box.
Sand and Finish: Sand the edges and apply a protective finish.
Line with Fabric: Line the inside of the box with landscape fabric to hold the soil.

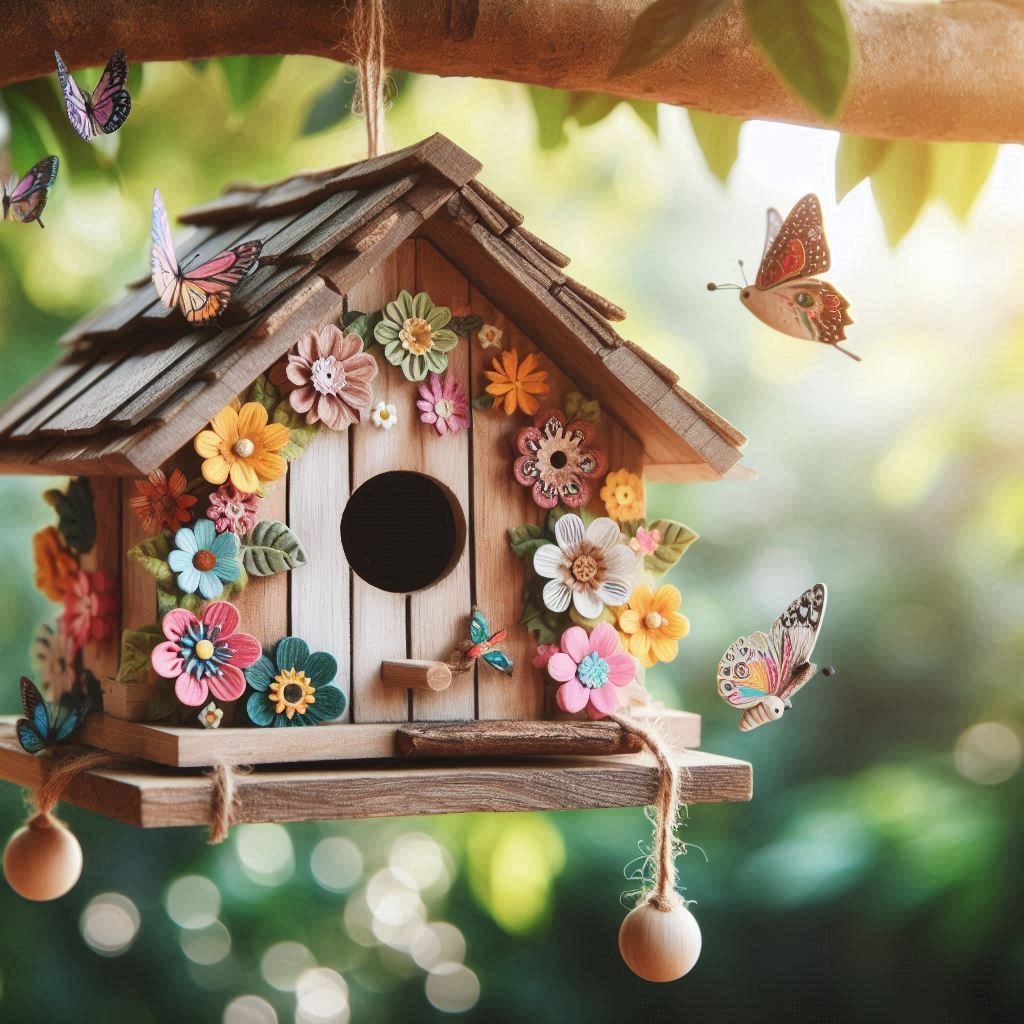
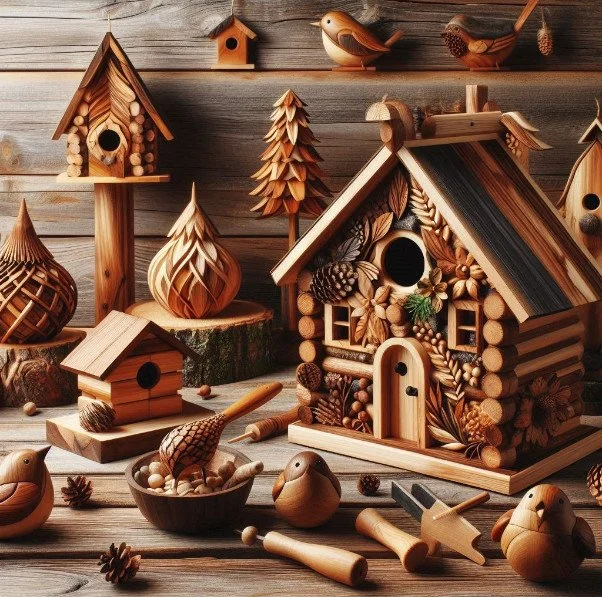
6. Birdhouses for the Backyard
Attract birds to your garden with charming handmade birdhouses.
Materials Needed
● Wooden boards
● Saw
● Sandpaper
● Wood glue
● Nails or screws
● Drill
Step-by-Step Instructions
Design the Birdhouse: Decide on the size and shape of your birdhouse.
Cut the Pieces: Cut wood pieces for the walls, roof, and floor.
Assemble the House: Use wood glue and nails or screws to put it together.
Sand and Finish: Sand the edges and paint or stain the birdhouse.
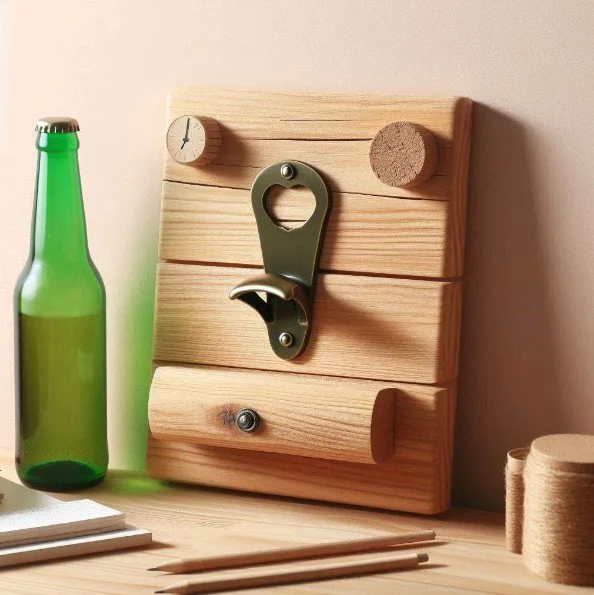
7. Wall-Mounted Bottle Opener
Perfect for your kitchen or man cave, a wall-mounted bottle opener is both practical and fun.
Materials Needed
● Wooden board
● Bottle opener hardware
● Sandpaper
● Wood stain or paint
● Screws
● Drill
Step-by-Step Instructions
Prepare the Wood: Cut the wooden board to your desired size and sand the edges.
Apply Finish: Stain or paint the wood and let it dry.
Attach the Opener: Secure the bottle opener hardware to the board with screws.
Mount on the Wall: Use screws to mount the board on the wall.
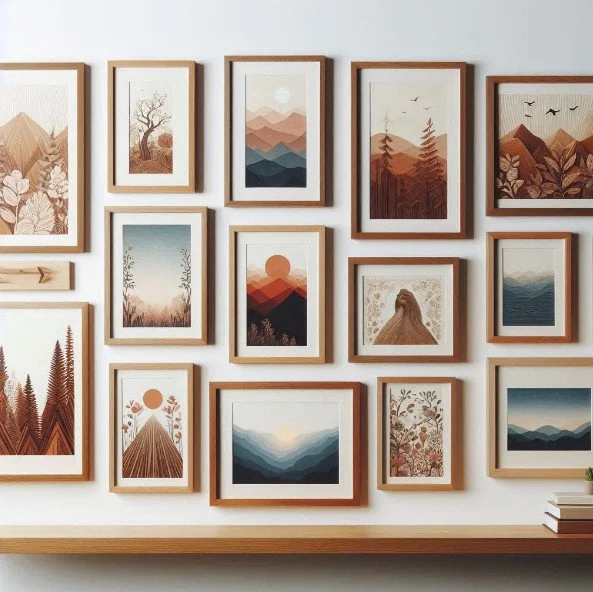
8. Custom Picture Frames
Personalized picture frames can add a touch of character to your photos.
Materials Needed
● Wooden boards or trim
● Glass or Plexiglass
● Backing board
● Saw
● Sandpaper
● Wood glue
● Clamps
● Paint or stain
Step-by-Step Instructions
Cut the Wood: Measure and cut the wood to fit the size of your photo.
Assemble the Frame: Use wood glue and clamps to assemble the frame pieces.
Sand and Finish: Sand the frame and apply paint or stain.
Add Glass and Backing: Insert the glass and secure the backing board with small nails or clips.
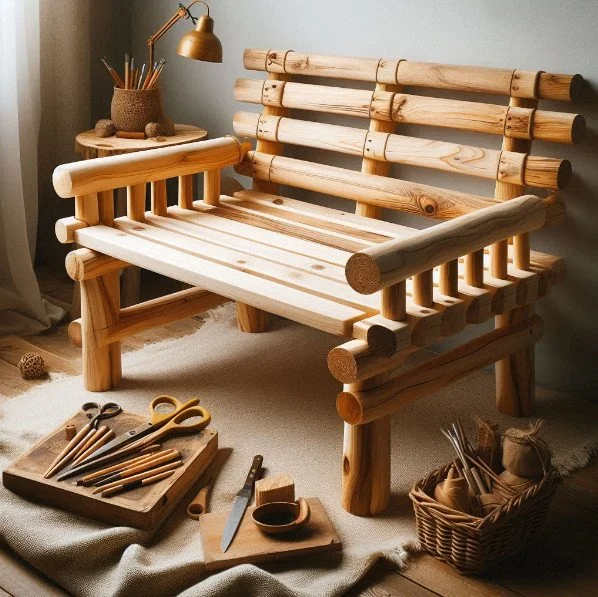
9. Simple Wooden Bench
A simple wooden bench is a versatile piece of furniture for your home.
Materials Needed
● Wooden boards
● Saw
● Sandpaper
● Wood stain or paint
● Screws
● Drill
Step-by-Step Instructions
Cut the Wood: Cut the boards for the seat and legs of the bench.
Assemble the Bench: Use screws to attach the legs to the seat.
Sand and Finish: Sand the bench and apply a protective finish.
Add Support: Add a support beam underneath for extra stability.
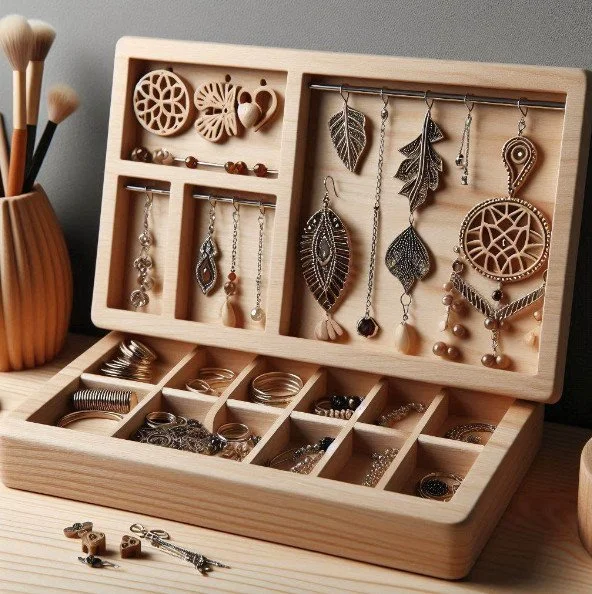
10. Wooden Jewelry Organizer
Keep your jewelry organized and tangle-free with a wooden jewelry organizer.
Materials Needed
● Wooden board
● Small hooks
● Sandpaper
● Wood stain or paint
● Screws
● Drill
Step-by-Step Instructions
Prepare the Board: Cut and sand the wooden board to your desired size.
Apply Finish: Stain or paint the board and let it dry.
Attach Hooks: Screw in small hooks to hang necklaces and bracelets.
Mount on Wall: Secure the organizer to the wall with screws.
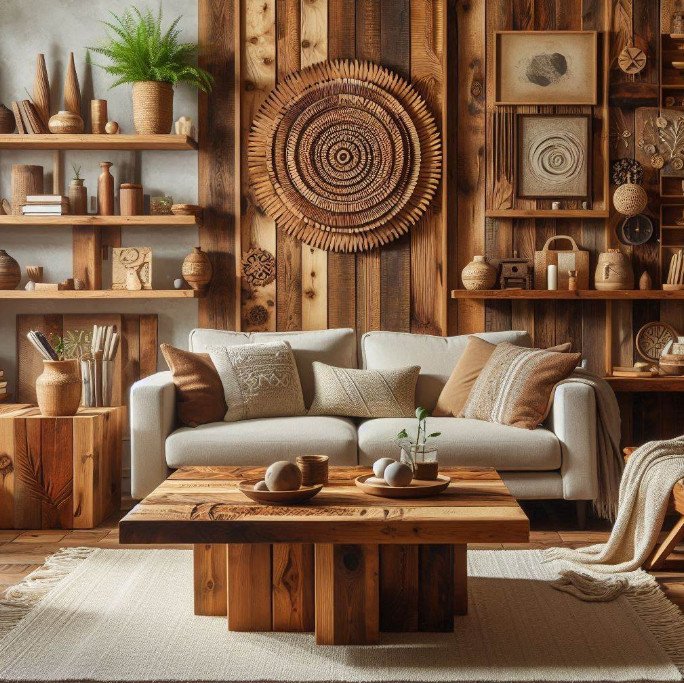
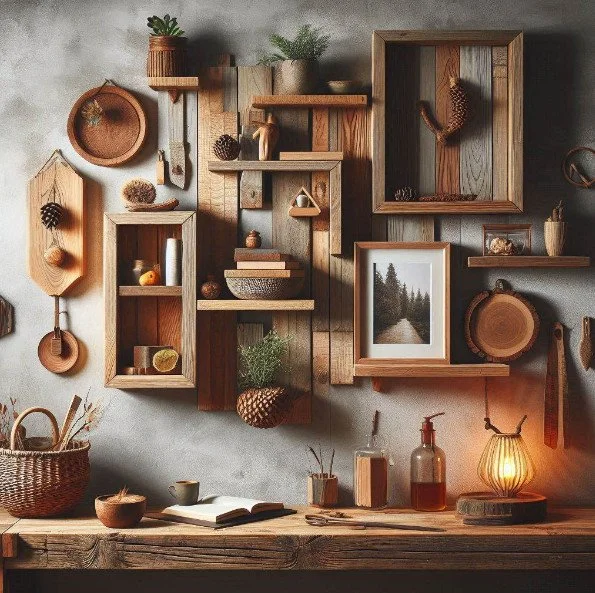
11. Rustic Floating Shelves
Adding floating shelves to your home is a great way to save space and add a rustic charm to any room.
Materials Needed
● Wooden boards
● Sandpaper
● Wood stain or paint
● Wall brackets
● Screws
● Drill
Step-by-Step Instructions
Choose Your Wood: Opt for reclaimed wood for a more rustic look. Cut the boards to your desired length.
Sand the Wood: Smooth out any rough edges using sandpaper.
Stain or Paint: Apply your chosen finish and let it dry completely.
Install Brackets: Secure the brackets to the wall where you want the shelves to go.
Mount the Shelves: Place the shelves on the brackets and secure them with screws.
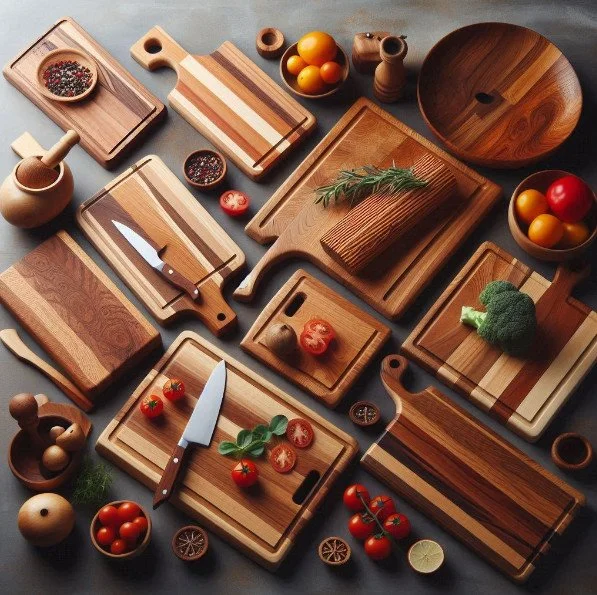
12. Cutting Boards
Custom cutting boards are a practical and attractive addition to any kitchen.
Materials Needed
● Hardwood boards
● Sandpaper
● Food-safe wood finish
● Saw
● Clamps
● Wood glue
Step-by-Step Instructions
Choose Hardwood: Select hardwood for durability and safety.
Cut and Glue: Cut boards to size and glue together in your desired pattern.
Clamp and Dry: Clamp the boards together and let dry overnight.
Sand and Finish: Sand the cutting board smooth and apply a food-safe finish.
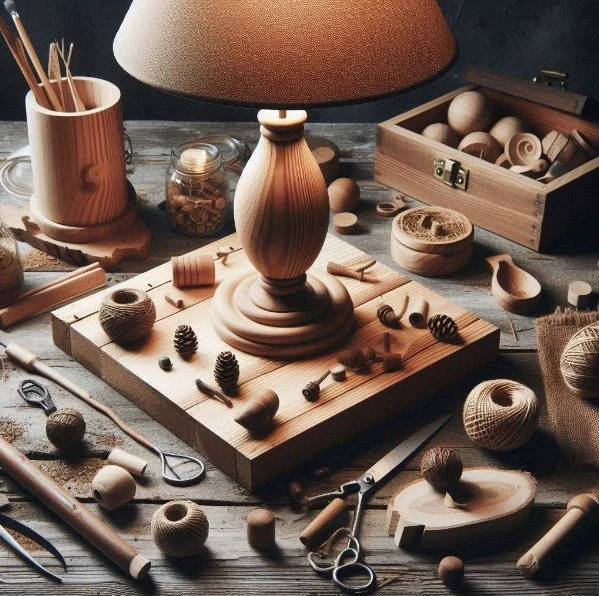
13. Wooden Lamp Base
A unique wooden lamp base can add a warm, rustic touch to your home lighting.
Materials Needed
● Wooden block
● Lamp kit
● Drill
● Sandpaper
● Wood stain or paint
Step-by-Step Instructions
Choose the Wood: Select a solid wooden block for the base.
Drill Hole: Drill a hole through the center for the lamp rod.
Sand and Finish: Sand the block and apply your chosen finish.
Assemble Lamp: Follow the lamp kit instructions to assemble the lamp.
14. Toy Box
A sturdy wooden toy box is perfect for keeping kids' rooms tidy.
Materials Needed
● Wooden boards
● Hinges
● Sandpaper
● Wood stain or paint
● Screws
● Drill
Step-by-Step Instructions
Cut the Wood: Cut boards to size for the sides, bottom, and lid of the box.
Assemble the Box: Use screws to assemble the sides and bottom.
Attach Hinges: Attach the lid to the box with hinges.
Sand and Finish: Sand the box and apply a protective finish.

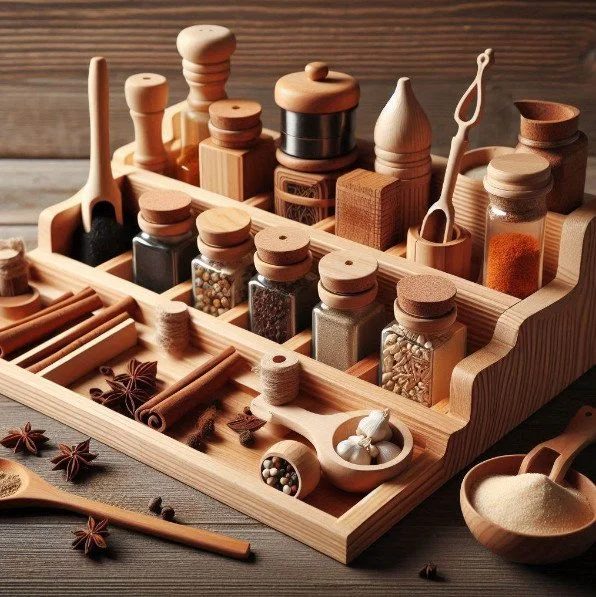
15. Wooden Spice Rack
Keep your spices organized and within reach with a custom wooden spice rack.
Materials Needed
● Wooden boards
● Sandpaper
● Wood stain or paint
● Screws
● Drill
● Level
Step-by-Step Instructions
Measure and Cut: Measure your spice jars and cut the boards to fit the number of jars you want to store. You’ll need pieces for the sides, shelves, and back.
Sand the Wood: Smooth all edges and surfaces with sandpaper.
Assemble the Rack: Attach the shelves to the sides using screws, ensuring they are evenly spaced. Attach the back piece to add stability.
Finish the Wood: Apply your choice of wood stain or paint and let it dry completely.
Mount the Rack: Use a level to ensure the rack is straight and secure it to the wall with screws.
Conclusion
Woodworking is a fulfilling hobby that not only allows you to create beautiful and functional items for your home but also provides a sense of accomplishment and relaxation. Whether you're crafting a simple shelf or an intricate toy box, each project is an opportunity to hone your skills and express your creativity. So grab your tools, pick a project, and start creating something amazing today!
Frequently Asked Questions
What tools do I need for basic woodworking projects? Basic tools include a saw, drill, sandpaper, screws, wood glue, and a measuring tape. As you advance, you might add more specialized tools like a router or a planer.
Can beginners try these woodworking projects?
Absolutely! Many of these projects are perfect for beginners. Start with simpler items like cutting boards or coat racks before moving on to more complex builds.
Where can I find quality wood for my projects?
Local hardware stores, lumber yards, and online retailers offer a variety of wood types. Reclaimed wood from old furniture or pallets is also a great option.
How can I ensure my projects are safe and durable?
Use high-quality materials, follow proper assembly techniques, and apply finishes that protect the wood from moisture and wear.
What are some tips for staining or painting wood?
Always sand the wood thoroughly before applying any finish. Use a pre-stain conditioner to ensure even stain absorption, and apply multiple coats for a richer color.
Stay up to date with our latest ideas!