Should You Paint Trim or Walls First? Expert Advice
Wondering whether to paint your trim or walls first? Get expert advice and tips in our comprehensive guide to ensure a flawless finish in your painting project.
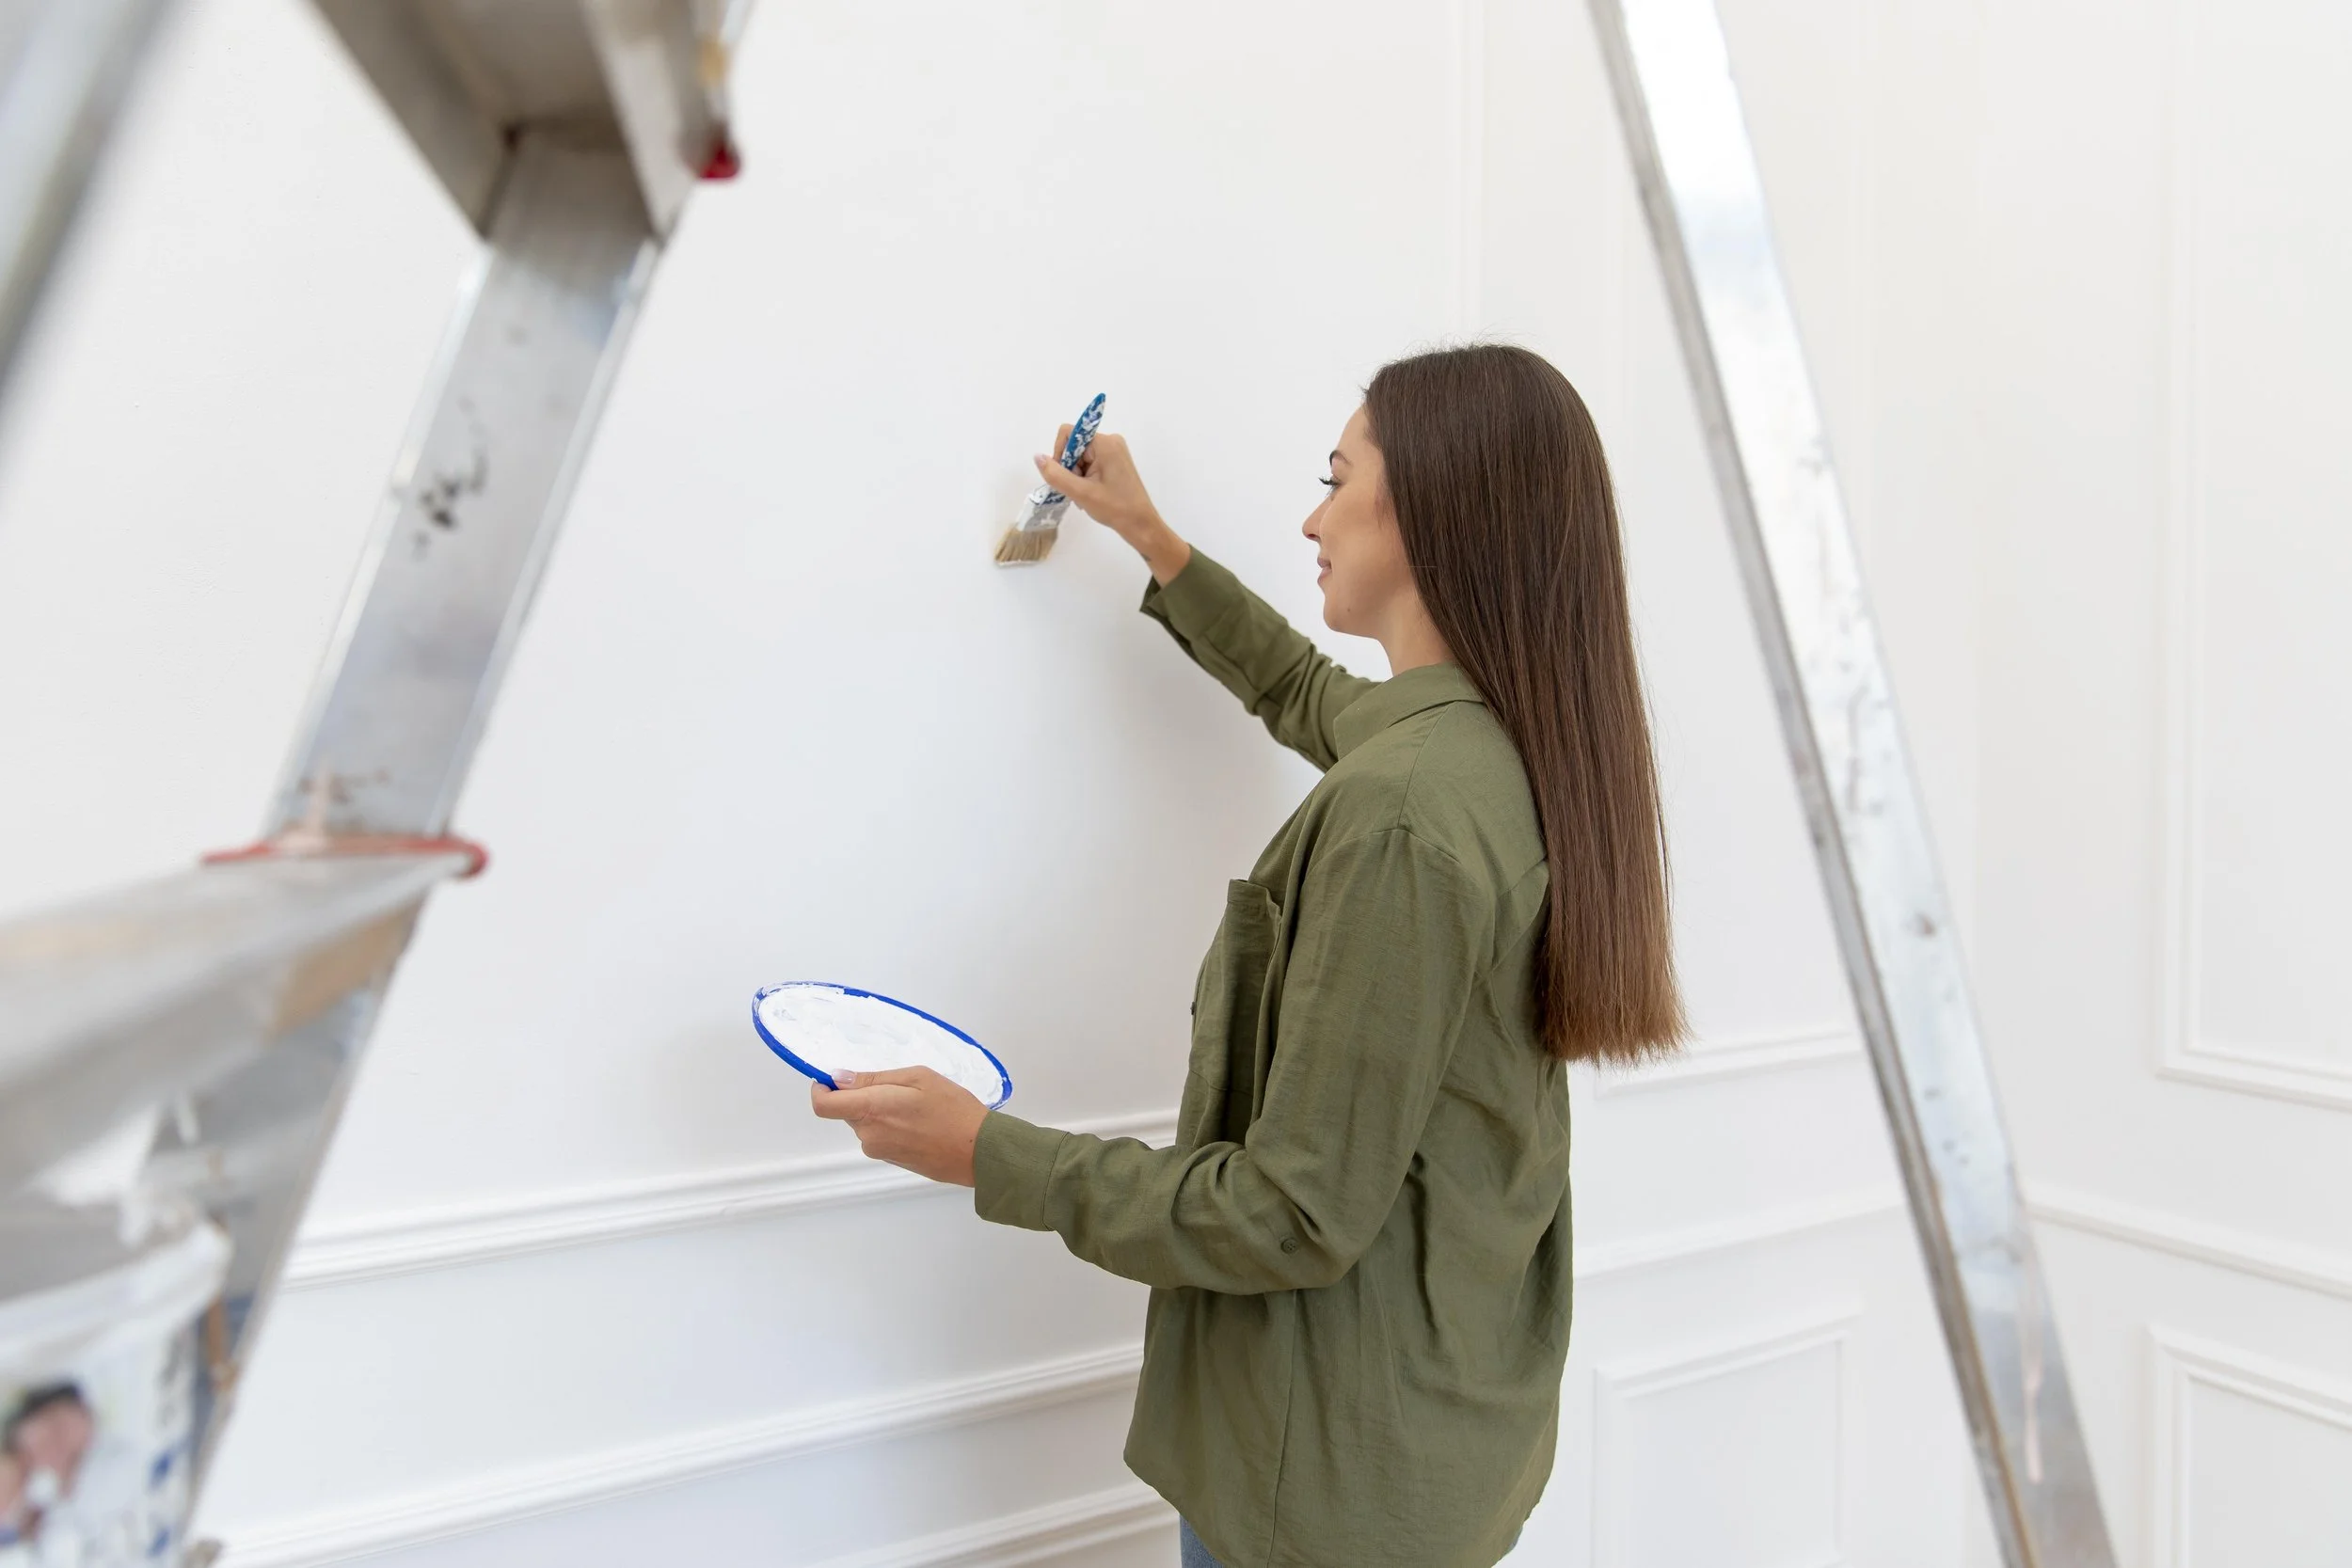
You’ve decided to give your room a fresh coat of paint, and now you’re standing in front of your walls, brush in hand, but with one nagging question: “Should I paint the trim or the walls first?” It’s a classic debate among DIY enthusiasts and professional painters alike. On one hand, painting the walls first seems to make sense—after all, it’s a larger area. But then again, the trim often needs that crisp, clean look, and painting it last can lead to potential mishaps. So, what's the verdict? In this article, we’ll explore the age-old question, “Should You Paint Trim or Walls First? Expert Advice,” and help you make an informed decision for your next painting project. Ready to roll up those sleeves and get to work? Let’s jump right in!
The Case for Painting Walls First
1. Larger Surface Area
When painting a room, it's best to start with the walls, as they occupy a larger surface area than the trim. By tackling the walls first, you can efficiently cover most of the space without the hassle of worrying about accidentally getting paint on the trim. This approach not only streamlines the painting process but also helps you achieve a cleaner finish. Once the walls are painted and dry, you can focus on the trim, ensuring that any necessary touch-ups are easier to manage. Starting with the walls creates a solid foundation for your project, allowing you to work methodically and with confidence as you transform the space.
2. Easier Clean-Up
Painting the walls first simplifies clean-up and minimizes stress during your project. If you accidentally splatter paint on the trim, it's much easier to touch up the trim once the walls are done. By focusing on the larger surfaces first, you can quickly cover the majority of the room without worrying too much about small mistakes. This method allows for a more efficient workflow, as you can address any mishaps on the trim afterward, ensuring a clean and polished finish. Starting with the walls not only helps you manage the painting process better but also leads to a more satisfying end result in your space.
3. Fewer Taping Hassles
Painting the walls first can significantly reduce the need for extensive taping, saving you both time and effort. By focusing on the walls initially, you can simply apply painter's tape along the top of the trim to achieve a clean line. This approach minimizes the hassle of protecting the walls while you work on the trim, allowing for a more efficient process. With less taping required, you can enjoy a quicker setup and cleanup, making the entire painting project more manageable. Plus, you’ll achieve a professional-looking finish without the stress of worrying about paint splatters on your trim. Overall, starting with the walls streamlines the painting experience and leads to better results.
The Case for Painting Trim First
1. Crisp Lines
Painting the trim first can lead to sharper, more defined lines. By using a brush to carefully cut in along the walls, you ensure a clean edge without the risk of wall paint splattering onto the trim. This method allows for precise application, giving you the freedom to focus on creating crisp lines that enhance the overall look of the room. Once the trim is complete, you can paint the walls with less concern about touching the trim, as the edges are already well-defined. This approach not only improves the aesthetic quality of your finish but also simplifies the painting process, making it easier to achieve professional results in your home.
2. Avoiding Mistakes
Painting the trim first has the advantage of easy touch-ups if mistakes happen. If you accidentally spill or smudge paint on the trim, you can fix it right away without the added concern of wall paint getting in the way. This approach allows you to focus solely on the trim, ensuring a clean and polished finish. Once the trim is perfected, you can proceed to paint the walls, knowing that any minor errors can be addressed without the hassle of protecting the wall paint. This method not only simplifies the process but also enhances the overall quality of your painting project, resulting in a professional-looking outcome.
3. Final Touch
Painting the trim last creates a polished and refined look, allowing it to stand out beautifully against the freshly painted walls. This method is akin to adding the final touches to a work of art, highlighting the contrast between the trim and the wall color. By saving the trim for last, you can ensure that it looks crisp and vibrant, enhancing the overall aesthetic of the room. This technique allows for precise detailing, making the trim pop and adding a sophisticated finish to your space. Ultimately, it emphasizes the beauty of your paint job, showcasing the careful craftsmanship involved in your painting project.

A Step-by-Step Guide: Making the Decision
Still unsure which painting method to choose? Here’s a straightforward step-by-step guide to help you decide the best approach for your project. Start by assessing your space and identifying the colors you want to use. Consider the condition of your walls and trim—if they need significant touch-ups, that might influence your choice. Next, think about your personal preferences: do you prioritize clean edges or ease of application? Take note of your painting experience level, as that may affect your comfort with each method. Finally, visualize the finished look you want to achieve. By following these steps, you can confidently choose the painting technique that best suits your style and project requirements.
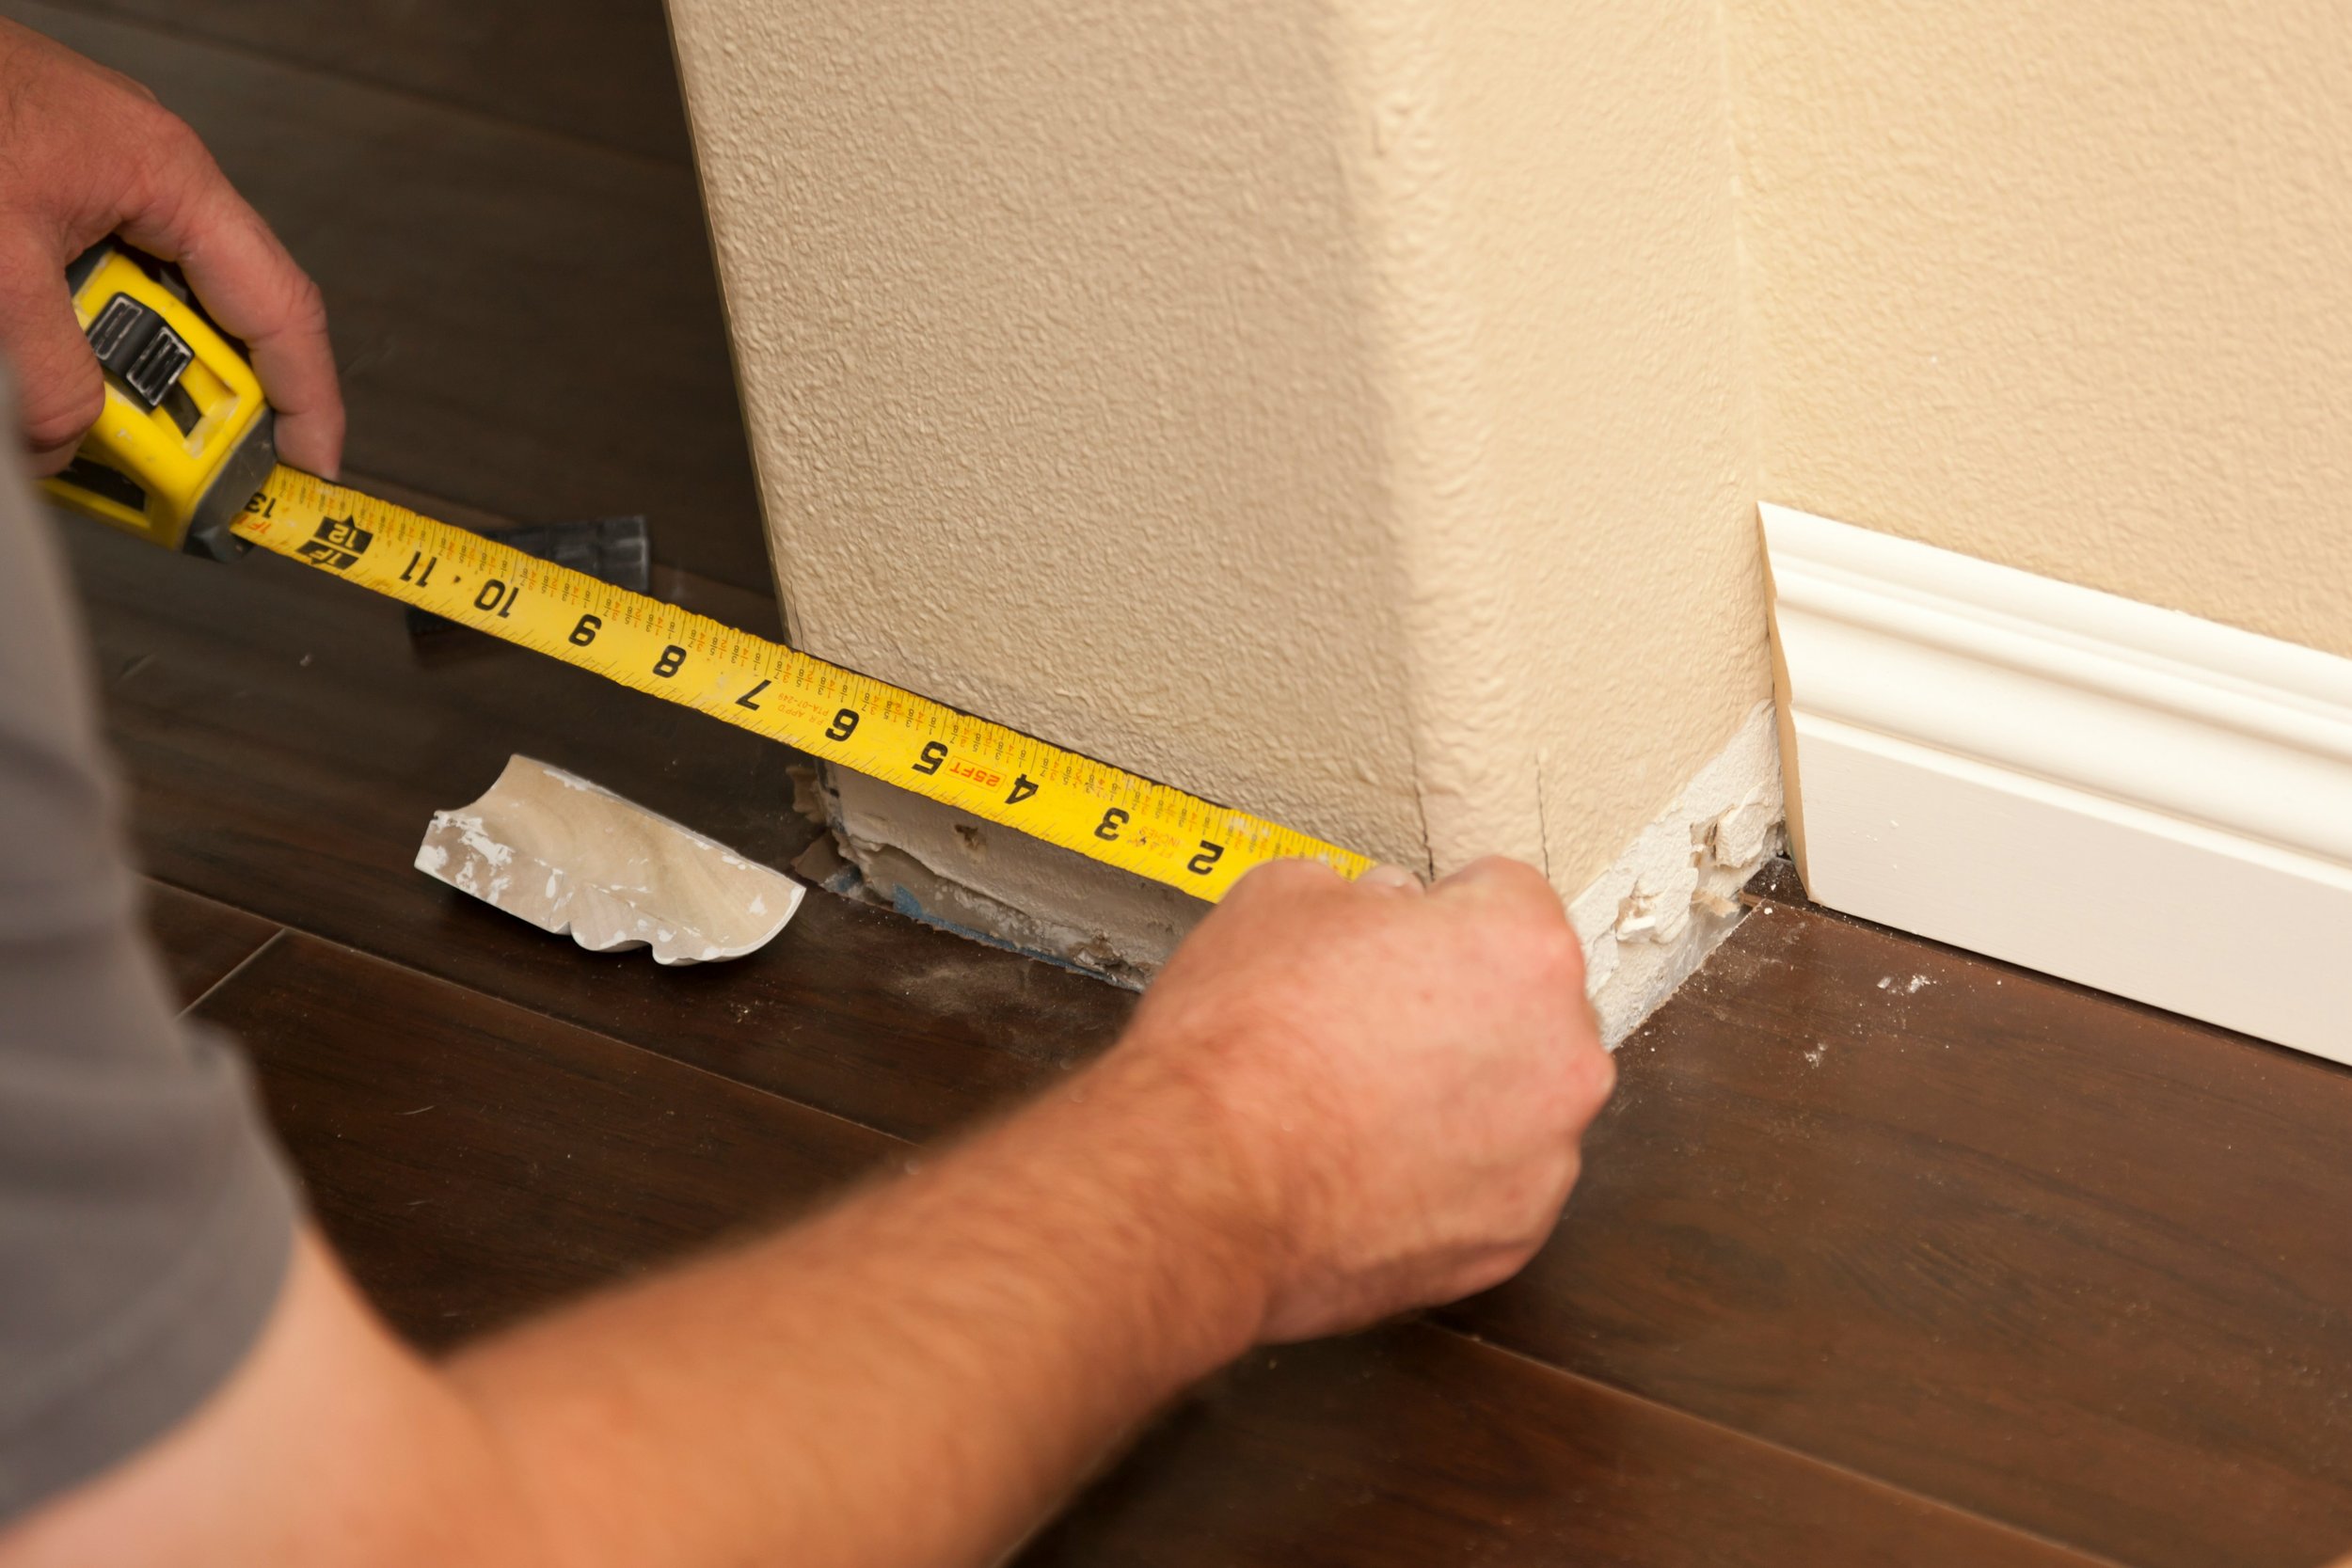
Step 1: Assess Your Space
Take a good look at the room you’re painting. Are the walls the main focus, or is the trim more prominent? In a room with ornate trim, you might want to consider painting the trim first for that striking detail.
Step 2: Consider Your Skill Level
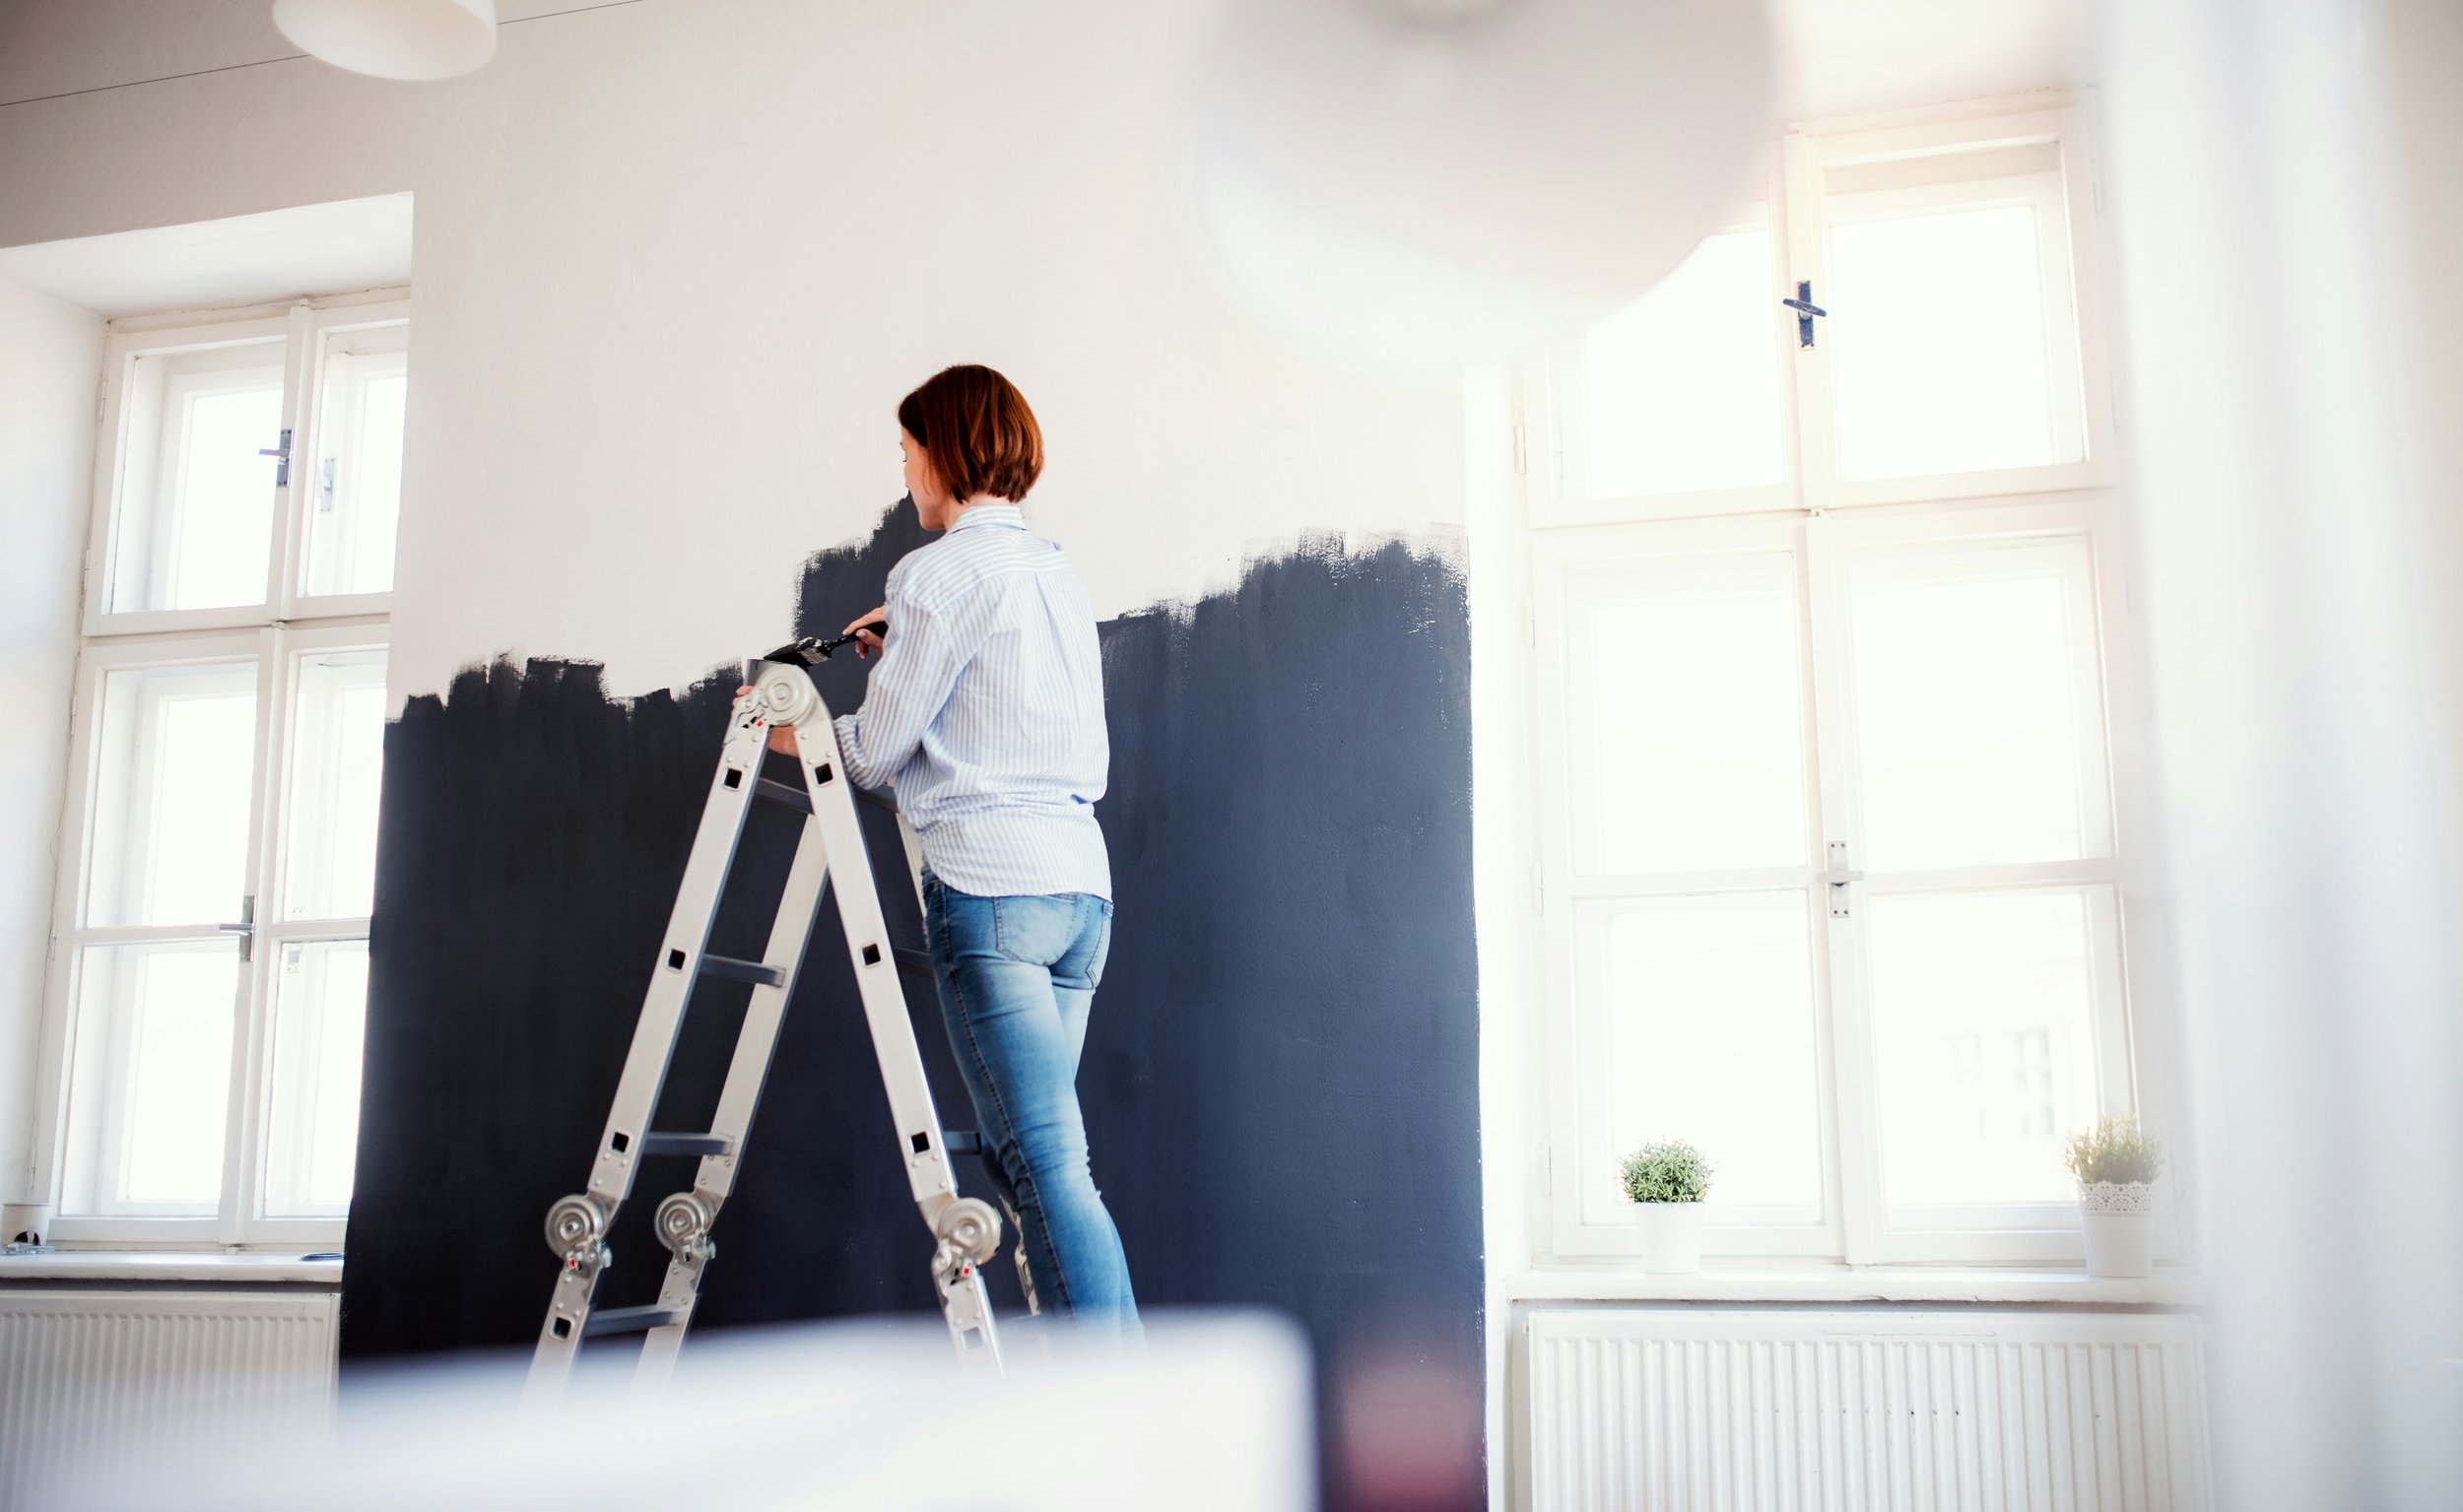
If you’re a newbie to painting, starting with the walls might be the safer option. It gives you a chance to practice your technique on a larger surface area before tackling the more intricate details of the trim.
Step 3: Gather Your Supplies
Regardless of which method you choose, make sure you have all the necessary supplies on hand:
Paint (for walls and trim)
Brushes and Rollers (a roller for walls and a smaller brush for trim)
Painter’s Tape (for clean lines)
Drop Cloths (to protect your floors)
Ladder (if you’re painting high areas)
Step 4: Plan Your Colors
Consider the colors you’re using. If you’re going for a dramatic wall color with a neutral trim, it may be beneficial to paint the trim first to see how the colors work together.
Step 5: Make Your Choice
Ultimately, the decision is yours! Whether you choose to paint the trim or the walls first, what matters is that you take your time and do it right.
Practical Tips for a Successful Painting Project
Prep Your Space: Clear out furniture and cover any areas you don’t want to paint. A little prep work goes a long way.
Use Quality Materials: Invest in good-quality paint and tools. They’ll make the job easier and the finish much nicer.
Ventilation is Key: Make sure the room is well-ventilated to avoid paint fumes. Open windows or use fans to circulate air.
Take Your Time: Don’t rush the process. Enjoy the transformation and take the time to get it right.
Keep a Wet Edge: When painting, try to keep a wet edge to avoid lap marks. This means blending your brush strokes while the paint is still wet.
Conclusion
So, should you paint trim or walls first? The answer ultimately depends on your specific project, preferences, and style. Whether you choose to tackle the walls first for ease or go with the trim for that sharp, polished look, the most important thing is to enjoy the process. Armed with our “How to Replace a Shower Faucet: Step-by-Step Guide,” you’re now ready to make those design decisions and transform your space. Happy painting!
Frequently Asked Questions
1. Can I paint both trim and walls the same color?
Absolutely! Painting both trim and walls the same color can create a seamless look, especially in smaller spaces. Just be aware that this can make the room feel less defined.
2. How do I prevent paint drips on the trim?
To avoid drips, use a quality brush and don’t overload it with paint. If you’re painting the trim last, make sure to tape off the edges for added protection.
3. Is it necessary to use painter’s tape?
While it’s not absolutely necessary, painter’s tape can help achieve cleaner lines and protect surfaces you don’t want to paint. Just be sure to remove it while the paint is still wet for the best results.
4. How long should I wait between coats of paint?
Generally, you should wait about 2-4 hours between coats, but this can vary based on the type of paint you’re using. Always check the manufacturer’s instructions for specific drying times.
5. What’s the best way to clean my brushes after painting?
After painting, rinse your brushes in warm, soapy water if you used latex paint. For oil-based paints, you’ll need to use mineral spirits. Make sure to thoroughly clean them to prolong their lifespan.
Stay up to date with our latest ideas!