How to Insulate a Garage: Step-by-Step Guide
Learn the best techniques for insulating your garage with our "How to Insulate a Garage: Step-by-Step Guide." Discover tips and tricks to keep your garage warm, energy-efficient, and functional.
Is your garage more of a cold cave than a cozy workshop? Or perhaps it turns into an oven in the summer? Whatever the case, properly insulating your garage can transform it into a comfortable, usable space all year round. Not only does insulation help regulate temperature, but it also reduces energy costs and noise. In this article, we'll walk you through How to Insulate a Garage: Step-by-Step Guide, giving you all the tools and tips you need to make your garage a more enjoyable and functional part of your home. Whether you're a DIY enthusiast or a first-timer, this guide will help you tackle the project with confidence.
Why Insulate Your Garage?
Benefits of Garage Insulation
Before diving into the how-to, let's chat about why you should consider insulating your garage.
Temperature Control: Insulation helps keep your garage warmer in the winter and cooler in the summer, making it more comfortable to work in and reducing the strain on your HVAC system.
Energy Efficiency: A well-insulated garage can lead to lower energy bills by reducing the amount of heat that escapes your home or enters from outside.
Noise Reduction: Insulation also acts as a sound barrier, dampening noise from outside and keeping your garage activities quieter.
Protect Your Belongings: Insulating your garage can protect stored items from extreme temperatures and humidity, prolonging their lifespan.
Now that we've covered the benefits, let's dive into the nitty-gritty of How to Insulate a Garage: Step-by-Step Guide.

How to Insulate a Garage: Step-by-Step Guide
1. Assess Your Garage
The first step in How to Insulate a Garage: Step-by-Step Guide is to assess your space.
Check the Walls and Ceiling: Determine if your garage walls and ceiling are already insulated. If not, decide whether you'll insulate them yourself or hire a professional.
Identify Problem Areas: Look for gaps, cracks, or areas where cold air might enter. This could include the garage door, windows, and any shared walls with your home.
Measure the Space: Measure the dimensions of your garage to determine how much insulation you'll need.
2. Choose Your Insulation Material
There are several types of insulation materials to choose from, each with its pros and cons.
Fiberglass Batts
Cost-Effective and Popular: Fiberglass batts are a popular, cost-effective insulation option for garages. They’re easy to install and fit between standard studs and joists. However, handle them with care and wear protective gear to avoid skin, eye, and respiratory irritation.
Foam Board Insulation
Good Thermal Resistance: Foam board insulation offers excellent thermal resistance and prevents heat loss through conduction. It’s easy to cut and shape, making it versatile for garage walls and ceilings. Moisture-resistant, it helps prevent mold and mildew, making it ideal for spaces where thickness is a concern.
Spray Foam Insulation
Comprehensive Coverage and Air Sealing: Spray foam insulation offers excellent coverage and air sealing by expanding to fill gaps and cracks, creating a tight seal that prevents air leaks and enhances energy efficiency. Though it can be pricier than other options, its ability to provide a continuous barrier against heat loss and air infiltration makes it a valuable investment, especially in extreme climates.
Reflective Insulation
Heat Reflection for Hot Climates: In hot climates, reflective insulation is ideal for reflecting radiant heat away from your garage. It features a reflective foil surface on materials like cardboard or plastic film, and works best with an air gap facing the reflective side. This type of insulation is often combined with other insulation methods to improve thermal performance, particularly in garages with metal doors or roofs that absorb substantial heat.
3. Prepare the Garage
Preparation is key to a successful insulation project.
Clean the Space
Clear Out the Area: Before starting the insulation process, remove all items from the walls and ceiling areas. This includes tools, shelving, storage bins, and any other objects that could obstruct the installation. A clear workspace not only makes the job easier but also helps you identify any potential issues that need addressing.
Dust and Debris Removal: Sweep or vacuum the walls and ceiling to remove dust, cobwebs, and any other debris. A clean surface is essential for ensuring that insulation materials adhere properly, especially if you are using adhesive-backed products or spray foam. Cleaning the area also allows you to inspect for any hidden cracks or damage that might need repair.
Seal Cracks and Gaps
Identify Problem Areas: Carefully inspect the garage for cracks, gaps, or holes around windows, doors, vents, and the foundation. These openings can allow drafts to enter, reducing the effectiveness of your insulation and leading to energy loss.
Caulk and Weatherstrip: Use a high-quality caulk to seal small cracks and gaps. For larger openings, weatherstripping or expanding foam sealant may be more appropriate. Pay particular attention to areas where different building materials meet, such as the junction between the foundation and walls, as these are common points for air leaks.
Check for Existing Damage: While sealing, also look for signs of existing damage, such as water stains, mold, or rot. Addressing these issues before insulating will prevent further problems and ensure a longer lifespan for your insulation.

4. Insulating the Walls
The walls are a major source of heat loss or gain in a garage.
Install Insulation Batts - Fiberglass Batts Installation:
Measuring and Cutting: Begin by measuring the space between the wall studs to determine the size of the fiberglass batts needed. Use a utility knife to cut the batts to the appropriate length, ensuring a precise fit. It's important to wear protective gear, including gloves, a mask, and long sleeves, as fiberglass can be irritating to the skin and respiratory system.
Placing the Batts: Insert cut batts between the studs, ensuring a snug fit without compression, which can reduce effectiveness. Fill the space completely, avoiding gaps to maximize insulation. Carefully cut batts to fit around electrical boxes and fixtures for thorough coverage.
Foam Board Installation - Preparing and Securing Foam Boards:
Cutting to Size: Measure the spaces between the wall studs and cut the foam board insulation to size using a utility knife or a saw. Foam boards are easy to handle and can be trimmed to fit around obstructions like pipes or electrical outlets.
Installing the Boards: Place foam boards between studs, ensuring a snug fit. Secure with adhesive or screws with washers, and make sure the boards are flush with the studs. Tape the seams for a continuous insulation barrier.
Spray Foam Application - Applying Spray Foam Insulation:
Preparation and Safety: Prepare the area by covering surfaces like windows and floors. Wear gloves, goggles, and a respirator for protection, as spray foam can emit fumes and expand rapidly.
Application Process: Apply spray foam according to the manufacturer’s instructions. Begin with a thin layer in gaps and edges, then cover the surface evenly. Work in sections, letting the foam expand and cure before adding more. Avoid over-application to prevent distortion.
5. Insulating the Ceiling
The ceiling is another critical area for insulation, especially if there's a room above the garage.
Install Insulation - Ceiling Insulation Installation:
Consistent Insulation Type: It's important to use the same type of insulation for the ceiling as you used for the walls to ensure uniform thermal protection. Whether you choose fiberglass batts, foam board, or spray foam, this consistency helps maintain a balanced insulation barrier throughout the garage.
Complete Coverage: Ensure fiberglass batts fit snugly without compression. For foam boards, cut to size and secure with adhesive or screws. Apply spray foam evenly to fill all gaps. Proper installation boosts energy efficiency by minimizing heat loss and gain.
Seal Air Leaks - Identifying and Sealing Air Leaks:
Check Around Fixtures: Inspect the ceiling for any gaps or cracks around light fixtures, electrical outlets, and ventilation ducts. These areas are common sources of air leaks, which can undermine the effectiveness of your insulation by allowing warm or cool air to escape.
Sealing Techniques: Seal gaps around fixtures with caulk for small cracks and expanding foam sealant for larger openings. Caulk offers a flexible barrier, while foam expands to fill and seal larger spaces effectively.
Vent Sealing: If your garage has ventilation vents, ensure they are properly sealed around the edges. While ventilation is important for maintaining air quality, unwanted gaps around vents can lead to drafts and reduce the overall insulation efficiency. Use weatherstripping or foam tape to seal these areas, allowing for controlled ventilation without compromising the insulation's effectiveness.
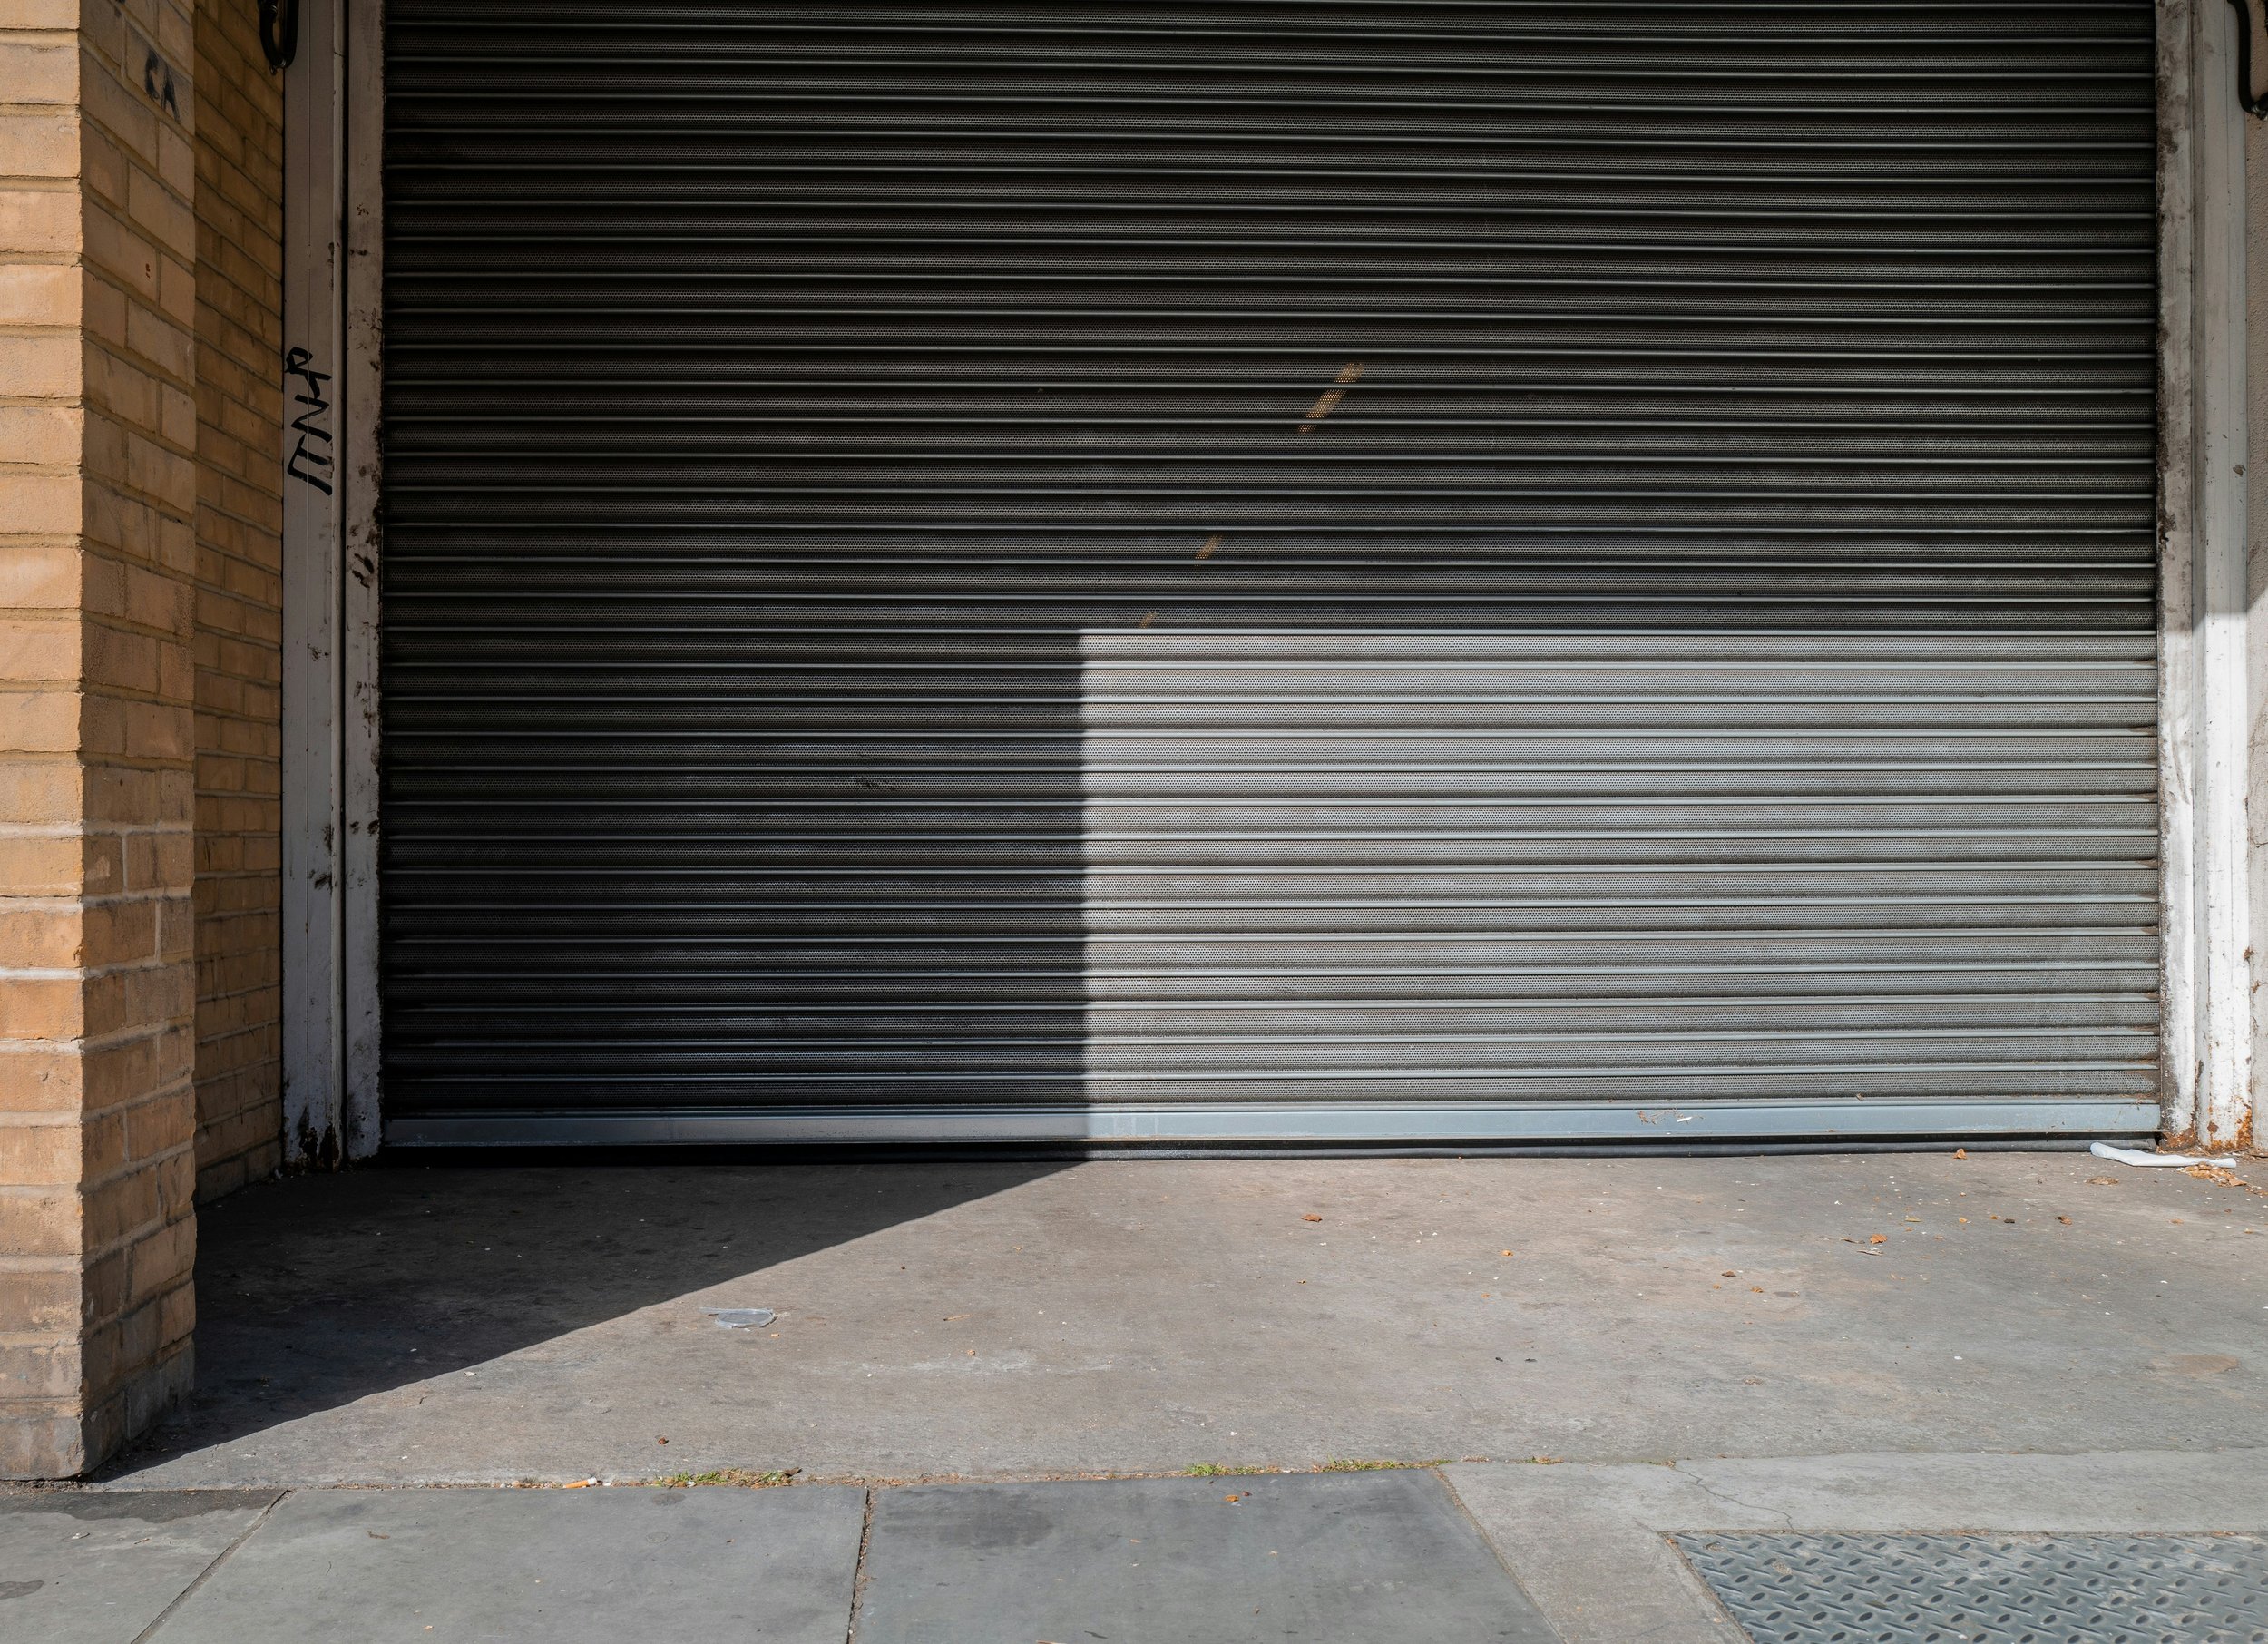
6. Insulating the Garage Door
The garage door can be a major source of heat loss.
Door Insulation Kits - Pre-Packaged Solutions:
Components: Garage door insulation kits come with foam panels, adhesive strips, and instructions, making them a convenient choice for homeowners. They fit standard panels and simplify the insulation process.
Installation Process: For installation, measure and cut the foam panels to fit the door sections, then use the adhesive strips provided to secure them. This method is quick and enhances thermal resistance and noise reduction.
DIY Insulation - Custom Solutions:
Reflective Insulation: Reflective insulation, or radiant barrier, reflects heat away, making it ideal for hot climates. Cut it to fit door panels and secure with adhesive or tape, ensuring the reflective side faces outward for maximum heat reflection.
Foam Board Insulation: Foam board insulation is a DIY-friendly option. Measure and cut the foam board to fit your door panels, then secure it with adhesive or tape. It offers excellent thermal resistance and custom fit for your needs.
Weatherstripping - Sealing the Edges:
Importance of Weatherstripping: Weatherstripping is crucial for sealing gaps around the edges of the garage door, preventing drafts and further improving the insulation's effectiveness. These gaps can allow cold air to enter during winter or warm air during summer, reducing the overall efficiency of your garage insulation efforts.
Types and Application: Weatherstripping seals gaps around the garage door, blocking drafts and enhancing insulation. It prevents cold air from entering in winter and warm air in summer, boosting your garage's overall energy efficiency.
7. Final Touches
Once the insulation is in place, there are a few final steps to complete the job.
Inspect Your Work
Thorough Check: After completing the insulation installation, take the time to thoroughly inspect your work. Look for any gaps, areas where the insulation may have been compressed, or spots where the insulation is not fitting snugly against the walls, ceiling, or door panels. These gaps can reduce the overall effectiveness of your insulation by allowing air to pass through.
Additional Insulation: If you find any areas lacking sufficient insulation, add more material as needed. For fiberglass batts, cut and fit additional batts into the gaps. For foam boards, cut extra pieces to size and secure them in place. In the case of spray foam, apply additional foam to cover any missed spots or thin areas. Ensuring that every part of your garage is properly insulated will maximize energy efficiency and comfort.
Install Vapor Barrier
Protection Against Moisture: In humid climates, moisture buildup can be a concern. Installing a vapor barrier over the insulation helps prevent moisture from condensing within the walls, which can lead to mold and mildew growth. This barrier is typically a sheet of polyethylene plastic that acts as a shield, preventing moisture from penetrating the insulation.
Installation Process: To install a vapor barrier, staple or tape plastic sheeting over the insulation, ensuring it covers all exposed surfaces. Overlap seams and seal tightly to walls and ceiling for a continuous moisture-resistant layer. This is crucial in garages attached to the home or used for storage to protect the structure and stored items from moisture damage.
Reorganize the Space
Returning Items: Once the insulation and vapor barrier are in place, it's time to put back any items you removed before starting the project. Take this opportunity to clean and organize your garage space. Consider implementing storage solutions like shelves, cabinets, or pegboards to keep tools and equipment organized and easily accessible.
Maximizing Space: Organize the items in your garage to maximize space and functionality. Group similar items together and label storage containers for easy identification. Utilize vertical space by installing overhead racks or hanging storage systems. This not only helps keep the garage tidy but also ensures that the insulation remains undisturbed and effective.
Tips for Effective Garage Insulation
Safety First
Wear Protective Gear: Always wear gloves, goggles, and a mask when handling insulation materials, especially fiberglass.
Proper Ventilation: Ensure proper ventilation while installing insulation to avoid inhaling any fumes or fibers.
Consider R-Value
R-Value Importance: The R-value measures the insulation's ability to resist heat flow. The higher the R-value, the better the insulation. Choose insulation with an appropriate R-value for your climate.
Think About Air Sealing
Air Sealing: Along with insulation, air sealing is crucial for preventing drafts. Seal all cracks and gaps around the garage.
Conclusion
Insulating your garage is a fantastic way to improve comfort, energy efficiency, and even protect your belongings. With this How to Insulate a Garage: Step-by-Step Guide, you're equipped with all the knowledge you need to tackle this project head-on. From assessing your space and choosing the right materials to installation and finishing touches, each step is crucial for a successful outcome. So, roll up your sleeves, follow these steps, and transform your garage into a well-insulated, multi-functional space that you can enjoy year-round.
Happy insulating!
Frequently Asked Questions
How do I know if my garage needs insulation?
If your garage is uncomfortably hot in the summer or cold in the winter, it likely needs insulation. High energy bills and noise issues can also indicate a lack of insulation.
Can I insulate my garage myself?
Yes, insulating a garage is a DIY-friendly project, especially if you're using materials like fiberglass batts or foam boards. Just be sure to follow safety guidelines.
How much does it cost to insulate a garage?
The cost can vary depending on the size of your garage and the type of insulation you choose. On average, DIY insulation can cost between $0.50 and $2.00 per square foot.
Is spray foam insulation worth the cost?
Spray foam insulation is more expensive but offers excellent coverage and air sealing. It's particularly useful for hard-to-reach areas and provides a high R-value.
Can I insulate a garage door?
Yes, insulating a garage door can help regulate the temperature inside your garage. Use foam board, reflective insulation, or a garage door insulation kit.
Stay up to date with our latest ideas!