Step-by-Step Guide: How to Install Trex Decking
Looking to upgrade your outdoor space? Our "Step-by-Step Guide: How to Install Trex Decking" covers everything you need to know for a smooth installation, from materials to finishing touches.
There's nothing quite like stepping out onto a beautiful deck on a sunny day, and Trex decking offers a low-maintenance, durable option that's perfect for any outdoor space. Whether you're a seasoned DIYer or a first-time deck builder, installing Trex decking can be a rewarding project that transforms your backyard into a cozy retreat. In this Step-by-Step Guide: How to Install Trex Decking, we'll walk you through the entire process, from planning and preparation to the final touches. So, grab your tools and let's get started on creating the deck of your dreams!
What is Trex Decking?
Before we dive into the installation process, let's talk a little about what makes Trex decking a fantastic choice.
Composite Material: Trex decking is made from a composite material that combines recycled wood fibers and plastic. This blend offers the look of wood without the upkeep.
Durability: Unlike traditional wood, Trex decking is resistant to fading, staining, scratching, and mold. It's a low-maintenance option that requires no sanding, staining, or sealing.
Eco-Friendly: Trex decking is made from 95% recycled materials, making it an environmentally friendly choice for your outdoor space.
Now that we know why Trex decking is such a great option, let's dive into the installation process.
Step-by-Step Guide: How to Install Trex Decking
1. Planning and Preparation
Every great project starts with good planning. Here's how to set yourself up for success.
Measure Your Space: Start by measuring the area where you plan to install your deck. This will help you determine the amount of Trex decking material you'll need.
Choose Your Decking Style and Color: Trex offers a variety of colors and styles. Consider the aesthetic you want to achieve and choose accordingly.
Gather Materials and Tools: Besides the Trex boards, you'll need joist hangers, screws, a drill, a saw, a level, and a tape measure, among other tools.
Check Building Codes: Ensure your deck complies with local building codes and regulations. This may include securing permits or following specific construction guidelines.
2. Preparing the Site
Before laying down your Trex decking, you'll need to prepare the site.
Clear the Area - Debris Removal:
Initial Cleanup: Start by clearing the deck installation area of all debris, including leaves, sticks, and old materials. A clean worksite ensures a smooth installation process and prevents hidden obstacles.
Rock and Root Extraction: Remove any rocks, large roots, or other obstructions that could interfere with the deck's foundation. Use appropriate tools like shovels, rakes, or pickaxes to ensure the ground is clear and safe for construction.
Plant Removal: If there are any plants or shrubs in the planned deck area, carefully remove them. Consider transplanting desirable plants to another part of your garden or disposing of unwanted vegetation properly.
Level the Ground - Ground Preparation:
Assessing the Terrain: Once the area is cleared, evaluate the terrain for any unevenness. A level foundation is critical for the stability and longevity of your deck. Uneven ground can cause structural issues and make the deck unsafe.
Leveling High Spots: If you find high spots, these will need to be dug out. Use a shovel to remove excess soil, ensuring you maintain a consistent level across the entire area. For larger projects, you may consider renting a mechanical grader or hiring professionals for precise leveling.
Filling Low Spots: Low spots should be filled with gravel, sand, or soil. Compact these materials firmly to create a stable and level base. Gravel is often preferred for its drainage properties, which can help prevent water accumulation under the deck.
Install the Foundation - Foundation Installation:
Determining Deck Height and Design: The type of foundation you need will depend on the height and design of your deck. For ground-level decks, a simple ground-level frame may suffice. For elevated decks, more substantial support structures are required.
Concrete Footings: For elevated or attached decks, concrete footings are essential for support and stability. Dig holes to the required depth, ensuring they are below the frost line if needed, and pour concrete, setting metal brackets or posts while the concrete is wet.
Ground-Level Frame: For a ground-level deck, you may use a frame of pressure-treated wood or another durable material laid directly on a gravel bed or on concrete blocks. Ensure the frame is level and secure, providing a solid base for attaching the decking boards.
3. Building the Deck Frame
The frame is the backbone of your deck, so it's crucial to get it right.
Lay Out the Joists - Joist Placement:
Initial Layout: Start by positioning the joists, the crucial horizontal support beams for decking boards, across the entire deck frame according to your design plan. Ensure they are evenly spaced to provide consistent support and prevent sagging.
Spacing Guidelines: Joists are typically spaced 16 inches apart from center to center to ensure adequate support for decking boards and even weight distribution. For higher loads or certain decking types, closer spacing (e.g., 12 inches) may be necessary.
Measuring and Marking: Use a measuring tape to mark the exact positions for each joist on the ledger board and beams. Ensure that the joists are aligned properly to avoid misalignment when attaching the decking boards.
Attach Joist Hangers - Securing the Joists:
Joist Hanger Installation: Attach metal joist hangers to the ledger board or beams at the marked locations to secure the joists. Ensure the hangers are level and properly aligned for a strong connection.
Fastening the Joists: Insert the joists into the hangers and secure them with appropriate screws or nails. This ensures the joists are firmly attached and helps prevent twisting or warping over time.
Leveling Check: After all the joists are installed, use a level to check that they are all even and level. This is crucial for a flat, stable deck surface and ensures the decking boards will lay evenly.
Install Blocking - Adding Additional Support:
Purpose of Blocking: Blocking involves installing short pieces of lumber between joists to enhance stability and support. It prevents joists from twisting and maintains the deck's structural integrity, especially in areas with long joists or additional load-bearing needs.
Placement of Blocking: Install the blocking between the joists, perpendicular to the joists themselves. The spacing for blocking can vary but is typically installed at regular intervals along the length of the joists. For example, if the joists are long, you might place blocking every 4 to 6 feet.
Securing the Blocking: Use screws or nails to secure the blocking in place. Ensure that the blocking is tightly fitted between the joists and is flush with the top edge of the joists to avoid creating uneven surfaces that could interfere with the decking installation.

4. Installing the Trex Decking Boards
Now comes the fun part: laying down the Trex boards!
Start at the House - Initial Board Placement:
Begin Installation: Start installing the Trex decking boards at the house or structure edge, and work your way outward. This approach ensures that the boards are aligned with the most visible and critical edge of the deck, often the part attached to the house or a main structure.
Aligning the Boards: Carefully align the first board parallel to the house wall or the edge of the structure. Use a chalk line or a straight edge to ensure the first board is perfectly straight, as any misalignment will become more pronounced as you move outward.
Securing the First Board: Secure the first board using the recommended fasteners, ensuring it's level and properly aligned. This board sets the foundation for the rest of the deck, so take your time to get it right.
Leave a Gap - Accommodating Expansion and Contraction:
Thermal Movement: Trex decking boards, like all composite materials, expand and contract with temperature changes. To accommodate this natural movement, leave a small gap between each board. This gap prevents the boards from buckling or warping when temperatures fluctuate.
Gap Size: The recommended gap size is typically around 1/4 inch, but always refer to the manufacturer's guidelines for the specific gap size required for your region's climate conditions. Use spacers to maintain a consistent gap size between all boards, ensuring a uniform appearance.
Aesthetic Considerations: While the gap is necessary for functional reasons, it also contributes to the deck's aesthetic appeal by creating clean, even lines between the boards.
Use Hidden Fasteners - Achieving a Seamless Look:
Hidden Fastener Systems: Trex decking can be installed using a hidden fastener system, which secures the boards from underneath, leaving the top surface free of visible screws or nails. This method provides a clean, seamless look that enhances the deck's overall appearance.
Installation Process: Follow the manufacturer's instructions for installing hidden fasteners. Typically, you'll attach the fasteners to the joists and then slide the boards into place, securing them without any visible hardware. Ensure the fasteners are properly aligned and securely attached to prevent any movement or lifting of the boards.
Consistency and Quality: Using hidden fasteners not only improves the aesthetic but also helps in achieving consistent spacing between the boards. It prevents any potential issues with screws or nails working loose over time, which can be a concern with traditional fastening methods.
5. Trimming and Finishing
With the boards installed, it's time to add the finishing touches.
Trim the Edges - Precision Cutting:
Even Edge Trimming: After laying all the decking boards, use a saw to trim any overhanging boards to create a clean, straight edge. This step ensures that the deck's perimeter is uniform and visually appealing. Use a circular saw or a miter saw for straight cuts, and make sure the blade is sharp to avoid splintering.
Safety Considerations: When trimming the edges, wear appropriate safety gear, including goggles and gloves, to protect against flying debris and sharp edges. Ensure the saw is set to the correct depth to cut through the decking boards without damaging the underlying structure.
Final Inspection: After trimming, inspect the edges to ensure there are no rough or uneven sections. Sand down any rough spots to create a smooth, polished finish.
Install Fascia Boards - Adding a Finished Look:
Purpose of Fascia Boards: Fascia boards are the vertical boards that cover the exposed ends of the joists and the edges of the decking boards. They provide a polished, finished look to the deck and protect the underlying structure from moisture and UV exposure.
Attachment Methods: Attach the fascia boards using screws or hidden fasteners, depending on your preference and the manufacturer's recommendations. Ensure the screws are countersunk and evenly spaced to maintain a neat appearance. Hidden fasteners offer a seamless finish without visible hardware.
Alignment and Spacing: Align the fascia boards carefully with the edge of the deck, ensuring they are level and flush with the decking surface. Leave a small gap between the fascia boards and the decking to accommodate expansion and contraction.
Seal and Protect - Maintaining Longevity:
Protecting Cut Edges: Although Trex decking is low-maintenance and resistant to many common issues, it's a good idea to clean and seal any cuts made during installation. This helps protect the exposed composite material from moisture penetration and potential damage.
Cleaning the Deck: Before sealing, clean the deck thoroughly with a mild soap and water solution to remove any dust, dirt, or debris. This step ensures that the sealant adheres properly to the surface.
Applying Sealant: Apply a sealant specifically designed for composite decking to the cut edges and any exposed areas. This provides an extra layer of protection against the elements and helps maintain the deck's appearance over time. Be sure to follow the manufacturer's instructions for application and drying times.
Tips and Tricks for a Flawless Deck
Plan for Expansion and Contraction: Composite materials like Trex expand and contract with temperature changes. Be sure to leave adequate gaps between boards to accommodate this movement.
Use the Right Fasteners: Using the correct fasteners is crucial for a secure, long-lasting deck. Trex offers its own line of fasteners designed specifically for its products.
Keep it Level :Use a level frequently to ensure your deck is flat and even. An uneven deck can cause pooling water and other issues down the line.
Safety First :Always wear safety gear, including gloves and goggles, when cutting and installing Trex boards. Ensure your work area is clear of debris and other hazards.
Conclusion
Building a deck can seem like a daunting task, but with Trex decking and this Step-by-Step Guide: How to Install Trex Decking, you can create a beautiful, durable outdoor space that will last for years to come. From planning and preparation to the final touches, each step is crucial for a flawless finish. Remember to take your time, follow the manufacturer's instructions, and enjoy the process. With a little effort and attention to detail, you'll have a stunning deck that adds value to your home and provides a perfect spot for relaxation and entertainment. So, go ahead, roll up your sleeves, and start your Trex decking project today!
Happy building!
Frequently Asked Questions
How long does Trex decking last?
Trex decking is known for its durability and can last 25-30 years or more with proper care.
Can Trex decking be installed over an existing deck?
Yes, Trex decking can be installed over an existing wood deck, provided the underlying structure is sound and can support the additional weight.
Is Trex decking slippery when wet?
Trex decking is designed to have a slip-resistant surface, but as with any surface, caution should be exercised when it is wet.
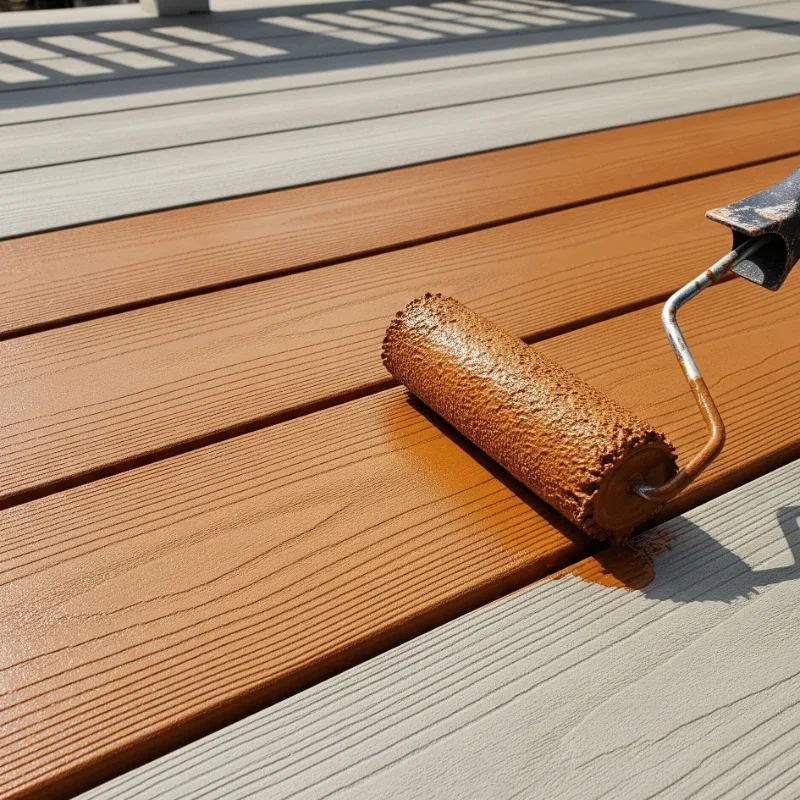
Can Trex decking be painted or stained?
Trex decking is designed to be low-maintenance and does not require painting or staining. However, you can use a specialized cleaner and brightener to refresh the color if needed.
How do I clean and maintain Trex decking?
Trex decking requires minimal maintenance. Simply wash it with soap and water or a mild deck cleaner to remove dirt and debris.
Stay up to date with our latest ideas!