How to Epoxy Your Garage Floor: Step-by-Step Guide
Learn How to Epoxy Your Garage Floor: Step-by-Step Guide for a durable and stylish finish. Our guide covers everything from surface prep to applying epoxy, ensuring a flawless DIY project.
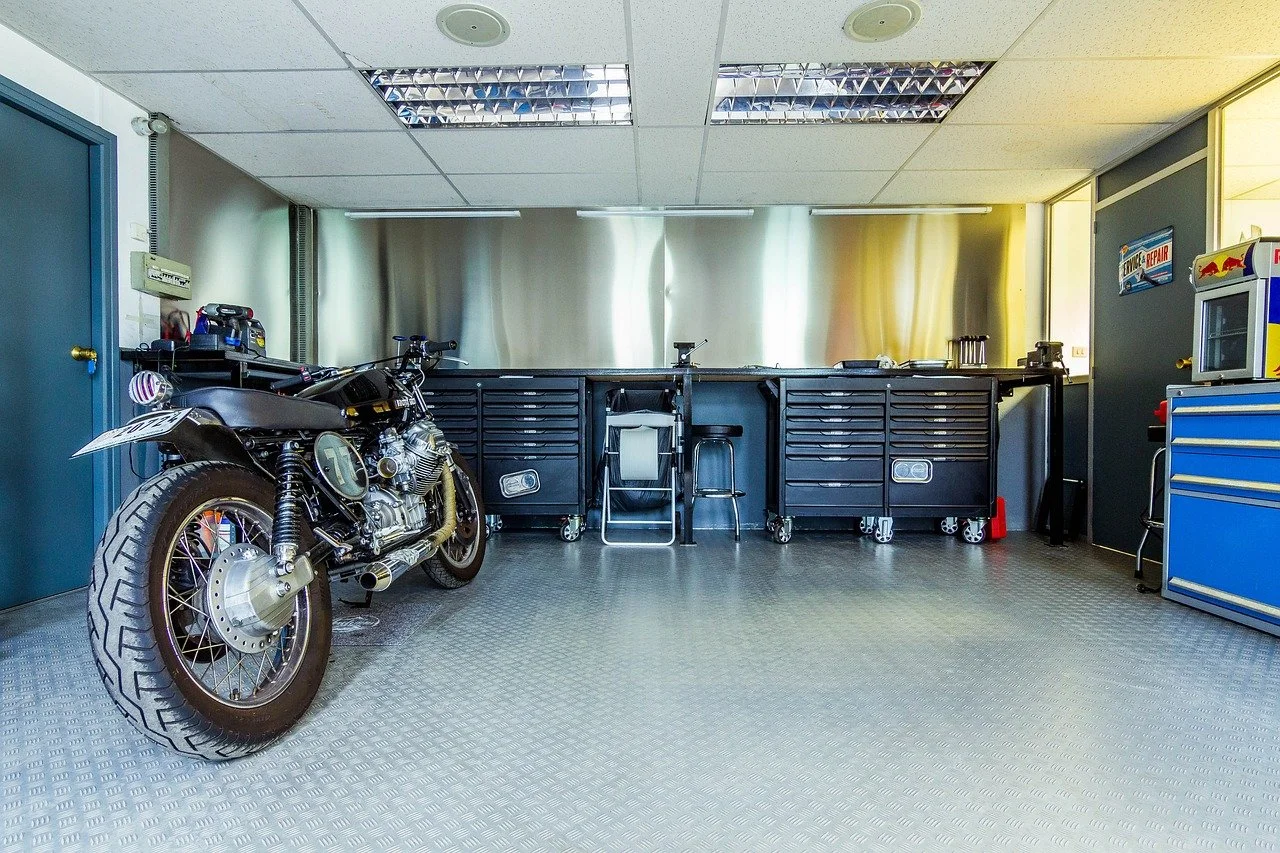
Is your garage floor looking a little worse for wear? Maybe it's stained, cracked, or just plain boring. If you're ready to give your garage a fresh, polished look, epoxy flooring is the way to go. Not only does it look sleek and professional, but it's also incredibly durable, resistant to spills, and easy to clean. But how do you go about transforming that dull concrete into a showroom-worthy floor?
Well, you’re in luck! In this article, we’re going to break down exactly How to Epoxy Your Garage Floor: Step-by-Step Guide. From prepping the surface to applying the epoxy, we’ve got you covered. So, grab your tools and let’s get started on this rewarding DIY project.
How to Epoxy Your Garage Floor: Step-by-Step Guide
1. Gather Your Materials
Before you dive into the project, make sure you’ve got everything you need on hand. Proper preparation is key to a successful epoxy floor application.
Epoxy Kit: Ensure you purchase a high-quality epoxy kit specifically designed for durable and long-lasting garage floors.
Concrete Cleaner/Degreaser: Thoroughly clean the floor, removing all dirt, grease, and stains, before applying the epoxy for the best results.
Concrete Patch Compound: Use a concrete patching compound to repair any cracks and holes in the surface before applying the epoxy.
Etching Solution: Etching the concrete helps the epoxy adhere better by opening up the pores, creating a rougher surface for bonding.
Painter's Tape and Plastic Sheeting: Use drop cloths, painter's tape, and plastic sheeting to cover walls and surfaces, effectively shielding them from epoxy splatters.
Paint Roller with Extension Pole: Use paintbrushes for cutting in around edges and corners, ensuring precise application, while a roller helps spread epoxy evenly across the floor.
Protective Gear: Remember to wear gloves, safety goggles, and a respirator to protect yourself from harmful fumes and chemicals during the application process.
2. Prepping the Garage Floor
Proper preparation is crucial to ensuring that the epoxy adheres correctly and lasts for years to come. Skimp on this step, and you might end up with a peeling or bubbling floor—definitely not what you want!
Clean the Surface Thoroughly
Remove Everything: Before starting your project, make sure to completely clear out your garage, removing all vehicles, tools, boxes, and other items. Having an empty space is essential for working efficiently and safely. This not only gives you ample room to move around but also prevents any accidental damage to your belongings during the process.
Sweep and Vacuum: Begin by thoroughly sweeping the floor to remove loose dirt and debris. Once the larger particles are cleared, use a shop vac to eliminate any finer dust and remaining particles. This step ensures a clean surface, which is crucial for the proper adhesion of the epoxy or any other flooring material you plan to apply.
Degrease: Apply a concrete cleaner or degreaser directly to any oil or grease stains on the floor. Scrub these areas thoroughly to break down the stains, then rinse with water to wash away the residue. Allow the floor to dry completely before proceeding with the next steps in your project.
Repair Cracks and Holes
Fill Cracks and Holes: Use a concrete patch compound to fill in any cracks or holes in the floor. Follow the manufacturer’s instructions and allow the compound to cure fully before moving on.
Smooth the Surface: Once the patches are dry, sand them down to ensure the floor is smooth and level. This step is crucial for creating an even surface, which will help the epoxy or other flooring material adhere properly and achieve a professional finish.
Etch the Concrete
Mix the Etching Solution: Carefully follow the instructions provided on your etching solution to mix it correctly. Proper mixing is essential for the solution to work effectively in preparing the concrete surface for epoxy application. Ensure that you measure the components accurately and stir thoroughly to achieve the desired consistency before applying it to the floor.
Apply the Solution: Pour the etching solution onto the floor in manageable sections, and scrub it in using a stiff-bristled broom. This process helps to open up the pores of the concrete, enhancing its texture and ensuring better adhesion for the epoxy. Work systematically to cover the entire surface evenly before rinsing thoroughly.
Rinse Thoroughly: After etching, rinse the floor thoroughly with water to remove any remaining residue from the solution. It's crucial to ensure that all traces are washed away. Allow the floor to dry completely, which may take up to 24 hours, depending on the humidity and temperature, before moving on to the next step.
3. Applying the Epoxy
Now comes the fun part—applying the epoxy! This step requires patience and precision to ensure a flawless finish.
Mix the Epoxy
Prepare the Area: Use painter's tape and plastic sheeting to protect any areas you don't want coated with epoxy, such as walls, door frames, or baseboards. Carefully apply the tape along the edges and securely attach the plastic sheeting to prevent any accidental spills or splatters during the application process, ensuring a clean finish.
Mix the Epoxy: Most epoxy kits include two parts—a resin and a hardener. Carefully follow the manufacturer's instructions to mix these components thoroughly. Once combined, the epoxy begins to cure, giving you a limited working time. Be prepared to work quickly and efficiently to apply the mixture before it starts to set.
Apply the Epoxy
Cut In the Edges: Begin by using a paintbrush to carefully apply epoxy around the edges of the floor and in any tight spaces, such as corners or along baseboards. This ensures that all areas are covered, including those that are difficult to reach with a roller. This detailed work creates a clean, professional finish.
Roll on the Epoxy: Use a paint roller with an extension pole to apply the epoxy to the larger areas of the floor. Work in small sections, rolling the epoxy in a “W” or “M” pattern to achieve even coverage. This technique helps distribute the epoxy consistently, ensuring a smooth and professional finish across the entire surface.
Add a Second Coat (Optional): Depending on your epoxy kit and the finish you desire, you may choose to apply a second coat for added durability and sheen. If so, ensure the first coat is completely dry, following the manufacturer’s drying time guidelines, before applying the second layer. This ensures proper adhesion and a flawless final result.
Add Decorative Flakes (Optional)
Sprinkle the Flakes: If you're adding decorative flakes, apply them while the epoxy is still wet. To achieve an even distribution, toss the flakes up into the air and let them fall naturally onto the floor. This technique ensures the flakes spread out uniformly, enhancing the overall appearance and texture of your epoxy-coated surface.
Press the Flakes: After sprinkling the decorative flakes, gently press them into the wet epoxy using a clean roller. This light pressure ensures the flakes adhere securely to the surface, helping them bond with the epoxy as it cures. This step is crucial for achieving a smooth, durable finish with evenly embedded flakes.

4. Curing and Final Touches
After you’ve applied the epoxy, it’s crucial to let it cure properly before using your garage. Rushing this step could ruin all your hard work.
Allow the Epoxy to Cure
Wait for Drying: Typically, epoxy requires at least 24 hours to cure before it's safe to walk on and up to 72 hours before driving a vehicle on it. Be sure to check your epoxy kit’s instructions for precise curing times, as these may vary depending on the product and environmental conditions.
Check for Imperfections: Once the epoxy is dry, carefully inspect the floor for any imperfections such as bubbles, missed spots, or uneven areas. Address any issues with a small touch-up to ensure a smooth, flawless finish. Promptly correcting these imperfections will enhance the overall appearance and durability of your epoxy-coated floor.
Clean Up
Remove the Tape: After the epoxy has fully cured, carefully peel off the painter's tape from the walls and other protected areas. Take your time to avoid any damage to the freshly coated surface or the surrounding areas. Removing the tape smoothly will help maintain clean, sharp edges and a professional finish to your project.
Dispose of Materials Properly: Dispose of any leftover epoxy, cleaning solutions, and other materials responsibly by following your local waste disposal regulations. Proper disposal is essential for protecting the environment and ensuring safety. Check with your local waste management facility for guidelines on how to handle hazardous materials and avoid improper disposal methods.
5. Maintaining Your Epoxy Garage Floor
Congratulations, you’ve now got a garage floor that looks fantastic and is tough as nails. But how do you keep it looking that way? Here are some tips:
Regular Sweeping: To maintain the pristine finish of your epoxy floor, regularly sweep it to remove dust and dirt that could cause scratches. Keeping the surface clean helps preserve its glossy appearance and prolongs its durability. Incorporate this simple routine into your maintenance to ensure your floor stays looking its best over time.
Mop Spills Immediately: While epoxy floors are resistant to most spills, it's important to clean up any liquids promptly to prevent potential stains or damage. Quickly addressing spills helps maintain the floor's appearance and integrity, ensuring it remains spotless and durable over time. Regular cleaning will keep your epoxy floor looking fresh and new.
Avoid Harsh Chemicals: When mopping your epoxy floor, use gentle cleaners to preserve its finish. Harsh chemicals can gradually dull the glossy surface, reducing its visual appeal. Opt for mild, non-abrasive cleaning solutions to keep your epoxy floor looking vibrant and well-maintained, ensuring it retains its shine and durability over time.
Use Mats: Placing mats or rugs at entry points is a simple yet effective way to reduce the amount of dirt and debris tracked onto your epoxy floor. These coverings act as barriers, trapping particles before they reach the floor, helping to prevent scratches and maintain the cleanliness and appearance of your flooring.
Conclusion
And there you have it—a comprehensive How to Epoxy Your Garage Floor: Step-by-Step Guide that takes you from start to finish. By following these steps, you can transform your dull, stained garage floor into a polished, durable surface that not only looks great but also stands up to the rigors of daily life.
Whether you’re a DIY enthusiast or tackling your first big home improvement project, epoxying your garage floor is a rewarding endeavor that can greatly enhance your home’s value and functionality. So, roll up your sleeves, gather your supplies, and get ready to enjoy your new epoxy garage floor for years to come!
Frequently Asked Questions
How long does an epoxy garage floor last?
With proper care and maintenance, an epoxy garage floor can last anywhere from 5 to 10 years, or even longer. High-quality epoxy and professional installation can extend the floor's lifespan.
Can I epoxy my garage floor myself?
Absolutely! Epoxying a garage floor is a manageable DIY project if you follow the steps carefully and have the right tools. Just be sure to prepare the surface thoroughly and work efficiently during the application.
How much does it cost to epoxy a garage floor?
The cost of epoxying a garage floor can range from $3 to $12 per square foot, depending on the quality of the epoxy, whether you hire a professional, and any additional features like decorative flakes.
Is it necessary to etch the concrete before applying epoxy?
Yes, etching the concrete is crucial for ensuring the epoxy adheres properly. Skipping this step could lead to peeling or bubbling of the epoxy.
Can I drive on my epoxy garage floor?
Yes, once the epoxy has fully cured (typically within 72 hours), you can drive on it. Epoxy is durable enough to withstand the weight of vehicles and daily use.
Stay up to date with our latest ideas!